pengenalan
This manual provides essential instructions for the safe operation, assembly, maintenance, and troubleshooting of your HART 8 Gallon 6 Peak HP Stainless Steel Wet/Dry Vacuum. Please read this manual thoroughly before using the product to ensure proper function and to prevent injury or damage.
Maklumat Keselamatan Penting
Sentiasa patuhi langkah berjaga-jaga keselamatan asas semasa menggunakan perkakas ini untuk mengurangkan risiko kebakaran, kejutan elektrik atau kecederaan. Simpan manual ini untuk rujukan pada masa hadapan.
- Jangan biarkan vakum tanpa pengawasan apabila dipasang. Cabut plag dari alur keluar apabila tidak digunakan dan sebelum diservis.
- Jangan gunakan dengan kord atau palam yang rosak. Jika perkakas tidak berfungsi sebagaimana mestinya, telah terjatuh, rosak, ditinggalkan di luar rumah, atau terjatuh ke dalam air, kembalikannya ke pusat servis.
- Jangan tarik atau bawa dengan kord, gunakan kord sebagai pemegang, tutup pintu pada kord, atau tarik kord di sekeliling tepi atau sudut yang tajam. Jangan jalankan perkakas di atas kord. Jauhkan kord dari permukaan yang dipanaskan.
- Jangan cabut plag dengan menarik kord. Untuk mencabut palam, pegang palam, bukan kordnya.
- Jangan pegang palam atau perkakas dengan tangan yang basah.
- Jangan letakkan sebarang objek ke dalam bukaan. Jangan gunakan dengan mana-mana bukaan yang disekat; jauhkan daripada habuk, serabut, rambut dan apa sahaja yang boleh mengurangkan aliran udara.
- Jauhkan rambut, pakaian longgar, jari dan semua bahagian badan daripada bukaan dan bahagian yang bergerak.
- Jangan ambil apa-apa yang terbakar atau berasap, seperti rokok, mancis, atau abu panas.
- Gunakan lebih berhati-hati semasa membersihkan di tangga.
- Jangan gunakan untuk mengambil cecair mudah terbakar atau mudah terbakar, seperti petrol, atau gunakan di kawasan yang mungkin terdapat.
- Jangan gunakan tanpa penapis di tempatnya.
- Sambungkan ke alur keluar yang dibumikan dengan betul sahaja. Lihat arahan pembumian.
- Perkakas ini tidak dimaksudkan untuk digunakan oleh orang (termasuk kanak-kanak) yang kurang keupayaan fizikal, deria atau mental, atau kurang pengalaman dan pengetahuan, melainkan mereka telah diberi pengawasan atau arahan mengenai penggunaan perkakas oleh orang yang bertanggungjawab untuk keselamatan mereka.
- Kanak-kanak harus diawasi untuk memastikan bahawa mereka tidak bermain dengan perkakas.
Kandungan Pakej
Sahkan bahawa semua item yang disenaraikan di bawah disertakan dalam pakej anda:
- HART 8 Gallon Stainless Steel Wet/Dry Vacuum Unit
- 7' x 1-7/8" Premium Hose
- (2) Tongkat Sambungan
- Muncung Utiliti
- Alat Celah
- Berus Lantai/Nozel Penyapu
- Penapis Kartrij (untuk penyedutan vakum kering)
- Foam Wet Filter (for liquid pick-up)
- Beg Koleksi

Figure 1: HART 8 Gallon Wet/Dry Vacuum with included hose and floor nozzle.
Perhimpunan dan Persediaan
Ikuti langkah-langkah ini untuk memasang vakum basah/kering anda sebelum penggunaan pertama.
- Buka Pembungkusan Komponen: Keluarkan semua komponen dari pembungkusan dengan berhati-hati.
- Lampirkan Kastor: Insert the casters into the designated slots on the vacuum base. Ensure they click securely into place for easy mobility.
- Pasang Penapis:
- For dry vacuuming, install the cartridge filter over the filter cage. Secure it with the filter nut.
- For wet vacuuming, remove the cartridge filter and install the foam wet filter over the filter cage.
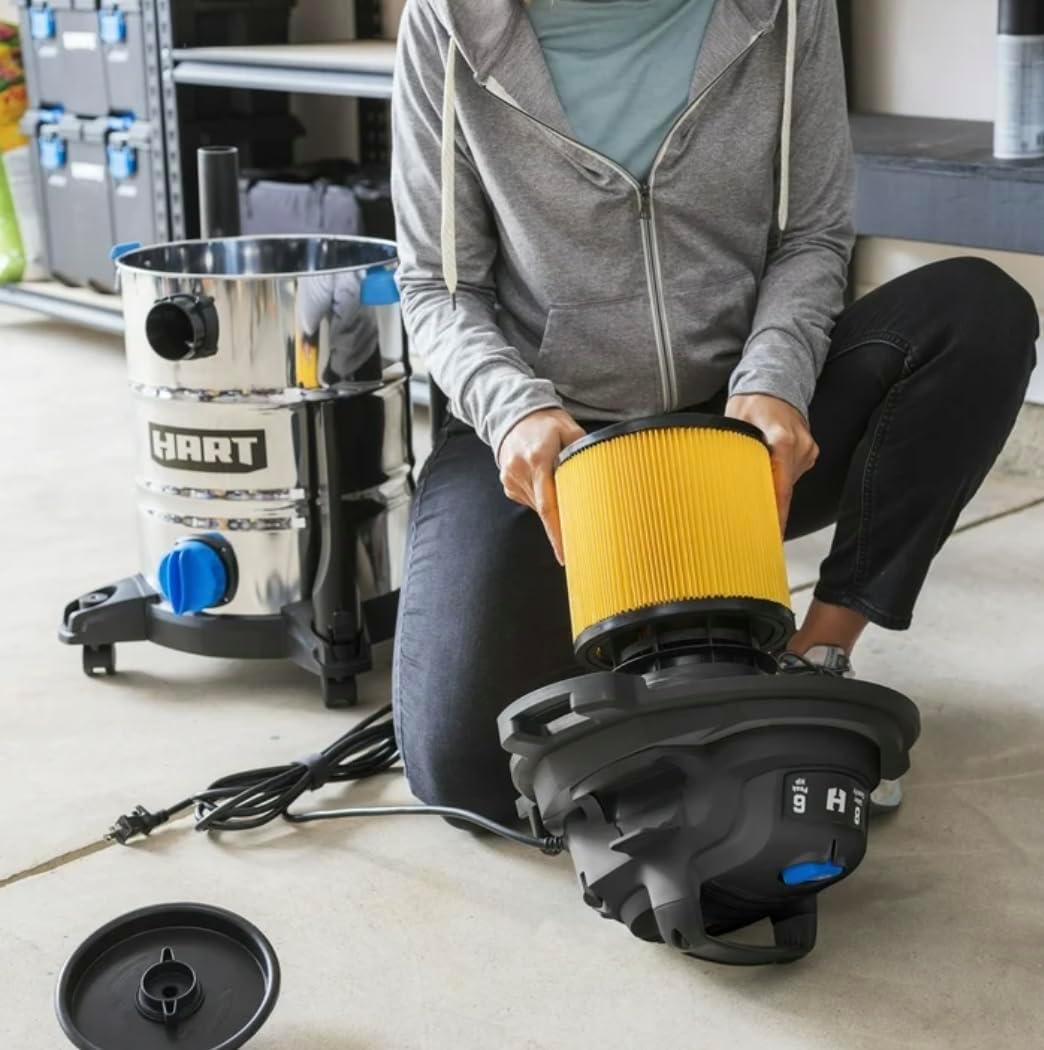
Figure 2: Proper installation of the cartridge filter for dry vacuuming.
- Ketua Motor Selamat: Place the motor head onto the tank, aligning the latches. Press down on the latches until they securely lock the motor head to the tank.
- Sambungkan Hos: Insert the larger end of the premium hose into the vacuum's inlet port on the tank. Twist to lock it in place.
- Lampirkan Aksesori: Connect the desired extension wands and nozzle (utility, crevice, or floor brush/squeegee) to the free end of the hose. The locking accessories ensure they won't detach during use.
Operasi
A. Dry Vacuuming
- Pastikan penapis kartrij dipasang dengan betul.
- Palamkan kord kuasa ke salur keluar elektrik yang dibumikan.
- Turn the vacuum ON using the large dust-sealed switch.
- Guide the nozzle over the dry debris to be collected.
- Apabila selesai, matikan vakum dan cabut plagnya.
- Empty the tank as needed.
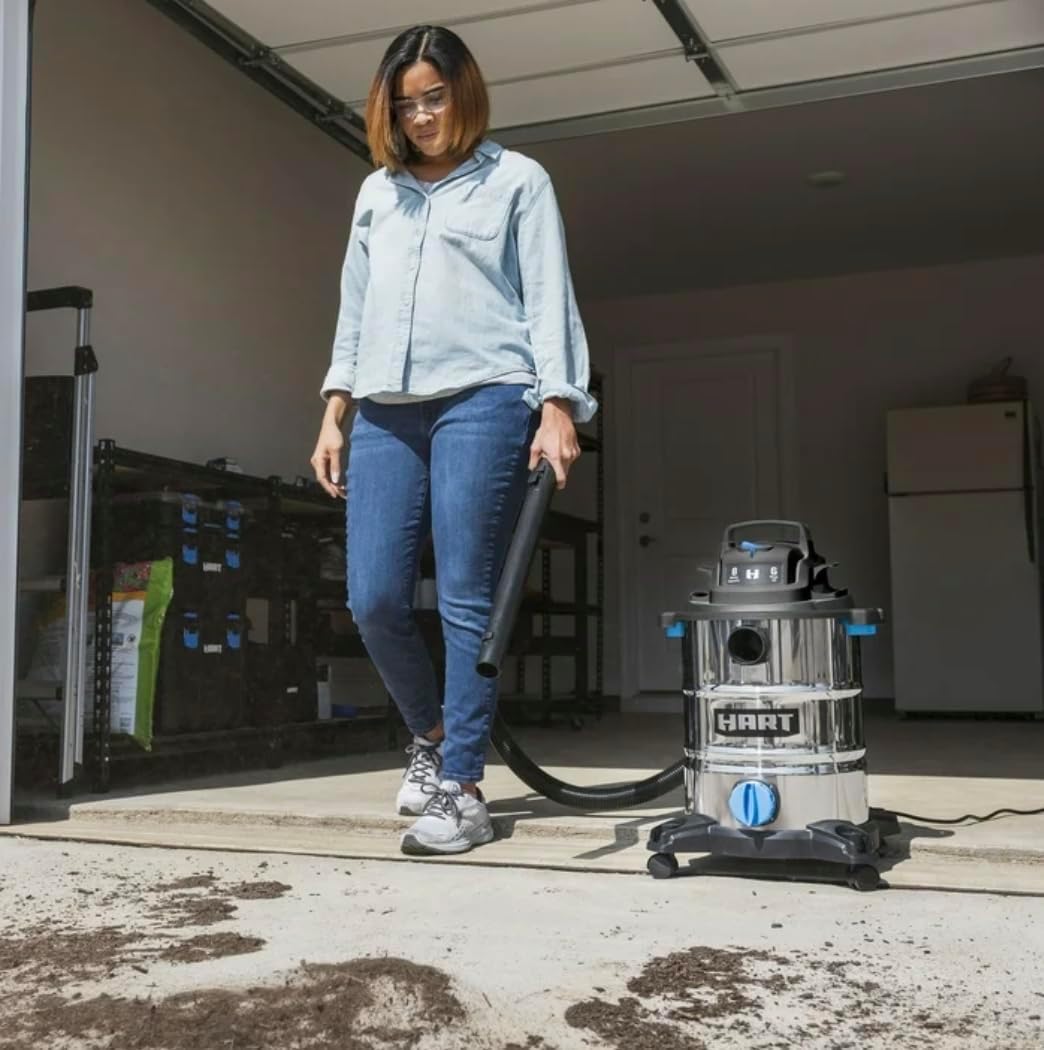
Figure 3: Using the vacuum for dry debris collection in a garage.
B. Wet Vacuuming
- Remove the cartridge filter and install the foam wet filter.
- Palamkan kord kuasa ke salur keluar elektrik yang dibumikan.
- Turn the vacuum ON using the large dust-sealed switch.
- Guide the nozzle over the liquid to be collected. The vacuum will automatically shut off when the tank is full.
- Apabila selesai, matikan vakum dan cabut plagnya.
- Empty the tank by using the extra-large drain port.
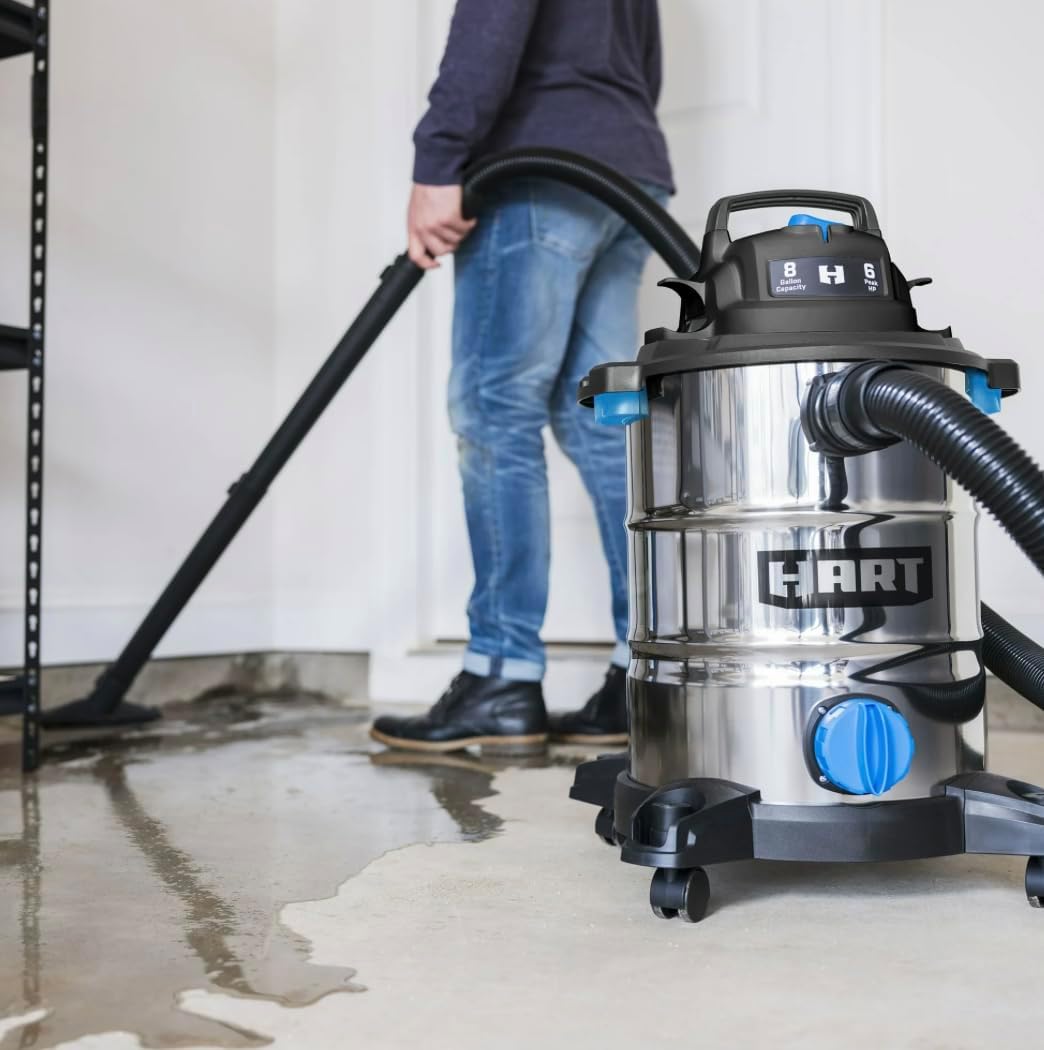
Figure 4: Demonstrating wet vacuuming on a garage floor.
C. Blower Function
- Locate the blower port on the motor head.
- Remove the hose from the vacuum inlet port.
- Insert the hose into the blower port and twist to lock it in place.
- Palamkan kord kuasa ke salur keluar elektrik yang dibumikan.
- Turn the vacuum ON. The vacuum will now function as a blower, useful for clearing debris from driveways or workshops.
- Apabila selesai, matikan vakum dan cabut plagnya.
Penyelenggaraan
Penyelenggaraan tetap memastikan prestasi optimum dan memanjangkan hayat vakum anda.
A. Emptying the Tank
- Sentiasa cabut plag vakum sebelum mengosongkan.
- For dry debris, unlatch the motor head and lift it off. Carefully remove the collection bag (if used) and dispose of contents.
- For liquids, open the extra-large drain port at the bottom of the tank to empty the liquid.
- Bersihkan bahagian dalam tangki dengan iklanamp kain jika perlu.
B. Filter Care
- Penapis Kartrij (Kering):
- Remove the filter and gently tap it to dislodge dust.
- For heavy dirt, the filter can be rinsed with water. Allow it to air dry completely before reinstallation.
- Replace the cartridge filter if it is damaged or excessively dirty.
- Foam Wet Filter (Wet):
- Rinse the foam filter with water after each wet use.
- Squeeze out excess water and allow it to air dry completely before storing or using for dry applications.
C. Penyimpanan
- Ensure the tank is empty and clean, and filters are dry before storing.
- Utilize the on-board hose, cord, and accessory storage to keep all attachments organized and in one place.
- Store the vacuum in a dry, indoor area.

Figure 5: The vacuum stored with its hose and accessories on board.
Menyelesaikan masalah
Rujuk bahagian ini untuk isu biasa dan penyelesaiannya.
| Masalah | Kemungkinan Punca | Penyelesaian |
|---|---|---|
| Vakum tidak dihidupkan. | No power to outlet; Power cord not fully plugged in; ON/OFF switch in OFF position. | Check power outlet with another appliance; Ensure power cord is securely plugged in; Move switch to ON position. |
| Mengurangkan sedutan. | Tank is full; Filter is clogged; Hose or nozzle is blocked; Motor head latches not secured. | Empty the tank; Clean or replace filter; Clear any blockages from hose or nozzle; Ensure motor head latches are fully engaged. |
| Liquid overflow during wet vacuuming. | Foam filter not installed; Automatic shut-off float is stuck. | Ensure foam filter is installed for wet use; Check and clear the float mechanism for free movement. |
| Motor berjalan, tetapi tiada sedutan. | Hose not connected properly; Large obstruction in hose or inlet. | Ensure hose is securely connected to the inlet port; Check and clear any large obstructions. |
Spesifikasi
- model: VOC812SF 3703
- Saiz tangki: 8 Gallons (actual tank volume)
- Kuasa Kuda Puncak: 6 HP (Note: Peak Horsepower is a term used for consumer comparison and does not denote operational horsepower output.)
- Diameter hos: 1-7/8 inci
- Panjang hos: 7 kaki
- Panjang Kord Kuasa: 10 kaki
- Cleaning Reach: 17 feet (with hose and power cord)
- Jenis Penapis: Kartrij (kering), Buih (basah)
- Dimensi (L x W x H): 16.6" x 16.4" x 25"
- Berat: 18 paun
- Pengeluar: HART

Figure 6: Product dimensions for the HART 8 Gallon Wet/Dry Vacuum.
Maklumat Waranti
This HART 8 Gallon 6 Peak HP Stainless Steel Wet/Dry Vacuum is covered by a Waranti Terhad 3 Tahun. For specific terms and conditions, please refer to the warranty card included with your product or contact HART customer support.
Sokongan Pelanggan
If you have any questions, require assistance, or need to report a problem with your HART Wet/Dry Vacuum, please contact HART customer support. Refer to the product packaging or the official HART webtapak untuk maklumat hubungan terkini.


