1. Pengenalan
This manual provides detailed instructions for the assembly, operation, and maintenance of your Quictent 5.1x3.8 FT Metal Storage Shed. Designed for outdoor use, this shed offers secure and waterproof storage for various items such as bicycles, tools, and seasonal equipment. Its construction features galvanized steel for durability and an easy slide-in panel design for simplified setup.

Image: The Quictent metal storage shed is designed to withstand various weather conditions, including snow, providing heavy-duty protection for stored items.
2. Maklumat Keselamatan
- Always wear appropriate safety gear, including gloves, during assembly to prevent injury from sharp edges.
- Assembly requires at least two people due to the size and weight of the components.
- Ensure the assembly area is clear of obstructions and level.
- Secure the shed to a solid foundation to prevent tipping, especially in windy conditions.
- Jauhkan kanak-kanak dan haiwan peliharaan dari kawasan perhimpunan.
- Jangan memanjat bumbung bangsal.
3. Arahan Perhimpunan
The Quictent metal storage shed features an easy slide-in panel design, significantly reducing assembly time. All parts are labeled, and a step-by-step manual is included. Please follow the instructions carefully. It is recommended to have two people for easier assembly.

Image: Illustration of the quick installation method using buckles and pre-drilled components, designed to reduce assembly time by 50% compared to traditional methods.
3.1. Panduan Video Pemasangan
Video: A comprehensive installation guide for the Quictent metal storage shed, demonstrating each step of the assembly process.
3.2. Langkah-langkah Perhimpunan Agung
- Penyediaan Panel: Lay out all panels and components. Ensure all parts are present and undamaged. Refer to the parts list in your physical manual.
- Back Wall Assembly: Connect the back wall panels using the provided screws and connectors. Ensure a small gap (approx. 18mm) is maintained at the edges for proper fit.
- Side Wall Assembly: Assemble the right and left side walls, incorporating the window frame into the right wall as shown in the video.
- Pemasangan Dinding Depan: Construct the front wall, which includes the door frame. Maintain the 18mm gap at the edges.
- Joining Walls: Connect the assembled wall sections at the corners using the corner brackets and screws.
- Triangle Assembly: Attach the triangular roof support panels to the top of the walls.
- Main Beam Installation: Secure the main beam across the top of the shed, connecting the triangular roof supports.
- Pemasangan Panel Bumbung: Place and secure the roof panels. Start by securing the middle screw of the ER1 panel, then tighten the screws at both ends after the ELG is installed.
- Perhimpunan Pintu: Assemble the door panels and attach the hinges and handle.
- Front Door Installation: Mount the assembled door to the front wall frame.
Tip: The shed features corner guards with smooth, rounded edges to eliminate sharp corners, enhancing safety during installation and use.
4. Arahan Operasi
4.1. Accessing the Shed
The shed is equipped with wide, lockable doors for effortless access. Simply open the doors to store or retrieve items. The clear-panel windows on the shed's sides allow for plenty of natural light, making it easier to see inside.
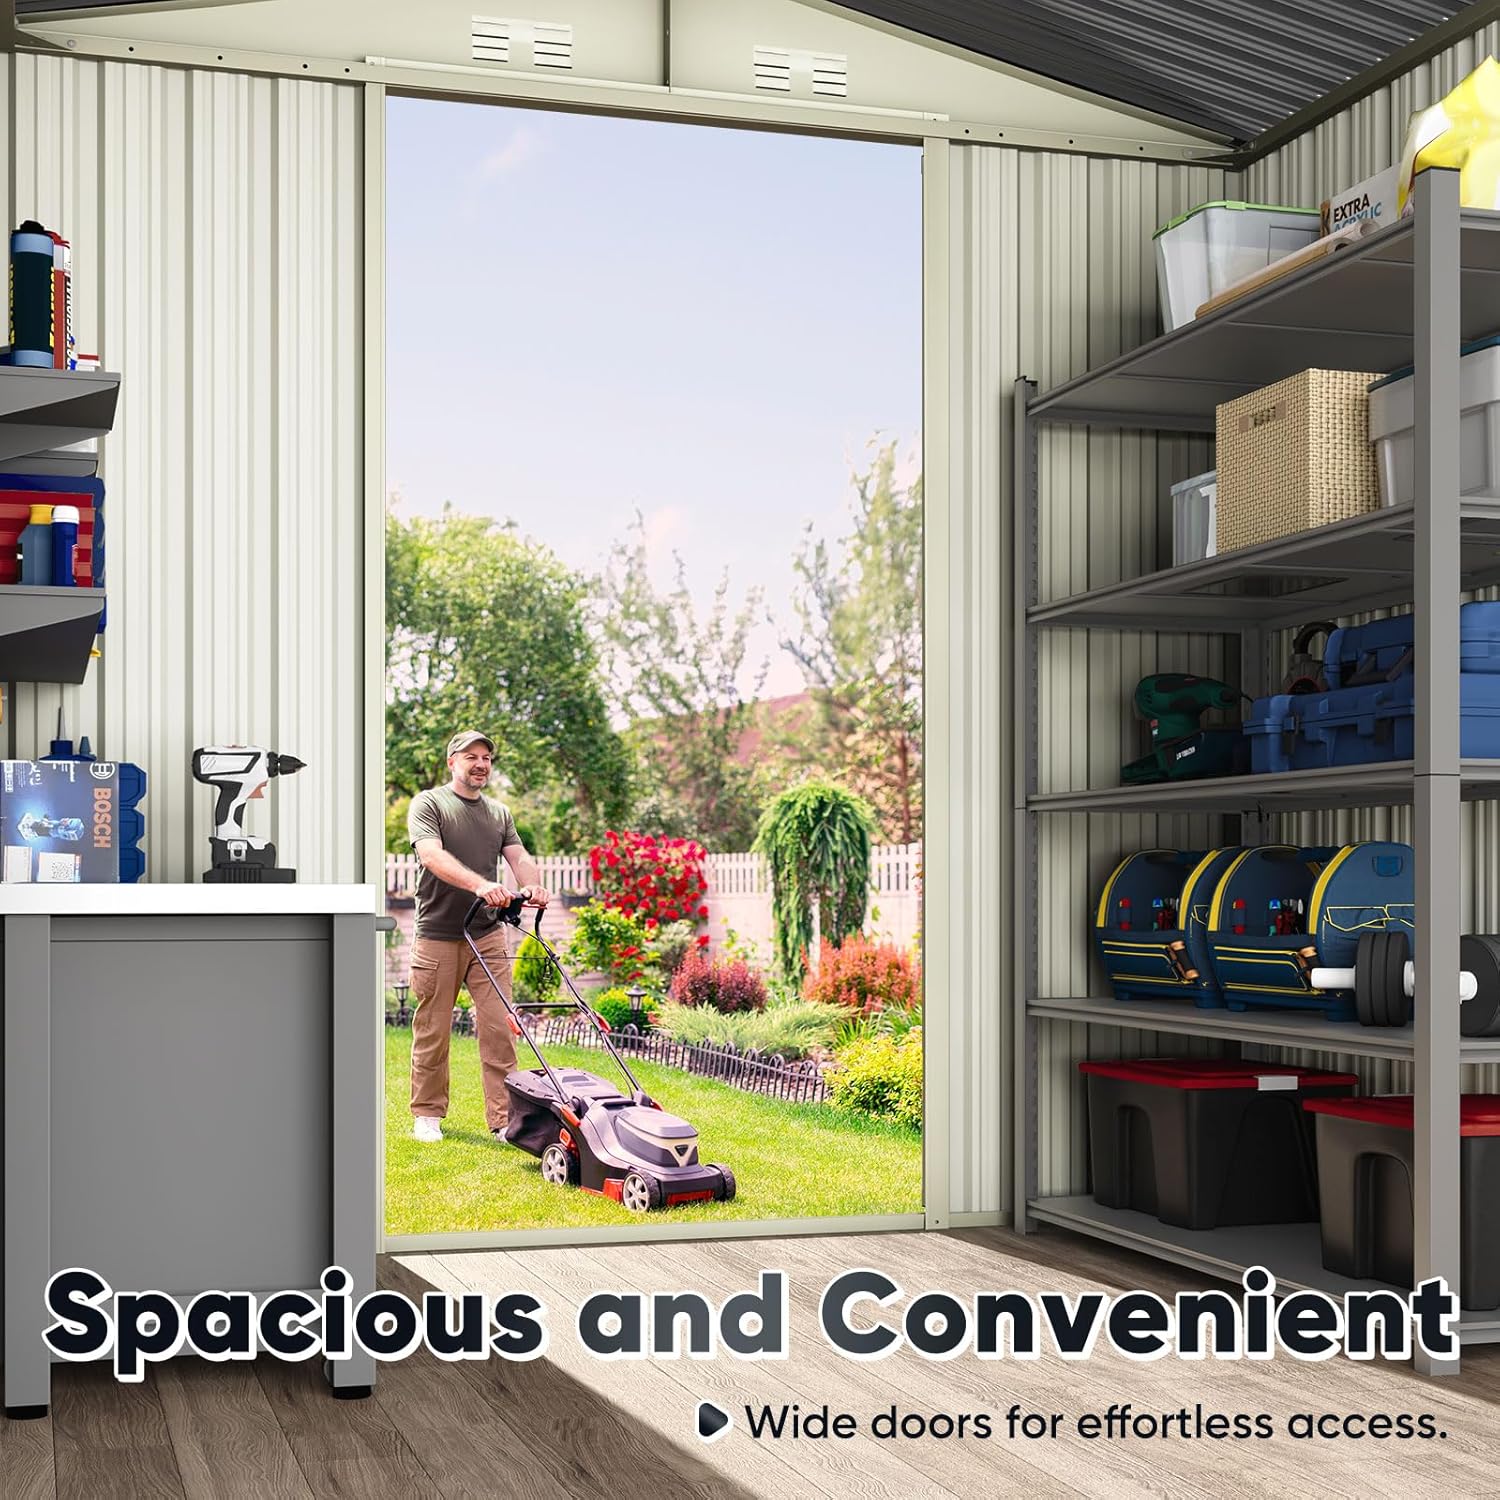
Image: The shed features wide doors for easy entry and exit, accommodating larger equipment such as lawnmowers.
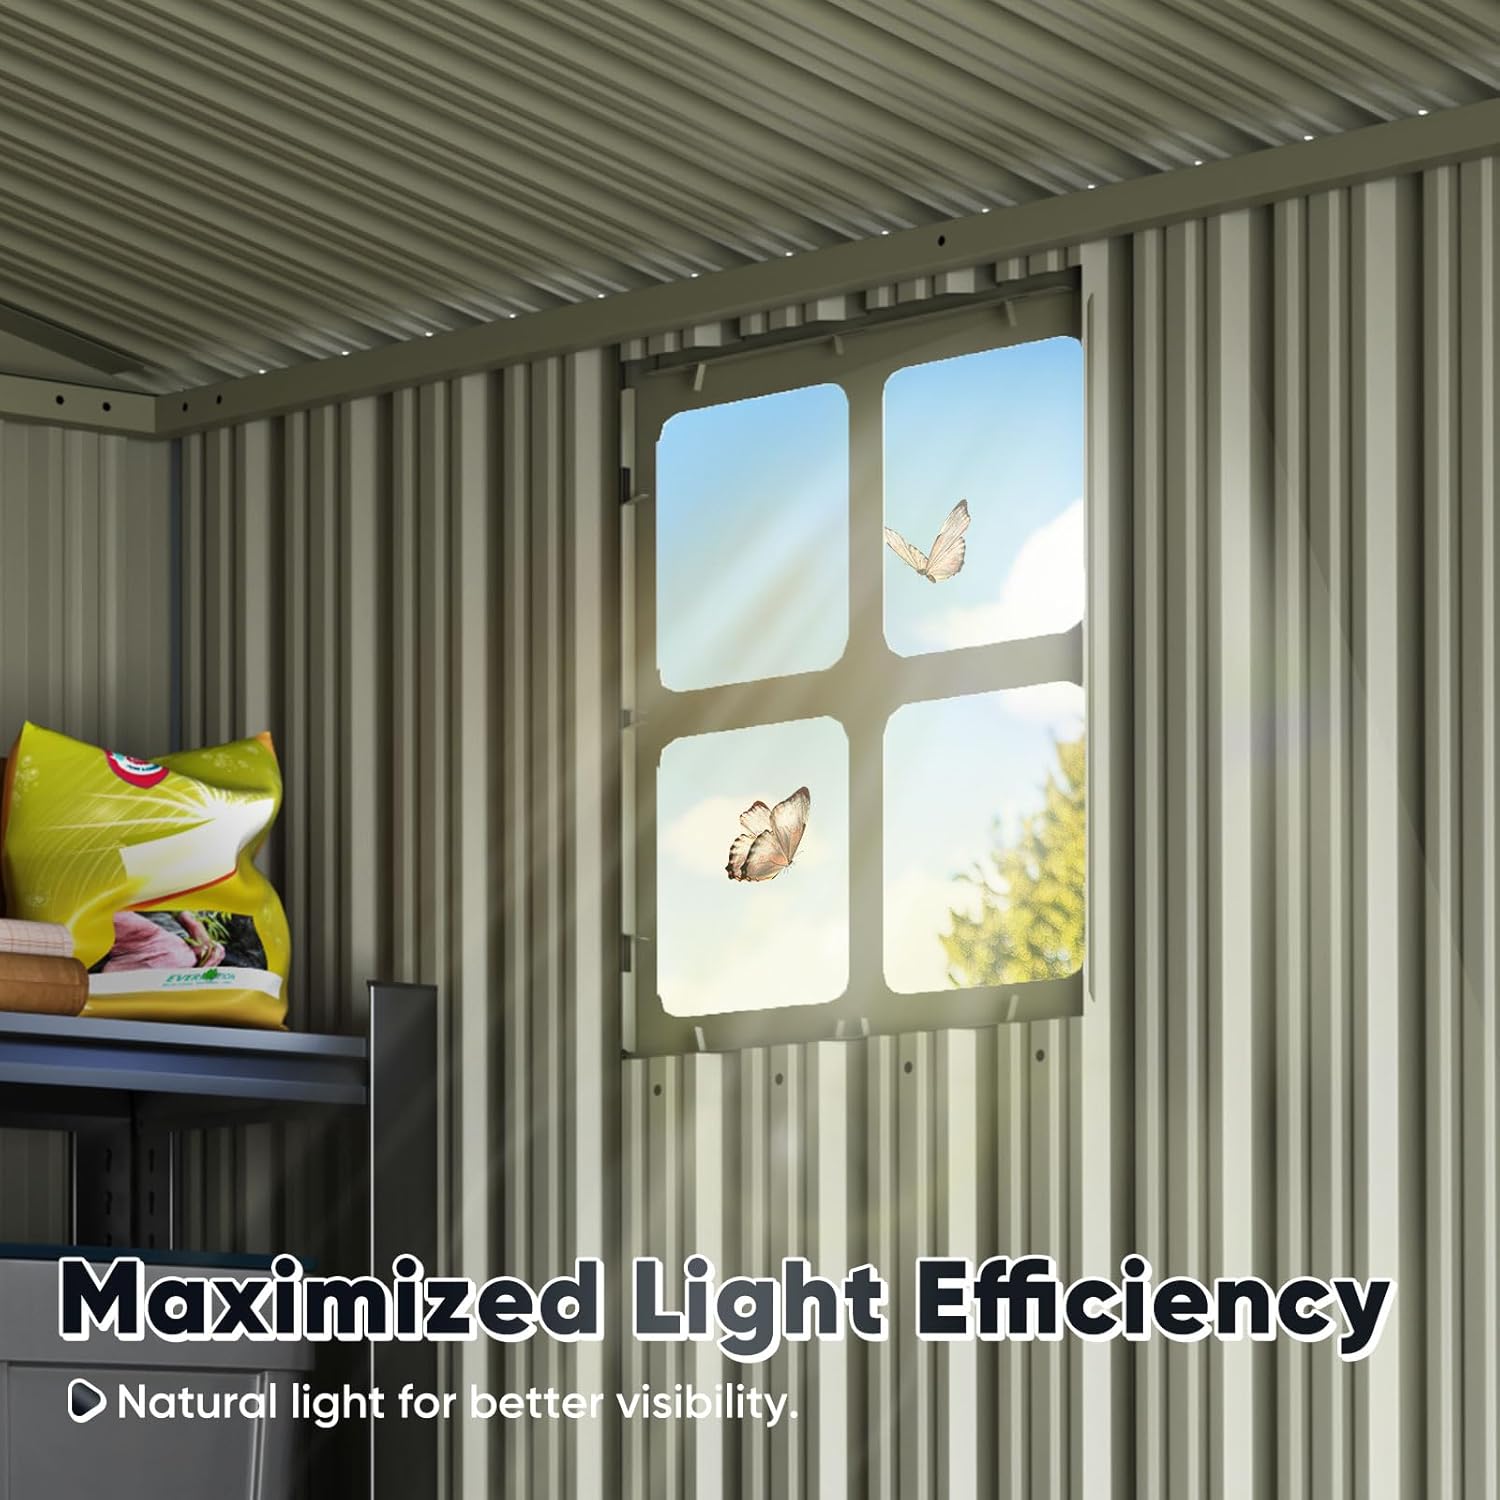
Image: Natural light enters the shed through clear-panel windows, improving visibility inside without the need for artificial lighting.
4.2. Using the Combination Lock
Your shed includes a combination lock for enhanced security. The default password for the lock is 000. Please refer to the lock's specific instructions for changing the combination to a personalized code.

Image: The shed is equipped with a combination lock to secure your belongings, providing peace of mind against theft.
5. Penyelenggaraan
Regular maintenance will extend the life and appearance of your Quictent metal storage shed.
- Pembersihan: Clean the shed periodically with mild soap and water. Avoid abrasive cleaners or scrubbers that could damage the finish. Rinse thoroughly.
- Pemeriksaan: Annually inspect all screws, bolts, and connections to ensure they are tight. Tighten any loose fasteners.
- Pencegahan Karat: While the shed is made of galvanized steel, inspect for any signs of rust, especially in areas where the coating might be scratched. Touch up any affected areas with rust-inhibiting paint.
- Saliran: Ensure that water drains away from the shed's base to prevent pooling and potential moisture issues.
6. Penyelesaian masalah
Berikut ialah penyelesaian kepada isu biasa yang mungkin anda hadapi:
- Bahagian yang hilang: If any parts are missing upon delivery, please contact customer support immediately with your order details and the specific missing components.
- Kesukaran pemasangan: Review the assembly video and manual carefully. Ensure all panels are oriented correctly and the 18mm gaps are maintained. Having a second person assist can greatly simplify the process.
- Gaps in Corners/Panels: Ensure all screws are fully tightened. If gaps persist, especially in corners, additional sealing may be required (e.g., silicone sealant) to prevent water or pest entry.
- Ketidakstabilan Bangsal: Verify that the shed is assembled on a level surface and securely anchored to the ground or a solid foundation.
- Pintu Tidak Ditutup dengan Baik: Check hinges for proper alignment and ensure no debris is obstructing the door track or frame. Adjust hinges if necessary.
7. Spesifikasi

Image: Visual representation of the shed's dimensions, providing key measurements for planning and placement.
| Ciri | Perincian |
|---|---|
| Jenama | Cepat |
| Nombor Model | 1129-4 |
| warna | Kelabu Gelap |
| bahan | Logam (Keluli Aloi) |
| Dimensi Produk | 61.07"D x 70.92"W x 46.1"H (5.1'D x 5.9'W x 3.8'H) |
| Berat Barang | 44.5 paun |
| Tahap Ketahanan Air | Tahan Air |
| Gaya Pintu | Single Hinged, Lockable |
| Perhimpunan Diperlukan | ya |
8. Waranti dan Sokongan
Quictent is committed to providing quality products and customer satisfaction. If you require assistance with your shed, whether during purchase, assembly, or use, please do not hesitate to contact our customer support team. The product typically includes a 30-day easy return policy. For specific warranty details and to reach support, please refer to the contact information provided with your purchase or visit the official Quictent webtapak.


