1. Pengenalan
This manual provides detailed instructions for the safe and effective use of your ZOLAMENTE 4K 80MP Camcorder DV10. Please read this manual thoroughly before operating the device and retain it for future reference. Proper use will ensure optimal performance and longevity of your camcorder.
2. Kandungan Pakej
Sahkan bahawa semua item yang disenaraikan di bawah terdapat dalam pakej anda:
- ZOLAMENTE 4K 80MP Camcorder DV10
- Bateri Boleh Dicas semula (x2)
- Kad SD 64GB
- Alat Kawalan Jauh
- Kabel USB
- Manual Pengguna
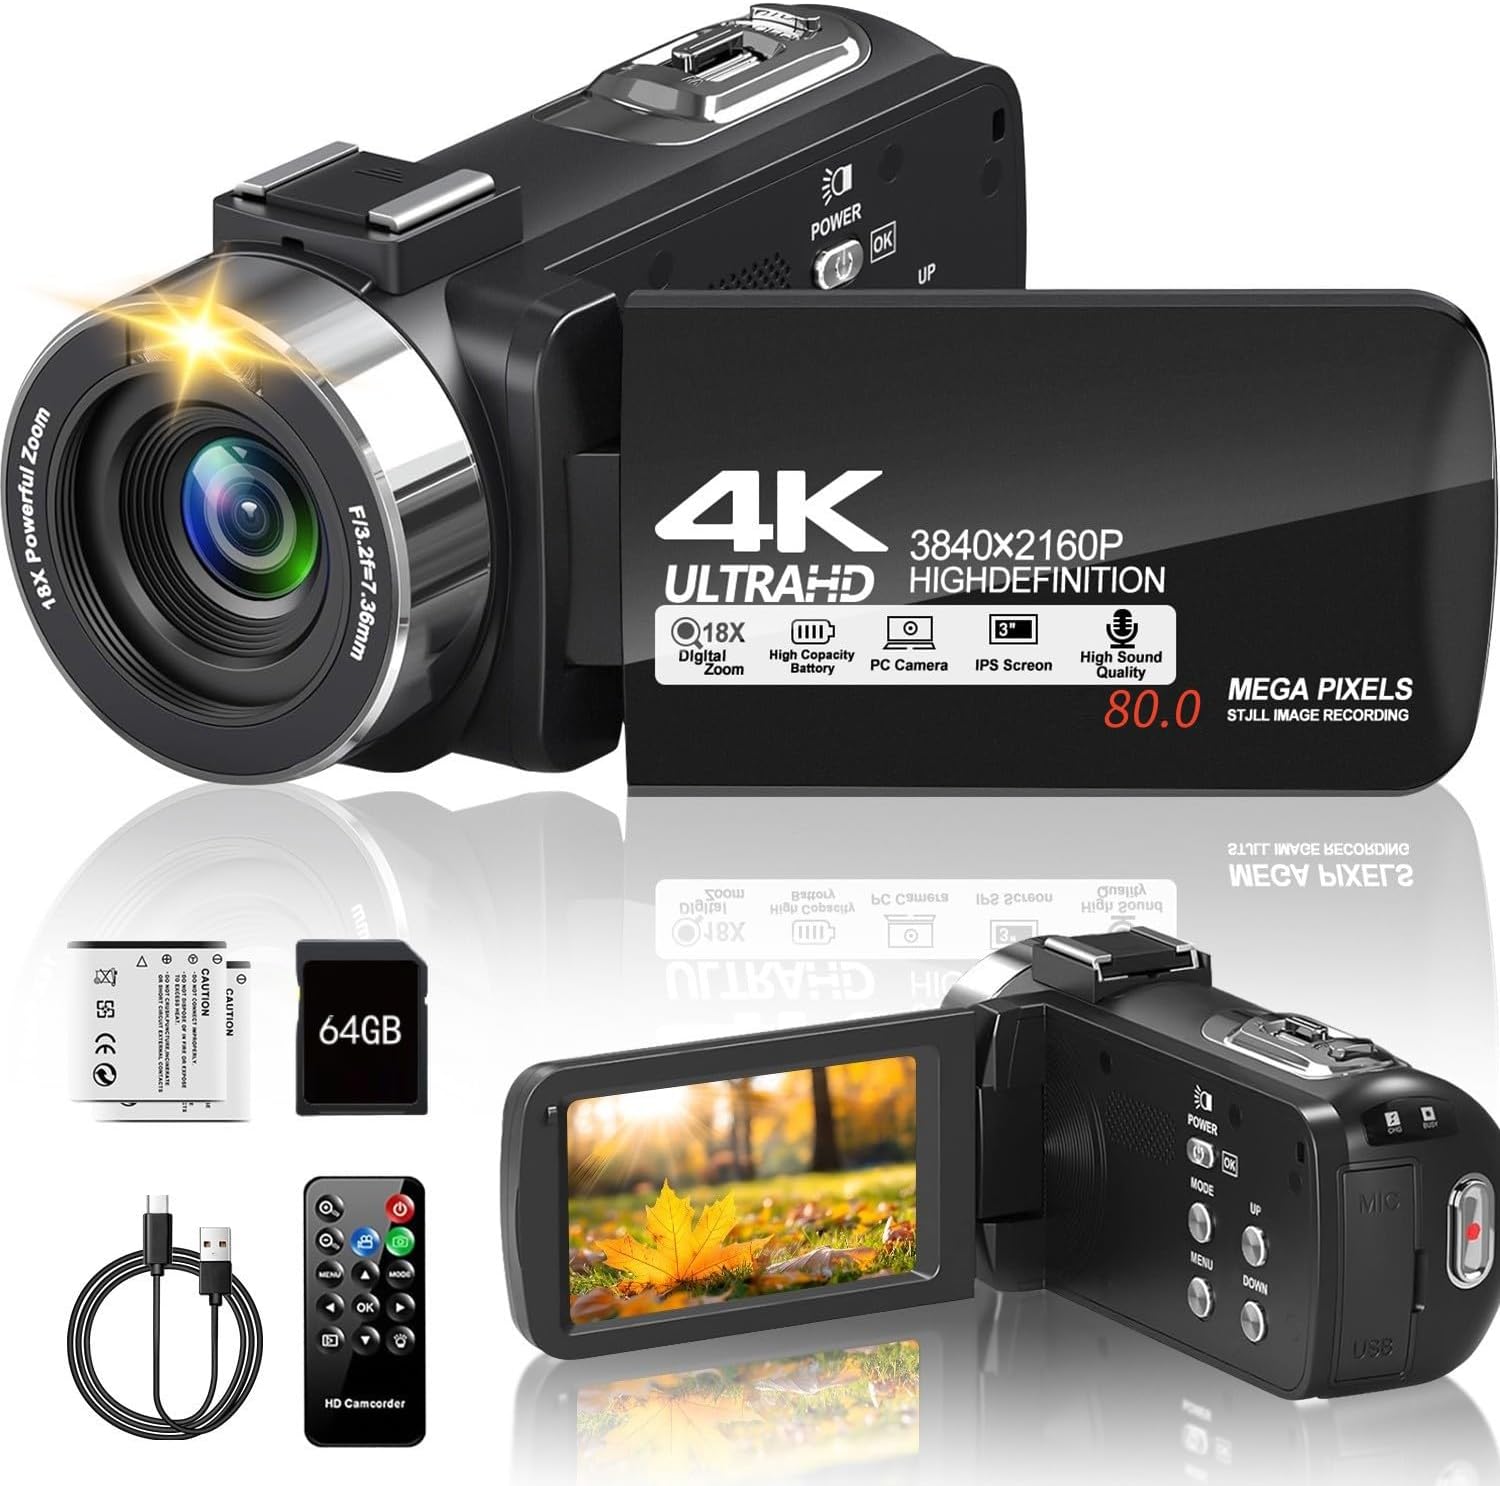
Image 2.1: The ZOLAMENTE 4K 80MP Camcorder DV10 shown with its included accessories, including two batteries, a 64GB SD card, a remote control, and a USB cable.
3. Produk Lebihview
Familiarize yourself with the main components of your camcorder.
3.1 Ciri-ciri Utama
- 4K Ultra HD Video Resolution (3840x2160)
- 80 Megapixel Image Resolution
- Zum Digital 18X
- 3.0-inch 270° Rotatable IPS Screen
- Infrared (IR) Night Vision
- WebKefungsian cam
- Support for external microphone (not included)

Image 3.1: The camcorder featuring its 3.0-inch IPS screen, capable of 270-degree rotation for flexible viewing angles during recording or playback.

Image 3.2: Visual representation of the camcorder's 18X digital zoom capability and its ability to capture images at 80 megapixels, highlighting detail capture.
4. Persediaan
4.1 Mengecas Bateri
Before first use, fully charge both included batteries. A full charge may take approximately 2 hours. A fully charged battery provides approximately one hour of recording time.
- Insert a battery into the battery compartment.
- Connect the camcorder to a power source using the provided USB cable.
- Lampu penunjuk pengecasan akan menyala. Ia akan mematikan atau bertukar warna setelah pengecasan selesai.
4.2 Memasukkan Kad SD
The camcorder supports SDHC (Class 10) and SDXC (Class 10) memory cards up to 256GB. A 64GB SD card is included.
- Pastikan camcorder dimatikan.
- Cari slot kad SD.
- Gently push the SD card into the slot until it clicks into place. Ensure the card's metal contacts face the correct direction.
- Untuk mengalih keluar, tolak kad masuk semula dengan perlahan sehingga ia keluar.
Penting: When inserting an SD card for the first time, the camera may prompt you to format it. It is recommended to format the card directly through the camera's menu system (Menu > Mode > Down buttons to navigate). If the camera repeatedly asks to format the card, initially format it using a computer, then re-format it using the camera.
5. Arahan Operasi
5.1 Hidupkan/Mati Kuasa
- Untuk menghidupkan, tekan dan tahan KUASA butang.
- Untuk mematikan, tekan dan tahan KUASA butang lagi.
5.2 Rakaman Video Asas
- Hidupkan camcorder.
- Ensure the camcorder is in video recording mode (indicated by an icon on the screen).
- Tekan ke REC/BERHENTI button to start recording. The recording indicator will flash.
- Tekan ke REC/BERHENTI butang sekali lagi untuk menghentikan rakaman.
5.3 Mengambil Foto
- Hidupkan camcorder.
- Switch to photo mode.
- Bingkaikan tangkapan anda menggunakan skrin.
- Tekan ke FOTO button to capture an image.
5.4 Menggunakan Zum Digital
While recording or in standby mode, use the W/T (Wide/Telephoto) lever to adjust the digital zoom. Push towards T to zoom in and towards W untuk mengezum keluar.
5.5 Putaran Skrin
The 3.0-inch IPS screen can rotate up to 270 degrees, allowing for various shooting angles and self-recording. Gently pivot the screen to your desired position.
5.6 Main semula
- Tekan ke MODE butang untuk memasuki mod main balik.
- Use the navigation buttons to select the video or photo you wish to view.
- Tekan ke OK button to play a video or view gambar.
6. Ciri Lanjutan
6.1 Infrared (IR) Night Vision
The camcorder is equipped with IR night vision for recording in low-light or dark environments, capturing black and white footage.
- In video or photo mode, press the IR button to activate night vision.
- Tekan ke IR button again to deactivate.

Image 6.1: The camcorder's infrared night vision feature shown capturing a clear black and white image in a dimly lit environment, with an 'ON' indicator.
6.2 WebFungsi cam
Connect your camcorder to a computer to use it as a webkamera untuk penstriman langsung atau panggilan video.
- Connect the camcorder to your computer using the USB cable.
- Select 'PC Camera' or 'Webcam' option on the camcorder screen (if prompted).
- Your computer should recognize the camcorder as a webcam. Select it in your video conferencing or streaming software.

Image 6.2: The camcorder connected via USB to a laptop, displaying its live feed on the laptop screen, illustrating its webcam functionality for online platforms.
6.3 Operasi Kawalan Jauh
The included remote control allows for convenient operation from a distance, useful for self-recording or group shots.
- Point the remote control directly at the camcorder's IR receiver.
- Use the corresponding buttons on the remote for functions like record, stop, zoom, and menu navigation.
6.4 Recording While Charging
The camcorder supports recording while connected to a power source, allowing for extended recording sessions without interruption.

Image 6.3: The camcorder actively recording footage while simultaneously connected to an external power bank via its USB cable, demonstrating the 'record while charging' feature.
6.5 Special Recording Modes
The camcorder offers various modes to enhance your creative possibilities:
- Rakaman Selang Masa: Captures images at set intervals to create a sped-up video.
- Fungsi Jeda: Allows you to pause and resume recording within a single video file.
- Pemasa Sendiri: Delays photo capture by 3, 5, or 10 seconds.
- Penggambaran berterusan: Merakam berbilang foto secara berturut-turut.
- Pengesanan Pergerakan: Mula merakam secara automatik apabila gerakan dikesan.
- Pergerakan Perlahan: Merakam video pada kadar bingkai yang lebih tinggi untuk main balik gerakan perlahan.

Image 6.4: A collage illustrating the diverse recording capabilities of the camcorder, including time-lapse, pause function, self-timer, continuous shooting, motion detection, timed photo, and slow motion.
7. Penyelenggaraan
7.1 Membersihkan Camcorder
- Use a soft, dry cloth to clean the camcorder body.
- Untuk kanta, gunakan kain dan larutan pembersih kanta khusus. Elakkan menyentuh kanta dengan jari anda.
- For the screen, use a soft, lint-free cloth.
7.2 Penjagaan Bateri
- Simpan bateri di tempat yang sejuk dan kering apabila tidak digunakan.
- Jangan dedahkan bateri kepada suhu yang melampau.
- If not using the camcorder for an extended period, remove the batteries.
7.3 Penyimpanan
Store the camcorder in a protective case or bag to prevent dust and scratches. Avoid storing in direct sunlight or areas with high humidity.
8. Penyelesaian masalah
8.1 Isu dan Penyelesaian Biasa
- Camcorder tidak menghidupkan:
Pastikan bateri dicas sepenuhnya dan dipasang dengan betul. Cuba gunakan bateri kedua. - SD card error / Camera asks to format repeatedly:
Ensure the SD card is correctly inserted and unlocked. Format the SD card using a computer first, then re-format it using the camera's menu. Ensure the SD card is Class 10 or higher. - Kualiti imej/video yang lemah:
Check that the lens is clean. Ensure adequate lighting for your recording environment. Adjust settings like resolution and exposure in the menu. - Hayat bateri pendek:
Ensure batteries are fully charged. Battery life can be affected by continuous recording, zoom usage, and IR night vision. Consider recording while charging for extended use. - Alat kawalan jauh tidak berfungsi:
Ensure there are no obstructions between the remote and the camcorder's IR receiver. Check the remote's battery.
9. Spesifikasi
| Jenama | ZOLAMENTE |
| Nama Model | DV10 |
| Jenis Camcorder | Kamera Video |
| Resolusi Video | 4K Ultra HD (3840x2160) |
| Resolusi Imej | 80 Megapiksel |
| Zum Digital | 18X |
| Saiz Skrin | 3.0 Inches IPS, 270° Rotatable |
| Ciri Khas | Night Vision, WebFungsi cam |
| Jenis Memori Denyar | SD (Supports up to 256GB SDXC Class 10) |
| Teknologi Ketersambungan | USB |
| Berat Barang | 1.1 paun |
10. Waranti & Sokongan
Your ZOLAMENTE Camcorder DV10 comes with a standard manufacturer's warranty. Please refer to the warranty card included in your package for specific terms and conditions.
10.1 Sokongan Pelanggan
If you encounter any issues or have questions not covered in this manual, please contact our customer service team. For prompt assistance, we recommend the following steps:
- Pergi ke sejarah pesanan anda di platform tempat anda membeli produk tersebut.
- Find your order ID for the ZOLAMENTE Camcorder DV10.
- Click on the 'Contact Seller' option.
Our customer service team is dedicated to assisting you within 24 hours.


