1. Pengenalan
This manual provides comprehensive instructions for the installation and operation of your LIGHTAILING LED lighting kit, specifically designed for the LEGO 21356 River Steamboat model. This kit enhances the visual appeal of your LEGO creation with integrated lighting. Please note that the LEGO model itself is tidak termasuk dengan kit pencahayaan ini.
For optimal results, carefully follow all steps outlined in this guide. Additional support and video tutorials are available online.
2. Kandungan Pakej
Before beginning installation, verify that all components listed below are present in your package. If any parts are missing or damaged, please contact customer support.
- All-in-One USB LED light kit
- Customized wire lengths
- Kabel penyambung dan papan pengembangan
- Adhesive squares/strips
- Paper instruction manual
- Kabel kuasa USB

Image: Key components of the LIGHTAILING LED lighting kit, showing the USB power cable, various light components, and customized wire lengths.
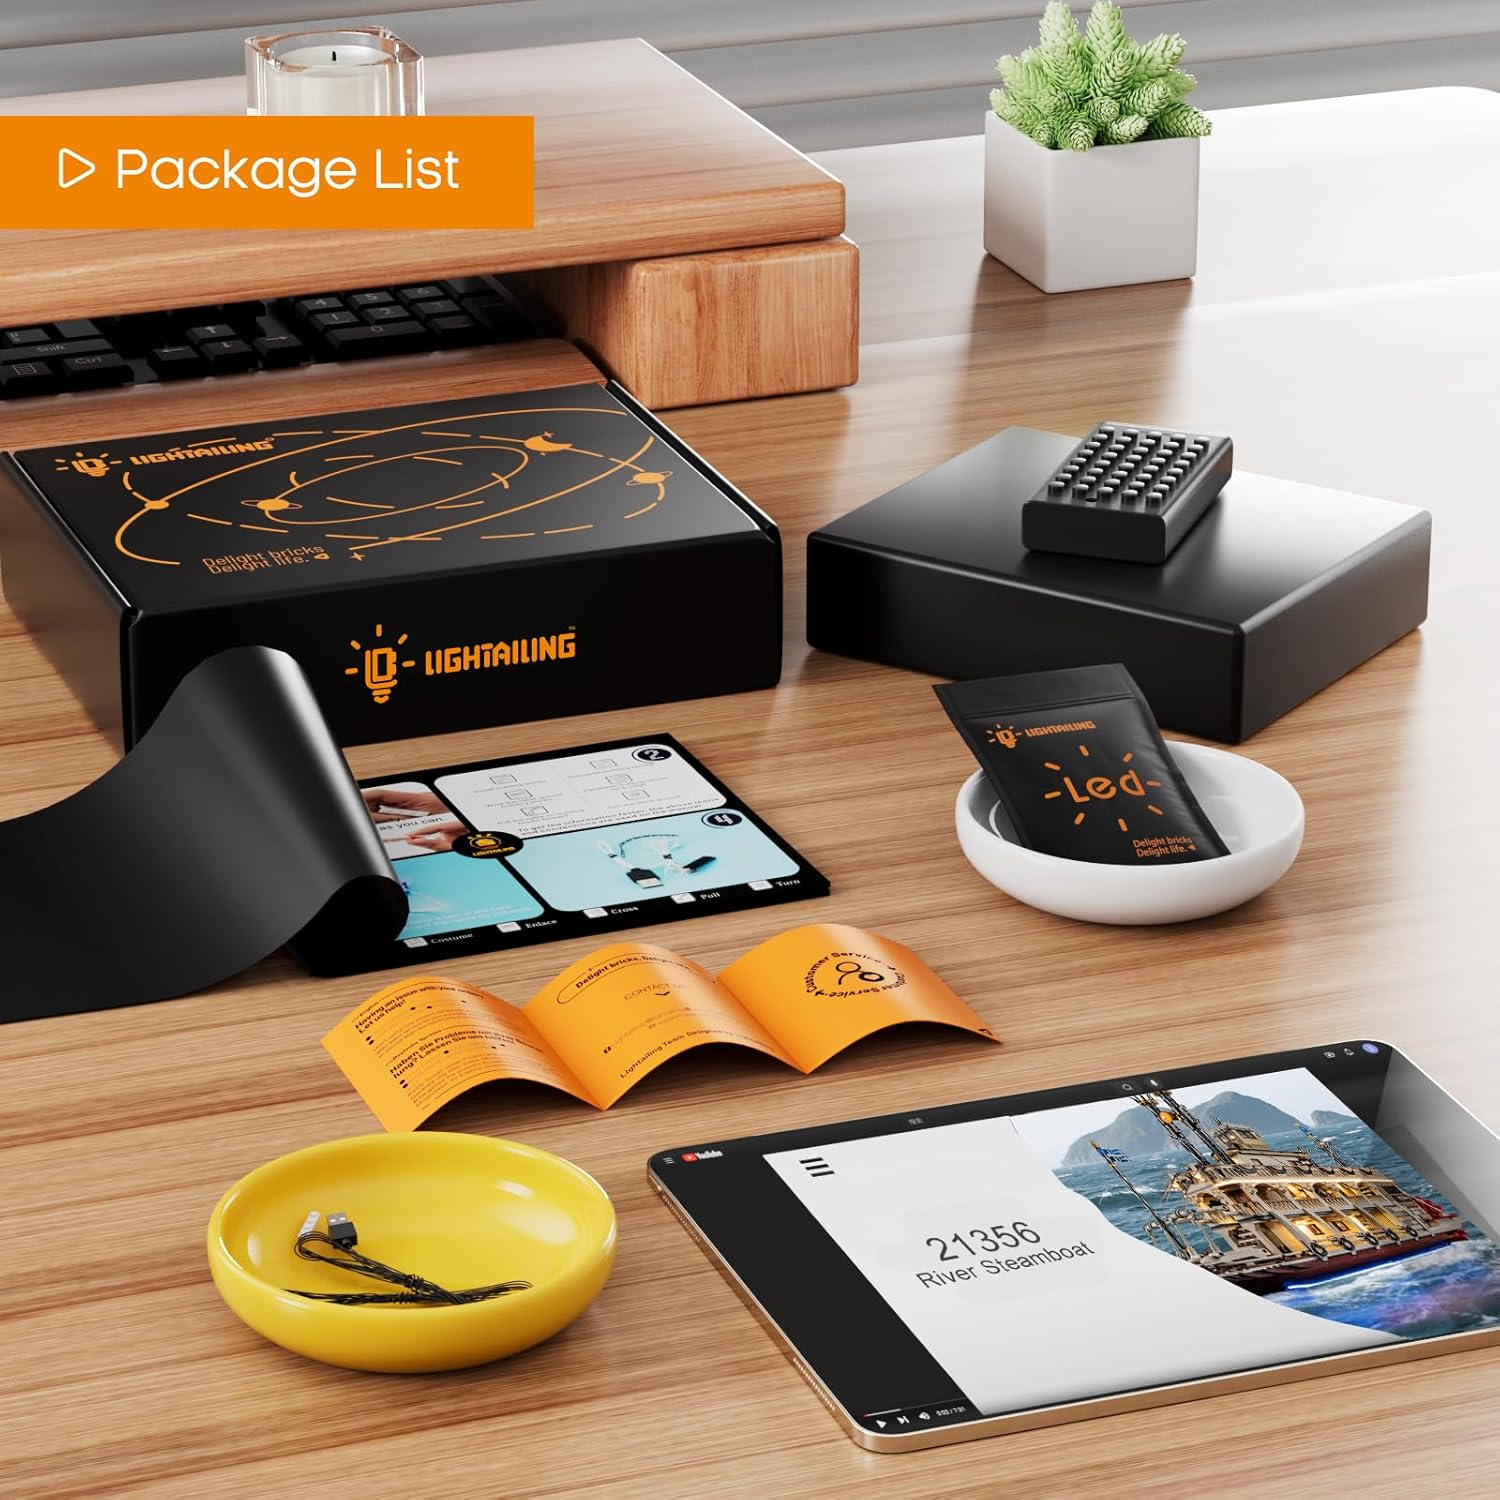
Imej: A view of the complete package contents, including the instruction manual, USB power cable, and various lighting elements.
3. Persediaan dan Pemasangan
The LIGHTAILING LED lighting kit is designed for easy installation with pre-measured spacing and hidden wiring to maintain the aesthetic integrity of your LEGO model. Refer to the detailed paper instructions included in your package or the online video tutorials for step-by-step guidance.
3.1 Persediaan
- Ensure your LEGO 21356 River Steamboat model is fully assembled.
- Gather all lighting kit components and the instruction manual.
- Prepare a power source: either a USB power bank, a USB wall adapter, or 3x AA batteries (not included) for the battery box (if supplied).
3.2 Langkah Pemasangan
- Disassemble Sections: Carefully remove specific sections of your LEGO model as indicated in the instruction manual to access internal areas for wire routing.
- Pasang Lampu: Place the LED lights onto the designated LEGO studs or under specific bricks as shown in the diagrams. Ensure a secure fit.
- Wayar Laluan: Route the thin wires between LEGO bricks and plates. The kit is designed for hidden wiring, so take care to tuck wires neatly to avoid pinching or damage.
- Sambungkan Komponen: Connect the LED lights to the expansion boards, and then connect the expansion boards to the main control board using the provided connecting cables.
- Sambungkan Kuasa: Attach the USB power cable to the main control board. If using a battery box, connect it to the main control board and insert 3x AA batteries.
- Reassemble Model: Carefully reassemble the LEGO sections, ensuring no wires are caught or damaged during the process.

Imej: Jarak dekat views illustrating the easy installation process, the concept of hidden wiring, and the precision of the components when integrated with the LEGO model.

Image: A summary of the kit's features, highlighting that it includes LED lights, is USB powered, requires separate batteries, and comes with a paper instruction manual.
3.3 Online Installation Video
For visual guidance, an official installation video is available. This video demonstrates the step-by-step process of integrating the lighting kit with your LEGO 21356 River Steamboat model.
Video: Official LIGHTAILING installation guide for the LEGO 21356 River Steamboat LED lighting kit, demonstrating the complete setup and final illuminated model.
4. Arahan Operasi
Sebaik sahaja kit pencahayaan dipasang sepenuhnya dan disambungkan kepada sumber kuasa, operasi adalah mudah:
- Hidupkan kuasa: Connect the USB cable to a powered USB port (e.g., computer, USB wall adapter, power bank). If using a battery box, ensure batteries are correctly inserted and the switch is in the "ON" position.
- Matikan: Disconnect the USB cable from the power source or switch the battery box to the "OFF" position.

Image: A visual comparison showing the LEGO River Steamboat model unlit on the left and illuminated by the LIGHTAILING LED kit on the right, demonstrating the effect of the lighting.

Imej: Berbilang views of the LEGO River Steamboat model fully illuminated by the LIGHTAILING LED kit, showcasing the detailed lighting effects.
5. Penyelenggaraan
To ensure the longevity and optimal performance of your LIGHTAILING LED lighting kit, consider the following maintenance tips:
- Berhabuk: Regularly dust your LEGO model and the lighting components using a soft, dry brush or compressed air. Avoid using wet cloths directly on electrical components.
- Penjagaan wayar: Handle wires gently. Avoid sharp bends or excessive pulling, which can damage the delicate wiring.
- Sumber Kuasa: If using a battery box, remove batteries if the kit will not be used for an extended period to prevent leakage.
- Storan: If disassembling the model for storage, carefully disconnect and store the lighting components in their original packaging or a protective container.
6. Penyelesaian masalah
If you encounter any issues with your lighting kit, please refer to the following common troubleshooting steps:
| Masalah | Kemungkinan Punca | Penyelesaian |
|---|---|---|
| Lampu tidak menyala. |
|
|
| Some lights are flickering or dim. |
|
|
| Wires are visible or not neatly hidden. |
|
|
If these steps do not resolve the issue, please contact LIGHTAILING customer support for further assistance.
7. Spesifikasi
| Ciri | Perincian |
|---|---|
| Dimensi Produk (Pembungkusan) | 6.5 x 4.72 x 1.57 inci |
| Berat Barang | 6.3 auns |
| Nombor Model | 21356 (for LEGO River Steamboat) |
| Sumber Kuasa | USB Powered (Batteries not included) |
| Umur Disyorkan | 3 years and up (for LEGO model) |
8. Waranti dan Sokongan
LIGHTAILING is committed to providing a high-quality product and a positive customer experience. If you have any questions, require assistance with installation, or encounter any issues with your lighting kit, please do not hesitate to contact our customer support team.
For support, please visit the official LIGHTAILING store on Amazon or refer to the contact information provided in your product packaging.

Image: LIGHTAILING branding, a QR code for accessing online installation videos, and symbols indicating compliance with product safety standards (RoHS, CE, CPC).


