1. Pengenalan
Thank you for choosing the GAMEMAX Starlight 2 AB Mid Tower ATX PC Case. This manual provides essential information for the proper installation, operation, and maintenance of your new PC case. Please read this manual thoroughly before beginning the assembly process to ensure optimal performance and longevity of your system components.
2. Maklumat Keselamatan
- Sentiasa putuskan sambungan bekalan kuasa daripada soket dinding sebelum memasang atau menanggalkan sebarang komponen.
- Kendalikan semua komponen dengan berhati-hati untuk mengelakkan kerosakan.
- Pakai tali pergelangan tangan anti-statik untuk mengelakkan kerosakan nyahcas elektrostatik (ESD) pada komponen sensitif.
- Keep the case away from direct sunlight, high temperatures, and moisture.
- Pastikan pengudaraan yang betul di sekitar bekas untuk mengelakkan terlalu panas.
- Do not attempt to modify the case or its components, as this may void your warranty and pose a safety risk.
3. Kandungan Pakej
Sila sahkan bahawa semua item terdapat dalam pakej anda:
- GAMEMAX Starlight 2 AB Mid Tower ATX PC Case
- Kotak Aksesori (mengandungi skru, pengikat, pengikat kabel, dll.)
- Manual Pengguna (dokumen ini)
4. Produk Lebihview
The GAMEMAX Starlight 2 AB is a Mid Tower ATX PC case designed for efficient cooling and versatile configurations. It features a tempered glass side panel, pre-installed ARGB fans, and comprehensive hardware compatibility.
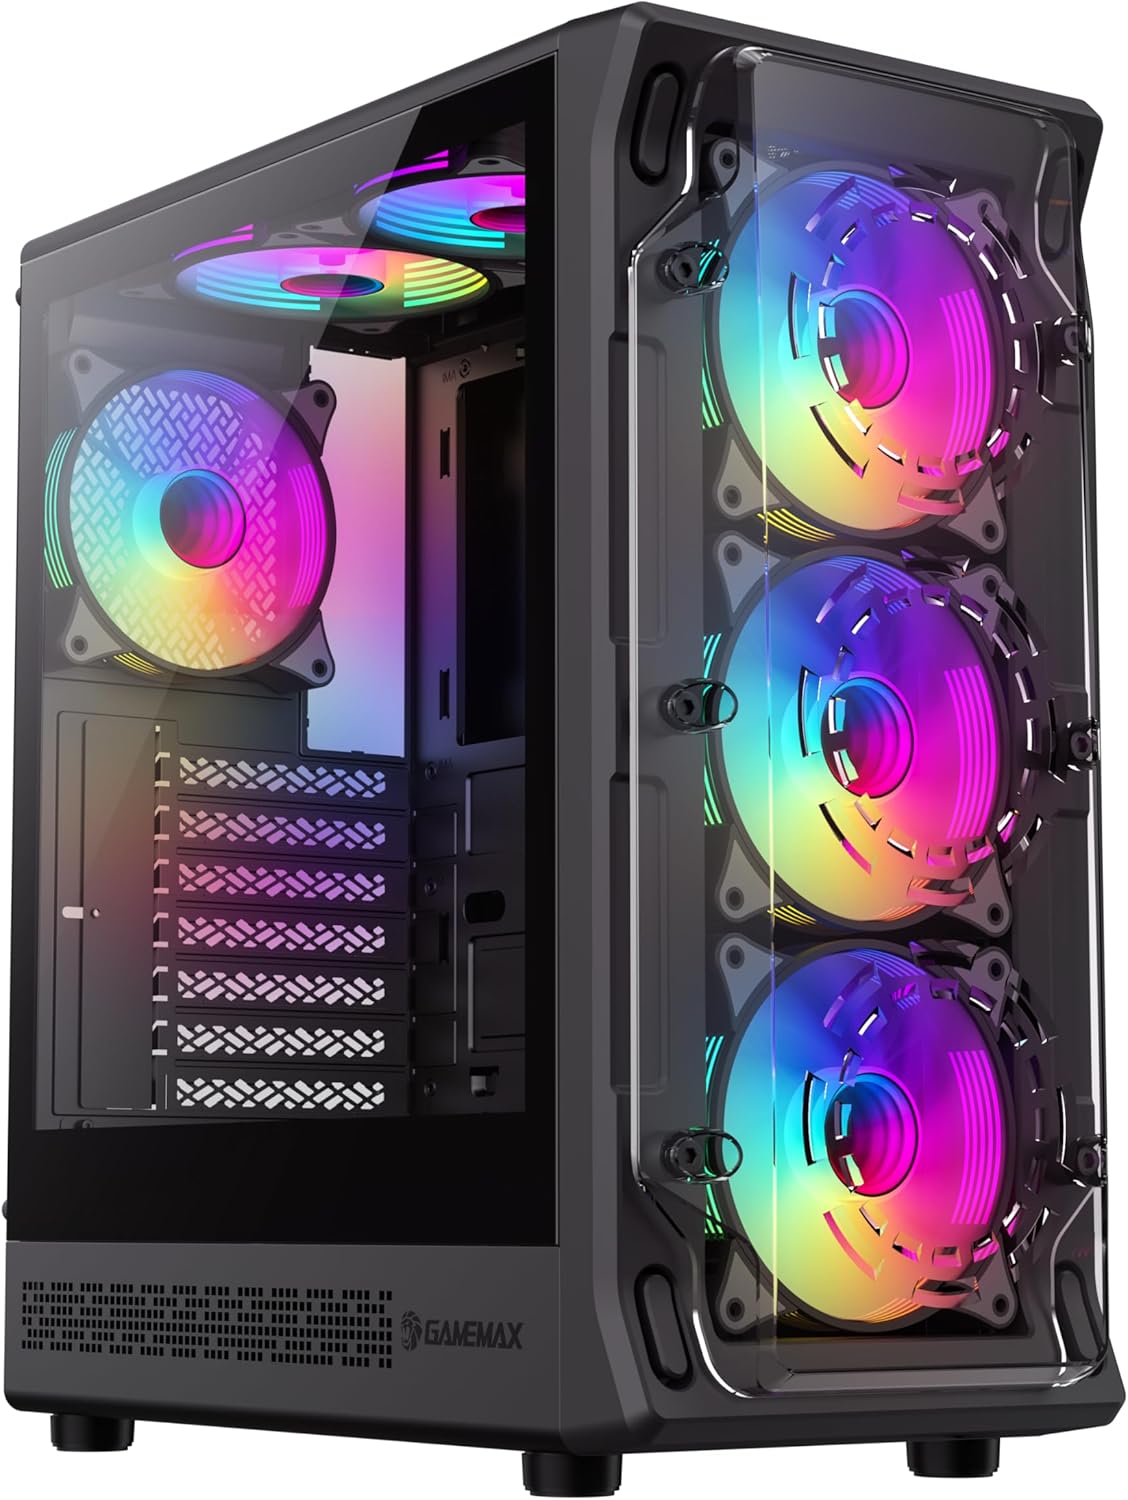
Rajah 4.1: Depan kiri view of the GAMEMAX Starlight 2 AB PC Case, showcasing the tempered glass side panel and the vibrant ARGB lighting of the pre-installed fans.

Rajah 4.2: Depan langsung view highlighting the three 120mm ARGB fans, visible through the clear front panel, designed for optimal airflow.
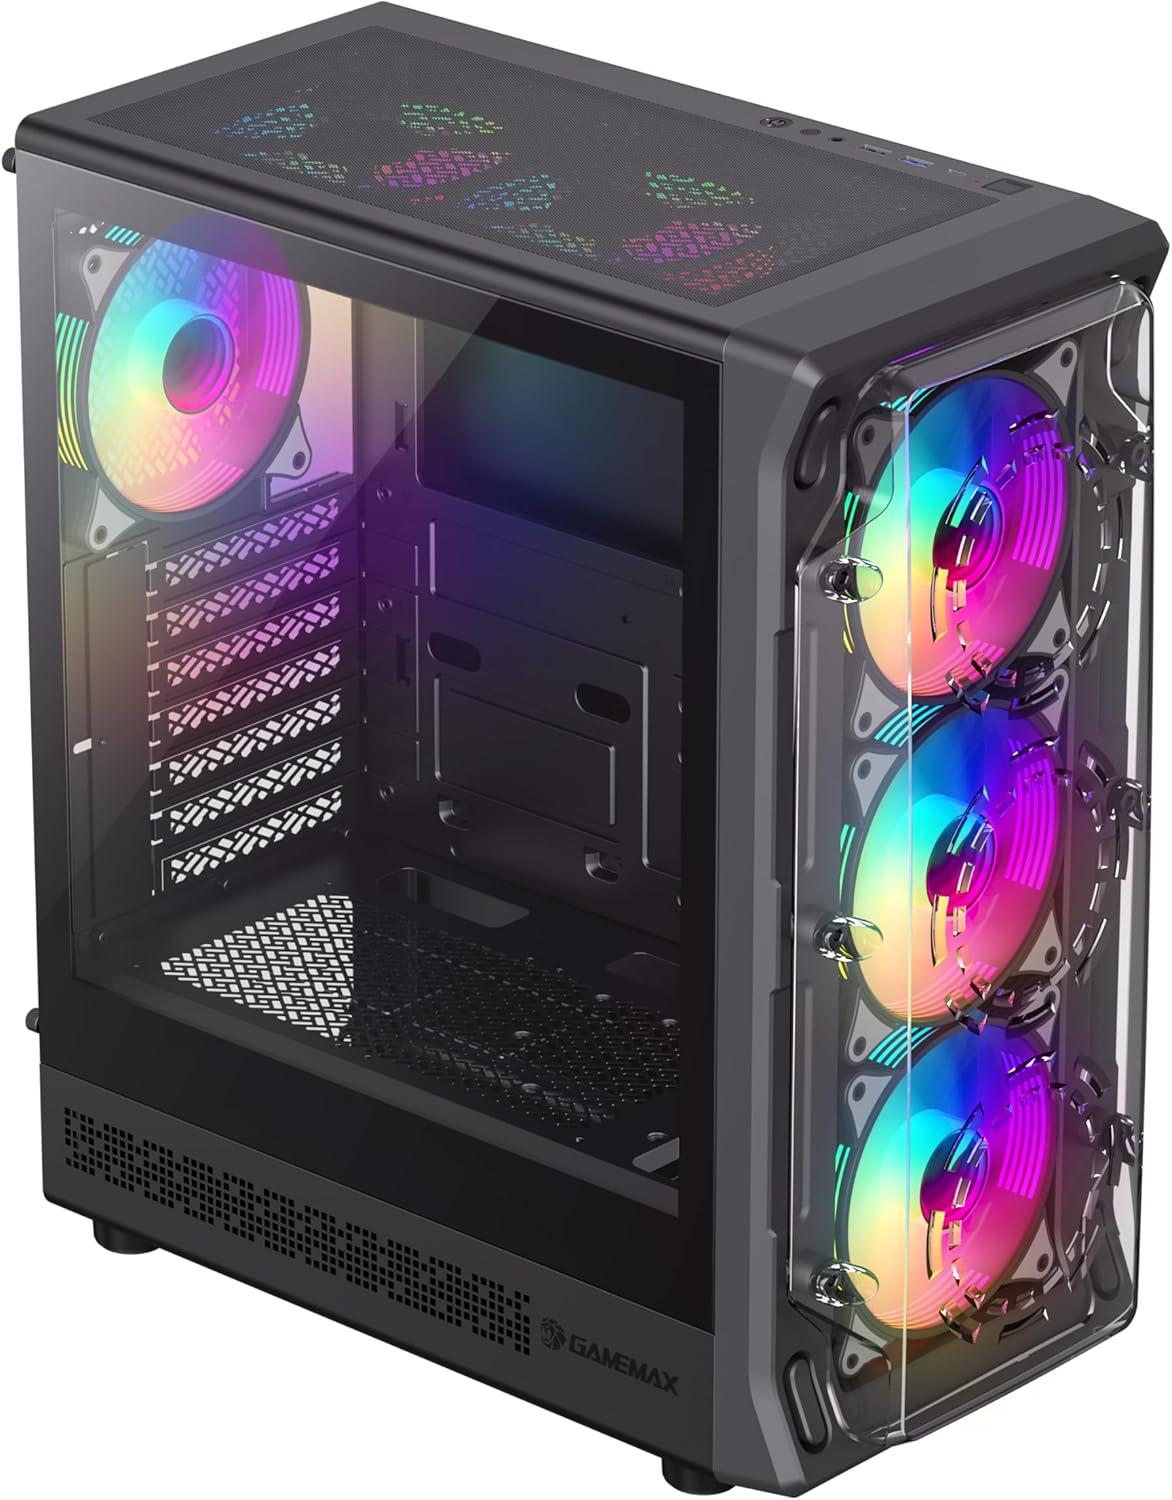
Rajah 4.3: Top-front perspective showing the top-mounted I/O panel, including USB ports and audio jacks, along with the mesh top panel for additional cooling.

Rajah 4.4: belakang view of the PC case, illustrating the rear exhaust fan, expansion slots, and the power supply mounting area at the bottom.

Rajah 4.5: Dalaman view of the main chamber, showing the motherboard tray, fan mounts, and ample space for component installation.
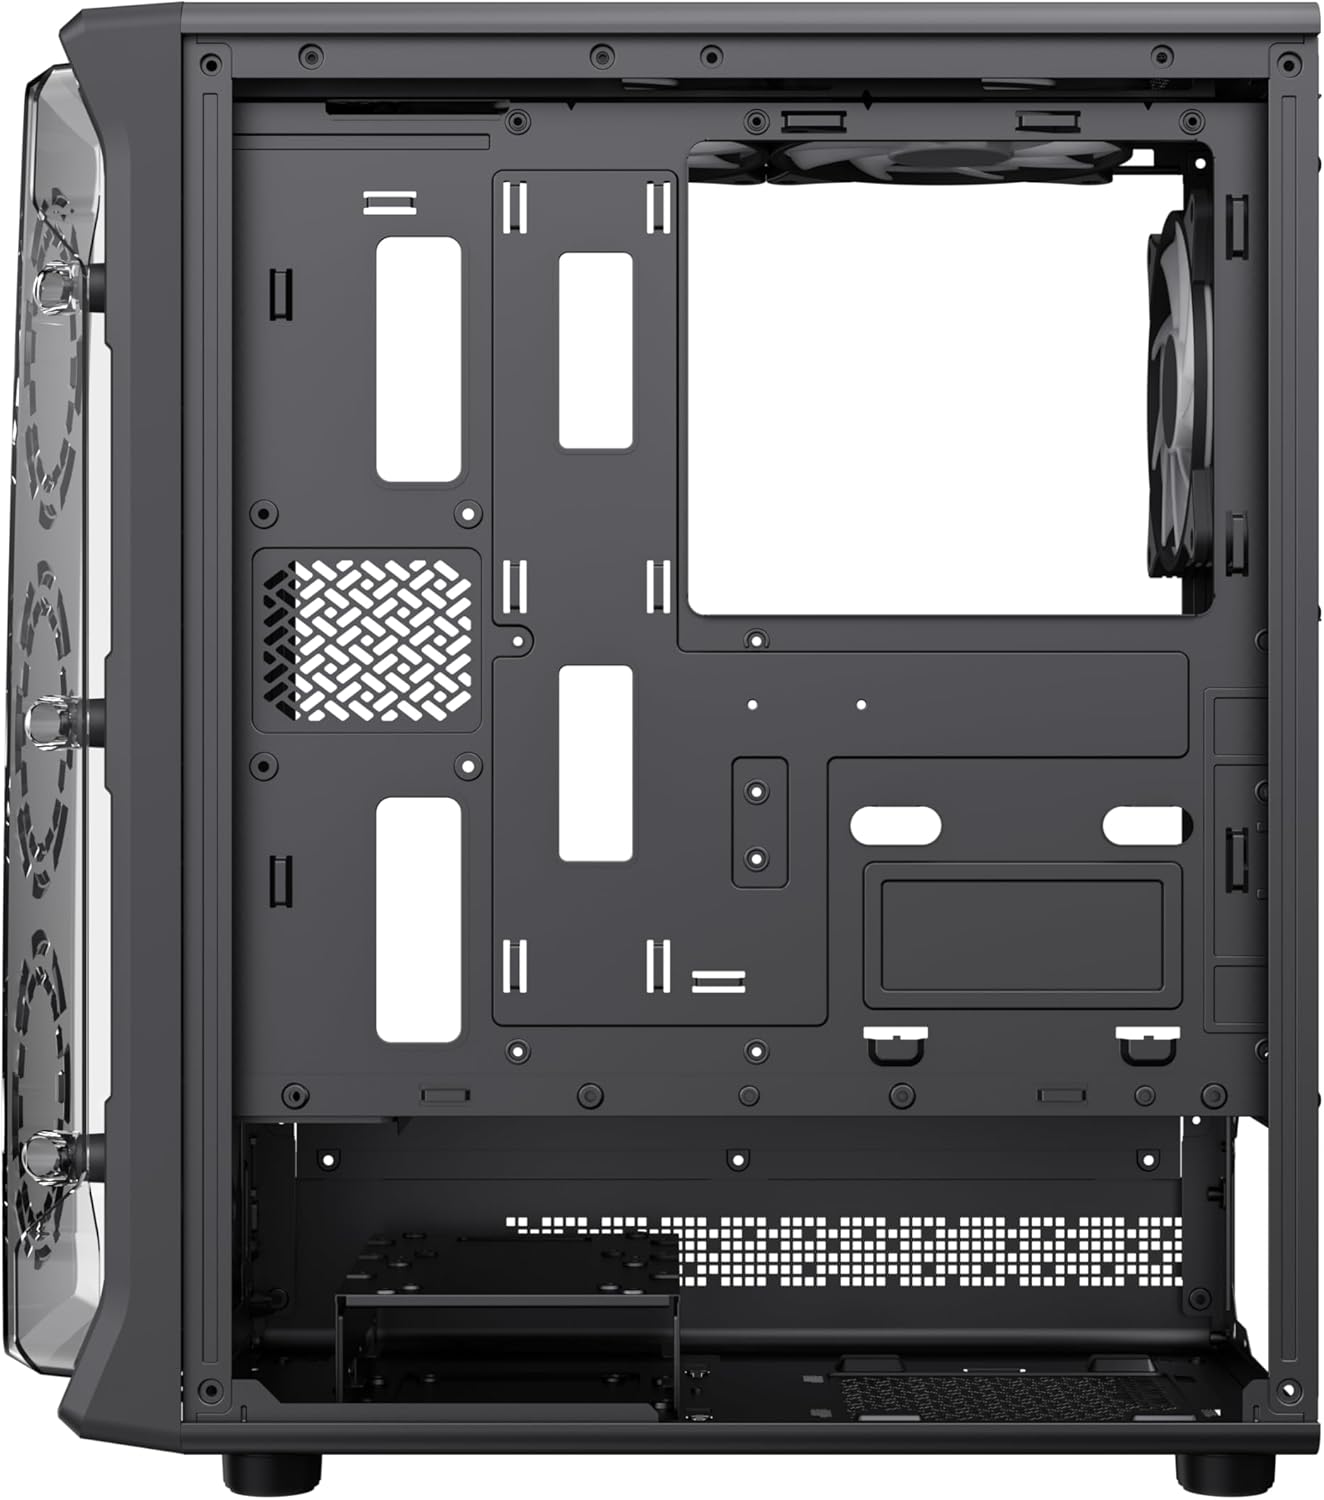
Rajah 4.6: View behind the motherboard tray, revealing cable routing cutouts and mounting points for storage drives, facilitating clean cable management.
5. Spesifikasi
| Ciri | Penerangan |
|---|---|
| Model | Starlight 2 AB |
| Jenis Kes | Mid Tower |
| Keserasian Papan Induk | ATX, Mikro ATX, Mini ITX |
| Dimensi (L x W x H) | 34 x 20 x 43.6 cm |
| Berat badan | 4.55 kg |
| bahan | Logam, Kaca Tempered |
| Peminat prapasang | 6 x 120mm ARGB Fans (3 front, 2 top, 1 rear) |
| Sokongan Radiator | 120mm, 240mm, 360mm |
| Pembersihan GPU | Sehingga 330mm |
| Ketinggian Penyejuk CPU | Sehingga 155mm |
| Pelabuhan I/O | USB 3.0, USB 2.0, Type-C, Audio |
| Ciri Khas | Built-In Fan, Dust Filter, RGB Lighting |
6. Persediaan dan Pemasangan
6.1 Menyediakan Kes
- Letakkan bekas di atas permukaan yang rata dan stabil.
- Carefully remove the tempered glass side panel by unscrewing the thumb screws and sliding it open. Set it aside in a safe place.
- Remove the solid right side panel to access the cable management area.
6.2 Pemasangan Motherboard
- Pasangkan pelindung I/O ke dalam bukaan belakang bekas.
- Align your motherboard with the standoffs inside the case. Ensure the standoffs match your motherboard's form factor (ATX, Micro ATX, Mini ITX).
- Selamatkan papan induk dengan skru yang disediakan.
6.3 Pemasangan Unit Bekalan Kuasa (PSU)
- Mount the PSU into the dedicated compartment at the bottom rear of the case.
- Selamatkan PSU dengan skru dari belakang kes itu.
6.4 Storage Device Installation (HDD/SSD)
- Locate the drive bays or mounting points for 3.5" HDDs and 2.5" SSDs.
- Install your storage devices using the appropriate screws.
6.5 Pemasangan Kad Grafik (GPU) dan Kad Pengembangan
- Tanggalkan penutup slot pengembangan yang diperlukan dari bahagian belakang bekas.
- Insert your graphics card or other expansion cards into the PCIe slots on your motherboard.
- Selamatkan kad dengan skru.
6.6 Connecting Front I/O Cables
Connect the following cables from the case's front I/O panel to the corresponding headers on your motherboard:
- Pengepala USB 3.0
- Pengepala USB 2.0
- Type-C Header (if applicable)
- Pengepala Audio HD
- Power Switch, Reset Switch, Power LED, HDD LED headers
6.7 Pengurusan Kabel
Gunakan potongan penghalaan kabel dan titik pengikat di belakang dulang papan induk untuk menyusun dan mengikat kabel. Ini meningkatkan aliran udara dan estetika.
7. Arahan Operasi
7.1 Menghidupkan
After all components are installed and cables are connected, replace both side panels. Connect your power cable to the PSU and a wall outlet, then press the power button on the case's front I/O panel to start your system.
7.2 Kawalan Kipas ARGB
The pre-installed ARGB fans can be controlled via your motherboard's ARGB software (e.g., ASUS Aura Sync, MSI Mystic Light Sync, Gigabyte RGB Fusion, ASRock Polychrome Sync) if your motherboard supports a 3-pin 5V ARGB header. Connect the ARGB cable from the case's fan hub to the motherboard's ARGB header. Refer to your motherboard manual for specific instructions on ARGB software usage.
8. Penyelenggaraan
8.1 Membersihkan Penapis Habuk
The case includes integrated removable dust filters. Regularly clean these filters to maintain optimal airflow and prevent dust buildup inside your system. Gently slide out the filters, clean them with a soft brush or rinse with water (ensure they are completely dry before reinstallation), and then reinsert them.
8.2 General Case Cleaning
Gunakan yang lembut, damp cloth to wipe down the exterior surfaces of the case. For the tempered glass panel, use a glass cleaner and a microfiber cloth to avoid streaks. Avoid using harsh chemicals or abrasive materials.
9. Penyelesaian masalah
- System does not power on: Ensure all power cables (24-pin ATX, 8-pin CPU, GPU power) are securely connected. Verify the PSU switch is in the 'ON' position. Check front panel power switch connection to the motherboard.
- Fans are not spinning or ARGB not working: Check fan power connections to the motherboard or fan hub. Ensure ARGB cables are correctly connected to a 3-pin 5V ARGB header on the motherboard. Verify ARGB software settings.
- Tiada output paparan: Confirm the graphics card is properly seated in its PCIe slot and power cables are connected. Ensure the monitor cable is connected to the graphics card, not the motherboard's integrated graphics port (unless using integrated graphics).
- Terlalu panas: Ensure all fans are spinning correctly and are oriented for proper airflow (intake/exhaust). Clean dust filters regularly. Verify CPU cooler installation.
10. Waranti dan Sokongan
For warranty information or technical support, please refer to the GAMEMAX official webtapak atau hubungi peruncit tempatan anda. Simpan bukti pembelian anda untuk tuntutan waranti.
11. Maklumat Pelupusan
Please dispose of this product in accordance with local environmental regulations. Do not dispose of electronic waste with general household waste.


