1. Pengenalan
This manual provides detailed instructions for the installation, configuration, and operation of the GIGABYTE B860 Gaming X WIFI6E Motherboard. Designed to support Intel Core Ultra Processors (Series 2) with an LGA 1851 socket, this ATX motherboard features DDR5 memory support, multiple M.2 slots, PCIe 5.0 connectivity, USB-C, WIFI6E, and 2.5GbE LAN. Adherence to these instructions will ensure proper setup and optimal performance of your system.
2. Maklumat Keselamatan
- Always disconnect the power cord from the electrical outlet before installing or removing any components.
- Pakai tali pergelangan tangan anti-statik atau kerap sentuh objek logam yang dibumikan untuk melepaskan elektrik statik sebelum mengendalikan komponen.
- Kendalikan komponen di tepinya untuk mengelak daripada menyentuh bahagian sensitif.
- Pastikan pengudaraan yang betul dalam bekas PC anda untuk mengelakkan terlalu panas.
- Jauhkan papan induk daripada kelembapan dan suhu yang melampau.
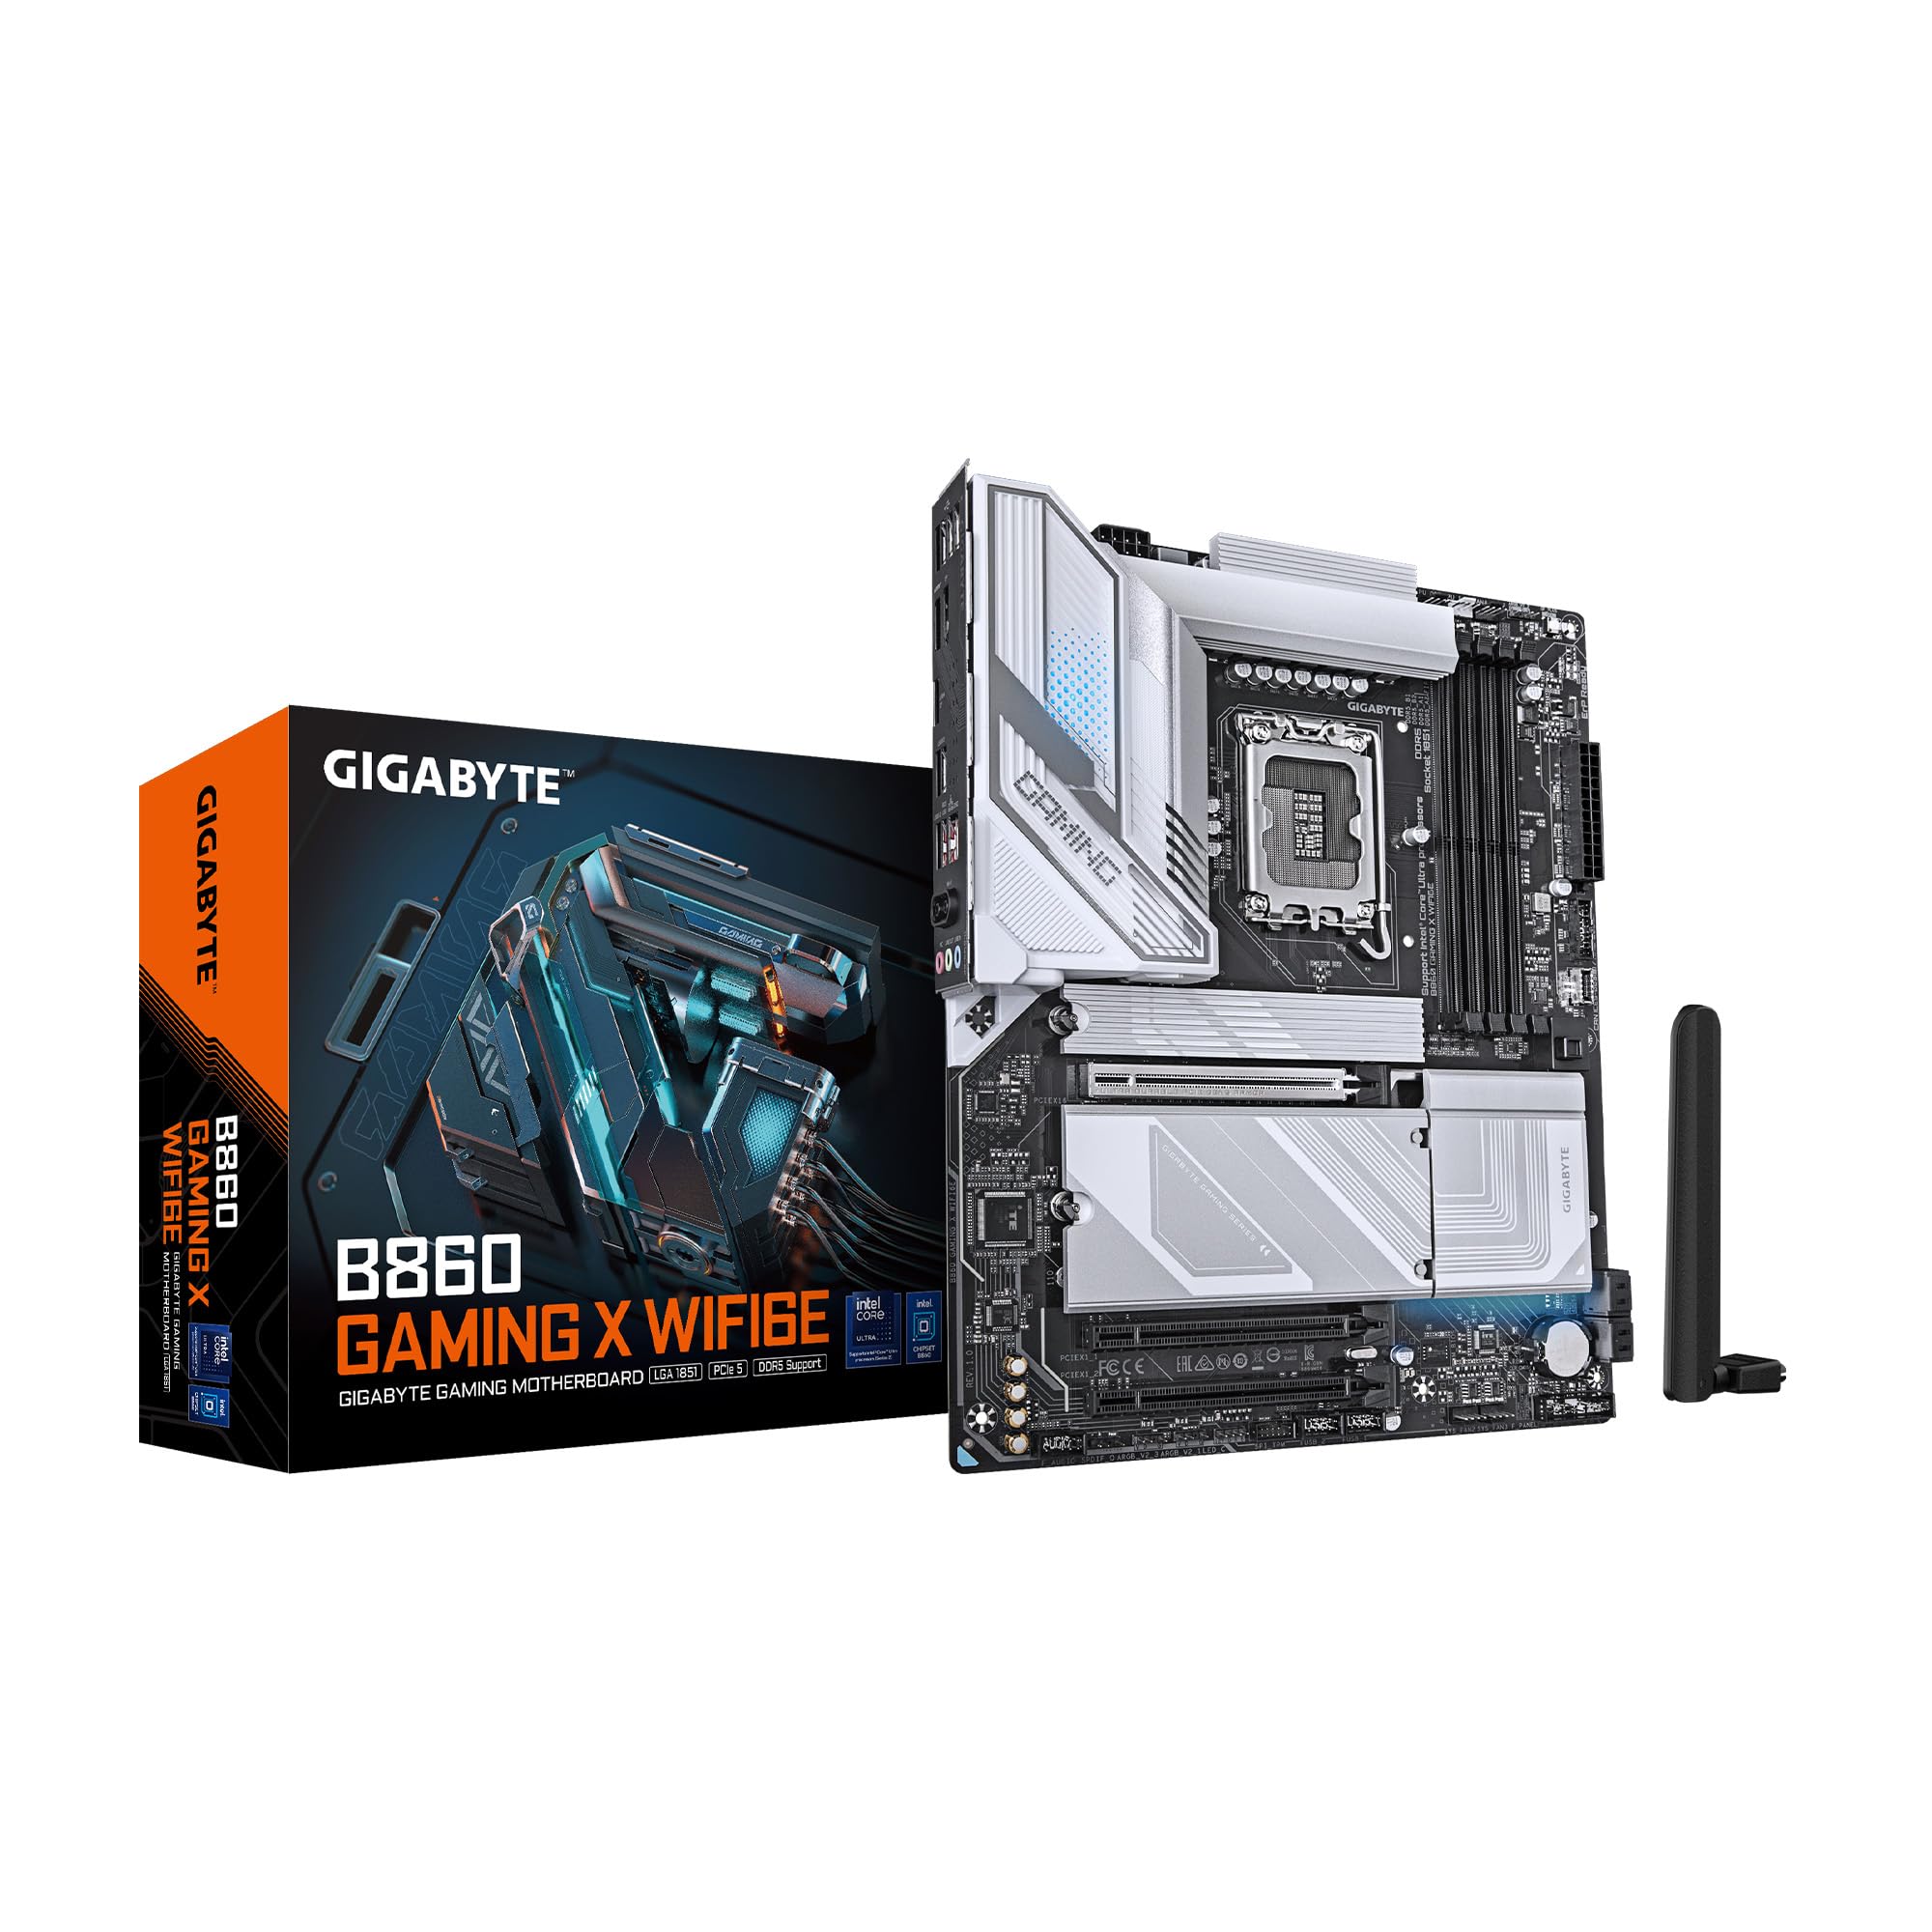
3. Kandungan Pakej
Sahkan bahawa semua item terdapat dalam pakej. Jika ada item yang hilang atau rosak, hubungi peruncit anda.
- GIGABYTE B860 Gaming X WIFI6E Motherboard
- Manual Pengguna / Panduan Pemasangan Pantas
- Kabel Data SATA
- Antena Wi-Fi
- Skru dan Kekangan M.2
- CD/USB pemacu (atau arahan muat turun)
4. Susun Atur Papan Induk
Biasakan diri anda dengan pelbagai komponen dan penyambung pada papan induk sebelum pemasangan.
Rajah 4.1: Atas-bawah view of the GIGABYTE B860 Gaming X WIFI6E Motherboard, showing the CPU socket, DDR5 DIMM slots, PCIe slots, and M.2 slots with heatsinks.

Rajah 4.2: Bersudut view of the GIGABYTE B860 Gaming X WIFI6E Motherboard, highlighting the VRM heatsinks, I/O shroud, and overall board design.
4.1 Rear I/O Panel Overview
Panel I/O belakang menyediakan pelbagai port untuk menyambungkan peranti luaran.

Figure 4.3: Rear I/O panel featuring USB ports, HDMI, DisplayPort, 2.5GbE LAN, Wi-Fi antenna connectors, and audio jacks.
- Port USB: Various USB 2.0, USB 3.2 Gen1, USB 3.2 Gen2, and USB4 Type-C ports for peripheral connectivity.
- Output Video: HDMI and DisplayPort for integrated graphics output.
- Port LAN: 2.5 Gigabit Ethernet for high-speed wired network connections.
- Penyambung Antena Wi-Fi: For attaching the included Wi-Fi antenna.
- Bicu Audio: Untuk menyambungkan pembesar suara, fon kepala dan mikrofon.
- BIOS Flash Button: Untuk mengemas kini BIOS tanpa dipasang CPU atau RAM.
5. Panduan Pemasangan
5.1 Pemasangan CPU
- Buka tuil soket CPU dan tanggalkan penutup pelindung.
- Selaraskan CPU dengan soket dengan berhati-hati, pastikan tanda segi tiga pada CPU sepadan dengan tanda pada soket.
- Perlahan-lahan letakkan CPU ke dalam soket tanpa memaksanya.
- Tutup tuil soket untuk mengunci CPU.
5.2 Pemasangan Memori (RAM).
- Buka klip di kedua-dua hujung slot DIMM DDR5.
- Sejajarkan takik pada modul memori DDR5 dengan kunci pada slot DIMM.
- Masukkan modul memori dengan kuat ke dalam slot sehingga klip terpasang pada tempatnya.
- For dual-channel operation, install modules in matching color slots (e.g., A2 and B2).
5.3 Storage (M.2 SSDs, SATA Drives) Installation
- M.2 SSD: Remove the M.2 Thermal Guard. Insert the M.2 SSD into the slot at an angle, then push it down and secure it with the EZ-Latch mechanism or screw. Reattach the Thermal Guard.
- Pemacu SATA: Connect one end of the SATA data cable to a SATA port on the motherboard and the other end to your SATA storage device. Connect a SATA power cable from your power supply to the device.
5.4 Pemasangan Kad Pengembangan (PCIe).
- Align your PCIe expansion card (e.g., graphics card) with the desired PCIe slot.
- Press down firmly until the card is seated correctly and the retention clip locks.
- Lekatkan kad pada casis dengan skru.
5.5 Sambungan Bekalan Kuasa
- Sambungkan penyambung kuasa utama ATX 24-pin daripada bekalan kuasa anda ke papan induk.
- Sambungkan penyambung kuasa CPU ATX 12V 8-pin (atau 4+4-pin) ke papan induk.
5.6 Sambungan Panel Hadapan
Connect the cables from your PC case's front panel (power button, reset button, USB ports, audio jacks, LED indicators) to the corresponding headers on the motherboard. Refer to the motherboard diagram for exact header locations.
6. But Pertama dan Persediaan BIOS
6.1 Hidupkan Kuasa Awal
After assembling all components, connect your monitor, keyboard, and mouse. Power on your system. The system should display the GIGABYTE splash screen.
6.2 Mengakses BIOS/UEFI
Semasa proses but, tekan berulang kali DEL key to enter the BIOS/UEFI setup utility. Here you can configure system settings, boot order, and monitor hardware status.
6.3 Basic BIOS Settings
- Pesanan But: Set the primary boot device (e.g., M.2 SSD with OS).
- Tarikh dan Masa: Laraskan tarikh dan masa sistem.
- Kawalan Kipas: Configure fan speeds for optimal cooling and noise levels.
- XMP Profile: Dayakan XMP agar memori DDR5 anda berjalan pada kelajuan yang dinilai.
7. Pemacu dan Pemasangan Perisian
For optimal system performance and stability, install the latest drivers and utilities for your motherboard.
- Pemacu Chipset: Penting untuk komunikasi yang betul antara CPU dan komponen lain.
- Pemacu LAN: For the 2.5GbE wired network connection.
- Pemacu Wi-Fi/Bluetooth: Untuk sambungan wayarles.
- Pemacu Audio: Untuk fungsi bunyi.
- Perisian Utiliti: GIGABYTE provides various utilities for system monitoring, RGB control, and BIOS updates.
Drivers can be found on the included CD/USB or downloaded from the official GIGABYTE webtapak.
8. Penyelenggaraan
8.1 Kemas Kini BIOS
Periksa GIGABYTE secara berkala website for the latest BIOS versions. BIOS updates can improve system stability, compatibility, and performance. Follow the instructions provided by GIGABYTE for safe BIOS flashing.
8.2 Kemas Kini Pemandu
Pastikan pemacu anda dikemas kini untuk memastikan keserasian dengan perisian dan perkakasan baharu, dan untuk mendapat manfaat daripada penambahbaikan prestasi dan pembetulan pepijat.
8.3 Pembersihan
Periodically clean your PC to prevent dust buildup, which can lead to overheating. Use compressed air to clear dust from heatsinks, fans, and other components. Ensure the system is powered off and unplugged before cleaning.
9. Penyelesaian masalah
- Tiada Kuasa: Periksa semua sambungan kuasa (ATX 24-pin, CPU 8-pin, kuasa GPU). Pastikan bekalan kuasa dihidupkan.
- Tiada Paparan: Sahkan sambungan monitor dan sumber input. Pasang semula kad grafik dan modul RAM. Cuba but dengan hanya satu batang RAM.
- Sistem Gagal Boot: Check for POST (Power-On Self-Test) error codes or beeps. Reseat all components. Clear CMOS by removing the battery or using the clear CMOS jumper.
- Komponen Tidak Dikesan: Ensure the component is properly seated and connected. Check BIOS settings to confirm it is enabled. Update drivers.
- Terlalu panas: Ensure CPU cooler is properly installed. Check fan connections and fan speeds in BIOS. Clean dust from heatsinks and fans.
10. Spesifikasi
| Ciri | Spesifikasi |
|---|---|
| Jenama | GIGABYTE |
| Siri | B860 PERMAINAN X WIFI6E |
| Nombor Model Item | B860 PERMAINAN X WIFI6E |
| Soket CPU | Intel LGA 1851 |
| Pemproses yang Serasi | Intel Ultra Core Series 2 |
| Teknologi Memori RAM | DDR5 |
| Slot RAM | 4 DIMM |
| Kelajuan Memori | 5600 MHz |
| Jenis Chipset | Intel B860 |
| Slot PCIe | PCIe 5.0 (for graphics card) |
| Slot M.2 | 3x M.2 Slots |
| Kesambungan USB | USB-C and other USB ports |
| LAN | LAN 2.5GbE |
| Kesambungan Wayarles | WIFI6E |
| Reka Bentuk Kuasa | 12+1+2+1, 50A PPAK VRM |
| Terma | MOSFET Heatsink, M.2 Thermal Guard |
| Faktor Bentuk | ATX |
| Dimensi Produk | 12 x 9.6 x 1 inci |
| Berat Barang | 4.2 paun |
| Platform | Windows 11 |
11. Maklumat Waranti
GIGABYTE motherboards typically come with a limited manufacturer's warranty. The specific terms and duration of the warranty may vary by region and retailer. Please retain your proof of purchase for warranty claims. For detailed warranty information, refer to the official GIGABYTE webtapak atau hubungi tempat pembelian anda.
12. Sokongan Teknikal
If you encounter issues that cannot be resolved using this manual or the troubleshooting section, please contact GIGABYTE technical support.
- Rasmi GIGABYTE Webtapak: www.gigabait.com
- Rujuk bahagian sokongan pada website for FAQs, driver downloads, and contact information for your region.


