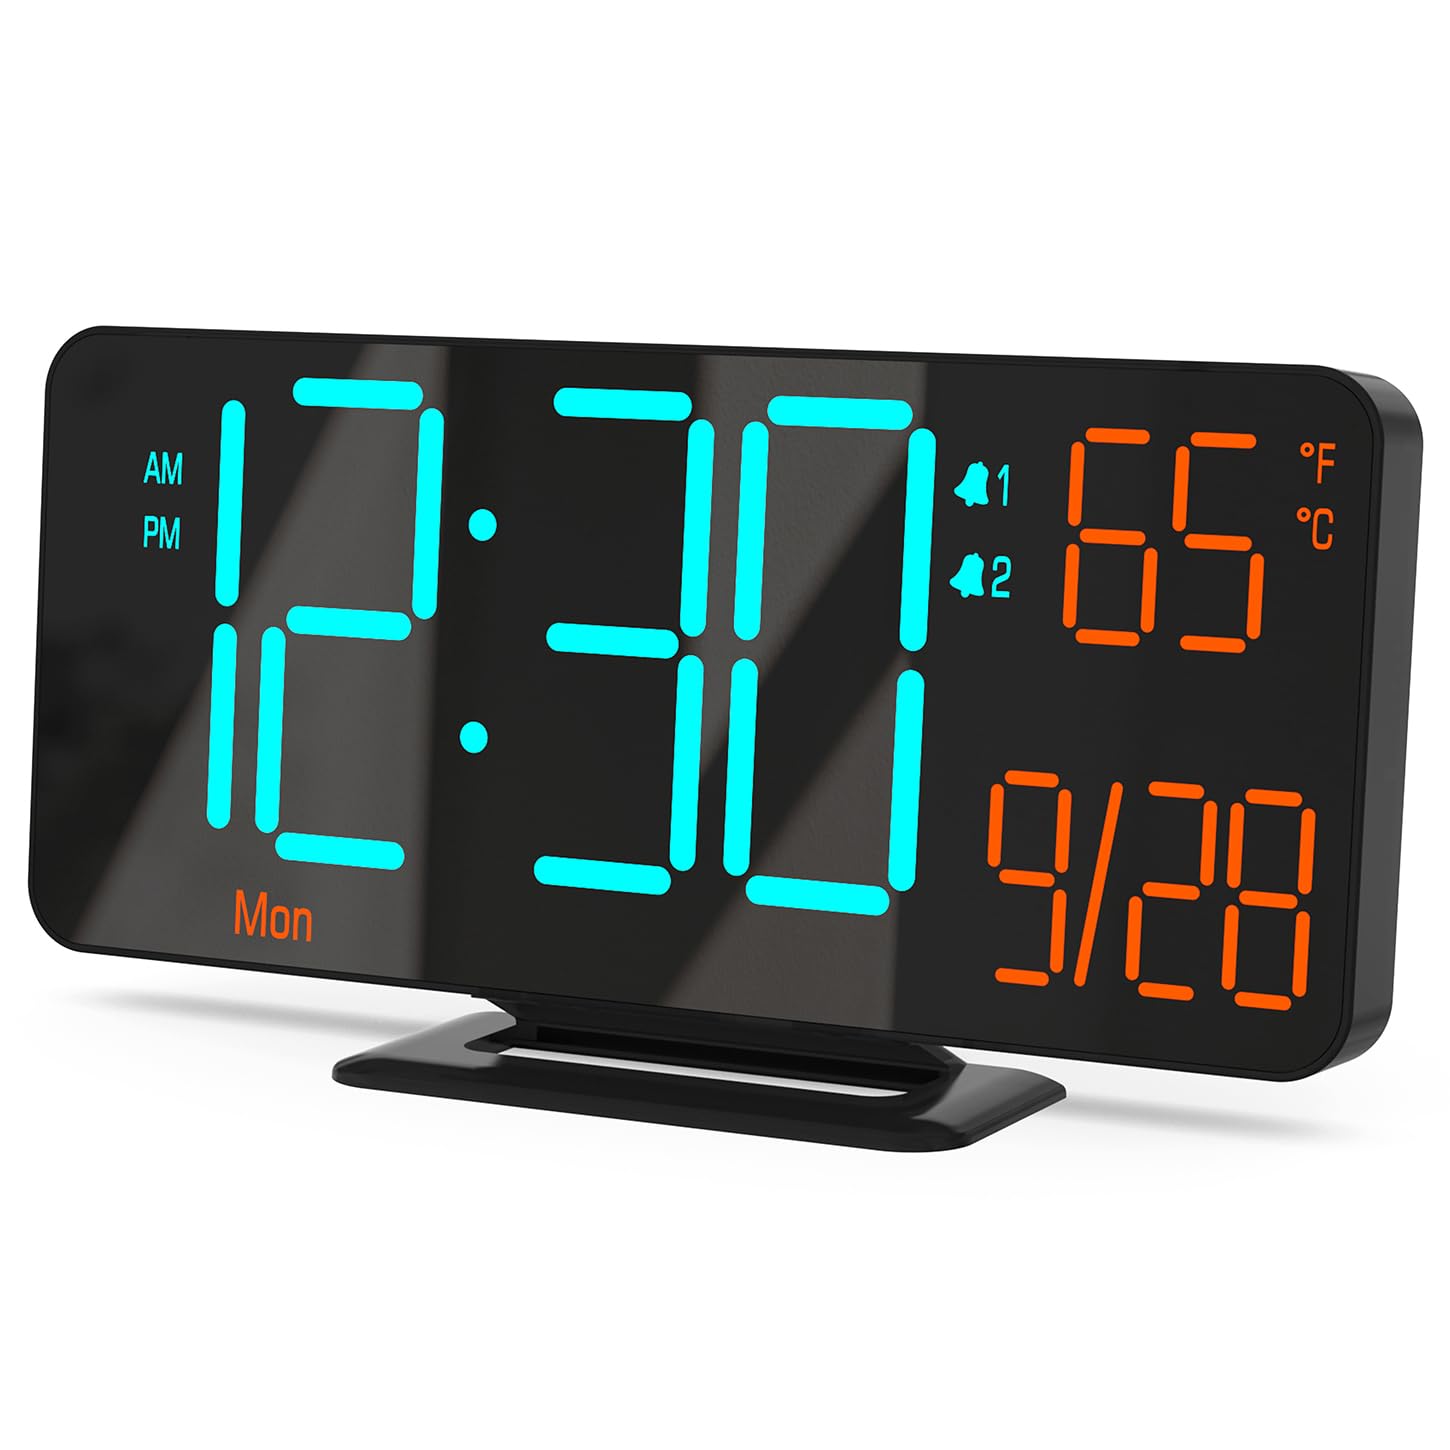
Figure 0: KOSUMOSU Digital Alarm Clock, Model ACD-330.
1. Pengenalan
This user manual provides detailed instructions for the KOSUMOSU Digital Alarm Clock, Model ACD-330. Please read this manual thoroughly before operating the device to ensure proper use and to understand all features. Keep this manual for future reference.
2. Produk Lebihview
2.1 Ciri-ciri Utama
- 6.7-inch LED display with cool blue and orange light digits.
- Automatic and manual dimming capabilities (High, Medium, Low, OFF, Auto).
- Dual alarm clock with snooze function (5-minute snooze).
- Selectable 12/24 hour time format.
- Displays date, day of the week, seconds, and indoor temperature (Fahrenheit/Celsius).
- USB powered (requires 5V/1A AC adapter, not included).
- Includes a button battery for time preservation during power outages.
2.2 Kandungan Pakej
- KOSUMOSU Digital Alarm Clock (Model ACD-330)
- USB Power Cable (1.5-meter)
- Lithium Metal Button Battery (pre-installed for backup)
- Manual Pengguna (dokumen ini)
2.3 Rajah Produk

Rajah 1: Belakang view of the alarm clock with labeled function buttons and dimensions.
- 1. Light Sensor: For automatic dimming.
- 2. Dimming Buttons (-/+): Adjust brightness manually.
- 3. ℉/℃/Sec Button: Toggle between Fahrenheit/Celsius and display seconds.
- 4. SET Button: Enter setting mode for time, date, and alarms.
- 5. Alarm 1 Set Button: Set Alarm 1.
- 6. Alarm 2 Set Button: Set Alarm 2.
- 7. Snooze Button: Activates snooze during an alarm.
- 8. USB-A Power Cable Input: Connects to 5V/1A AC adapter.
- 9. Petak Bateri: For backup button battery.
3. Persediaan
3.1 Sambungan Kuasa
Connect the provided USB power cable to the USB-A input port on the back of the alarm clock. Plug the other end of the USB cable into a 5V/1A AC adapter (not included) and then into a wall outlet. The clock display will illuminate.

Figure 2: Power connection setup. An AC adapter is required and not included.
3.2 Sandaran Bateri
The clock includes a pre-installed Lithium Metal button battery. This battery is solely for preserving time settings during a power outage and does not power the display. Ensure the battery is properly seated in its compartment for this function to work.
4. Arahan Operasi
4.1 Menetapkan Masa dan Tarikh
- Tekan dan tahan butang SET button for approximately 3 seconds to enter time setting mode. The hour digits will flash.
- Gunakan + or - butang untuk melaraskan jam.
- Tekan SET sekali lagi untuk mengesahkan jam dan beralih ke tetapan minit. Digit minit akan berkelip.
- Gunakan + or - butang untuk melaraskan minit.
- Tekan SET again to confirm the minute and move to 12/24 hour format selection.
- Gunakan + or - buttons to select either 12-hour (with AM/PM indicator) or 24-hour format.
- Tekan SET again to confirm the format and move to year setting.
- Continue using + or - to adjust the year, month, and day, pressing SET after each adjustment to confirm and proceed.
- Selepas menetapkan hari, tekan SET kali terakhir untuk keluar dari mod tetapan.
4.2 Display Modes (Seconds / Temperature)
The clock can display either seconds or indoor temperature. To switch between these modes, short press the ℉/℃/Sec butang.
When displaying temperature, you can toggle between Fahrenheit (℉) and Celsius (℃) by pressing and holding the ℉/℃/Sec butang selama lebih kurang 3 saat.

Figure 3: Various display modes including temperature and seconds.
4.3 Pelarasan Kecerahan (Malap)
The clock offers both manual and automatic dimming features.
- Peredupan Manual: Tekan pendek + or - buttons to cycle through brightness levels: High, Medium, Low, and OFF.
- Peredupan Automatik: Tekan dan tahan butang + button for approximately 3 seconds to activate or deactivate auto-dimming. When active, the light sensor on the clock will automatically adjust the display brightness based on ambient light conditions.
Gambar 4: Cthamples of manual and automatic dimming levels.
4.4 Menetapkan Penggera (Penggera 1 & Penggera 2)
Jam ini mempunyai dua penggera bebas. Proses tetapan adalah sama untuk kedua-duanya.
- Tekan dan tahan butang Penggera 1 Set or Penggera 2 Set button for approximately 3 seconds to enter alarm setting mode. The alarm hour digits will flash.
- Gunakan + or - butang untuk melaraskan jam penggera.
- Tekan masing-masing Set Penggera button again to confirm the hour and move to minute setting. The alarm minute digits will flash.
- Gunakan + or - butang untuk melaraskan minit penggera.
- Tekan masing-masing Set Penggera button again to confirm the minute and select the alarm cycle:
- 1-5: Weekdays (Monday-Friday)
- 1-7: Everyday (Monday-Sunday)
- 6-7: Weekends (Saturday-Sunday)
- Tekan masing-masing Set Penggera button one last time to save the alarm settings and exit.
4.5 Activating/Deactivating Alarms
To turn an alarm ON or OFF, short press the Penggera 1 Set or Penggera 2 Set button. An alarm icon (1 or 2) will appear on the display when the alarm is active.
4.6 Fungsi Tunda
Apabila penggera berbunyi, tekan butang besar MENGEJUTKAN button on the top of the clock to activate the snooze function. The alarm will pause for 5 minutes and then sound again. The alarm duration is approximately 5 minutes if not snoozed or turned off.
To turn off a sounding alarm completely, press any other button on the back of the clock (e.g., SET, +, -). The alarm will reset for the next scheduled activation.

Figure 5: Illustration of the snooze function.
5. Penyelenggaraan
- Clean the clock surface with a soft, dry cloth. Do not use abrasive cleaners or solvents.
- Elakkan daripada mendedahkan jam kepada suhu yang melampau, cahaya matahari langsung atau kelembapan yang tinggi.
- Do not disassemble the clock. This will void the warranty.
- If the backup battery needs replacement, use a compatible Lithium Metal button battery.
6. Penyelesaian masalah
| Masalah | Kemungkinan Punca | Penyelesaian |
|---|---|---|
| Paparan kosong. | Tiada bekalan kuasa. | Ensure the USB cable is securely connected to a 5V/1A AC adapter and the adapter is plugged into a working power outlet. |
| Masa tidak betul selepas kuasa outage. | Bateri sandaran mati atau hilang. | Check or replace the Lithium Metal button battery. Reset the time manually. |
| Penggera tidak berbunyi. | Penggera tidak diaktifkan atau ditetapkan dengan tidak betul. | Ensure the alarm icon (1 or 2) is visible on the display. Verify alarm time and cycle settings. |
| Paparan terlalu terang/malap. | Manual or auto-dimming settings. | Adjust brightness manually using +/- buttons or toggle auto-dimming by holding the + button. |
| Bacaan suhu nampaknya tidak tepat. | Clock placed near heat source/vent. | Relocate the clock to an area with stable ambient temperature. |
7. Spesifikasi
| model: | ACD-330 |
| Jenis Paparan: | LED |
| Saiz Paparan: | 6.7 inci |
| Input Kuasa: | 5V/1A DC (USB powered) |
| Bateri Sandaran: | 1 x Lithium Metal (included) |
| Dimensi Produk: | 16.26 x 3.81 x 8.38 cm (6.4 x 1.5 x 3.3 inci) |
| Berat produk: | 131.54 g (0.29 paun) |
| Ciri Khas: | Auto Dimmable, Calendar Display, Dual Alarm, Snooze, Temperature Display (℉/℃) |
8. Waranti dan Sokongan
KOSUMOSU offers a 2-year warranty for this product. If you encounter any problems related to quality or usage, please contact KOSUMOSU customer service for assistance. Contact information can typically be found on the product packaging or the retailer's webtapak di mana produk itu dibeli.
For further support or inquiries, please refer to the official KOSUMOSU webtapak atau hubungi pasukan sokongan pelanggan mereka.


