1. Pengenalan
This manual provides essential instructions for the safe and effective operation of your HITBOX ARC200MINI3 Mini Stick Welder. Please read this manual thoroughly before use and retain it for future reference.
2. Maklumat Keselamatan
Welding operations involve significant risks. Always prioritize safety to prevent injury or damage. This welder includes multiple safety features such as over-heating, over-current, and over-loading protection. However, proper personal protective equipment (PPE) and adherence to safety guidelines are crucial.
Langkah Keselamatan Am:
- Pakai peralatan pelindung diri (PPE) yang sesuai, termasuk topi keledar kimpalan, sarung tangan, dan pakaian pelindung.
- Ensure adequate ventilation in the work area to avoid inhaling fumes.
- Jauhkan bahan mudah terbakar dari kawasan kimpalan.
- Ensure the work area is dry and free from moisture.
- Jangan sentuh bahagian elektrik hidup.
- Sentiasa putuskan bekalan elektrik sebelum melakukan penyelenggaraan atau pelarasan.
- Gunakan hanya alat ganti dan aksesori yang tulen.
3. Kandungan Pakej
Setelah membuka bungkusan, sahkan bahawa semua barang yang disenaraikan di bawah ada dan tidak rosak:

Image: HITBOX ARC200MINI3 Mini Stick Welder with its accessories, including an instruction manual, ground clamp, electrode holder, welding rods, and a cleaning brush.
- HITBOX ARC200MINI3 Mini Stick Welder Unit
- Manual Arahan
- Tanah Clamp (4.9 kaki)
- Electrode Holder (4.9 ft)
- 5 x Welding Rods (2.0 mm)
- Berus Pembersih
Note: A WP17V TIG torch is required for Lift TIG welding and must be purchased separately.
4. Ciri-ciri Produk
The HITBOX ARC200MINI3 is designed for versatility and ease of use, incorporating advanced welding technologies:
- Keupayaan Kimpalan 2-dalam-1: Supports both ARC (MMA) and Lift TIG welding functions.
- Antara Muka Mesra Pengguna: Features an LCD display and built-in functions like VRD, Hot Start, Arc Force, and Anti-Stick for easier arc striking and prevention of electrode sticking.
- Outstanding Welding Capability:
- ARC: Compatible with 1.6mm-2.5mm welding rods, welding thickness 1mm-6mm.
- Lift TIG: Compatible with 1.6mm-2.4mm tungsten electrodes, welding thickness 0.8mm-4mm.
- Suitable for carbon steel, iron, galvanized steel, and stainless steel.
- Reka Bentuk Mudah Alih: Compact (4.5x5.9x9.2 inches) and lightweight (5.9 lbs) for easy transport.
- Teknologi Inverter IGBT: Ensures professional-grade welding results.
- Perlindungan Keselamatan: Includes over-heating, over-current, and over-loading protection.

Imej: Depan view of the HITBOX ARC200MINI3 Mini Stick Welder, showcasing reka bentuk padat dan panel kawalannya.
5. Arahan Persediaan
5.1. General Connections
Before connecting any cables, ensure the welder is turned off and unplugged from the power source.
5.2. Stick Welding (MMA) Setup
- Connect the electrode lead to the positive (+) output terminal on the front panel.
- Sambungkan tanah clamp to the negative (-) output terminal on the front panel. The other side of the clamp should be securely connected to the metal workpiece.
- Masukkan elektrod kimpalan ke dalam pemegang elektrod.
- Turn on the power switch. The MMA light on the display should illuminate.
- Adjust the welding current using the control knob to the desired setting for your electrode and material thickness.
Video: Demonstrates the setup and operation of the HITBOX ARC200MINI3 for stick welding, including connecting cables and performing a weld.
5.3. Lift TIG Welding Setup
- Connect the TIG torch to the negative (-) output terminal on the front panel.
- Connect the Argon Cylinder and the gas inlet hose of the TIG torch.
- Sambungkan tanah clamp to the positive (+) output terminal on the front panel. The other side of the clamp should be securely connected to the metal workpiece.
- Turn on the power switch. Press the function button to switch the mode to Lift TIG welding.
- Adjust the welding current using the control knob.

Image: Visual guide showing the connections for both Stick (MMA) and Lift TIG welding modes on the HITBOX ARC200MINI3.
6. Arahan Operasi
6.1. Operasi Am
- Ensure all connections are secure and the workpiece is properly grounded.
- Select the appropriate welding mode (MMA or Lift TIG) using the function button.
- Adjust the welding current based on the material thickness and electrode/tungsten size.
- Always wear a welding helmet and protective gear before striking an arc.
6.2. ARC Welding (MMA)
The Hot Start, Arc Force, and Anti-Stick functions are designed to enhance arc stability and prevent electrode sticking, making it easier for both beginners and experienced welders.

Image: A person performing stick welding with the HITBOX ARC200MINI3, demonstrating the welding process.
6.3. Angkat Kimpalan TIG
For Lift TIG welding, gently touch the tungsten electrode to the workpiece and then lift it slightly to initiate the arc. Maintain a consistent arc length and travel speed for optimal results.
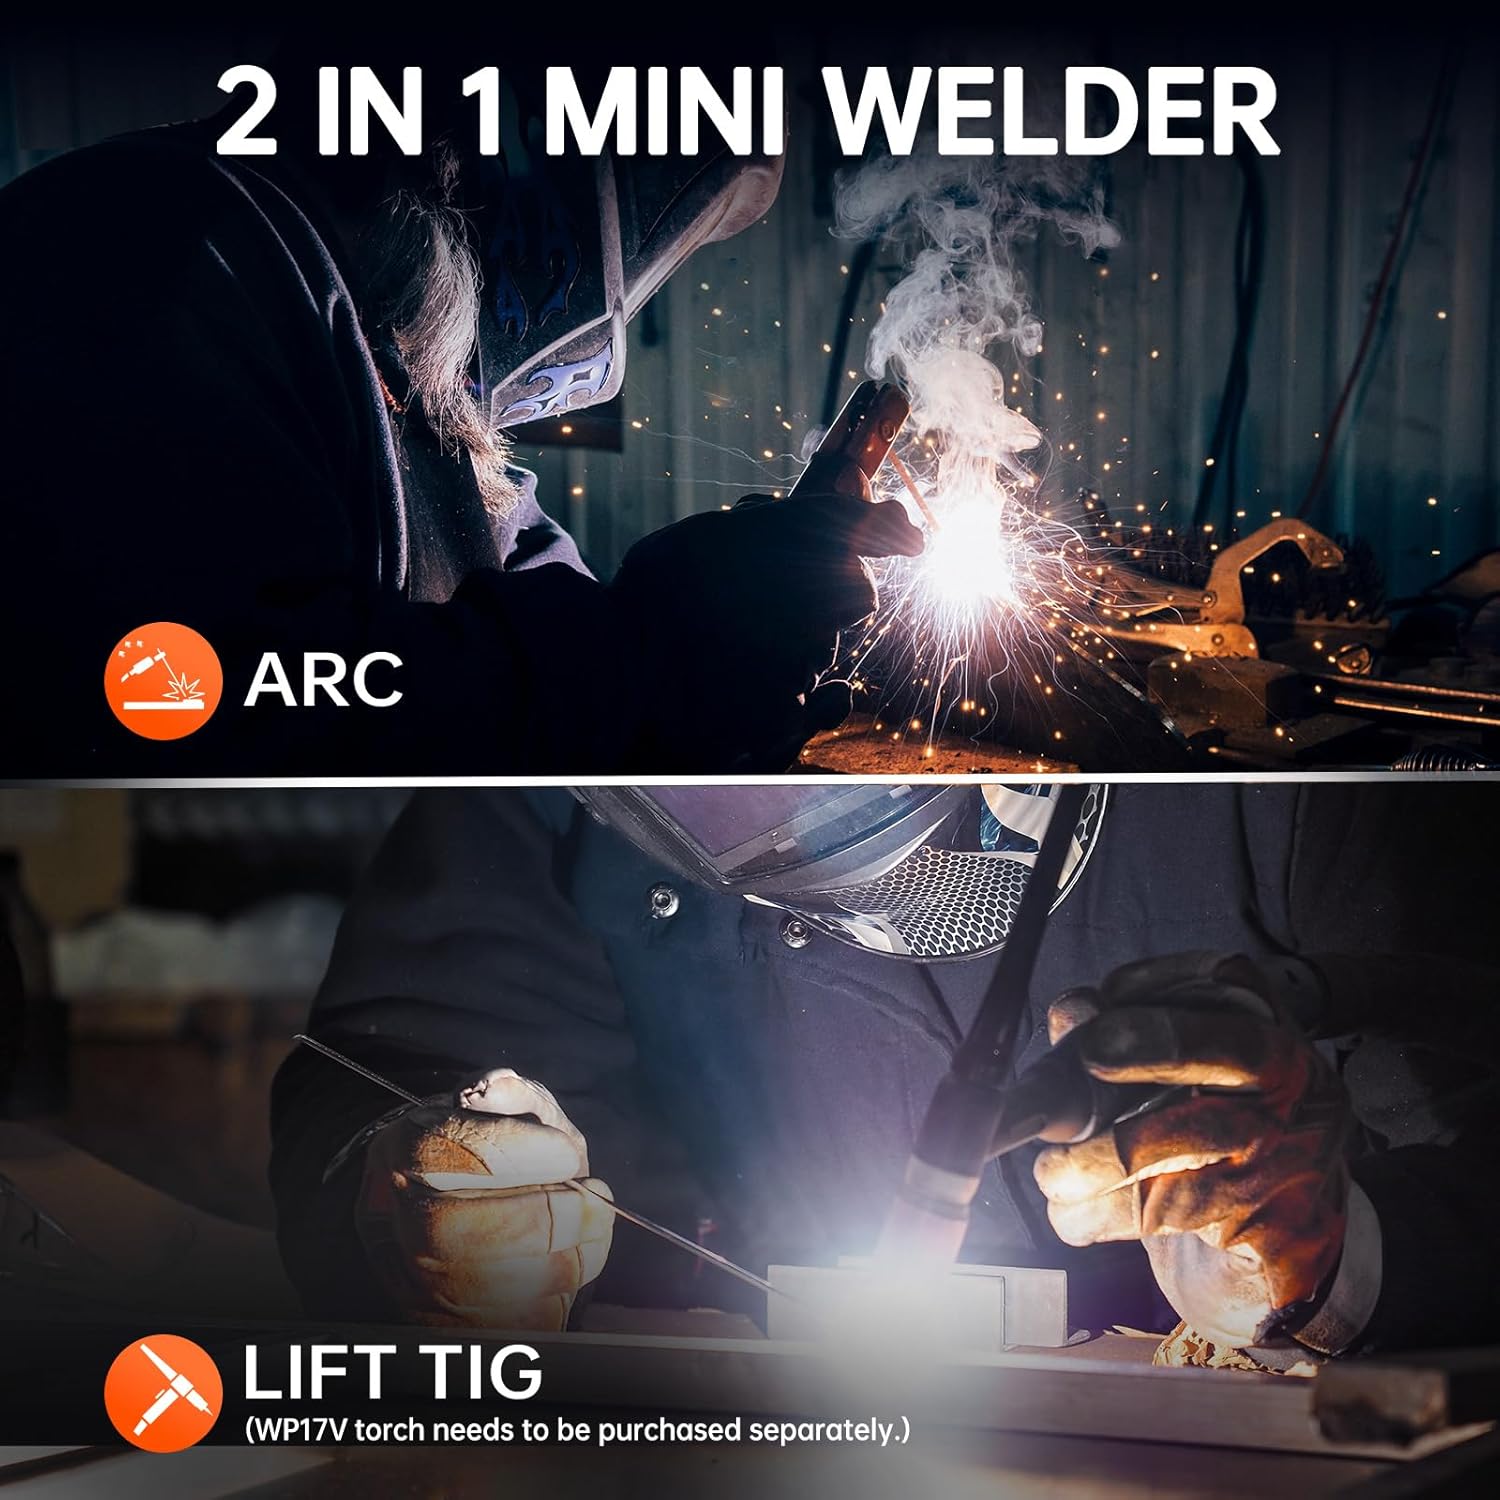
Image: A person performing Lift TIG welding, highlighting the precision and control offered by the HITBOX ARC200MINI3.
7. Penyelenggaraan
Penyelenggaraan tetap memastikan umur panjang dan prestasi optimum pengimpal anda.
- Pembersihan: Periodically clean the exterior of the machine with a dry cloth. Use compressed air to clear dust from ventilation openings.
- Pemeriksaan Kabel: Regularly inspect all cables, connections, and the electrode holder/TIG torch for wear, damage, or loose connections. Replace damaged components immediately.
- Storan: Store the welder in a dry, dust-free environment when not in use.
8. Penyelesaian masalah
Jika anda menghadapi masalah, rujuk kepada masalah dan penyelesaian biasa berikut:
| Masalah | Kemungkinan Punca | Penyelesaian |
|---|---|---|
| Tiada Arka / Arka Lemah | Improper current setting, poor ground connection, damp electrode (MMA), incorrect tungsten (TIG). | Adjust current, ensure secure ground, use dry electrodes, check tungsten type/sharpness. |
| Electrode Sticking (MMA) | Low current, improper arc length, electrode type. | Increase current, maintain proper arc length, use appropriate electrode. |
| Perlindungan Terlalu Panas Diaktifkan | Melebihi kitaran tugas, pengudaraan yang lemah. | Allow machine to cool down, ensure clear ventilation, reduce welding time. |
| "ERR" Displayed | Internal fault, over-voltage / semasa. | Turn off and restart. If persistent, contact customer support. |
9. Spesifikasi
| Ciri | Perincian |
|---|---|
| Nombor Model | ARC200MINI3 |
| Voltage | 110 Volt |
| Berat Barang | 5.9 paun |
| Dimensi Produk | 9.25 x 4.5 x 5.9 inci |
| bahan | logam |
| Pengeluar | HITBOX |
| ARC Rod Diameter | 1.6mm-2.5mm |
| ARC Welding Thickness | 1mm-6mm |
| Lift TIG Tungsten Diameter | 1.6mm-2.4mm |
| Lift TIG Welding Thickness | 0.8mm-4mm |
10. Waranti & Sokongan
HITBOX provides 2 tahun sokongan berkualiti for this mini stick welder. For technical assistance, warranty claims, or further inquiries, please contact HITBOX customer service through their official channels or visit their webtapak.
Untuk maklumat lanjut, lawati Kedai HITBOX di Amazon.