pengenalan
Thank you for choosing the JoFomp 17.3-inch LED Digital Wall Clock. This manual provides detailed instructions for setting up, operating, and maintaining your new clock. This multi-functional device displays time, date, day of the week, temperature, and humidity. It also includes dual alarms, 10 levels of adjustable brightness, ambient lighting, and timer/countdown functions. For optimal performance, please read these instructions carefully before use.
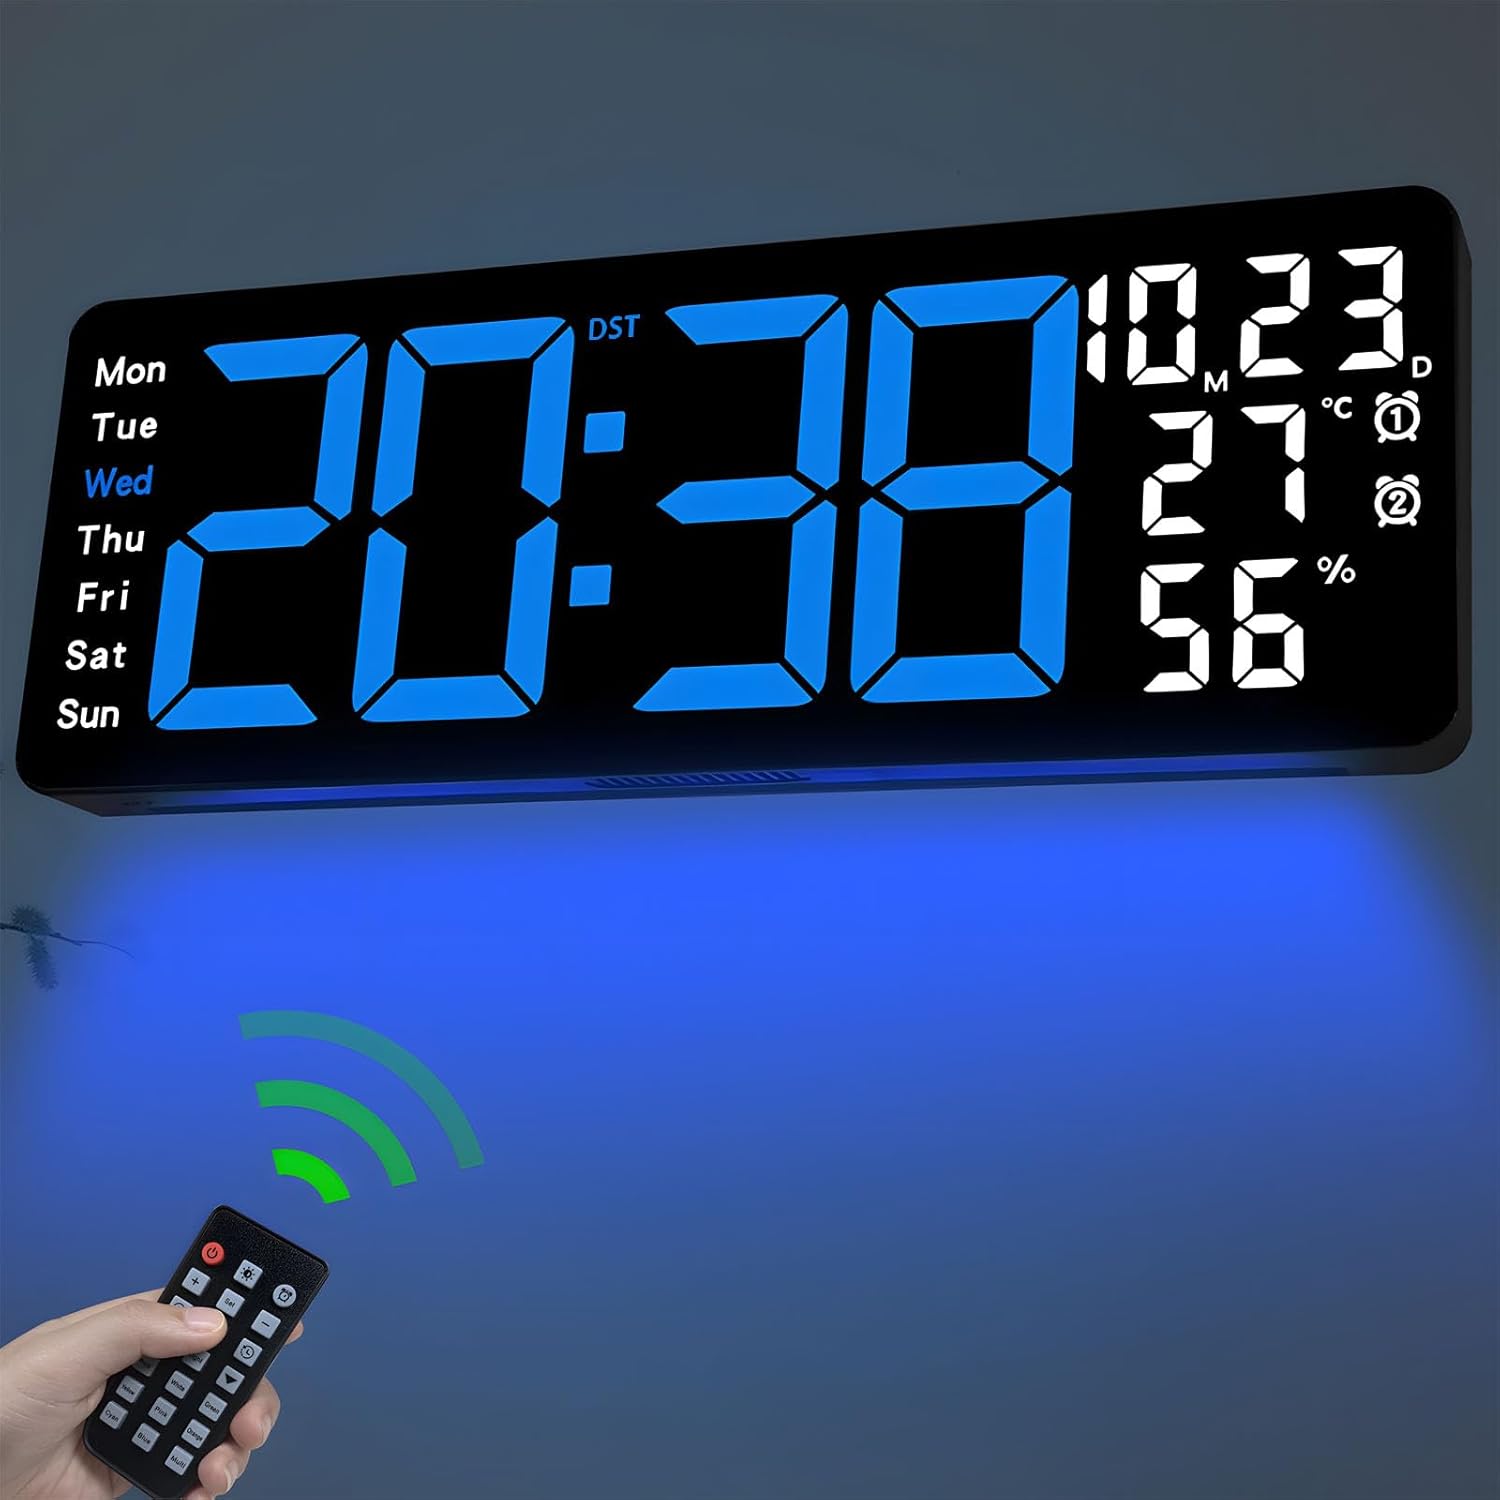
Image: The JoFomp 17.3-inch LED Digital Wall Clock displaying time, date, temperature, and humidity, with its remote control.
Apa yang ada dalam Kotak
Setelah membuka bungkusan anda, sila pastikan semua item berikut ada:
- 1 x JoFomp 17.3-inch LED Digital Wall Clock
- 1 x Remote Control (requires 2 AAA batteries, not included)
- 1 x 5V/2A Penyesuai Kuasa
- 1 x Kuasa Kuasa
- 2 x Mounting Hooks
- 1 x Mounting Ruler/Template
- 1 x Manual Arahan

Image: A visual representation of all items included in the product package: the digital wall clock, remote control, power adapter, power cord, mounting hooks, and a specification sheet/ruler.
Persediaan
Menghidupkan Jam
The JoFomp Digital Wall Clock is not battery-powered for operation. It requires continuous power via the included 5V/2A power adapter and cable. Plug the power adapter into a standard wall outlet and connect the cable to the clock.
For time memory function during power outages, insert 1 AAA battery (not included) into the memory battery compartment located on the back of the clock. This battery only retains time settings and does not power the display.

Image: The digital wall clock showing its dimensions (16.53 inches wide, 6.1 inches high) and a note indicating it must be plugged in, with the USB cable and adapter included.
Memasang Jam
The clock can be wall-mounted using the provided hooks. Use the included mounting ruler/template to mark the correct positions for the hooks on your wall. Ensure the clock is securely mounted before connecting power.

Imej: Bahagian belakang view of the clock, highlighting the 5 setting buttons, patch port, outlets, hook holes, and the 1.5V AAA memory battery storage compartment.
Arahan Operasi
The clock can be operated using either the remote control or the manual buttons on the back.
Fungsi Kawalan Jauh
The remote control provides convenient access to all clock settings. Insert 2 AAA batteries (not included) into the remote before use.

Image: The remote control for the digital wall clock, showing buttons for dual alarm, temperature, week, brightness control, drowsiness, humidity, memory function, date, ambient light, countdown, and DST.
Setting Time, Date, and Day
The clock displays time, date (month/day), day of the week, temperature, and humidity simultaneously.
- Press the 'SET' button on the remote or the back of the clock to enter setting mode.
- Use the '+' and '-' buttons to adjust the values.
- Press 'SET' again to confirm and move to the next setting.

Image: The clock's display showing the week (Mon-Sun), time, date (month/day), temperature in Celsius/Fahrenheit, alarm indicators, and humidity percentage, with each element labeled.
12/24 Hour Format Conversion
To switch between 12-hour and 24-hour time formats, press the dedicated 12/24H button on the remote control.

Image: The digital clock displaying time in both 12-hour (8:38) and 24-hour (20:38) formats, illustrating the conversion feature.
Penukaran Unit Suhu
To switch between Celsius (°C) and Fahrenheit (°F) temperature units, press the °C/°F button on the remote control.
Dwi Penggera
The clock supports two independent alarms. To set an alarm:
- Press the 'ALARM' button on the remote.
- Use '+' and '-' to set the desired alarm time.
- Press 'ALARM' again to confirm and set the second alarm if needed.
- To activate/deactivate an alarm, press the corresponding alarm button (Alarm 1 or Alarm 2) on the remote.
Pelarasan Kecerahan
The clock features 10 levels of brightness, adjustable manually or automatically.
- Kecerahan Automatik: The built-in light sensor adjusts the display brightness according to ambient light conditions. This is ideal for maintaining a comfortable viewing experience, especially at night.
- Kecerahan Manual: Use the 'BRIGHTNESS' button on the remote and then '+' or '-' to select your preferred brightness level from 1 to 10.

Image: The digital clock illustrating the 10-level brightness adjustment feature, with a brightness regulator bar and examples of different manual brightness levels (L-2, L-4, L-6, L-8, L-10).
Ambient Light Feature
The bottom of the clock includes an ambient night light with 8 fixed colors and 1 multi-color mode. This feature creates a cozy atmosphere and can provide illumination at night.
- Press the 'LIGHT' button on the remote to cycle through the ambient light colors.
- In multi-color mode, the colors will automatically cycle. To fix a specific color, press the 'OK' button on the remote when that color is displayed.
- The brightness of the ambient light can also be adjusted manually using the brightness controls after selecting a color.

Image: The digital clock demonstrating its 9-color ambient light feature, showing the clock with various colored lights projected below it, including red, green, yellow, pink, orange, cyan, blue, and a multi-color gradient.
Fungsi Pemasa dan Undur
The clock includes both count-up and countdown timer functions, up to a maximum of 99 minutes and 59 seconds.
- Press the 'TIMER' button on the remote.
- Use the left arrow button for count-up or the right arrow button for countdown.
- For countdown, use the number buttons to set the desired time, then press 'START/STOP'.
- Press 'RESET' to clear the timer.

Image: The digital clock displaying both a count-up timer (00:27) and a countdown timer (29:28), with a person exercising in the background, indicating its use for timing activities.
Waktu Jimat Siang (DST)
If DST is observed in your area, you can enable this feature for automatic time adjustment.
- Long press the '-' button on the remote control to enable or disable DST.
- When enabled, the clock will automatically adjust for Daylight Saving Time changes.

Image: The digital clock demonstrating the Daylight Saving Time (DST) feature, showing time adjustments for 'Spring Forward' (+1 hour) and 'Fall Back' (-1 hour).
Demonstrasi Video
Video: A demonstration of the JoFomp 17.3-inch Large Display Digital Wall Clock, showcasing its various functions including time, date, day, alarm, temperature, humidity, 12/24 hour format, Celsius/Fahrenheit conversion, DST, and back panel buttons.
Penyelenggaraan
- Clean the clock display and body with a soft, dry cloth. Avoid using abrasive cleaners or solvents.
- Ensure the clock is always plugged into a stable power source.
- Replace the AAA memory battery annually to ensure time retention during power interruptions.
- Keep the remote control dry and free from dust. Replace AAA batteries in the remote as needed.
Menyelesaikan masalah
- Jam tidak dihidupkan:
- Ensure the power adapter is securely plugged into both the wall outlet and the clock. Verify the wall outlet is functional.
- Incorrect time/date display:
- Enter setting mode using the remote or back buttons and manually adjust the time and date. Check if DST is enabled correctly for your region.
- Alat kawalan jauh tidak berfungsi:
- Check if the remote control batteries (2 AAA) are inserted correctly and are not depleted. Ensure there are no obstructions between the remote and the clock's sensor.
- Temperature/Humidity readings seem inaccurate:
- Ensure the clock is placed in an area with good air circulation, away from direct heat sources or extreme humidity, which could affect sensor readings.
- Ambient light not changing colors:
- Press the 'LIGHT' button on the remote to cycle through modes. If a color was previously fixed using the 'OK' button, press 'LIGHT' again to re-enable multi-color cycling or select a new fixed color.
Spesifikasi
| Ciri | Perincian |
|---|---|
| Jenama | JoFomp |
| Nombor Model | 6669 |
| Jenis Paparan | LED digital |
| Saiz Paparan | 17.3 inci |
| Dimensi Produk | 16.5"W x 6.7"H |
| Sumber Kuasa | Corded Electric (5V/2A adapter included) |
| Bateri Memori | 1 AAA battery (not included) for time memory |
| Ciri Khas | Large Display, Adjustable Brightness (10 levels, auto/manual), Temperature Display, Humidity Display, Dual Alarms, Timer, Countdown, DST, Ambient Light (8 fixed colors + 1 multi-color) |
| Jenis Pemasangan | Lekap di dinding |
| Bahan Bingkai | plastik |
| Penggunaan Dalaman/Luar | Dalaman |
Waranti dan Sokongan
Specific warranty information for the JoFomp 17.3-inch LED Digital Wall Clock (Model 6669) is not provided in the product details. For warranty claims, technical support, or further assistance, please refer to the contact information provided with your purchase or visit the official JoFomp webtapak.


