1. Pengenalan
This manual provides essential information for the installation, operation, and maintenance of your ADATA Legend 860 Solid State Drive. Please read this guide thoroughly before using the product to ensure optimal performance and longevity.
The ADATA Legend 860 is a high-performance NVMe SSD designed for expanding storage in compatible devices such as desktop PCs, laptops, and gaming consoles like the PlayStation 5. It utilizes PCIe Gen4 x4 interface for fast data transfer speeds.

Figure 1: ADATA Legend 860 NVMe Solid State Drive
2. Maklumat Keselamatan
- Sentiasa kendalikan SSD pada bahagian tepinya untuk mengelakkan sentuhan dengan penyambung atau komponen emas.
- Pastikan sistem anda dimatikan dan dicabut daripada plag elektrik sebelum pemasangan.
- Nyahcas sebarang elektrik statik daripada badan anda sebelum mengendalikan SSD. Gunakan tali pergelangan tangan anti-statik jika ada.
- Jauhkan SSD daripada kelembapan, suhu ekstrem dan medan magnet yang kuat.
- Do not attempt to disassemble or modify the SSD, as this will void the warranty.
3. Kandungan Pakej
Sahkan bahawa semua item terdapat dalam pakej anda:
- ADATA Legend 860 Solid State Drive

Figure 2: ADATA Legend 860 SSD Retail Packaging
4. Spesifikasi
| Jenama | ADATA |
| Siri | Lagenda 860 |
| Nombor Model | SLEG-860-1000GCS |
| Kapasiti Storan Digital | 1 TB |
| Antara Muka Cakera Keras | NVMe |
| Teknologi Ketersambungan | PCIe Gen4 x4 |
| Faktor Bentuk | M.2 2280 |
| Peranti Serasi | Desktop, Gaming Console (PS5), Laptop |
| Berat Barang | 0.353 auns |
| Dimensi Produk | 5.24 x 0.31 x 1.57 inci |
5. Persediaan & Pemasangan
The ADATA Legend 860 SSD is designed for easy installation into compatible M.2 slots. Follow these general steps for installation:
- Sediakan Sistem Anda: Power off your computer or gaming console and unplug all cables. Open the casing to access the motherboard or M.2 expansion slot.
- Cari Slot M.2: Identify an available M.2 slot on your motherboard. These slots are typically labeled and may be covered by a heatsink.
- Masukkan SSD: Gently slide the ADATA Legend 860 SSD into the M.2 slot at a 30-degree angle. Ensure the gold connectors are fully seated.
- Selamatkan SSD: Once inserted, push the SSD down until it is parallel with the motherboard. Secure it with the provided screw (usually included with your motherboard or console).
- Tutup Casing: Replace any heatsinks or covers, and close your system's casing.
- Power On and Initialize: Reconnect all cables and power on your system. You may need to initialize and format the new SSD through your operating system's Disk Management (Windows) or Disk Utility (macOS) before it can be used. Refer to your operating system's documentation for detailed instructions.
Cth Pemasanganamples:
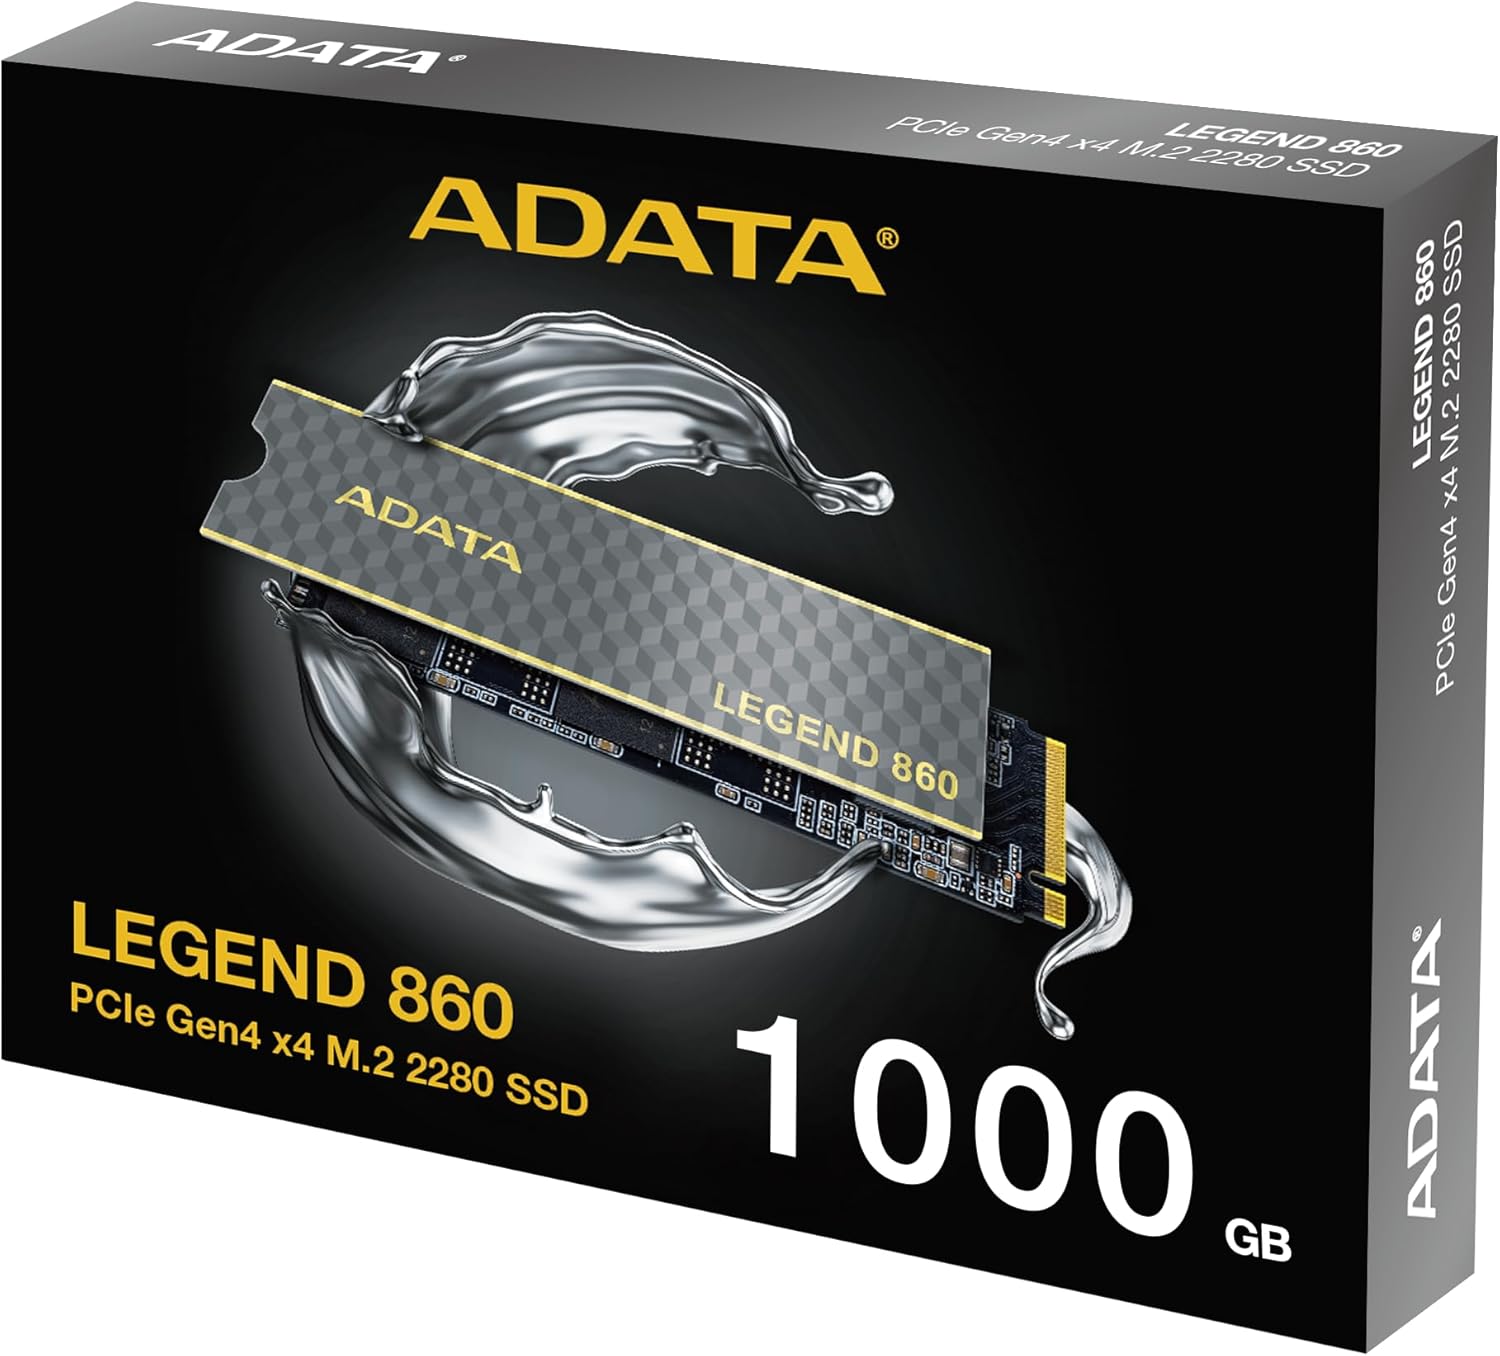
Figure 3: SSD installed in a desktop motherboard

Figure 4: SSD installed in a PlayStation 5 console
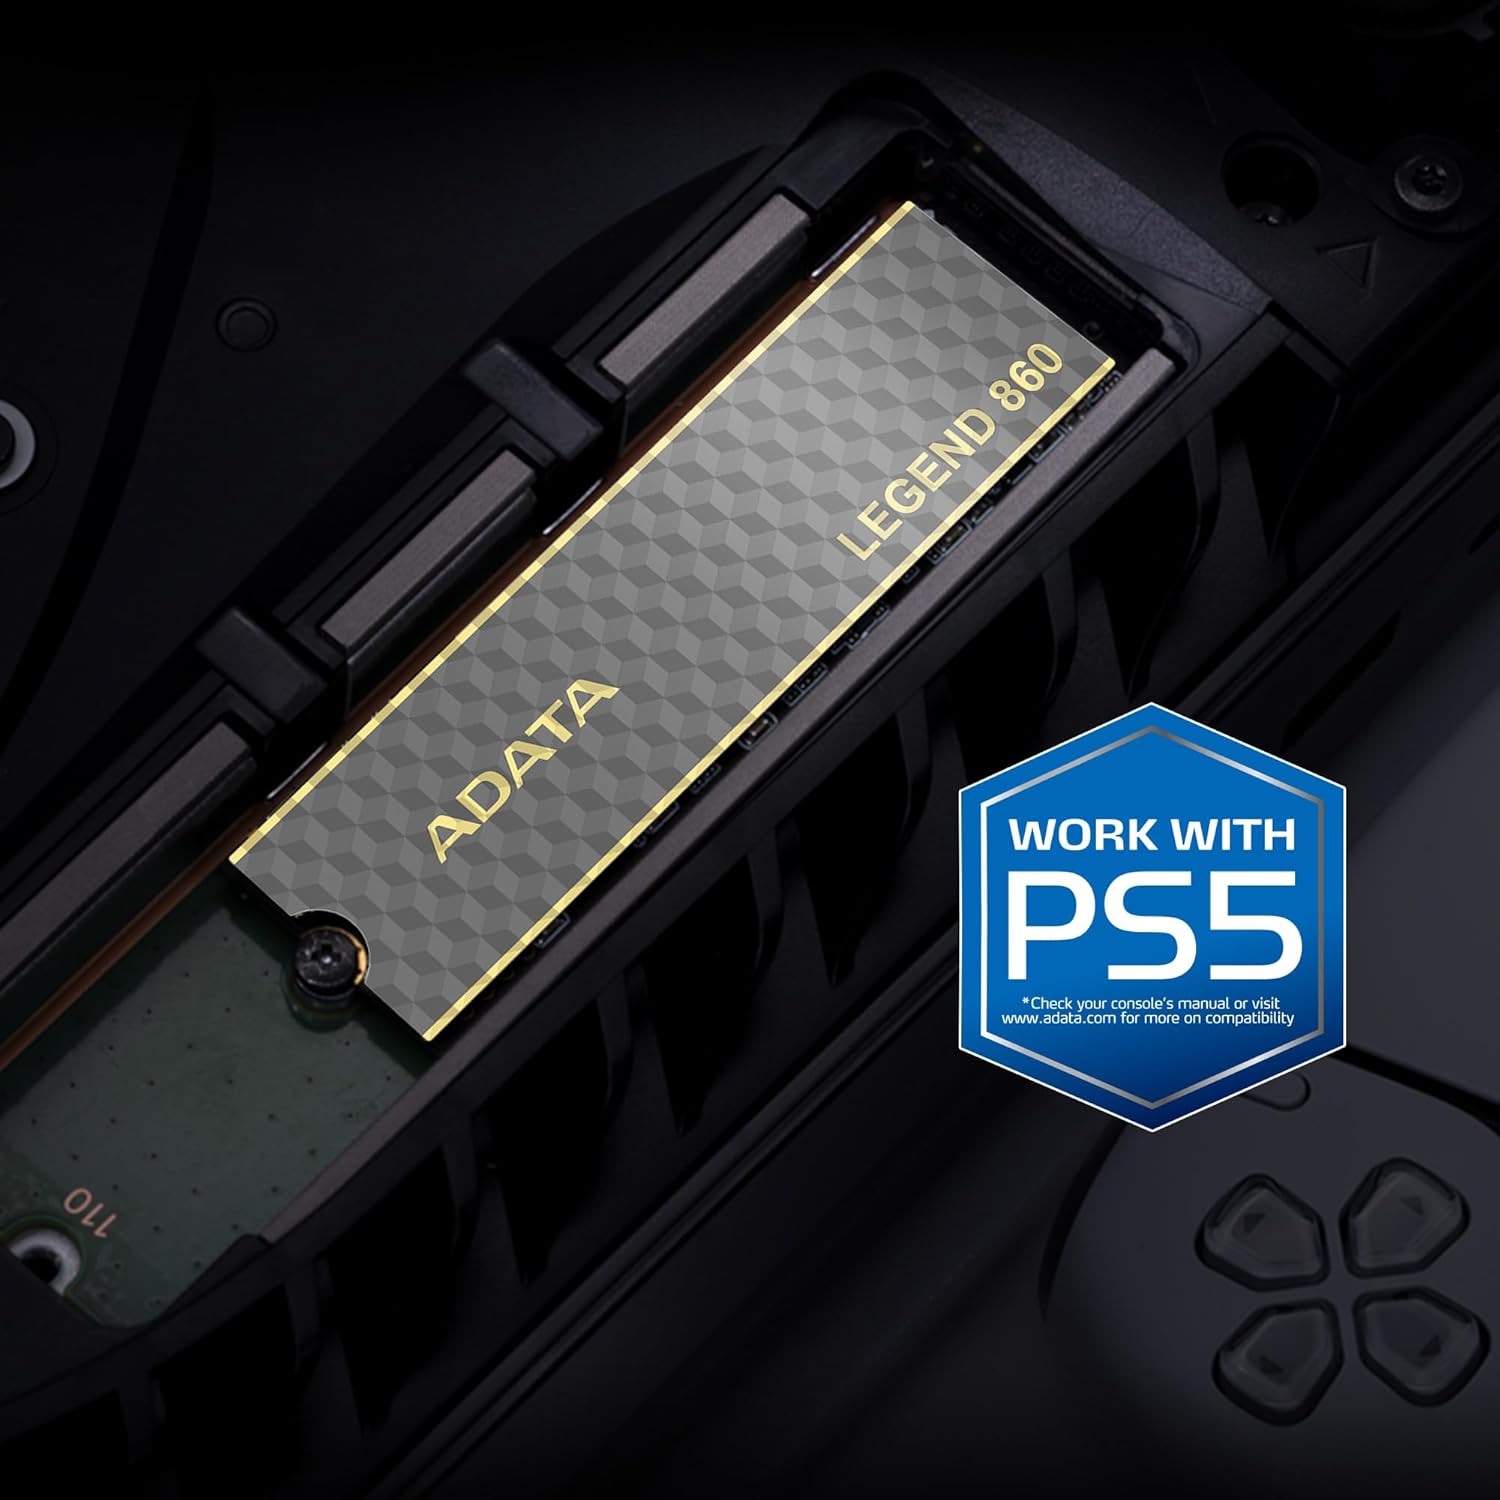
Figure 5: SSD installed in a laptop
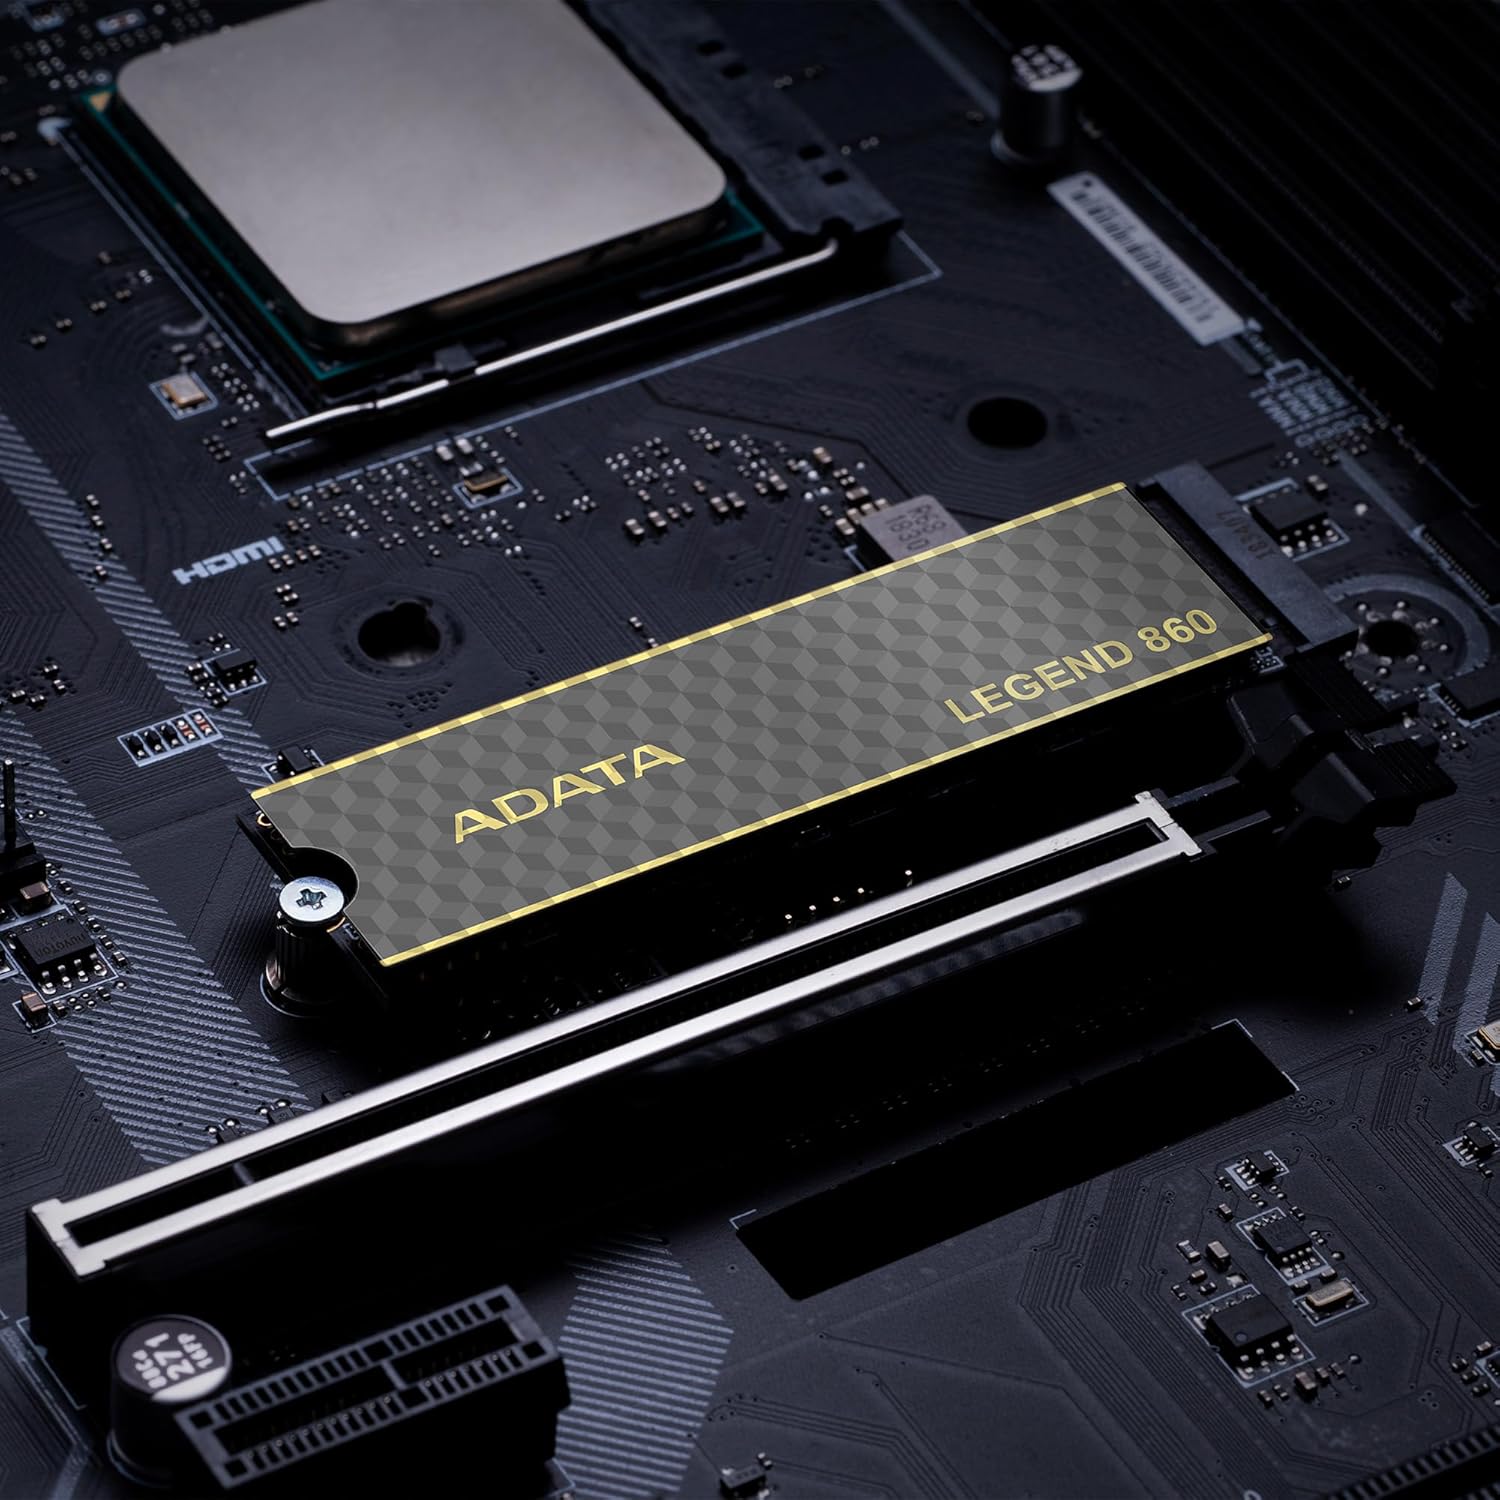
Figure 6: SSD in an external enclosure for portable use
6. Operasi
Once installed and formatted, your ADATA Legend 860 SSD will function as a high-speed storage device. You can use it for:
- Operating System Drive: Install your operating system for faster boot times and overall system responsiveness.
- Gaming Library: Store your games to significantly reduce load times and improve gaming experience.
- Storan Aplikasi: Install demanding applications for quicker launch and operation.
- Penyimpanan Data: Use it for high-speed storage of large files, such as 4K videos, high-resolution images, and large project files.
For optimal performance, ensure your system's drivers and firmware are up to date.
7. Penyelenggaraan
To maintain the performance and longevity of your ADATA Legend 860 SSD:
- Pastikan Perisian Tegar dikemas kini: Periodically check the ADATA official weblaman web untuk kemas kini perisian tegar untuk SSD anda. Kemas kini perisian tegar boleh meningkatkan prestasi, kestabilan dan keserasian.
- Elakkan Melebihi: While SSDs perform well even when nearly full, leaving some free space (typically 10-15%) can help maintain optimal performance and extend lifespan.
- Dayakan TRIM: Ensure TRIM is enabled in your operating system. TRIM helps the SSD manage its storage space efficiently, preventing performance degradation over time. Most modern operating systems enable TRIM by default for SSDs.
- Pantau Kesihatan: Use SSD monitoring tools (often provided by ADATA or third-party software) to check the health and estimated lifespan of your drive.
- Sandaran Biasa: Sandarkan data penting secara berkala ke peranti storan lain. Walaupun SSD boleh dipercayai, tiada peranti storan yang kebal daripada kegagalan.
8. Penyelesaian masalah
If you encounter issues with your ADATA Legend 860 SSD, consider the following troubleshooting steps:
- SSD Tidak Dikesan:
- Ensure the SSD is correctly seated in the M.2 slot.
- Check your system's BIOS/UEFI settings to confirm the M.2 slot is enabled and configured correctly.
- Verify that your motherboard or console supports NVMe PCIe Gen4 SSDs.
- Try the SSD in a different M.2 slot or a compatible external enclosure to rule out a motherboard issue.
- Prestasi Perlahan:
- Ensure your system's M.2 slot supports PCIe Gen4 speeds. If it's a Gen3 slot, the SSD will operate at Gen3 speeds.
- Check if TRIM is enabled (as mentioned in Maintenance).
- Pastikan SSD tidak hampir penuh.
- Update your motherboard's chipset drivers and SSD firmware.
- Ketidakstabilan/Ranap Sistem:
- Ensure the SSD is properly secured and not overheating.
- Run a diagnostic tool to check the SSD's health.
- Check for system-wide issues (RAM, CPU, power supply).
If problems persist, contact ADATA customer support for further assistance.
9. Waranti dan Sokongan
The ADATA Legend 860 Solid State Drive typically comes with a manufacturer's warranty. Please refer to the official ADATA website or your product packaging for specific warranty terms and conditions, including the duration and coverage details.
For technical support, driver downloads, firmware updates, and additional product information, please visit the official ADATA support webtapak: www.adata.com
Simpan bukti pembelian anda untuk tuntutan waranti.


