1. Arahan Keselamatan Penting
Please read all instructions carefully before operating the Milex Nordic Ice Machine. Retain this manual for future reference.
- Pastikan perkakas diletakkan di atas permukaan yang stabil dan rata, jauh daripada cahaya matahari langsung dan sumber haba.
- Jangan rendamkan kord kuasa, palam atau mana-mana bahagian perkakas di dalam air atau cecair lain.
- Perkakas ini adalah untuk kegunaan isi rumah sahaja. Jangan gunakan di luar rumah.
- Awasi kanak-kanak apabila perkakas sedang digunakan.
- Unplug the ice machine from the power outlet before cleaning or when not in use.
- Jangan kendalikan sebarang perkakas dengan kord atau palam yang rosak, atau selepas perkakas tidak berfungsi atau rosak dalam apa jua cara.
- Allow the unit to stand upright for at least 2 hours before first use if it has been transported horizontally. This allows the refrigerant to settle.
- Gunakan hanya air yang boleh diminum di dalam tangki air.
- Do not block ventilation openings. Ensure adequate air circulation around the unit.
2. Produk Lebihview
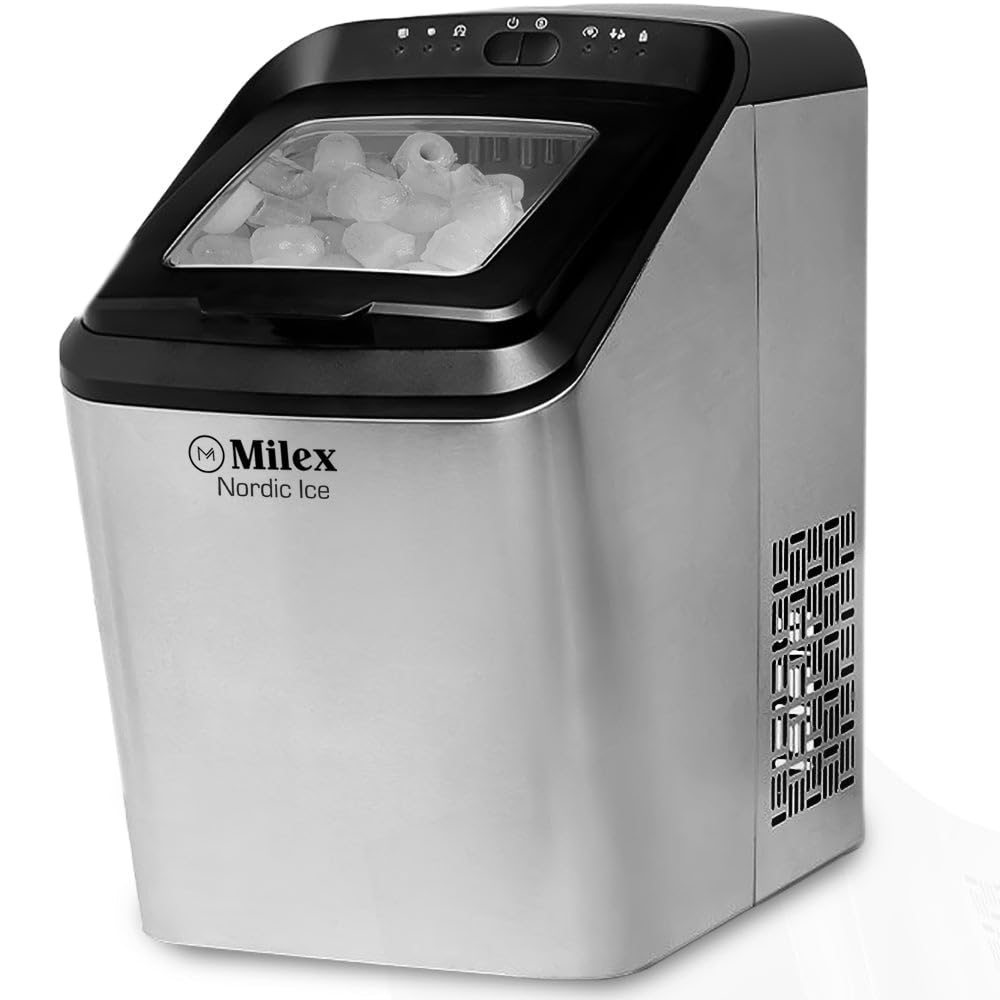
Familiarize yourself with the components of your Milex Nordic Ice Machine.
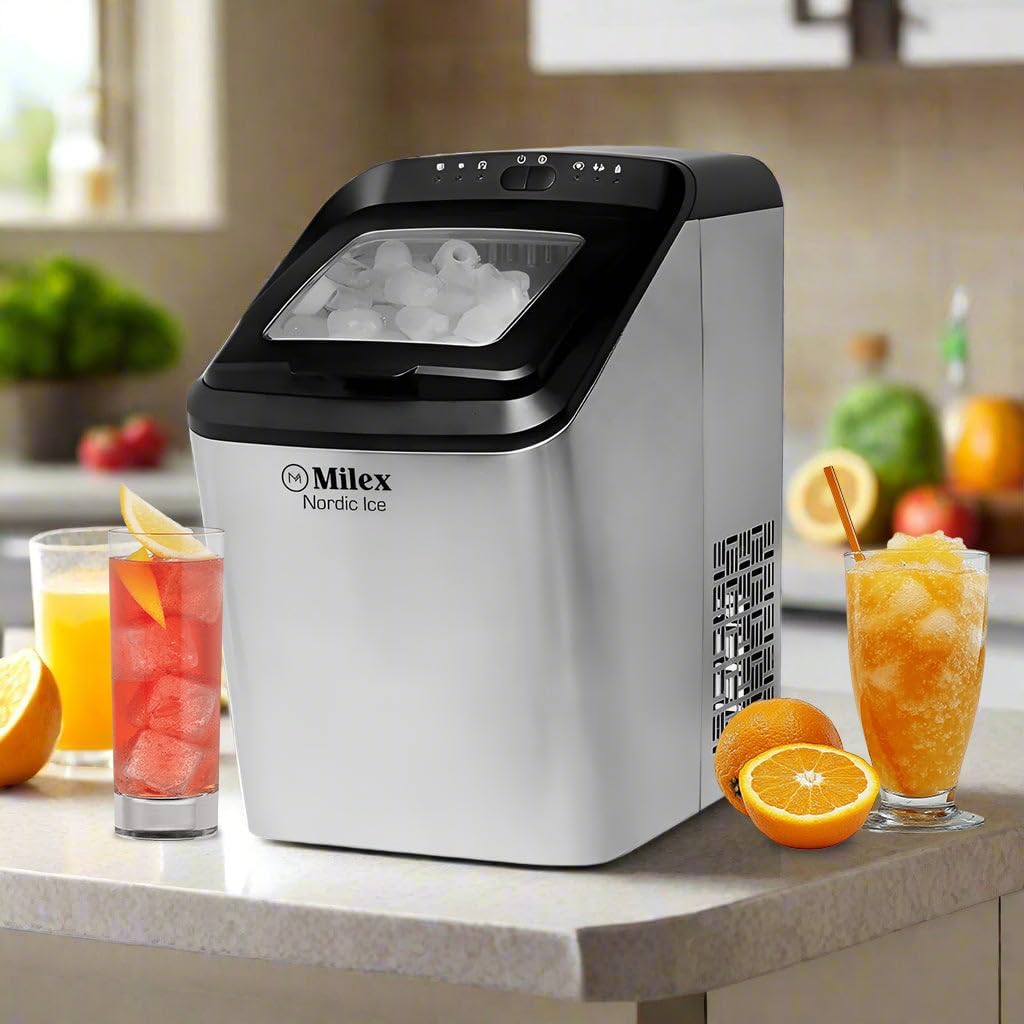
Rajah 2.1: Depan view of the Milex Nordic Ice Machine, showcasing its sleek stainless steel housing and transparent lid.
Komponen Utama:
- Panel Kawalan: Located on the top, with indicator lights and buttons for operation.
- Tudung Lutsinar: Membolehkan viewing of the ice-making process and ice level.
- Bakul Ais: Removable basket for collecting and storing ice.
- Tangki Air: Reservoir for water, located beneath the ice basket.
- Scoop Ais: Termasuk untuk pengambilan ais yang bersih.
- Palam Longkang: Terletak di bahagian bawah untuk mengalirkan air.
3. Persediaan
Follow these steps to set up your ice machine for the first time.
- Bongkar: Carefully remove the ice machine from its packaging. Remove all packing materials, tape, and labels.
- jawatan: Place the ice machine on a flat, stable, and heat-resistant surface. Ensure there is at least 15 cm (6 inches) of space around the unit for proper ventilation.
- Berdiri Tegak: If the unit was transported horizontally, allow it to stand upright for at least 2 hours before plugging it in. This ensures the compressor oil settles correctly.
- Bersih: Before first use, clean the interior of the ice machine as described in the 'Maintenance and Cleaning' section.
- Sambungkan Kuasa: Palamkan kord kuasa ke salur keluar elektrik yang dibumikan.
4. Arahan Operasi
Operating your Milex Nordic Ice Machine is straightforward.

Rajah 4.1: Visual guide showing the three main steps: adding water, selecting ice size, and the ice production process.
4.1 Pengeluaran Ais Awal
- Tambah Air: Open the lid and fill the water tank with potable water up to the 'MAX' fill line. Do not overfill.
- Hidupkan kuasa: Press the 'POWER' button on the control panel. The power indicator light will illuminate.
- Pilih Saiz Ais: Press the 'SELECT' button to choose between small or large ice cubes. The corresponding indicator light will illuminate.
- Mulakan Kitaran: The machine will automatically begin the ice-making cycle. The first batch of ice may take approximately 8-15 minutes, depending on the selected size and ambient temperature.
- Pantau: The 'ICE FULL' indicator light will illuminate when the ice basket is full. The machine will pause operation. The 'ADD WATER' indicator light will illuminate when the water tank needs refilling.
- Retrieve Ice: Use the provided ice scoop to remove ice from the basket. Once ice is removed, the machine will resume operation if water is present.
Rajah 4.2: Terperinci view of the control panel with indicator lights and freshly made bullet-shaped ice cubes.
4.2 Amaran Pintar
- Tambah Penunjuk Air: When this light illuminates, the water level in the tank is low. Refill the water tank to continue ice production.
- Penunjuk Penuh Ais: When this light illuminates, the ice basket is full. Remove ice to allow the machine to resume operation.
5. Penyelenggaraan dan Pembersihan
Regular cleaning ensures optimal performance and extends the life of your ice machine.
5.1 Pembersihan Harian
- After each use, unplug the unit.
- Drain any remaining water from the water tank by removing the drain plug at the bottom of the unit.
- Wipe the interior with a soft cloth and a mild detergent solution. Rinse thoroughly.
- Dry all surfaces completely before storing.
Pembersihan 5.2 Bulanan
- Prepare a cleaning solution of water and white vinegar (1:1 ratio) or a commercial ice machine cleaner.
- Tuangkan larutan ke dalam tangki air.
- Run a few ice-making cycles (discard the ice produced during this cleaning process).
- Drain the solution completely and rinse the water tank thoroughly with clean water several times.
- Lap bahagian luar dengan iklanamp kain.
Awas: Do not use abrasive cleaners or sharp objects to clean the ice machine, as this may damage the surfaces.
6. Penyelesaian masalah
Rujuk bahagian ini untuk isu biasa dan penyelesaiannya.
| Masalah | Kemungkinan Punca | Penyelesaian |
|---|---|---|
| Ice machine not turning on | Tiada bekalan kuasa | Periksa sama ada kord kuasa dipasang dengan selamat ke soket yang berfungsi. |
| 'ADD WATER' indicator is on | Water tank is empty or low | Refill the water tank with potable water up to the 'MAX' line. |
| 'ICE FULL' indicator is on | Bakul ais penuh | Remove ice from the basket. The machine will resume operation. |
| Tiada pengeluaran ais | Insufficient water, high ambient temperature, or air blockage | Ensure water tank is full. Place the machine in a cooler environment. Check for proper ventilation. |
| Ice cubes are too small or clumpy | Water temperature too high, or first cycle | Use colder water. The first few cycles may produce smaller ice. Ensure the machine has proper ventilation. |
7. Spesifikasi
Technical details for the Milex Nordic Ice Machine MIM003.
- model: MIM003
- Kuasa: 220-240V, 50Hz
- Kapasiti Tangki Air: 2.8 Liter
- Kapasiti Pengeluaran Ais: Up to 15kg per day
- Kapasiti Penyimpanan Ais: Sehingga 1.5kg
- Ice Cycle Time: 8-10 minutes per cycle (9 ice bullets)
- Ice Options: Large or Small bullet-shaped ice
- Bahan: Perumahan keluli tahan karat
- Dimensions (Box): 458mm x 290mm x 462mm
- Berat Barang: 12 kg
8. Waranti dan Sokongan Pelanggan
For warranty information, technical assistance, or customer support, please contact Milex customer service. Refer to your purchase documentation for specific warranty terms and contact details.
Anda biasanya boleh mendapatkan maklumat hubungan sokongan pada pegawai pengilang webtapak atau melalui peruncit anda.