Follow the numerical steps provided in the kit's diagrammatic instructions. The following outlines general procedures.
1. Chassis and Undercarriage
- Carefully remove all chassis components from their sprues using nippers.
- Assemble the main chassis frame.
- Attach the exhaust pipe and other foot area components to the underside of the chassis. These are reproduced as separate parts for enhanced detail.
- Assemble and attach the suspension components and axles.

Image: An inverted view of the assembled model, showcasing the detailed chassis, exhaust system, and suspension components.
3. Body and Exterior
- Assemble the main body shell. Ensure all seams are clean and smooth.
- Attach clear parts for windows and headlights. Use clear cement for these parts to avoid fogging.
- Assemble and attach exterior details such as mirrors, bumpers, and spoilers. The model features an impressive figure resembling a silhouette formula.
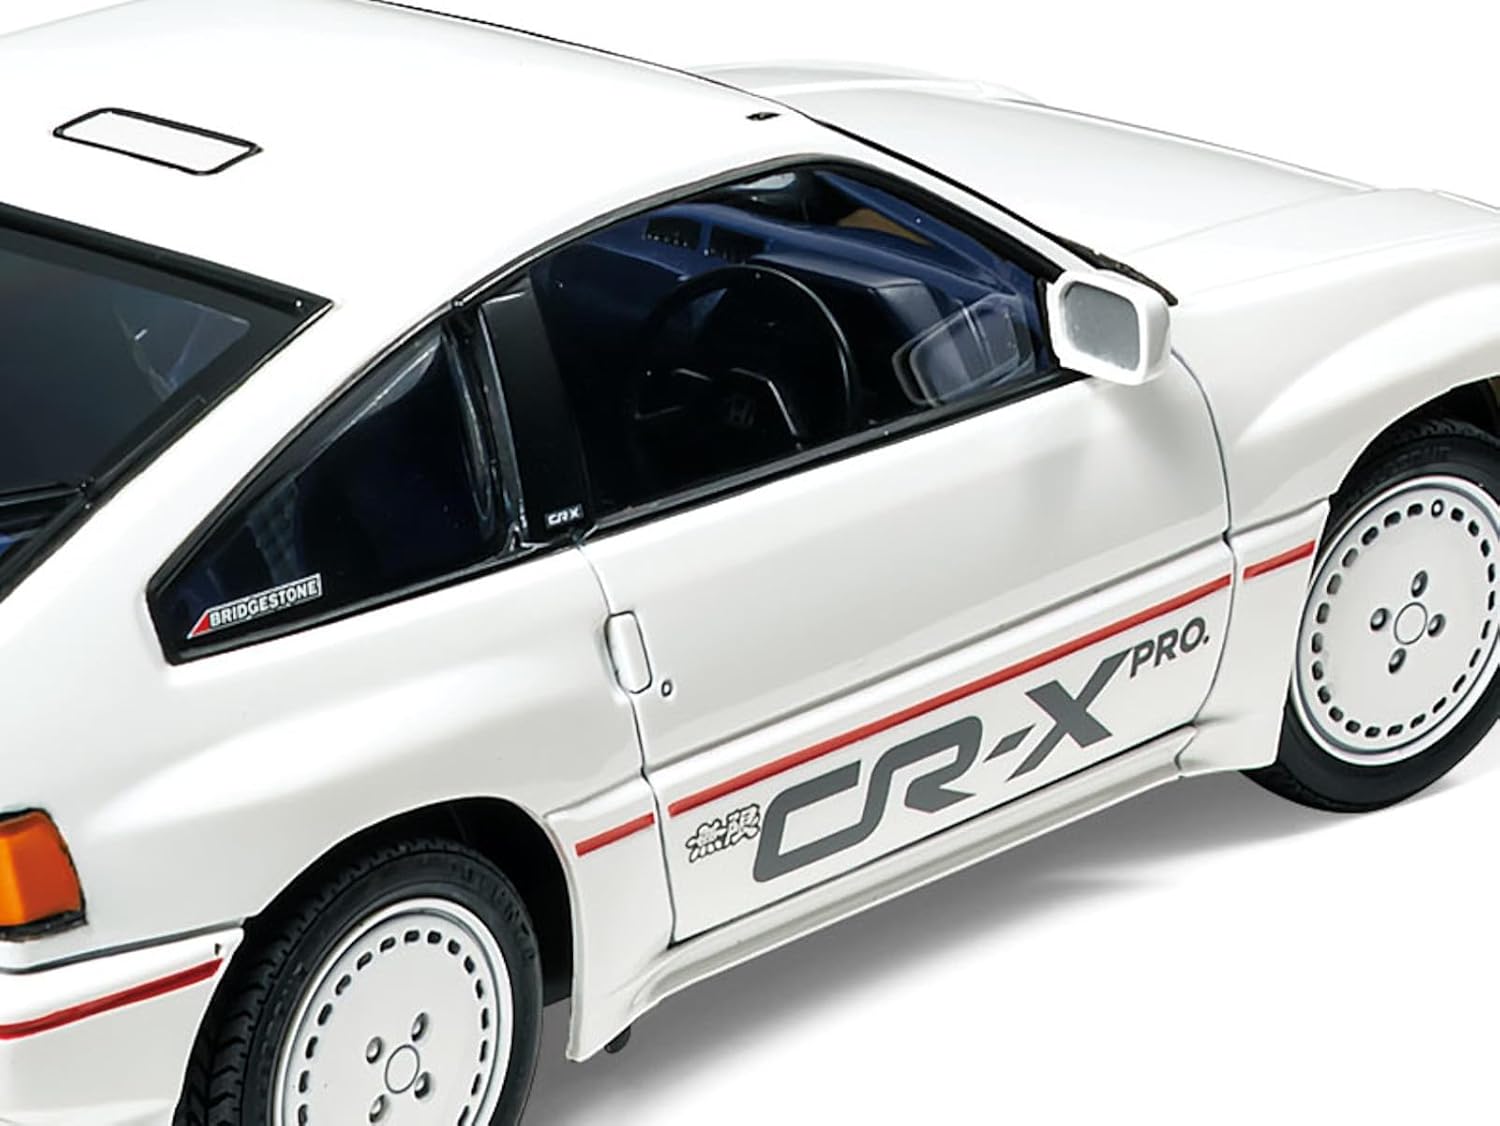
Imej: Sebelah view of the completed model, showing the body lines, wheels, and exterior details.
4. Roda dan Tayar
- Mount the rubber tires onto the plastic wheel rims.
- Attach the assembled wheels to the axles on the chassis.

Image: A rear three-quarter view of the completed model, highlighting the rear wheels, taillights, and 'CR-X PRO' badging.


