pengenalan
This manual provides essential information for the safe and effective operation of your SCULPFUN S30 Laser Engraver. Please read it thoroughly before setup and use to ensure optimal performance and safety.

Figure 1: SCULPFUN S30 Laser Engraver with various engraved samples including a wallet, business cards, and a wooden insect model.
Maklumat Keselamatan
Operating a laser engraver involves potential hazards. Adhere strictly to the following safety guidelines:
- Perlindungan Mata: Always wear appropriate laser safety goggles (Laser Class IV) when the laser is active. Never look directly at the laser beam.
- Pengudaraan: Operate the engraver in a well-ventilated area to dissipate fumes and smoke produced during engraving and cutting.
- Bahaya Kebakaran: Laser engraving can ignite flammable materials. Keep a fire extinguisher nearby and never leave the machine unattended during operation. The S30 includes an emergency power switch for quick shutdown.
- Keserasian Bahan: Only engrave or cut materials safe for laser processing. Avoid PVC, vinyl, and other materials that produce toxic fumes.
- Perlindungan Permukaan Kerja: Use the provided A4 size steel mat or a similar fire-resistant surface to protect your workbench from laser damage.
- Kanak-kanak dan Haiwan Kesayangan: Jauhkan kanak-kanak dan haiwan peliharaan dari kawasan operasi.
- Keselamatan Elektrik: Ensure the power supply is correctly connected and grounded. Do not operate with wet hands or in damp syarat.
Ciri-ciri Produk
The SCULPFUN S30 Laser Engraver incorporates advanced features for precision and efficiency:
- Automatic Air Assist: Equipped with an automatically controlled air pump. This feature intelligently manages air-assist via the M8 button in LightBurn software, directing high-pressure airflow through the metal nozzle. This significantly increases cutting speed (over 5 times faster) and improves cutting performance by clearing debris and reducing charring.
- Ultra-fine Laser Modeling Technology: Features a precise 0.005mm industrial linear guide and a laser focus of 0.06x0.06mm. This results in higher energy density, stronger cutting penetration, and enhanced engraving accuracy, eliminating wave lines in engravings.
- Reka Bentuk Selamat dan Stabil: Constructed from high-strength aluminum alloy, capable of supporting up to 50kg. Includes an emergency power switch for immediate shutdown and an A4 size steel mat to protect surfaces.
- Expandable Engraving Area: The original working area is approximately 400x400mm. It can be expanded to 935x400mm with a Y-axis extension kit, or further to 935x905mm with an XY-axis extension kit (sold separately), accommodating larger projects.
- Keserasian Luas: The latest 32-bit motherboard supports automatic Air-Assist control. Features Bluetooth and SD card offline printing. Compatible with LightBurn (with M8 air support), LaserGRBL, Benbox, GrblController, and LiteFire. Supports Windows and MAC systems. File formats include NC, BMP, JPG, PNG, DXF, and other image formats.
- Output Laser: Class IV laser with 5000mW output power.

Figure 2: Illustration of the S30's high-density, sharp laser beam and 5W powerful laser beam shaping technology.
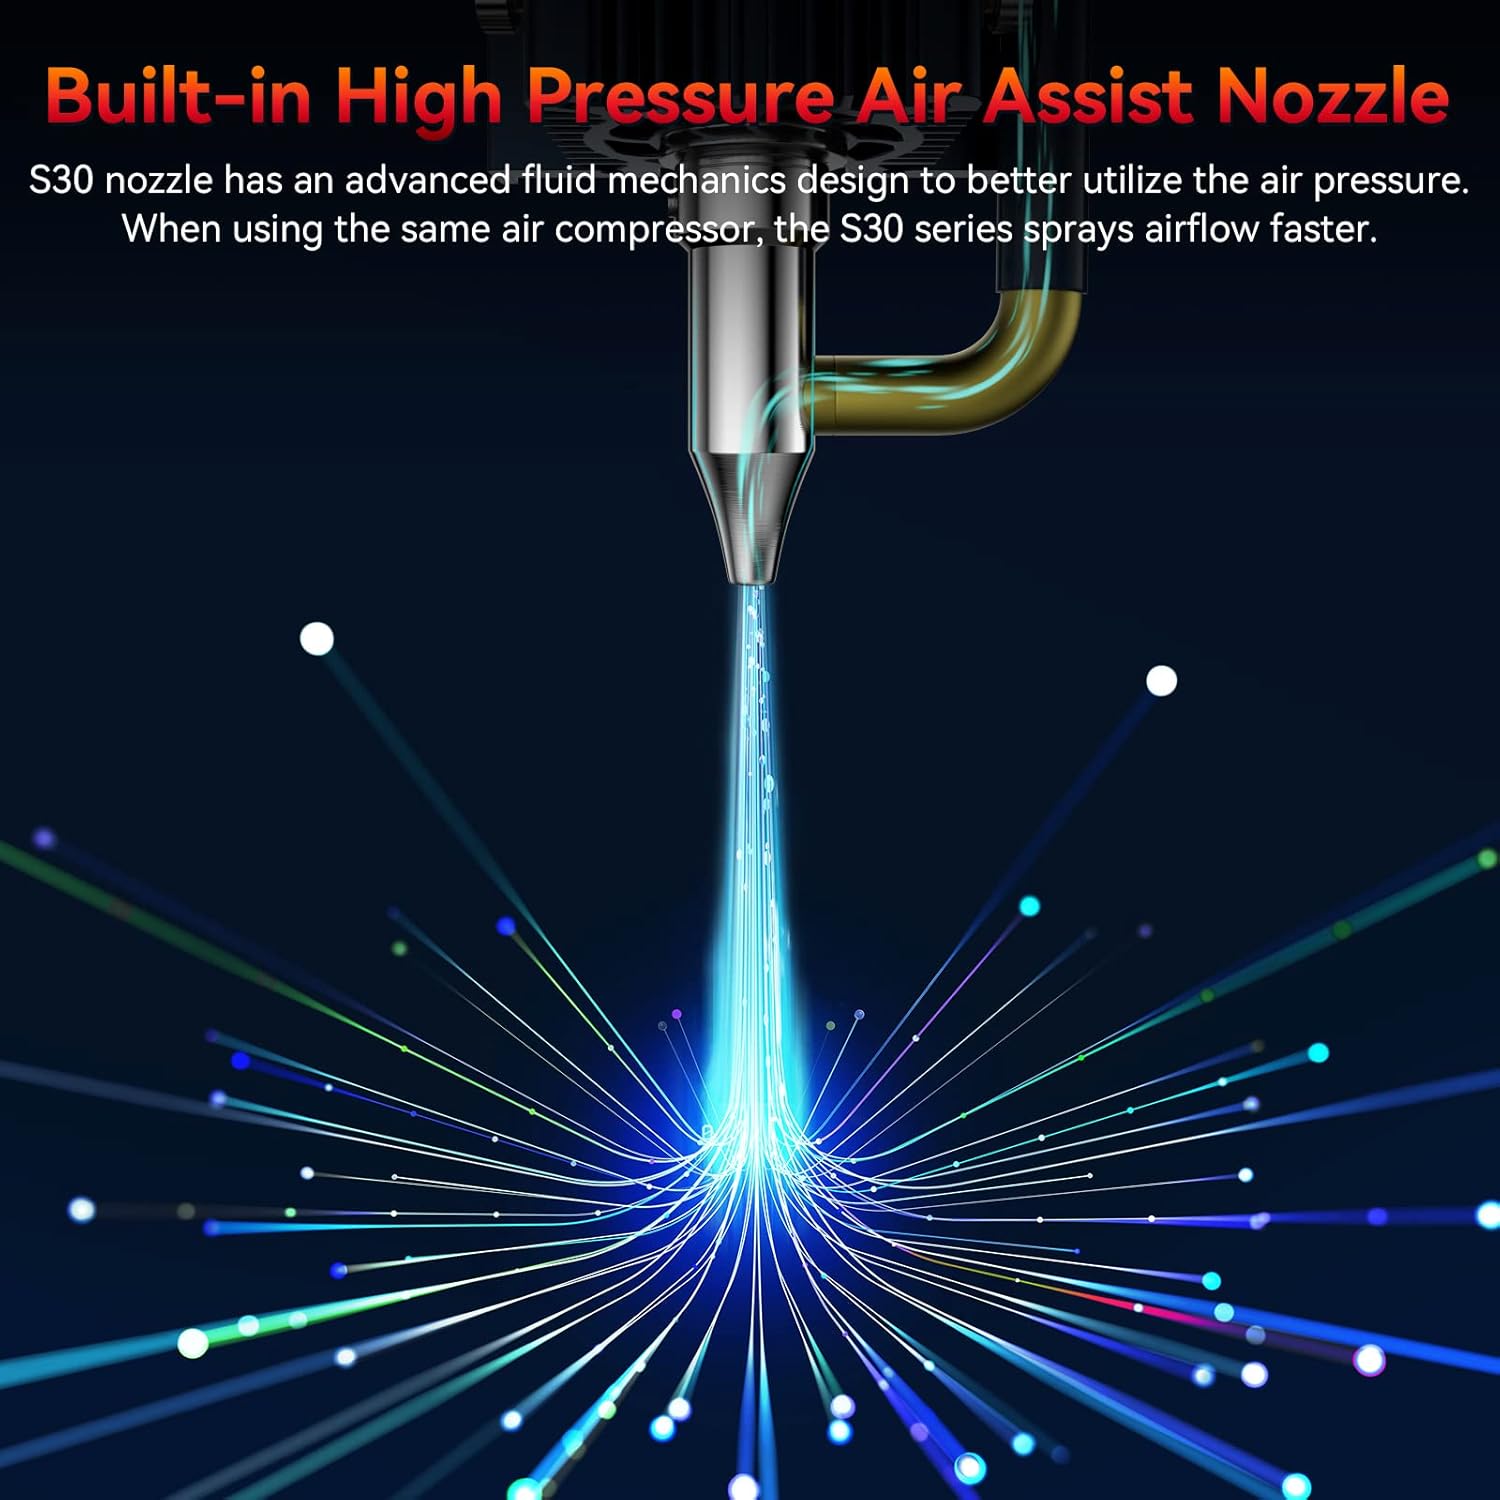
Figure 3: Close-up of the S30's built-in high-pressure air assist nozzle, demonstrating airflow.

Figure 4: Diagram showing the automatic controlled air assist feature and its integration with LightBurn software (M8 Air Assist Switch).

Figure 5: Comparison illustrating the benefits of automatic air assist over traditional manual air pumps for clean edges and efficient cutting.

Figure 6: Visual representation of the high precision 0.005mm industrial grade linear rail, highlighting the improved engraving accuracy without wavy lines.
Panduan Persediaan
Follow these steps to set up your SCULPFUN S30 Laser Engraver:
- Membongkar: Keluarkan semua komponen dari pembungkusan dengan berhati-hati. Sahkan semua bahagian ada pada senarai pembungkusan.
- Perhimpunan: Assemble the frame according to the included assembly instructions. Ensure all screws are tightened securely.
- Pemasangan Modul Laser: Mount the laser module onto the gantry. Connect the laser module cable to the main control board.
- Sambungan Pam Udara: Connect the air pump to the designated port on the laser module and the main control board.
- Kuasa dan Sambungan USB: Connect the power adapter to the engraver and a power outlet. Connect the engraver to your computer via the provided USB cable.
- Pemasangan Perisian: Install the recommended software (e.g., LightBurn, LaserGRBL) on your computer. Drivers may be required.
- Penentukuran Awal: Follow the software's instructions for initial calibration, including setting the working area and focusing the laser.
Gambar 7: Lebihview of the SCULPFUN S30 components, including the laser module, air pump, and frame parts.
Arahan Operasi
This section outlines the basic steps for operating your laser engraver:
- Sediakan Bahan: Place the material to be engraved or cut on the work surface, ensuring it is flat and secure. Use the steel mat underneath.
- Persediaan Perisian: Open your chosen laser control software (e.g., LightBurn). Import or create your design.
- Tetapan Parameter: Adjust laser power, speed, and passes based on the material and desired effect. Refer to material test guides for optimal settings.
- Focus the Laser: Manually or automatically adjust the laser focus for optimal performance. The S30 features a fixed-focus laser, simplifying this step.
- Enable Air Assist: For cutting operations, ensure the automatic air assist is enabled in the software (M8 command in LightBurn). For engraving, it may be turned off for finer details.
- Mulakan Operasi: Initiate the engraving or cutting process from the software. Monitor the process closely.
- penyiapan: Once the process is complete, wait for the laser to stop and fumes to clear before removing the material.
Video 1: Demonstration of the SCULPFUN S30 Laser Engraver in operation, showcasing its cutting and engraving capabilities on various materials. This video highlights the precision and speed of the machine.
Video 2: Penutupan terperinciview of the SCULPFUN S30/S30 Pro/S30 Pro Max laser engraver, illustrating key features and performance aspects across the series.
Penyelenggaraan
Regular maintenance ensures the longevity and performance of your engraver:
- Bersihkan Lensa: Periodically clean the laser lens with a soft, lint-free cloth and lens cleaning solution to maintain optimal laser focus and power. The S30 features a replaceable lens for easy maintenance.
- Clean the Work Area: Remove debris and dust from the honeycomb workbed and surrounding areas after each use.
- Lubricate Rails: Apply a small amount of lubricant to the linear guide rails periodically to ensure smooth movement of the laser module.
- Semak Sambungan: Regularly inspect all cable connections for looseness or damage.
Menyelesaikan masalah
Isu biasa dan penyelesaiannya:
| Masalah | Kemungkinan Punca | Penyelesaian |
|---|---|---|
| Laser tidak menembak | Power cable loose, emergency stop engaged, software error, laser module fault. | Check power connections, release emergency stop button, restart software/computer, contact support if issue persists. |
| Kualiti ukiran/pemotongan yang buruk | Fokus salah, tetapan kuasa/kelajuan salah, kanta kotor, masalah bahan. | Re-focus laser, adjust power/speed settings, clean laser lens, ensure material is suitable and flat. |
| Mesin tidak bergerak | Loose belt, motor cable disconnected, software communication error. | Check and tighten belts, verify motor cable connections, restart software/computer, check USB connection. |
| Air assist not working | Air pump not connected, M8 command not enabled in software, air hose kinked. | Ensure air pump is connected and powered, enable M8 command in LightBurn, check air hose for obstructions. |
Spesifikasi
- model: xxl-S30 5W
- Kuasa Output Laser: 5W
- Kawasan Ukiran: 400mm x 400mm (Expandable to 935mm x 400mm or 935mm x 905mm with extension kits)
- Fokus Laser: 0.06mm x 0.06mm
- Linear Guide Accuracy: 0.005mm
- Papan induk: Latest 32-bit with Air-Assist automatic control
- Ketersambungan: USB, Bluetooth, SD Card (offline printing)
- Perisian yang Disokong: LightBurn, LaserGRBL, Benbox, GrblController, LiteFire
- Sistem Operasi yang Disokong: Windows, MAC
- Disokong File Format: NC, BMP, JPG, PNG, DXF, etc.
- Dimensi Produk: 18.11 x 18.11 x 6.69 inci
- Berat Barang: 14.17 paun
- Pengeluar: SCULPFUN
- Negara Asal: China
- Tarikh Mula-mula Tersedia: 9 Julai 2024
Waranti dan Sokongan
For warranty information and technical support, please refer to the official SCULPFUN webtapak atau hubungi peruncit anda. Simpan resit pembelian anda sebagai bukti pembelian untuk tuntutan waranti.
SCULPFUN Official Store: Visit the SCULPFUN Store on Amazon


