1. Pengenalan dan Maklumat Keselamatan
Thank you for choosing the Candy CW50-BP12307-S Front-Load Washing Machine. This manual provides essential information for the safe and efficient use of your appliance. Please read it thoroughly before installation and operation, and keep it for future reference.
1.1 Amaran Keselamatan Am
- Sentiasa putuskan sambungan perkakas daripada bekalan kuasa sebelum membersihkan atau melakukan penyelenggaraan.
- Perkakas ini tidak dimaksudkan untuk digunakan oleh orang (termasuk kanak-kanak) yang kurang keupayaan fizikal, deria atau mental, atau kurang pengalaman dan pengetahuan, melainkan mereka telah diberi pengawasan atau arahan mengenai penggunaan perkakas oleh orang yang bertanggungjawab untuk keselamatan mereka.
- Kanak-kanak harus diawasi untuk memastikan bahawa mereka tidak bermain dengan perkakas.
- Jangan pasang perkakas dalam iklanamp tempat atau di mana ia mungkin terdedah kepada air.
- Pastikan semua bahan pembungkus dikeluarkan sebelum digunakan.
- Jangan gunakan kord sambungan atau berbilang penyesuai.
- Do not open the detergent drawer during the wash cycle.
- Jangan sentuh perkakas dengan tangan atau kaki yang basah.
2. Produk Lebihview
Biasakan diri anda dengan komponen utama mesin basuh anda.
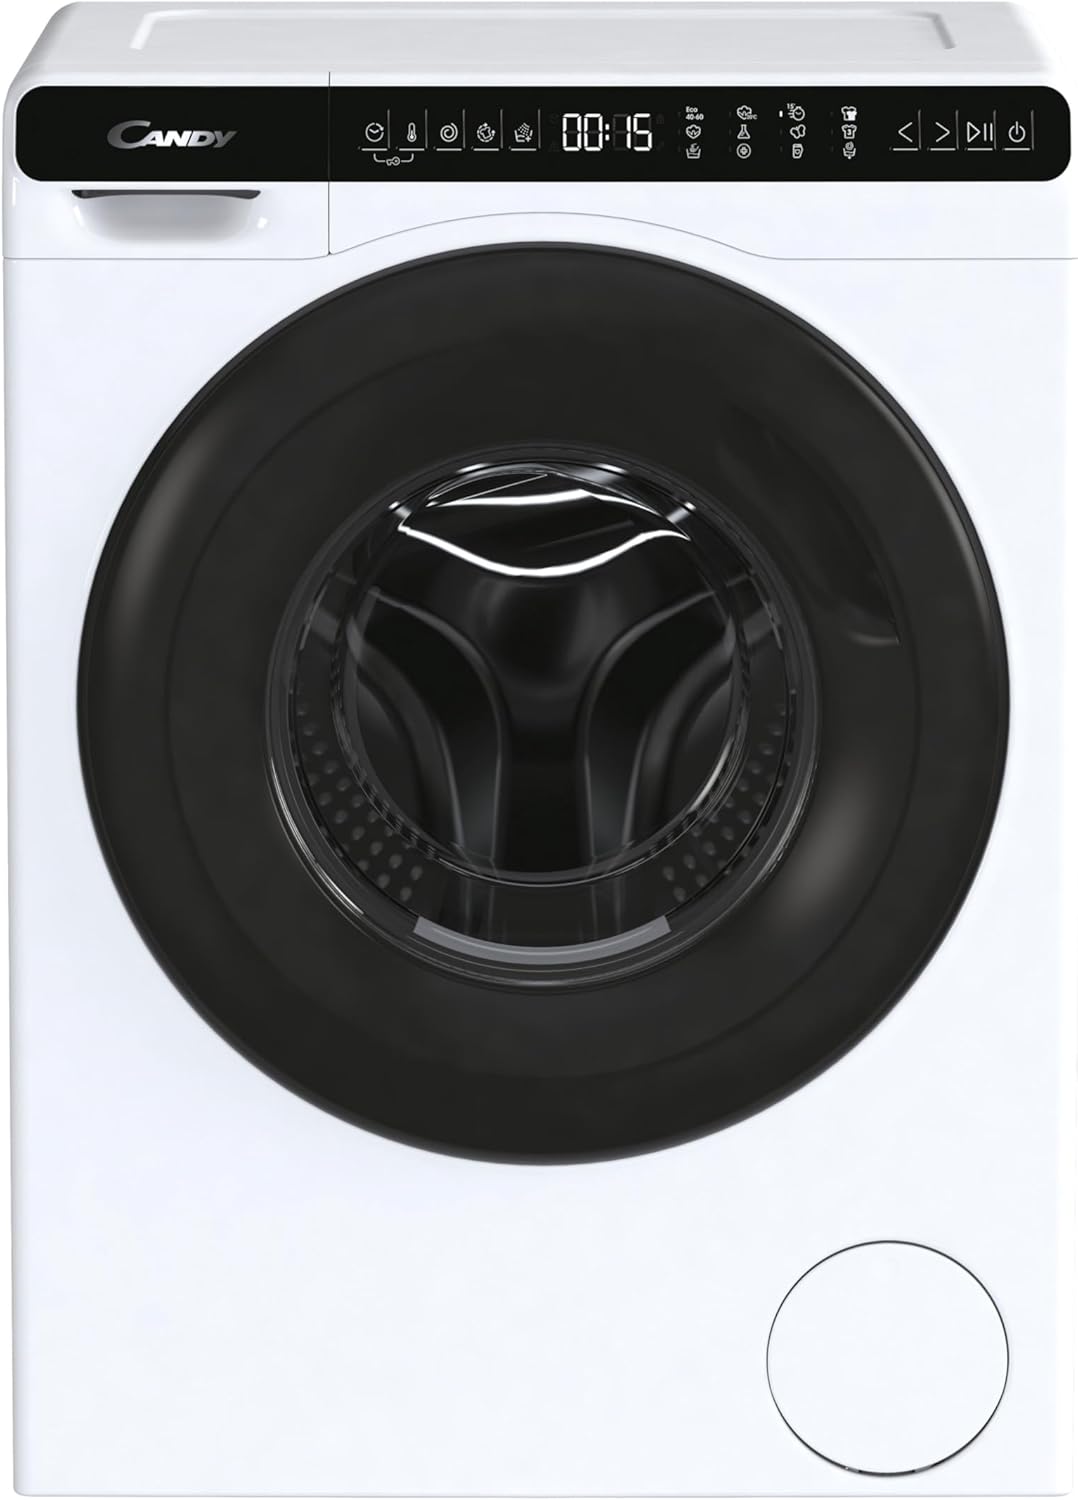
Imej 2.1: Depan view of the Candy CW50-BP12307-S washing machine. This image displays the appliance with its door closed, showcasing the control panel at the top and the main drum access.

Imej 2.2: Close-up of the control panel and door. This image highlights the digital display, program selection buttons, and the ergonomic handle of the washing machine door.
2.1 Panel Kawalan
The control panel allows you to select wash programs, adjust settings, and monitor the wash cycle. Refer to the detailed diagram below for specific button functions.

Imej 2.3: Terperinci view of the Candy CW50-BP12307-S control panel. This image provides a clear look at the various icons and buttons for program selection, temperature, spin speed, and additional functions.
- Pemilih Program: Turn to choose your desired wash program.
- paparan: Menunjukkan baki masa, pilihan yang dipilih dan kod ralat.
- Butang Mula/Jeda: Memulakan atau menjeda kitaran basuh.
- Butang Pilihan: Modify temperature, spin speed, or add extra rinses.
3. Persediaan dan Pemasangan
Pemasangan yang betul adalah penting untuk prestasi dan jangka hayat mesin basuh anda.
3.1 Membongkar
- Keluarkan semua bahan pembungkusan, termasuk alas polistirena dan sebarang sisipan daripada dram.
- Remove the transport bolts located at the rear of the machine. These bolts secure the drum during transit and mesti be removed before use. Keep them for future transport.
3.2 Kedudukan dan Meratakan
Place the washing machine on a firm, flat surface. Use the adjustable leveling feet to ensure the appliance is perfectly stable and level. An unlevel machine can cause excessive vibration and noise.
- Loosen the lock nut on each foot.
- Rotate the foot to adjust the height.
- Use a spirit level to check for perfect leveling.
- Tighten the lock nuts against the machine base to secure the feet.
3.3 Sambungan Air dan Longkang
- Sambungkan hos salur masuk air ke pili air sejuk dengan benang 3/4". Pastikan sambungannya ketat untuk mengelakkan kebocoran.
- Position the drain hose into a standpipe or over the edge of a sink, ensuring it is securely fixed to prevent displacement during draining. The drain hose should be between 60 cm and 100 cm from the floor.
3.4 Sambungan Elektrik
- Sambungkan palam kuasa ke soket elektrik yang dibumikan.
- Pastikan voltage dan frekuensi sepadan dengan spesifikasi pada plat penarafan perkakas.
4. Arahan Operasi
4.1 Preparing the Laundry
- Isih pakaian mengikut jenis fabrik, warna dan tahap kekotoran.
- Semak label penjagaan pakaian untuk arahan membasuh.
- Poket kosong dan tutup zip dan butang.
4.2 Loading the Washing Machine

Imej 4.1: The washing machine with its door open, ready for loading. This view shows the spacious drum and the door hinge mechanism.
- Buka pintu mesin basuh.
- Load the laundry loosely into the drum, ensuring not to overload. The maximum capacity is 5 kg.
- Tutup pintu dengan kuat sehingga ia berbunyi tertutup.
4.3 Menambah Detergen dan Bahan Tambahan
Open the detergent drawer and add detergent and fabric softener to the appropriate compartments. Refer to your detergent packaging for recommended dosages.
4.4 Memilih Program Cuci
- Turn the program selector knob to choose the desired wash program (e.g., Cotton, Synthetics, Delicates, Eco 40-60).
- If necessary, adjust the temperature and spin speed using the option buttons.
- Tekan butang Mula/Jeda untuk memulakan kitaran.
Nota: The display will show the estimated remaining time for the cycle.
5. Penyelenggaraan dan Pembersihan
Penyelenggaraan yang kerap memastikan prestasi optimum dan memanjangkan jangka hayat perkakas anda.
5.1 Membersihkan Laci Detergen
- Tarik keluar laci detergen sepenuhnya.
- Bilas di bawah air yang mengalir untuk mengeluarkan sebarang sisa detergen.
- Bersihkan perumah laci dengan berus.
- Masukkan semula laci.
5.2 Membersihkan Penapis Longkang
The drain filter should be cleaned periodically to prevent blockages.
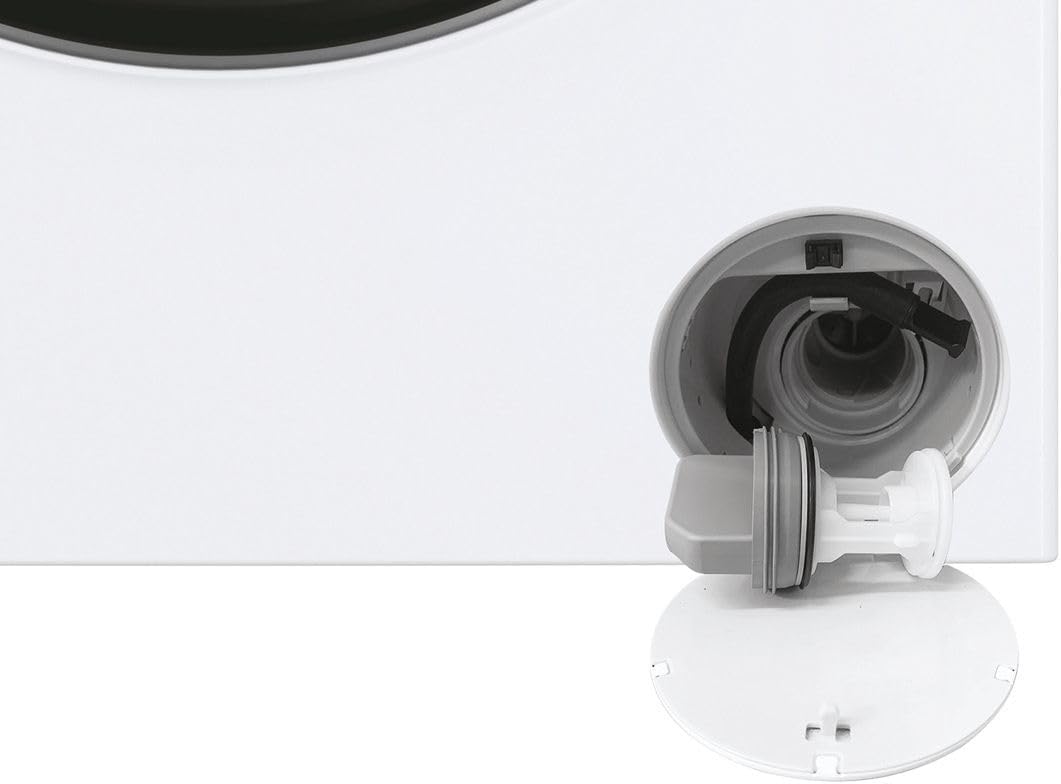
Imej 5.1: jarak dekat view of the drain filter compartment, showing the filter removed for cleaning. This component is essential for preventing blockages.
- Open the small cover at the bottom front of the machine.
- Place a shallow container underneath to collect any residual water.
- Perlahan-lahan buka skru penapis lawan arah jam dan keluarkannya.
- Bersihkan penapis di bawah air yang mengalir, buang sebarang kotoran atau objek asing.
- Screw the filter back in clockwise and close the cover.
5.3 Pembersihan Drum
Run a maintenance wash (e.g., a hot cycle with no laundry and a descaling agent) periodically to clean the drum and remove detergent residues.
5.4 Pembersihan Luaran
Lap bahagian luar mesin basuh dengan lembut, damp kain. Jangan gunakan pembersih atau pelarut yang melelas.
6. Penyelesaian masalah
Sebelum menghubungi perkhidmatan, sila semak isu dan penyelesaian biasa berikut.
| Masalah | Kemungkinan Punca | Penyelesaian |
|---|---|---|
| Mesin tidak bermula | No power; Door not closed; Program not selected; Start/Pause not pressed. | Periksa bekalan kuasa; Pastikan pintu tertutup rapat; Pilih program; Tekan Mula/Jeda. |
| Air tidak mengisi | Paip air ditutup; Hos masuk tertekuk; Tekanan air terlalu rendah. | paip air terbuka; Luruskan hos; Periksa bekalan air. |
| Air tidak mengalir | Drain hose kinked or blocked; Drain filter blocked. | Straighten or clear drain hose; Clean drain filter (refer to Section 5.2). |
| Getaran / bunyi yang berlebihan | Mesin tidak tahap; Bolt pengangkutan tidak ditanggalkan; Drum terbeban. | Adjust leveling feet; Remove transport bolts; Reduce laundry load. |
| Sisa detergen dalam laci | Insufficient water pressure; Detergent clumping. | Check water pressure; Clean detergent drawer; Use less detergent or liquid detergent. |
Jika masalah berterusan selepas mencuba penyelesaian ini, sila hubungi sokongan pelanggan.
7. Spesifikasi
| Ciri | Perincian |
|---|---|
| Model | CW50-BP12307-S |
| Jenama | gula-gula |
| taip | Mesin Basuh Beban Depan |
| Kapasiti | 5 Kilogram |
| Kelajuan Putaran Maksimum | 1200 rpm |
| warna | White with Black accents |
| Berat Barang | 52 Kilogram |
| Ciri Khas | Kaki Meratakan Boleh Laras |
| Dimensi (H x W x D) | Please refer to the product label or official Candy website for exact dimensions. |
| Bekalan Kuasa | Refer to the rating plate on the appliance. |
8. Waranti dan Sokongan Pelanggan
8.1 Maklumat Waranti
Your Candy CW50-BP12307-S washing machine comes with a manufacturer's warranty. Please refer to the warranty card included with your purchase for specific terms, conditions, and duration. Keep your proof of purchase for warranty claims.
8.2 Sokongan Pelanggan
For technical assistance, spare parts, or warranty service, please contact Candy customer support. Contact details can typically be found on the official Candy webtapak atau dalam dokumentasi jaminan anda.
When contacting support, please have your model number (CW50-BP12307-S) and serial number ready. The serial number is usually located on a label inside the door or at the back of the appliance.


