1. Pengenalan
This manual provides comprehensive instructions for the setup, operation, maintenance, and troubleshooting of your Monoprice 40-inch Ultrawide 1440P Productivity Monitor (Model 144394). Please read this manual thoroughly before using the monitor to ensure proper functionality and to prevent damage.
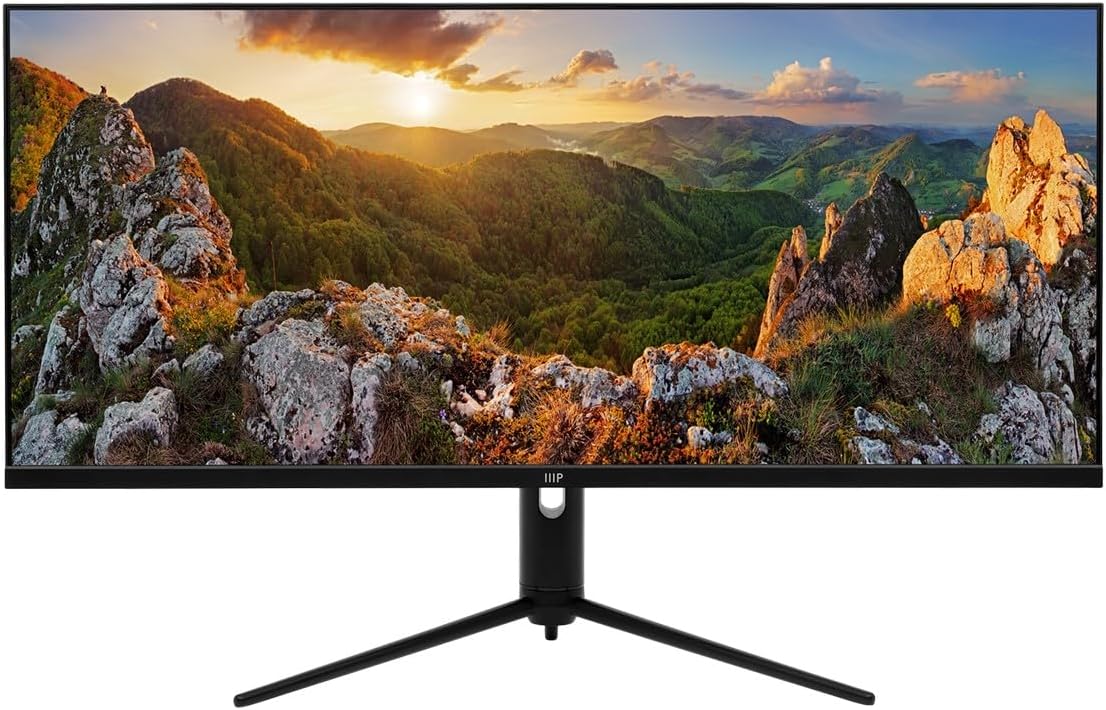
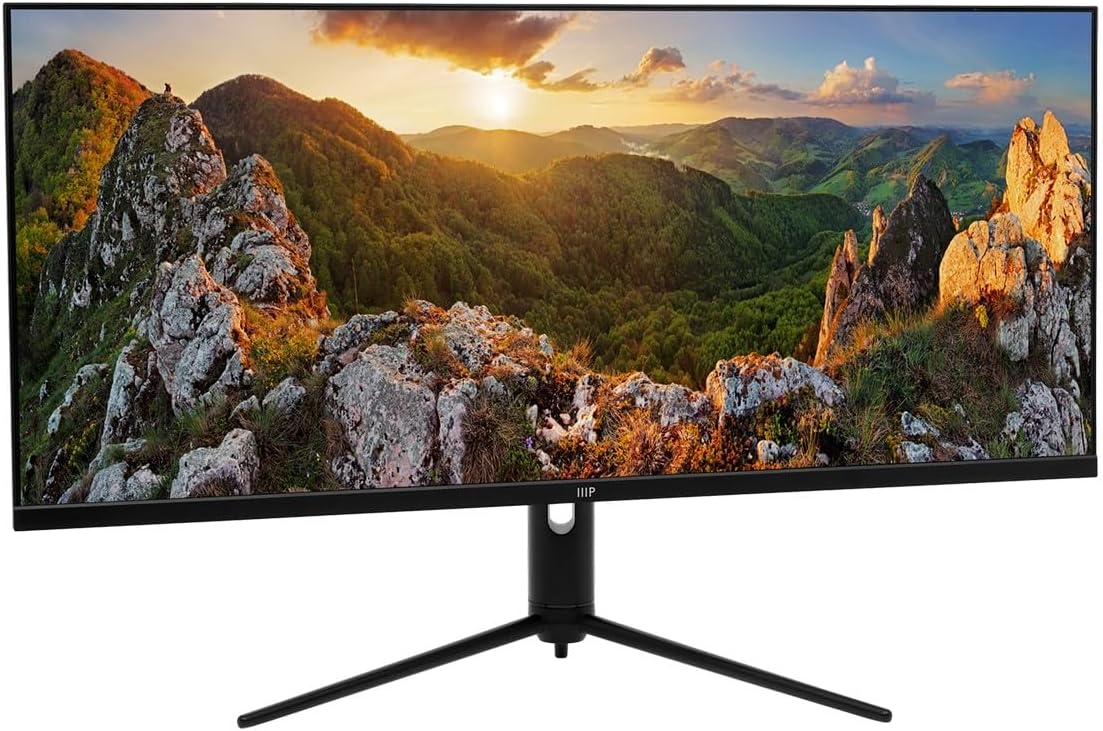
The Monoprice CrystalPro 40-inch Ultrawide Monitor is designed to enhance productivity with its expansive 3440x1440P (UWQHD) resolution and 144Hz refresh rate. Featuring an IPS panel, it delivers accurate colors and wide viewing angles, making it suitable for various professional and personal applications.
2. Maklumat Keselamatan
Observe the following safety precautions to ensure safe operation and to extend the lifespan of your monitor:
- Jangan dedahkan monitor kepada hujan, kelembapan atau suhu yang melampau.
- Elakkan meletakkan monitor di bawah cahaya matahari langsung atau berhampiran sumber haba.
- Pastikan pengudaraan yang betul di sekeliling monitor. Jangan sekat bukaan pengudaraan.
- Gunakan hanya penyesuai kuasa yang dibekalkan bersama monitor.
- Disconnect the power cable from the outlet during lightning storms or when unused for long periods.
- Jangan cuba servis monitor sendiri. Rujuk semua servis kepada kakitangan yang berkelayakan.
- Jauhkan monitor daripada medan magnet yang kuat.
- Handle the screen with care. Do not press or scratch the display surface.
3. Kandungan Pakej
Please verify that all items listed below are present in your package. If any items are missing or damaged, contact Monoprice customer support.
- Monoprice 40-inch Ultrawide Monitor
- Stand Monitor (Asas dan Leher)
- Penyesuai Kuasa dan Kabel
- Kabel HDMI
- Kabel DisplayPort (DP).
- USB-A to USB-B Cable (for USB hub functionality)
- Manual Pengguna (dokumen ini)
- (Note: The product listing mentions "CD". Please check your package for any included software or drivers on a CD, though most modern systems download drivers online.)
4. Persediaan
4.1. Memasang Pendirian
Ikuti langkah ini untuk memasang dirian pada monitor anda:
- Letakkan monitor menghadap ke bawah dengan berhati-hati pada permukaan yang lembut dan bersih untuk mengelakkan calar.
- Pasangkan leher penyangga ke bahagian belakang monitor, selaraskan titik pemasangan. Kencangkan dengan skru jika disediakan.
- Attach the stand base to the bottom of the stand neck. Tighten the thumb screw or screws from the bottom of the base.
- Once assembled, carefully lift the monitor and place it upright on a stable, flat surface.
4.2. Menyambung Kabel
Before connecting any cables, ensure both the monitor and your computer are powered off.
- Sambungan Kuasa: Sambungkan penyesuai kuasa ke input kuasa monitor, kemudian pasangkan kabel kuasa ke soket dinding.
- Sambungan Video:
- For optimal performance (3440x1440P at 144Hz), use the provided Port Paparan (DP) cable to connect the monitor to your computer's graphics card.
- Secara alternatif, gunakan HDMI cable. Note that HDMI may support up to 100Hz refresh rate at 3440x1440P, depending on the HDMI version and your graphics card.
- The monitor also supports USB-C video input. Connect a compatible USB-C cable from your device to the monitor's USB-C port.
- Sambungan Hab USB: To enable the monitor's USB-A ports, connect the provided USB-A to USB-B cable from your computer's USB port to the monitor's USB-B upstream port.
- Output Audio: If desired, connect external speakers or headphones to the monitor's 3.5mm audio output jack.


4.3. Hidupkan Kuasa Awal
After connecting all necessary cables:
- Hidupkan komputer anda.
- Tekan butang kuasa pada monitor. Lampu penunjuk kuasa harus menyala.
- The monitor should automatically detect the input signal. If not, you may need to manually select the input source using the On-Screen Display (OSD) menu.
5. Mengendalikan Monitor
5.1. Hidupkan/Mati Kuasa
Press the power button, typically located on the bottom or back of the monitor, to turn the monitor on or off. The power indicator light will show the monitor's status.
5.2. Menu Paparan Pada Skrin (OSD).
The OSD menu allows you to adjust various monitor settings. Navigation is typically done using a joystick or a series of buttons located on the back or bottom of the monitor. While the OSD interface may require some familiarity, it provides access to all display controls.
- Press the OSD button (or joystick center) to open the main menu.
- Use the navigation buttons (or joystick) to move through menu options.
- Press the select button (or joystick center) to enter a sub-menu or confirm a selection.
- Press the exit button (or move joystick left) to go back or exit the OSD.
5.3. Pemilihan Input
To switch between connected devices (e.g., PC via DisplayPort, console via HDMI), access the OSD menu and navigate to the "Input" or "Source" section. Select the desired input.
5.4. Tetapan Gambar
Adjust display characteristics through the OSD menu:
- Kecerahan/Kontras: Laraskan pencahayaan keseluruhan dan perbezaan antara kawasan terang dan gelap.
- Suhu Warna: Select predefined color modes (e.g., Warm, Cool, User) or adjust RGB values manually.
- Mod Gambar: Choose from various presets optimized for different content (e.g., Standard, Game, Movie, Text).
- HDR: Enable or disable HDR (High Dynamic Range) functionality. Ensure your content and graphics card support HDR for optimal results.
5.5. Kadar Segar Semula
The monitor supports a 144Hz refresh rate. To ensure your system is utilizing this, verify the refresh rate setting in your operating system's display settings:
- Windows: Right-click on the desktop > Display settings > Advanced display settings > Display adapter properties for Display [X] > Monitor tab > Screen refresh rate.
- macOS: System Settings > Displays > Refresh Rate.
Nota: Achieving 144Hz at 3440x1440P typically requires a DisplayPort connection. HDMI may be limited to 100Hz or lower depending on the specific HDMI version and connected device.
5.6. Pelarasan Ergonomik
The monitor stand allows for ergonomic adjustments to optimize your viewpengalaman:
- Condong: Adjust the screen's vertical angle (forward/backward).
- Pelarasan Ketinggian: Naikkan atau turunkan monitor ke paras mata.
- Pusing: Rotate the monitor horizontally on its base.


6. Penyelenggaraan
Penyelenggaraan yang betul memastikan jangka hayat dan prestasi optimum monitor anda:
- Membersihkan Skrin: Lap skrin perlahan-lahan dengan kain lembut yang tidak berbulu. Untuk tanda degil, ringankan dampen kain dengan air atau pembersih skrin khusus. Jangan sekali-kali menyembur pembersih terus ke skrin.
- Membersihkan Casing: Gunakan kain lembut dan kering untuk mengelap monitor casing. Elakkan pembersih atau pelarut yang melelas.
- Pengudaraan: Ensure the ventilation openings on the back of the monitor are clear of dust and obstructions.
- Matikan: Sentiasa matikan kuasa dan cabut plag monitor sebelum membersihkan atau apabila tidak digunakan untuk tempoh yang lama.
7. Penyelesaian masalah
Jika anda menghadapi masalah dengan monitor anda, rujuk kepada masalah dan penyelesaian biasa berikut:
| Masalah | Kemungkinan Punca / Penyelesaian |
|---|---|
| Tiada gambar di skrin |
|
| Imej kabur atau herot |
|
| No sound from monitor speakers (if applicable) or audio jack |
|
| USB ports on monitor not working |
|
| Monitor flickers or shows artifacts |
|
8. Spesifikasi
The following table outlines the technical specifications of the Monoprice 40-inch Ultrawide 1440P Productivity Monitor:
| Ciri | Perincian |
|---|---|
| Nombor Model | 144394 |
| Saiz Skrin | 40 Inci |
| Jenis Panel | IPS |
| Resolusi Maks | 3440 x 1440 (UWQHD) |
| Kadar Segar Semula | 144Hz |
| Nisbah Aspek | 21:9 |
| Sokongan HDR | HDR600 |
| Warna Gamut | NTSC 105%, DCI-P3 95%, sRGB 99%, Adobe RGB 89% |
| Ketersambungan | 2x HDMI, 1x DisplayPort, 1x USB-C, 1x Audio Out, 1x USB-B (Upstream) |
| Port USB | 1x USB 2.0 (Downstream, requires USB-B upstream connection to PC) |
| Permukaan Skrin | Berkilat |
| Berat badan | 31.9 paun (dengan pendirian) |
| warna | Hitam |
9. Waranti dan Sokongan
For warranty information, technical support, or service inquiries, please refer to the warranty card included with your product or visit the official Monoprice webtapak. Simpan resit pembelian anda sebagai bukti pembelian untuk tuntutan waranti.
Sokongan Pelanggan Monoprice: www.monoprice.com/support