pengenalan
Thank you for choosing the Sharp Digital Alarm Clock. This manual provides detailed instructions for setting up, operating, and maintaining your new alarm clock. Designed for clarity and convenience, this clock features an easy-to-read LCD display with an optional always-on backlight, dual alarm settings, and a USB charging port for your devices. Please read this manual thoroughly before use to ensure optimal performance and longevity of your product.

Depan view of the Sharp Digital Alarm Clock, displaying time, month, date, day, and temperature on its colorful LCD screen.
Maklumat Keselamatan
Please observe the following safety precautions to prevent damage to the unit or personal injury:
- Jangan dedahkan unit kepada suhu yang melampau, cahaya matahari langsung atau kelembapan yang tinggi.
- Elakkan daripada menjatuhkan atau menyebabkan unit terkena hentakan yang kuat.
- Jangan campurkan bateri lama dan baharu, atau jenis bateri yang berlainan.
- Tanggalkan bateri jika unit tidak akan digunakan untuk tempoh yang lama untuk mengelakkan kebocoran.
- Jauhkan unit daripada air dan cecair lain.
- Jangan cuba membuka atau membaiki unit sendiri. Rujuk semua servis kepada kakitangan yang berkelayakan.
Kandungan Pakej
Sahkan bahawa semua item terdapat dalam pakej:
- Sharp Digital Alarm Clock (Model SPC5028AMZ)
- Manual Pengguna (dokumen ini)
Note: 3 x AAA batteries are required and not included.
Produk Selesaiview
Paparan Depan

Diagram illustrating key features of the alarm clock, including atomic accuracy, 1.5-inch tall time display, on/off display nightlight, indoor temperature display, calendar display, bright color display, wall mountable or tabletop viewing, and battery operation (3x AAA batteries).
The front of the clock features a clear LCD display that shows the time, month, date, day of the week, and indoor temperature. The main time display is approximately 1.5 inches tall for easy readability.
Panel Belakang dan Kawalan

Terperinci view of the clock's rear panel, showing the location of the battery compartment, various control buttons (Calendar, Time, Alarm, 12/24, Up, °C/°F, Down, Wave), the ON/OFF switch for the nightlight, and the backstand for tabletop viewing. Dimensions (6.45"W x 5"H) are also indicated.
- CALENDAR Set Button: Used to set the date and year.
- TIME Set Button: Used to set the time manually.
- ALARM Set & ON/OFF Button: Used to set and activate/deactivate alarms.
- Butang 12/24: Bertukar antara format masa 12 jam dan 24 jam.
- Butang KE ATAS: Adjusts settings upwards.
- Butang °C/°F: Menukar paparan suhu antara Celsius dan Fahrenheit.
- Butang TURUN: Adjusts settings downwards.
- WAVE (Atomic Search) Button: Initiates a manual search for the atomic time signal.
- ON/OFF Switch (Nightlight): Controls the always-on backlight feature.
- Petak Bateri: Holds 3 x AAA batteries.
- Backstand: For tabletop viewing.
- Lubang Pemasangan Dinding: For hanging the clock on a wall.
Persediaan
Pemasangan Bateri
- Buka penutup petak bateri di bahagian belakang jam.
- Masukkan 3 bateri AAA baharu, pastikan kekutuban yang betul (+ dan -).
- Tutup penutup petak bateri dengan selamat.
Kuasa Awal Hidup
Upon battery installation, the clock will power on and attempt to synchronize with the atomic time signal.
Atomic Time Synchronization (WWVB)
The Sharp Digital Alarm Clock is designed to automatically synchronize with the WWVB atomic time signal broadcast from Fort Collins, Colorado, ensuring precise timekeeping.

Map of the United States showing the WWVB radio broadcast signal originating from Fort Collins, Colorado, which the atomic clock uses for synchronization.
- The clock will automatically attempt to receive the signal daily, typically overnight when electronic interference is minimal.
- For optimal reception, place the clock near a window and orient its front or rear panel towards Fort Collins, Colorado.
- A signal strength indicator (antenna icon) on the display will show the reception status.
- To manually initiate a signal search, press the GELOMBANG butang pada panel belakang.

Graphic depicting a full moon, with text 'LESS ELECTRONIC INTERFERENCE AT NIGHT SET BY MORNING', indicating optimal atomic clock synchronization occurs during nighttime hours.
Setting Time Zone
Even with atomic synchronization, you must manually select your local time zone for the correct hourly time display.
- Tekan dan tahan butang MASA button until the time zone indicator flashes.
- Gunakan UP or TURUN buttons to select your desired time zone (e.g., PST, MST, CST, EST).
- Tekan ke MASA butang sekali lagi untuk mengesahkan dan keluar.
Tetapan Masa dan Tarikh Manual
If atomic synchronization is not desired or available, you can set the time and date manually.
- Untuk menetapkan masa: Tekan dan tahan butang MASA button until the hour flashes. Use UP/TURUN untuk menyesuaikan diri. Tekan MASA to move to minutes, then adjust. Press MASA sekali lagi untuk berjimat.
- Untuk menetapkan tarikh: Tekan dan tahan butang KALENDAR button until the year flashes. Use UP/TURUN untuk menyesuaikan diri. Tekan KALENDAR to move to month, then day, adjusting each. Press KALENDAR sekali lagi untuk berjimat.
- Format 12/24 Jam: Tekan ke 12/24 butang untuk bertukar antara format 12 jam (dengan penunjuk AM/PM) dan 24 jam.
Arahan Operasi
Adjusting Display Brightness and Backlight
The clock features an optional always-on backlight with adjustable brightness for optimal viewdalam pelbagai keadaan pencahayaan.
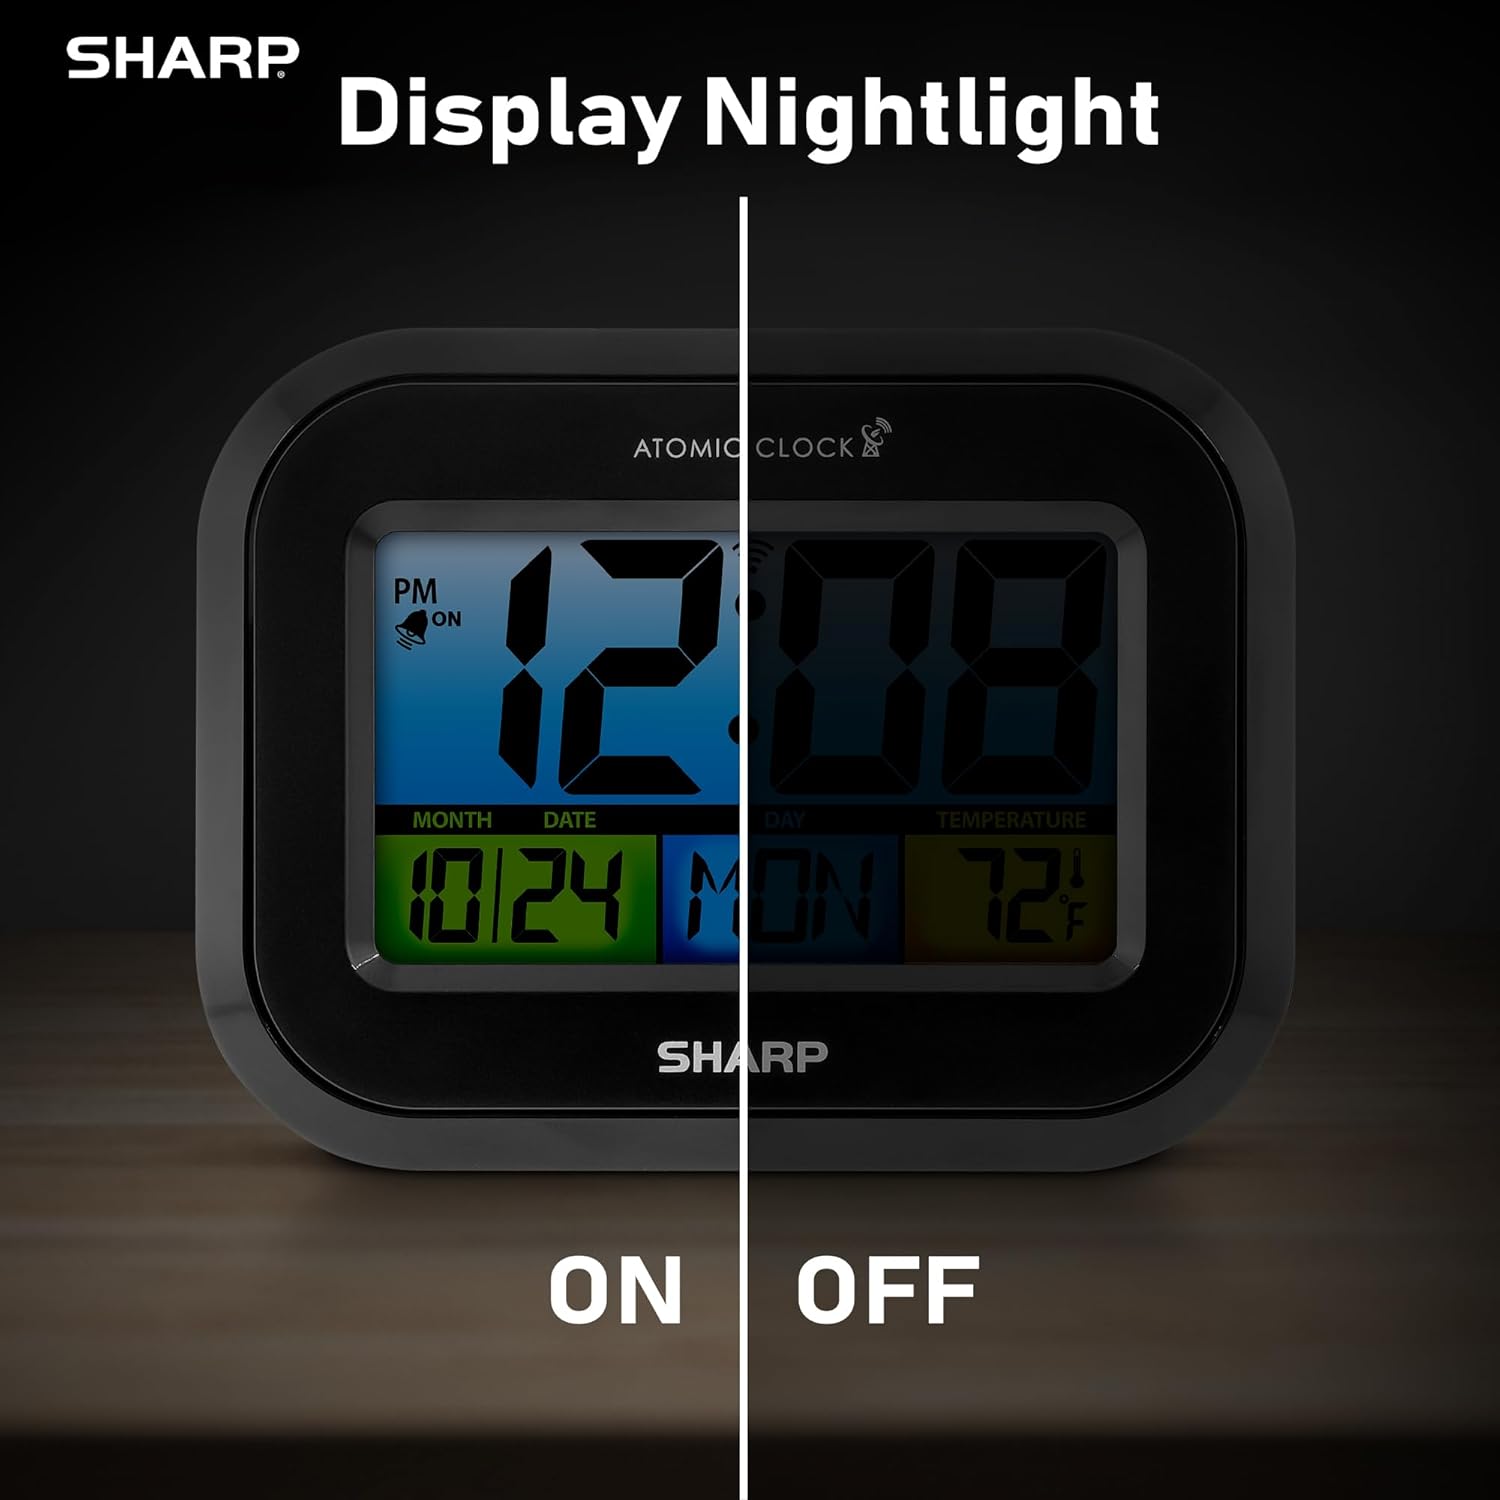
Comparison image showing the clock's display with the nightlight off (dim) and on (illuminated) in both day and night settings.
- Always-On Backlight: Gunakan suis HIDUP/MATI on the rear panel to activate or deactivate the continuous backlight. When ON, the display will have a soft glow.
- Lampu Latar Atas Permintaan: Even if the always-on backlight is OFF, you can momentarily illuminate the display by pressing the LAMPU BELAKANG button (usually located on the top edge, though not explicitly labeled in the provided image, it's a common feature). This provides a brighter illumination for a few seconds.

Image highlighting the physical ON/OFF switch on the rear of the clock for controlling the display nightlight, indicating its function for soft glowing backlight in the dark.
Setting Dual Alarms
The clock supports two independent alarm settings.
- Tekan ke PENGGERA button once to select Alarm 1. Press again for Alarm 2.
- While the alarm time is displayed, press and hold the PENGGERA butang sehingga jam berkelip.
- Gunakan UP or TURUN butang untuk melaraskan jam. Tekan PENGGERA to move to minutes, then adjust.
- Tekan PENGGERA again to save the alarm time.
- Untuk mengaktifkan/menyahaktifkan penggera, tekan PENGGERA button repeatedly until the alarm icon (bell) appears/disappears for the desired alarm.
Menggunakan Port Pengecasan USB
The clock includes a USB charging port for convenient charging of small electronic devices. Locate the USB port on the side or rear of the unit (specific location not detailed in provided images, but implied by feature bullets). Connect your device's USB cable to this port to begin charging.
Temperature Display (°C/°F)
The clock displays the indoor temperature. To switch between Celsius and Fahrenheit, press the ° C / ° F butang pada panel belakang.
Viewing Angle Optimization
Like most LCD screens, this display is best viewed from the front or slightly above. Visibility may appear reduced at sharp side or low angles. For the best viewing experience, use the built-in kickstand to position the clock to face you.

Illustration demonstrating the optimal viewing angle for the LCD display, showing that the clock is best viewed from above or straight on, with a built-in kickstand to position it.
Wall Mounting and Tabletop Use
The clock is designed for versatile placement. Use the integrated backstand for tabletop viewing or the wall mount hole on the rear for hanging it on a wall.

The Sharp Digital Alarm Clock displayed in a home office setting, showing its versatility for both wall mounting and tabletop placement.
Penyelenggaraan
Pembersihan
Wipe the clock with a soft, dry cloth. Do not use abrasive cleaners or solvents, as they may damage the surface.
Penggantian Bateri
When the display becomes dim or the clock stops functioning, it's time to replace the batteries. Follow the battery installation steps in the Setup section. It is recommended to replace all three AAA batteries at the same time with new ones.
Menyelesaikan masalah
| Masalah | Penyelesaian yang Mungkin |
|---|---|
| Paparan malap atau kosong. | Check battery polarity and ensure batteries are fresh. Replace all 3 AAA batteries. Ensure the backlight ON/OFF switch is in the 'ON' position if continuous illumination is desired. |
| Atomic time not synchronizing. | Ensure the clock is placed near a window and oriented towards Fort Collins, Colorado. Avoid placing near electronic devices that may cause interference. Try initiating a manual search by pressing the WAVE button. Synchronization is often best overnight. |
| Time or date is incorrect after battery change. | Manually set the time zone. Allow time for atomic synchronization, or manually set the time and date using the TIME and CALENDAR buttons. |
| Display is hard to read from certain angles. | This is a characteristic of LCD technology. Adjust the clock's position using the kickstand to ensure it is viewed straight-on or from slightly above eye level. |
| Penggera tidak berbunyi. | Ensure the alarm is set and activated (bell icon visible). Check battery level. |
Spesifikasi
| Harta benda | Nilai |
|---|---|
| Jenama | tajam |
| Nombor Model | SPC5028AMZ |
| Jenis Paparan | LCD |
| warna | Hitam |
| Dimensi Produk | 6.45"W x 5"H |
| Berat Barang | 10.8 auns (0.31 Kilogram) |
| Sumber Kuasa | Dikuasakan oleh Bateri (3 x AAA, tidak termasuk) |
| Mod Operasi | atom |
| Ciri Khas | Cordless, Dual Alarm, USB Charging Port, Indoor Temperature Display, Always-On Backlight |
| Jenis Pemasangan | Pemasangan Dinding, Atas Meja |
| Bahan Bingkai | plastik |
Waranti dan Sokongan
Sharp products are manufactured to the highest quality standards. For warranty information or technical support, please refer to the documentation included with your purchase or visit the official Sharp webtapak. Simpan resit pembelian anda sebagai bukti pembelian untuk tuntutan waranti.

Sharp Time Solutions


