1. Pengenalan
Terima kasih kerana membeliasing the IRRADIO VDP-4600HDW LCD/LED Projector. This manual provides essential information for the safe and efficient operation of your device. Please read it thoroughly before use and retain it for future reference.
2. Arahan Keselamatan
- Jangan halang bukaan pengudaraan. Pastikan aliran udara yang mencukupi di sekitar projektor untuk mengelakkan terlalu panas.
- Jangan lihat terus ke dalam kanta projektor apabila lamp sedang dihidupkan, kerana cahaya terang boleh menyebabkan kerosakan mata.
- Keep the projector away from water or other liquids. Do not operate in damp atau keadaan basah.
- Gunakan hanya penyesuai kuasa yang dibekalkan dengan projektor.
- Jangan cuba membaiki projektor sendiri. Rujuk semua servis kepada kakitangan yang berkelayakan.
- Letakkan projektor di atas permukaan yang stabil dan rata untuk mengelakkannya daripada jatuh.
3. Kandungan Pakej
Sila pastikan semua item ada dalam pakej anda:
- IRRADIO VDP-4600HDW Projector
- Alat Kawalan Jauh
- Kabel Kuasa
- Kabel HDMI
- AV kabel
- Manual Pengguna
4. Produk Lebihview
4.1. Komponen Projektor

Rajah 4.1: Keseluruhannya view of the IRRADIO VDP-4600HDW Projector. This image displays the projector from an angled perspective, highlighting its compact design and the lens on the front left side, with ventilation grilles and control buttons visible on the top and sides.

Rajah 4.2: Depan view of the projector. This image focuses on the large projection lens on the left, with the IRRADIO logo and ventilation grilles on the right side of the front panel.

Rajah 4.3: belakang view of the projector. This image shows the VGA port, focus adjustment knob, and keystone correction knob on the rear panel, along with additional ventilation.
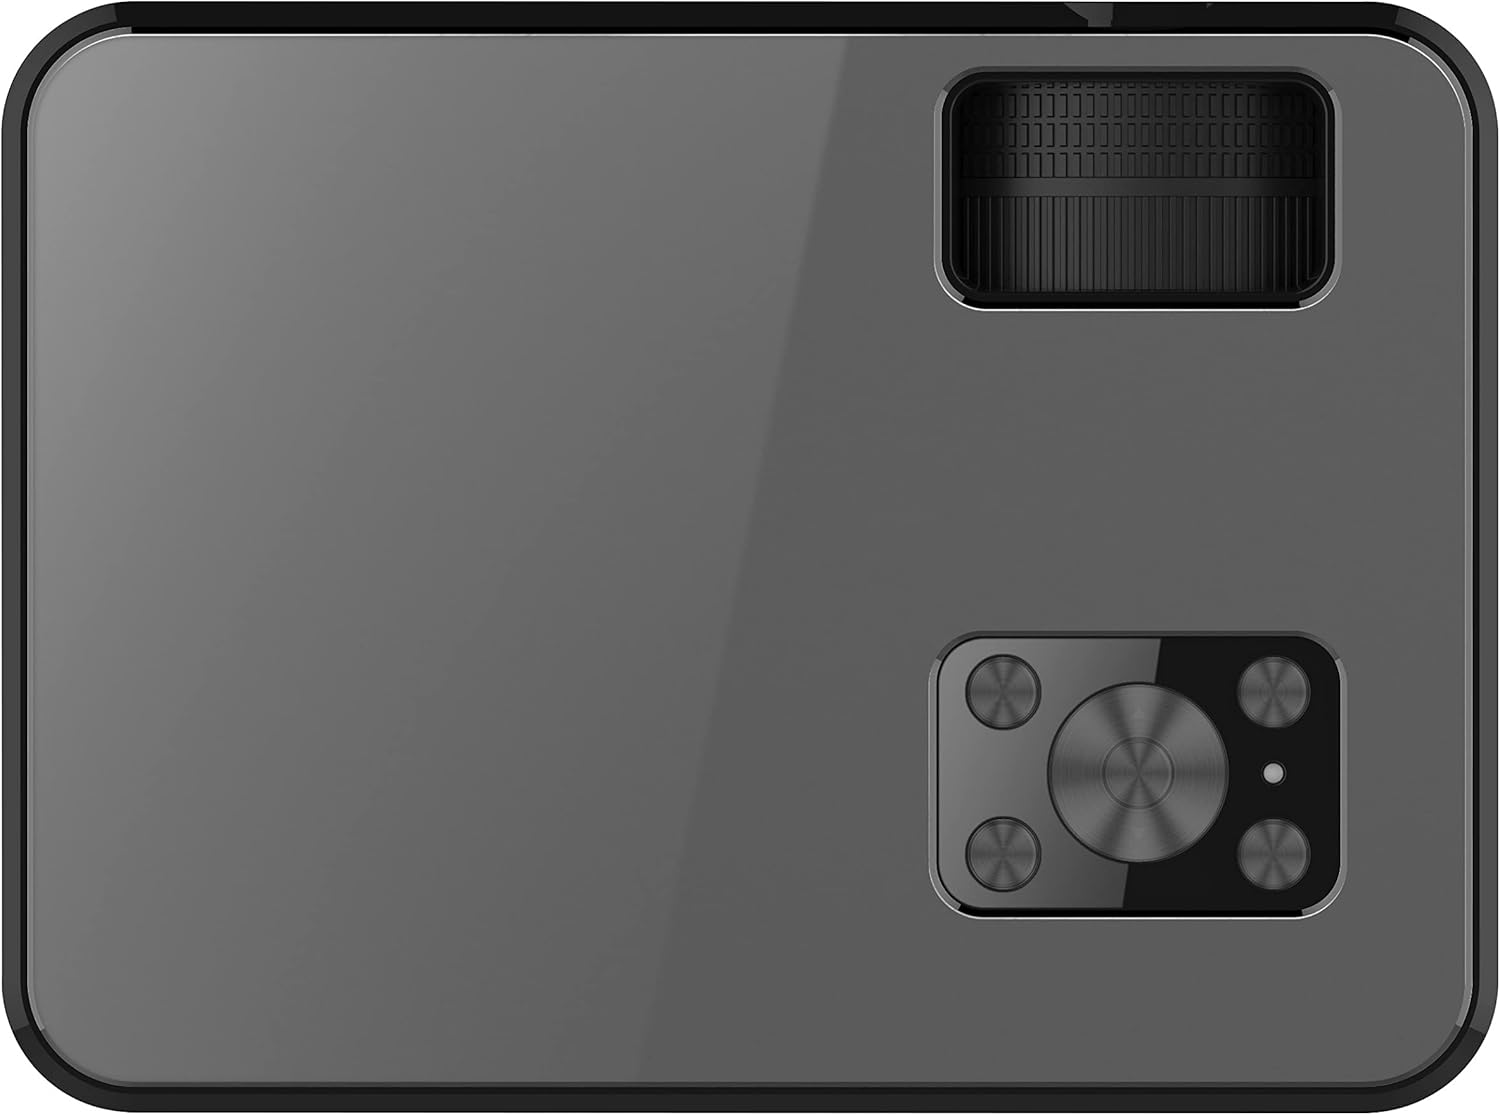
Rajah 4.4: Atas view of the projector. This image displays the control panel with navigation buttons (up, down, left, right, OK), source, menu, and exit buttons, along with the power button and volume controls.

Rajah 4.5: sebelah view of the projector showing input/output ports. This image highlights two HDMI ports, AV input, two USB ports, and a 3.5mm headphone jack (audio out).

Rajah 4.6: Sebelah bertentangan view of the projector. This image shows the power input port and additional ventilation grilles.

Rajah 4.7: Bawah view of the projector. This image displays the mounting points for ceiling installation and rubber feet for stable placement on a flat surface.
4.2. Alat Kawalan Jauh
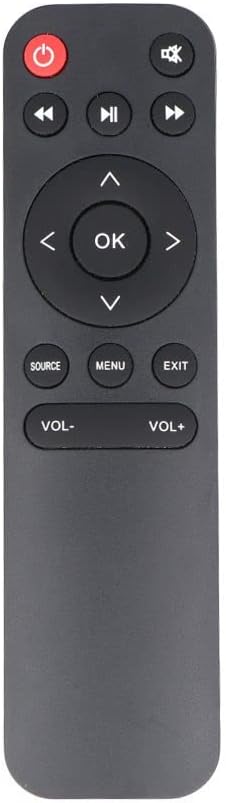
Rajah 4.8: The remote control for the IRRADIO VDP-4600HDW Projector. It features buttons for power, mute, navigation (up, down, left, right, OK), source selection, menu, exit, and volume control.
4.3. Ports and Controls Overview
- Butang Kuasa: Menghidupkan/mematikan projektor.
- Kanta: Menayangkan imej.
- Cincin Fokus: Melaraskan kejelasan imej.
- Pembetulan Keystone: Melaraskan herotan imej.
- Port HDMI (x2): Connect to HDMI-enabled devices (laptops, gaming consoles, Blu-ray players).
- Port USB (x2): Sambungkan pemacu USB untuk main balik media.
- Port VGA: Connect to computers with VGA output.
- Pelabuhan AV: Connect to older devices using composite video.
- Audio Keluar 3.5mm: Sambungkan pembesar suara atau fon kepala luaran.
- Penerima IR: Untuk isyarat kawalan jauh.
5. Persediaan
5.1. penempatan
Place the projector on a stable, flat surface or mount it to the ceiling. Ensure the projector is positioned directly in front of the projection screen or wall. The optimal projection distance ranges from 1.52 meters to 3.48 meters, yielding a screen size between 50 and 120 inches.
- Unjuran Hadapan: Place the projector in front of the screen.
- Unjuran Belakang: Place the projector behind a translucent screen.
- Lekapan Siling: The projector can be inverted and mounted to the ceiling. Adjust settings in the OSD menu for inverted projection.
5.2. Sambungan Kuasa
- Sambungkan kabel kuasa ke port input kuasa projektor.
- Plug the other end of the power cable into a standard electrical outlet (220V AC, 50Hz).
- Tekan butang kuasa pada projektor atau alat kawalan jauh untuk menghidupkannya.
5.3. Pelarasan Fokus dan Keystone
- Hidupkan projektor dan paparkan imej.
- Putar Cincin Fokus (located near the lens) until the image appears sharp and clear.
- Laraskan Pembetulan Batu Kunci knob (located on the rear panel) to correct any trapezoidal distortion, making the image rectangular.
6. Beroperasi
6.1. Hidupkan/Mati Kuasa
Tekan butang kuasa pada projektor atau alat kawalan jauh untuk menghidupkan atau mematikan unit.
6.2. Pemilihan Sumber Input
Selepas dihidupkan, tekan butang SUMBER button on the remote control or the projector's control panel to cycle through available input sources (HDMI1, HDMI2, USB1, USB2, VGA, AV).
6.3. Menyambung Peranti Luaran
- HDMI: Connect an HDMI cable from your device (e.g., laptop, game console) to one of the projector's HDMI ports. Select the corresponding HDMI input.
- VGA: Connect a VGA cable from your computer to the projector's VGA port. Select the VGA input.
- DARI: Use the provided AV cable to connect to devices with composite video output. Select the AV input.
- USB: Insert a USB flash drive into a USB port. The projector's media player interface will appear automatically or can be accessed via the source menu.
6.4. Main Semula Media (USB)
The integrated media player supports various formats:
- Format Imej: JPEG, BMP, PNG, MPO
- Format Video: MPEG1, MPEG2, H.263, H.264, AVS, MJPEG, RV30, RV40, HEVC
- Format Audio: MPEG1, MPEG2, LPCM, MP3
Navigasi melalui files using the remote control's arrow keys and press OK untuk memilih.
6.5. Wireless Audio Connection
The projector features an integrated wireless audio function for connecting to external audio devices. Refer to the on-screen display (OSD) menu for specific pairing instructions. Typically, you will need to enable the wireless audio feature in the projector's settings and then pair it with your desired external speaker or headphone.
7. Penyelenggaraan
7.1. Pembersihan Kanta
Use a soft, lint-free cloth and a specialized lens cleaning solution to gently wipe the lens. Avoid abrasive materials or excessive pressure.
7.2. Pembersihan Penapis Habuk
Regularly check and clean the dust filters to ensure optimal airflow and prevent overheating. Use a soft brush or a vacuum cleaner with a brush attachment to remove dust from the ventilation grilles.
7.3. Penyimpanan
When not in use for extended periods, store the projector in a cool, dry place, protected from dust and direct sunlight. Use the original packaging or a protective case.
8. Penyelesaian masalah
- Tiada Kuasa: Pastikan kabel kuasa disambungkan dengan selamat dan salur keluar kuasa berfungsi.
- Tiada gambar: Check the input source selection. Ensure the connected device is powered on and sending a signal. Verify cable connections.
- Imej Kabur: Adjust the focus ring. Ensure the projection distance is within the optimal range.
- Image Distorted: Laraskan pembetulan batu kunci.
- Tiada Bunyi: Check the volume settings on both the projector and the connected device. If using external speakers, ensure they are properly connected or paired via wireless audio.
- Alat Kawalan Jauh Tidak Berfungsi: Replace the batteries. Ensure there are no obstructions between the remote and the projector's IR receiver.
9. Spesifikasi
| Ciri | Spesifikasi |
|---|---|
| Sistem Unjuran | LCD panel with LED light source |
| Resolusi Asli | 1920x1080 (HD Penuh 1080p) |
| Nisbah Kontras Dinamik | 2000:1 |
| Light Source Brightness | 3000 Lumen |
| LED Lamp kehidupan | 50,000 jam |
| Lensa | Fokus manual |
| Fungsi Audio Tanpa Wayar | Bersepadu |
| Ketersambungan | 2x HDMI, 2x USB, VGA, AV Composite, 3.5mm Headphone Jack (output) |
| Nisbah Aspek | 16:9 Native / 4:3 Compatible |
| Saiz Unjuran Optimum | 50" - 120" |
| Jarak Unjuran Optimum | 1.52 m hingga 3.48 m |
| Mod Tayangan | Front, Rear, Ceiling (Front/Rear) |
| Audio | 1x 3W Hi-Fi Speaker |
| Sistem Penyejukan | Sistem penyejukan dwi |
| Bahasa OSD | 23 bahasa |
| Bekalan Kuasa | 220V AC 50Hz (single phase) |
| Berat badan | 1.4 kg |
| Dimensi (W x H x D) | 222 x 91 x 173 mm |
10. Waranti dan Sokongan
Information regarding specific warranty terms and support contacts is not available in the provided product data. Please refer to the product packaging or the retailer's webtapak untuk butiran jaminan dan maklumat sokongan pelanggan.


