pengenalan
This manual provides comprehensive instructions for the installation, operation, and maintenance of your cenmate 802RU 2-Bay External RAID Enclosure. This device is designed to house two 2.5-inch or 3.5-inch SATA HDDs/SSDs, offering various RAID configurations and high-speed data transfer capabilities.
Sila baca manual ini dengan teliti sebelum menggunakan produk ini bagi memastikan persediaan yang betul dan prestasi yang optimum.
Kandungan Pakej
- cenmate 802RU 2-Bay External RAID Enclosure
- Kabel USB-A ke USB-C
- Kabel USB-C ke USB-C
- eSATA Cable
- Penyesuai Kuasa 12V DC
- Manual Pengguna (dokumen ini)
Produk Selesaiview
The cenmate 802RU is a robust external enclosure for expanding storage capacity and enhancing data protection. It supports up to two 2.5-inch or 3.5-inch SATA hard drives or solid-state drives, with a maximum total capacity of 40TB (20TB per drive). It features multiple RAID modes (Normal, JBOD, RAID 0, RAID 1) for flexible data management and offers high-speed connectivity via USB 3.0 (up to 5Gbps) and eSATA (up to 6Gbps).

Imej: Depan view of the cenmate 802RU 2-Bay External RAID Enclosure, showing two drive bays with blue illuminated indicators.

Image: Diagram illustrating the 40TB large capacity support of the cenmate 802RU enclosure, with two 20TB drives shown.

Image: The cenmate 802RU enclosure connected to a computer setup, highlighting its maximum 5Gbps data transfer capability.
Persediaan
1. Pemasangan Drive
- Pastikan penutup dimatikan dan diputuskan sambungannya daripada komputer anda.
- Gently pull the drive trays out from the front of the enclosure.
- For 3.5-inch drives: Align the drive with the tray and slide it in until it clicks into place. The enclosure supports tool-less installation for 3.5-inch drives.
- For 2.5-inch drives/SSDs: Secure the drive to the tray using the provided screws (if applicable, not explicitly mentioned in product details but standard for 2.5" drives in 3.5" bays).
- Slide the loaded drive trays back into the enclosure until they are fully seated.

Imej: Jarak dekat view of the cenmate 802RU enclosure's underside, highlighting the screwless installation feature for 3.5-inch drives and non-slip feet.
2. Menyambung ke Komputer
- Connect one end of the appropriate data cable (USB-A to USB-C, USB-C to USB-C, or eSATA) to the corresponding port on the back of the enclosure.
- Connect the other end of the data cable to an available port on your computer.
3. Sambungan Kuasa
- Connect the DC 12V power adapter to the power input port on the back of the enclosure.
- Palamkan penyesuai kuasa ke salur keluar dinding.
- Turn on the power switch on the enclosure. The drive indicator lights should illuminate.
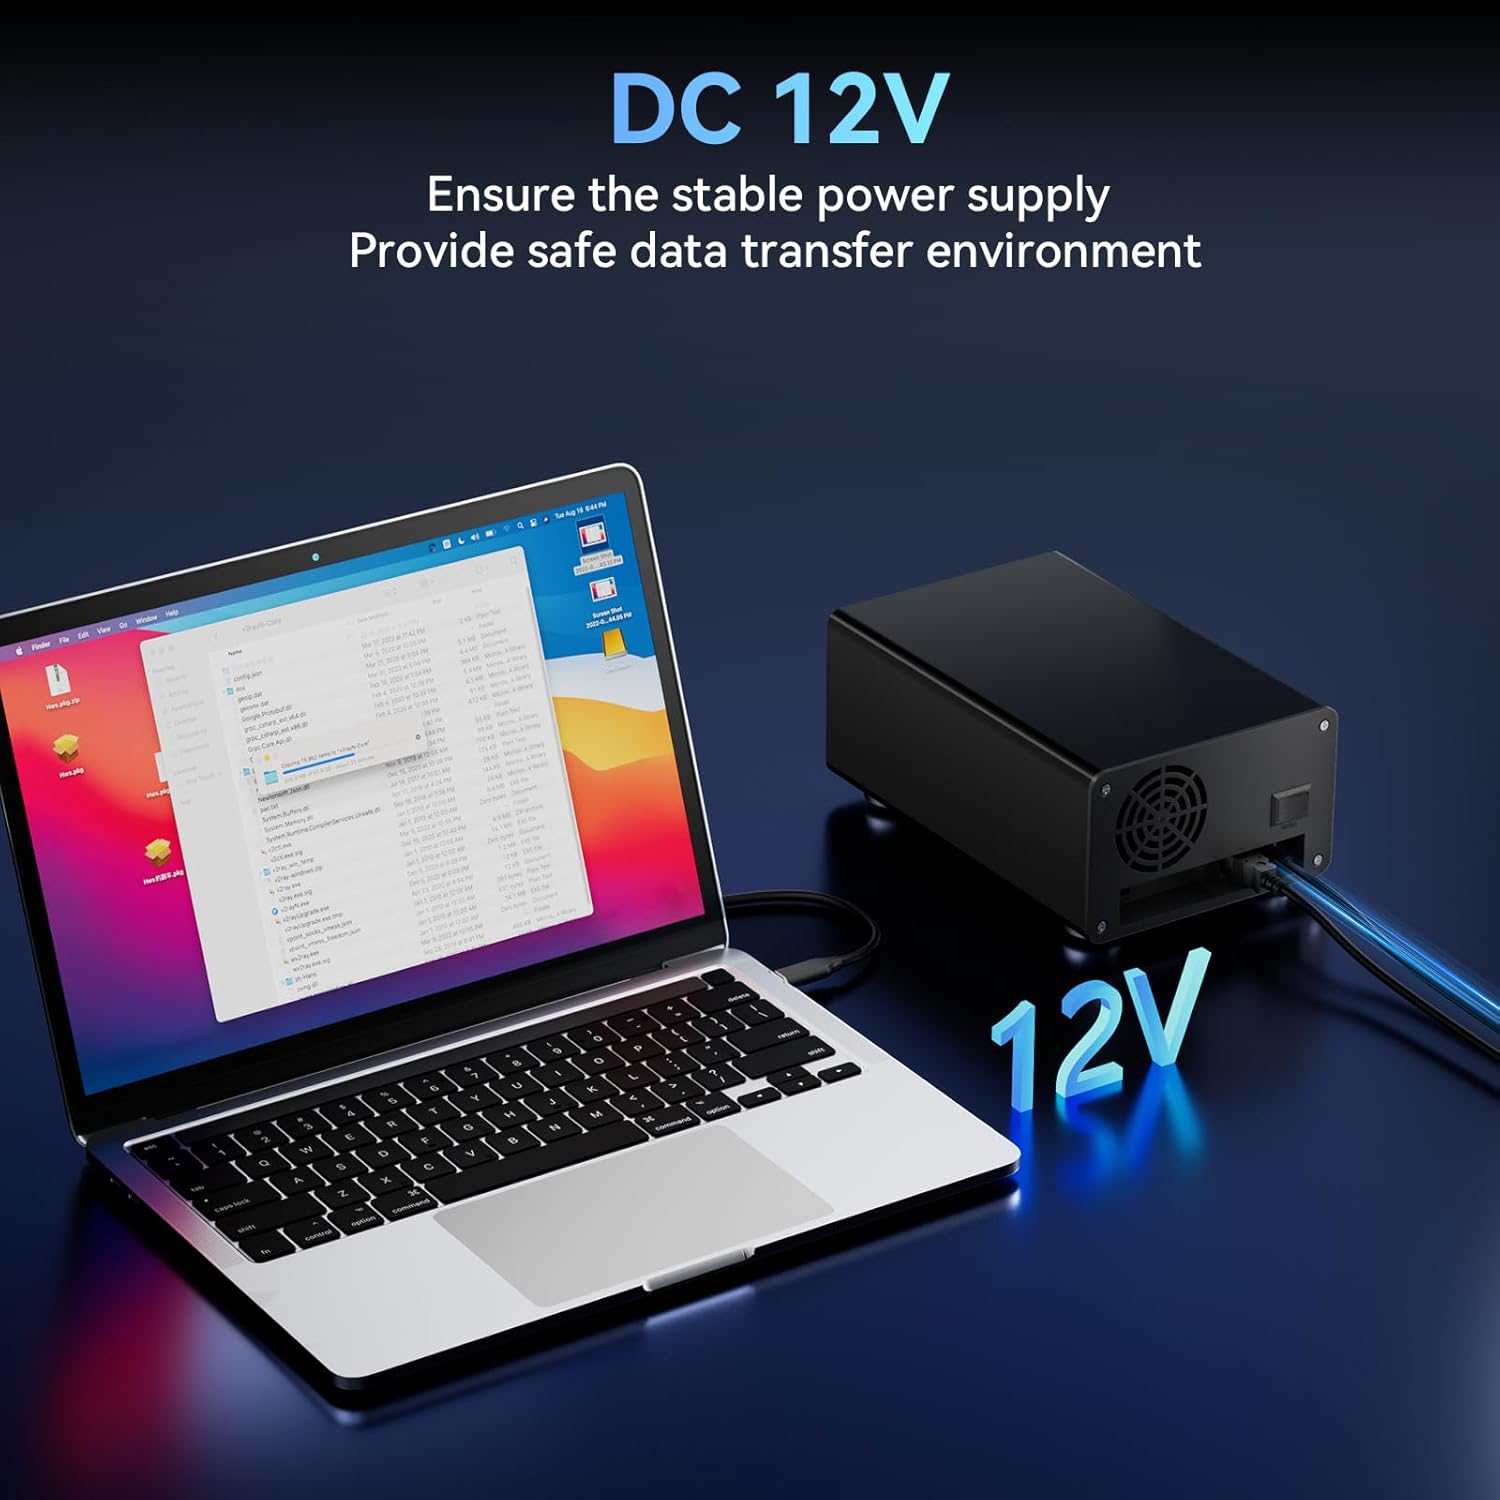
Image: The cenmate 802RU enclosure connected to a laptop, emphasizing the DC 12V power supply for stable operation.
Beroperasi
Tetapan Tahap RAID
The cenmate 802RU supports four RAID modes configured via DIP switches on the device. Penting: Changing RAID modes will erase all data on the drives. Back up your data before making any changes. After changing DIP switch settings, power cycle the enclosure for the new mode to take effect.

Image: A detailed diagram illustrating the DIP switch configurations for Normal, JBOD, RAID 0, and RAID 1 modes.
- Mod Biasa: (Switch 1 & 2 down) Each hard disk operates independently. Data is transferred individually to each drive.
- JBOD Mode: (Switch 1 down & Switch 2 up) Spans both hard drives to create a single large volume. This mode offers no performance or data redundancy.
- Mod RAID 0: (Switch 1 up & Switch 2 down) Provides enhanced performance by stripping data across both drives. This combines both drives for faster read/write operations but offers no data redundancy.
- Mod RAID 1: (Switch 1 & 2 up) Provides data protection by mirroring data across both drives. If one drive fails, data can be recovered from the other.
Nota: When replacing a drive in a RAID configuration, you may need to reset the enclosure to NORMAL mode, then reconfigure to the desired RAID mode and rebuild the array. Consult your operating system's disk management tools for initial drive formatting and partitioning after setting the RAID mode.
Fungsi Tidur Auto
The enclosure features an auto-sleep function to reduce power consumption and minimize wear on the hard drives. After 30 minutes of inactivity, the drives will enter a sleep state. They will automatically wake up upon data access.

Image: The cenmate 802RU enclosure next to a laptop, illustrating the 30-minute auto-sleep feature to conserve power and reduce drive wear.
Keserasian
The cenmate 802RU is compatible with various devices and operating systems, including Windows and Mac OS.

Image: A visual representation of the cenmate 802RU's wide compatibility, showing it can connect to routers, smart TVs, laptops, and PCs, and is compatible with Windows and Mac OS.
Penyelenggaraan
To ensure the longevity and optimal performance of your cenmate 802RU enclosure:
- Keep the enclosure in a clean, dust-free environment.
- Avoid blocking the ventilation openings, especially the rear fan.
- Bersihkan bahagian luar dengan kain lembut dan kering. Jangan gunakan pembersih cecair.
- Ensure proper airflow around the unit to prevent overheating. The enclosure includes a built-in cooling fan.

Imej: Satu dalaman view of the cenmate 802RU enclosure, highlighting its upgraded built-in cooling fan and aluminum housing designed for better data security and heat dissipation.
Menyelesaikan masalah
If you encounter issues with your cenmate 802RU enclosure, please refer to the following common solutions:
- Lampiran tidak dikenali oleh komputer:
- Ensure all cables (data and power) are securely connected.
- Try a different USB or eSATA port on your computer.
- Test with a different data cable.
- Sahkan bahawa penutup telah dihidupkan.
- Check your computer's Disk Management (Windows) or Disk Utility (Mac OS) to see if the drives are detected but uninitialized or unformatted.
- RAID configuration issues:
- Ensure DIP switches are set correctly for the desired RAID mode.
- Always power cycle the enclosure after changing DIP switch settings.
- Remember that changing RAID modes will erase data. If you are reconfiguring, ensure drives are empty or data is backed up.
- If a RAID array fails, check individual drive health. For RAID 1, replace the faulty drive and rebuild the array according to your operating system's instructions.
- Drives overheating:
- Pastikan kandang diletakkan di kawasan yang mempunyai pengudaraan yang baik.
- Do not block the rear cooling fan or ventilation slots.
- If using for extended periods with heavy load, consider additional ambient cooling.
- Kelajuan pemindahan data yang perlahan:
- Ensure you are connected to a USB 3.0 (or higher) port on your computer. Connecting to a USB 2.0 port will result in significantly slower speeds.
- Verify your computer's drivers for USB 3.0/eSATA are up to date.
- The actual speed may vary depending on the drives used and system load.
Spesifikasi
| Nombor Model | 802RU |
| Jenama | cenmate |
| Pemacu Serasi | 2 x 2.5"/3.5" SATA HDD/SSD |
| Kapasiti Maks | 40 TB (20 TB per drive) |
| Mod RAID | Normal, JBOD, RAID 0, RAID 1 |
| Antara Muka Perkakasan | USB 2.0, USB 3.0, USB Type C, eSATA |
| Kadar Pemindahan Data | Up to 5 Gbps (USB 3.0), Up to 6 Gbps (eSATA) |
| Peranti Serasi | Laptop, PC, Router, Smart TV |
| Platform Perkakasan | Windows, Mac OS |
| bahan | aluminium |
| Dimensi Produk | 8 x 5 x 6 inci |
| Berat Barang | 3.05 paun |
Waranti dan Sokongan
cenmate is committed to providing high-quality products and excellent service. This product comes with lifetime product quality support.
If you encounter any issues or require technical assistance, please contact cenmate customer support. Our professional technical staff are available to provide efficient solutions.
For support, please visit the official cenmate webtapak atau rujuk maklumat hubungan yang diberikan bersama pembungkusan produk anda.


