1. Pengenalan
This manual provides essential information for the proper installation, operation, and maintenance of your maXpeedingrods Rear Air Suspension Bellows. Please read these instructions carefully before proceeding with installation or use to ensure safety and optimal performance. This product is designed to replace the original air suspension components in compatible vehicles, restoring ride comfort and vehicle leveling capabilities.
2. Spesifikasi Produk
Keserasian
- For Citroën Picasso C4 I UD_ 2007-2013
- For Citroën C4 Grand Picasso 2006-2016
- For Citroën C4 Grand Picasso I UA_ 2006-2013
- For Citroën C4 Grand Picasso II from 2013
OE/Part Reference Numbers
- Citroën: 5102.R8, 5102R8, 5102 R8
- Citroën: 5102.GN, 5102GN, 5102 GN
- Citroën: 9681946080, 96 819 460 80
- Citroën: 9676670180, 96 76 6 701 80
- Citroën: F307512401, 9676670180B-00, F307512401/O/00, F307512401/L/QQ
Ciri-ciri Utama
- Ketahanan: Tested over 3,000,000 times for resistance and safety.
- Air Tightness: 24-hour air tightness test results in ≤ 0.02 MPa.
- Bahan: Premium natural rubber material.
- Julat Suhu: Operates effectively from -40 ℃ to 70 ℃.
- Kandungan Pakej: 2 x Rear Left + Right Air Spring Bellows.
Spesifikasi Fizikal
- Berat Barang: 2.66 Kilogram
- Dimensi Produk (L x W x H): 37 x 27 x 19 cm
- Nombor Model: LN80OJ


3. Maklumat Keselamatan
- Pemasangan Profesional Disyorkan: Due to the complexity and safety-critical nature of suspension systems, installation should ideally be performed by a qualified mechanic.
- Sokongan Kenderaan: Always ensure the vehicle is securely supported on jack stands or a lift before working on the suspension. Never rely solely on a jack.
- Air System Depressurization: Air suspension systems operate under high pressure. Before servicing or disassembling any air spring component, the air system mesti be completely depressurized. Failure to do so can cause serious injury or property damage.
- Perlindungan Mata: Always wear appropriate eye protection during installation and maintenance.
- Pemeriksaan Komponen: Inspect all components for damage or defects before installation. Do not install damaged parts.
- Spesifikasi Tork: Adhere strictly to the manufacturer's torque specifications for all fasteners.
4. Panduan Pemasangan
Bahagian ini memberikan gambaran umumview of the installation process. Specific steps may vary depending on the vehicle model and existing suspension configuration. Refer to your vehicle's service manual for detailed instructions.
4.1. Langkah Pra-Pemasangan
- Park the vehicle on a level, hard surface.
- Pasang brek letak kereta.
- Raise the vehicle using a suitable lift or jack and secure it with jack stands.
- Depressurize the air suspension system. This typically involves disabling the air compressor and opening the air lines to release pressure. Consult your vehicle's service manual for the exact procedure.
- Tanggalkan roda untuk mendapatkan akses kepada komponen suspensi.
4.2. Removal of Old Bellows
- Locate the existing air suspension bellows.
- Disconnect the air line from the top of the bellows.
- Unbolt any retaining clips or fasteners securing the bellows to the vehicle chassis or suspension arm.
- Carefully remove the old bellows. Note its orientation for reference during new installation.
4.3. Installation of New Bellows
- Clean the mounting surfaces on the vehicle to ensure a proper seal.
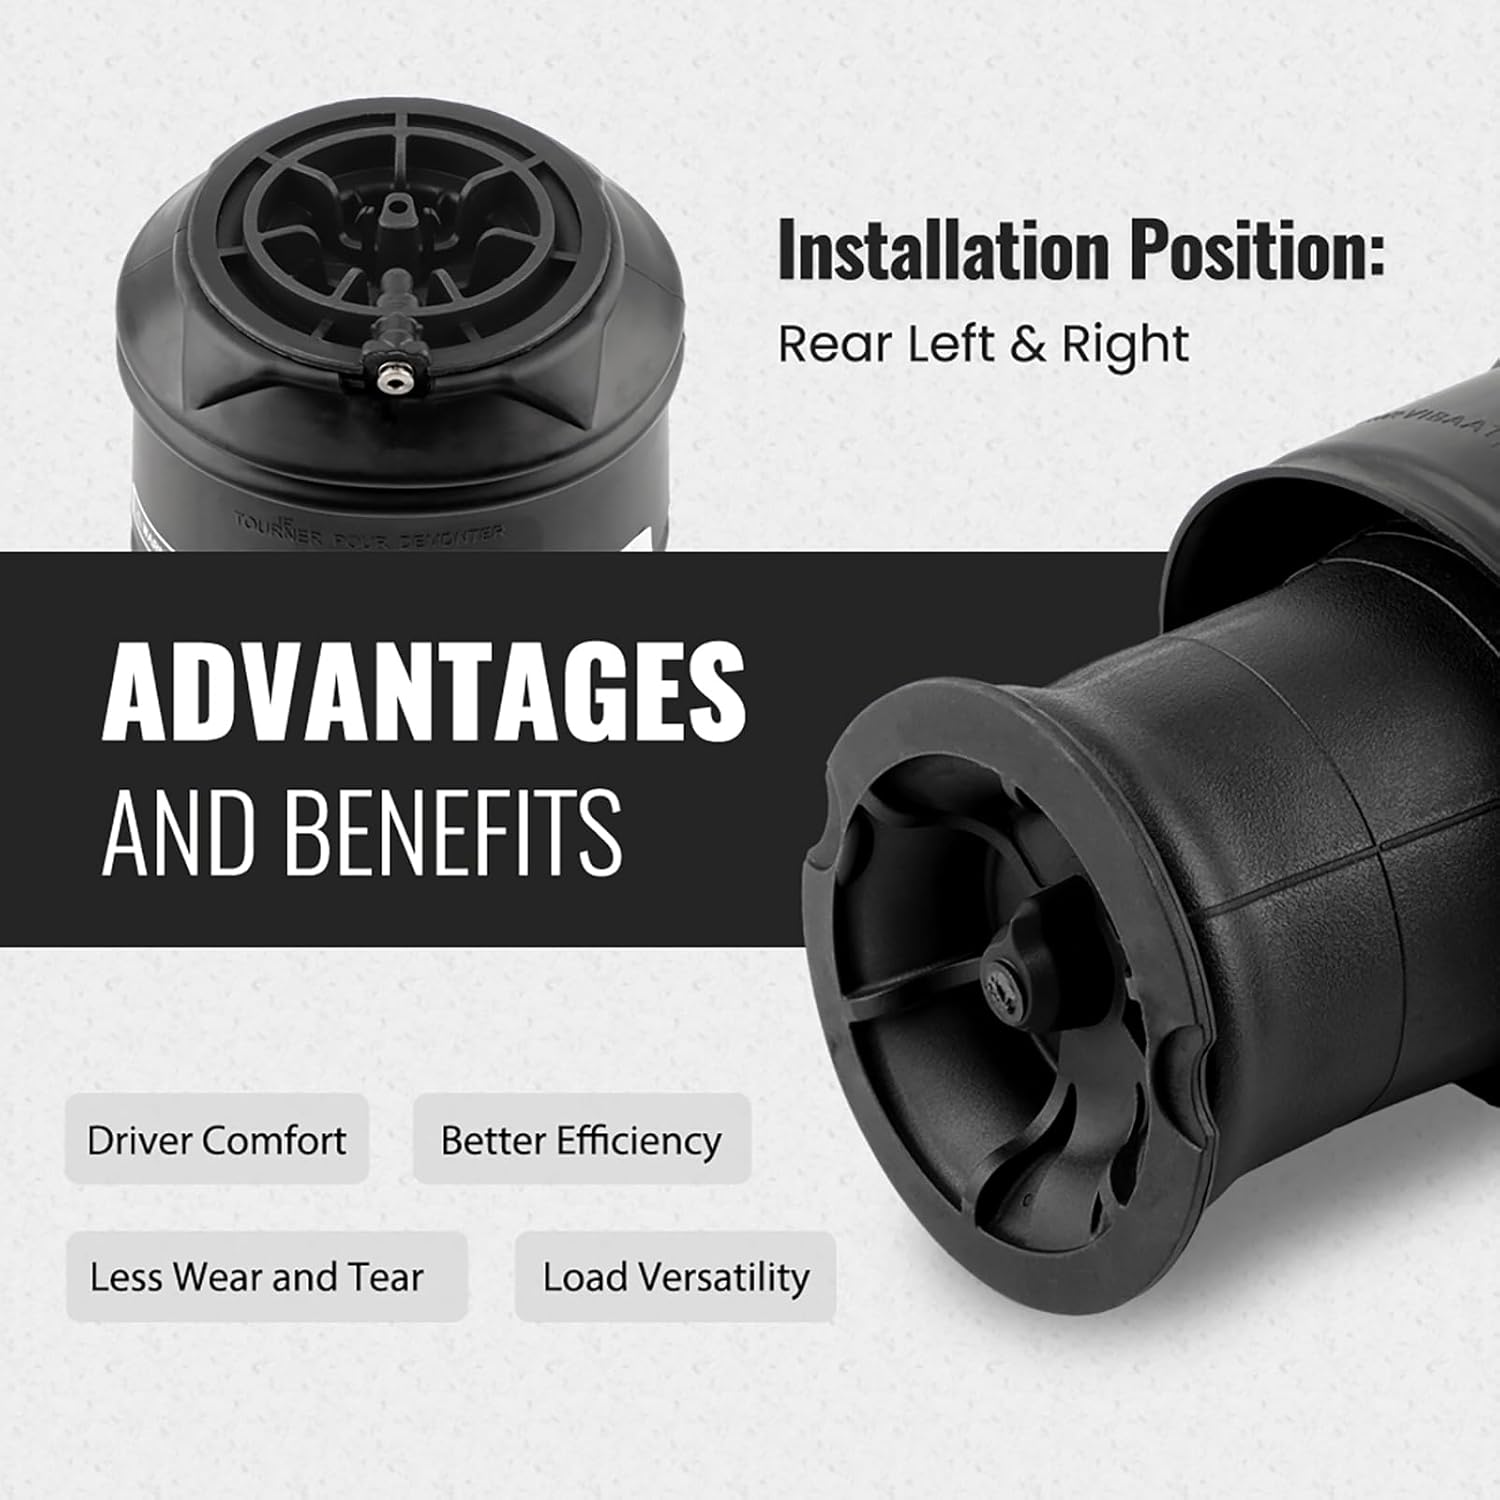
- Position the new maXpeedingrods air suspension bellows (Model 5102GN) into place. Ensure correct orientation (rear left and right).
- Secure the bellows with the appropriate bolts and fasteners. Tighten to the vehicle manufacturer's specified torque settings.
- Connect the air line to the new bellows. Ensure a secure, airtight connection.
4.4. Pemeriksaan Selepas Pemasangan
- Pasang semula roda dan turunkan kenderaan.
- Re-enable the air suspension compressor.
- Start the vehicle and allow the air suspension system to pressurize and level the vehicle.
- Visually inspect the bellows for proper inflation and check for any air leaks using a soapy water solution.
- Perform a test drive to confirm proper operation and ride quality.
5. Operasi
Once installed and the system is pressurized, the maXpeedingrods Rear Air Suspension Bellows operate automatically as part of your vehicle's air suspension system. They are designed to:
- Kekalkan Ketinggian Tunggangan: Automatically adjust to keep the vehicle at a consistent ride height, regardless of load.
- Tingkatkan Keselesaan Perjalanan: Absorb road imperfections, providing a smoother and more comfortable ride.
- Meningkatkan Kestabilan: Contribute to better handling and stability, especially when carrying heavy loads or towing.
The vehicle's onboard air compressor and control module manage the air pressure within the bellows to achieve these functions.
6. Penyelenggaraan
Regular inspection and maintenance can extend the lifespan of your air suspension bellows and ensure continued optimal performance.
- Pemeriksaan Visual: Periodically inspect the bellows for signs of wear, cracks, punctures, or damage. Check for any visible air leaks (e.g., sagging vehicle when parked).
- Pembersihan: Keep the bellows and surrounding areas free from dirt, debris, and corrosive materials. Use mild soap and water for cleaning.
- Air Line Integrity: Check air lines for cracks, chafing, or loose connections. Ensure all connections are secure and free of leaks.
- Semakan Sistem: If your vehicle has a diagnostic system, periodically check for any fault codes related to the air suspension.
7. Penyelesaian masalah
If you experience issues with your air suspension system, consider the following common problems and potential solutions:
| Masalah | Kemungkinan Punca | Penyelesaian |
|---|---|---|
| Vehicle sagging on one side or rear | Air leak in bellows or air line; faulty height sensor. | Inspect bellows and air lines for leaks. Check height sensor operation. Replace faulty components. |
| Compressor runs constantly or excessively loud | System leak; faulty compressor; clogged air filter. | Check for leaks. Inspect compressor for damage. Replace air filter. Professional diagnosis recommended. |
| Air suspension warning light on dashboard | System fault; sensor malfunction; electrical issue. | Scan for diagnostic trouble codes (DTCs) using an OBD-II scanner. Address specific fault codes. |
| Rough or bouncy ride | Incorrect air pressure; faulty shock absorbers (if applicable). | Verify system pressure. Inspect other suspension components. |
For persistent issues or complex problems, it is highly recommended to consult a professional automotive technician.
8. Waranti dan Sokongan
maXpeedingrods products are manufactured to high-quality standards. For specific warranty terms and conditions, please refer to the documentation provided with your purchase or visit the official maXpeedingrods website. If you require technical assistance or have questions regarding your product, please contact maXpeedingrods customer support through their official channels.


