
pengenalan
This manual provides detailed instructions for the setup, operation, and maintenance of your Explore Scientific Projection Radio Controlled Clock with Weather Forecast Display and Outdoor Sensor, Model RPW3008CM3000. Please read these instructions carefully before using the device to ensure proper function and longevity.
Kandungan Pakej
- 1x Explore Scientific Projection Radio Controlled Clock (Main Unit)
- 1x Sensor Luar Tanpa Wayar
- Batteries (for main unit and sensor)
- Manual Pengguna

Image: The product packaging, displaying the main clock unit, the outdoor sensor, and branding.
Produk Selesaiview
The Explore Scientific Projection Radio Controlled Clock features a digital time display, weather forecast, and an outdoor temperature sensor. It includes dual alarms, a 180° time projection, and a backlight for enhanced visibility.

Imej: Depan view of the clock displaying time, day, indoor temperature, and outdoor temperature, along with weather icons.

Image: Technical drawing showing the dimensions of the clock unit in millimeters.
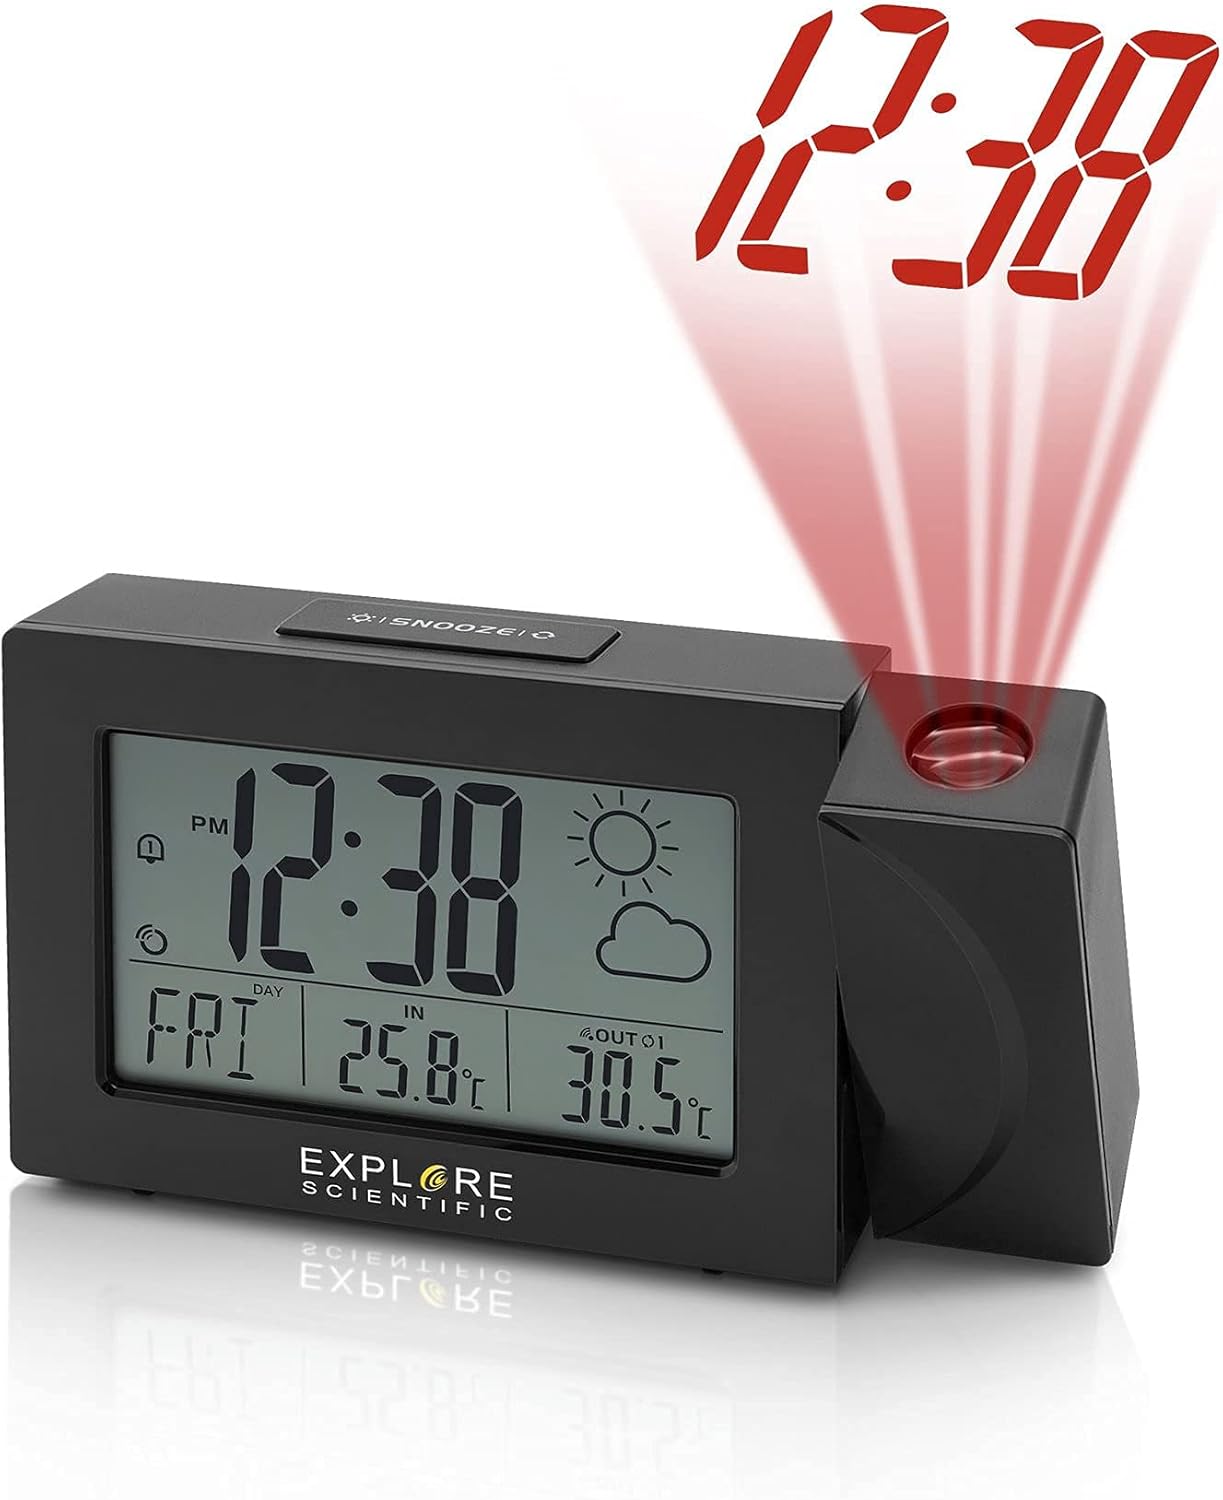
Image: The clock unit with its projection arm extended, showing the time '12:38' projected in red light.

Image: The clock placed on a shelf, projecting the time '12:38' onto a nearby wall.

Imej: Belakang view of the clock, highlighting the battery compartment and control buttons for time, alarm, and settings.

Imej: Atas view of the clock, clearly showing the 'SNOOZE' button.
Persediaan
- Pemasangan Bateri:
- Open the battery compartment on the back of the main clock unit.
- Insert the required batteries, observing the correct polarity (+/-).
- Tutup petak bateri.
- Repeat this process for the wireless outdoor sensor.
- Kuasa Permulaan:
Once batteries are inserted, the clock will power on and begin searching for the Radio Controlled (RC) signal (WWVB in North America). This process may take several minutes or up to 24 hours depending on signal strength and location. Place the clock near a window for better reception.
- Outdoor Sensor Pairing:
The main unit will automatically attempt to connect with the outdoor sensor. Ensure the sensor is placed within range (typically up to 30 meters/100 feet in open air) and away from major metallic objects or electronic interference. If pairing does not occur automatically, refer to the troubleshooting section.
- penempatan:
Position the main clock unit indoors on a flat surface. Place the outdoor sensor in a shaded, dry location outdoors, protected from direct sunlight and rain, to ensure accurate temperature readings.
Arahan Operasi
Tetapan Masa dan Tarikh
- Radio Controlled Time (WWVB): The clock automatically synchronizes with the WWVB signal for accurate time. The signal icon will indicate successful reception.
- Tetapan Masa Manual: If the RC signal is unavailable, press and hold the 'TIME SET' button (often marked with a clock icon) to enter manual time setting mode. Use the '+' and '-' buttons to adjust hours, minutes, year, month, and day. Press 'TIME SET' again to confirm each setting.
- Format 12/24 Jam: Press the '+' button during normal time display to switch between 12-hour (with AM/PM indicator) and 24-hour formats.
- Weekday Language: Press and hold the 'LANGUAGE' button (if available, or often combined with other settings) to cycle through English (EN), German (GE), French (FR), Italian (IT), and Dutch (DU).
Tetapan Penggera
- Menetapkan Penggera: Press the 'ALARM' button (often marked with a bell icon) to view Alarm 1. Press and hold 'ALARM' to enter Alarm 1 setting mode. Use '+' and '-' to adjust the alarm time. Press 'ALARM' to confirm. Repeat for Alarm 2.
- Mengaktifkan/Menyahaktifkan Penggera: Press 'ALARM' repeatedly to toggle Alarm 1 ON/OFF, then Alarm 2 ON/OFF. An alarm icon will appear on the display when active.
- Fungsi Tunda: When an alarm sounds, press the 'SNOOZE' button (located on top) to temporarily silence the alarm for a few minutes. The alarm will sound again after the snooze period.
Weather and Temperature Display
- Unit Suhu: Press the '°C/°F' button (often combined with '+' or '-') to switch between Celsius and Fahrenheit display for both indoor and outdoor temperatures.
- Ramalan cuaca: The clock displays a weather forecast icon (e.g., sunny, cloudy, rainy) based on changes in atmospheric pressure. This is a prediction and may not always match current conditions precisely.
- Multiple Outdoor Sensors: If you have additional compatible sensors (up to 3 supported), press the 'CHANNEL' button (often combined with '+') to cycle through the outdoor sensor readings.
Projection Feature
- Mengaktifkan Unjuran: Press the 'PROJECTION' button (or a dedicated button near the projector lens) to turn the time projection ON/OFF.
- Balik 180°: The projection arm can be rotated 180 degrees to adjust the projection angle. The projected time can also be flipped 180 degrees digitally by pressing the projection button repeatedly to ensure correct orientation on the wall or ceiling.
- Pelarasan Fokus: Rotate the focus ring on the projector lens to sharpen the projected image.
Lampu latar
- Press the 'LIGHT' or 'SNOOZE' button to activate the display backlight for a few seconds.
Penyelenggaraan
- Pembersihan: Lap jam dan sensor dengan kain lembut,amp kain. Jangan gunakan pembersih atau pelarut yang melelas.
- Penggantian Bateri: Replace batteries in both the main unit and outdoor sensor when the low battery indicator appears on the display. Use fresh batteries of the specified type.
- Storan: Jika menyimpan peranti untuk tempoh yang lama, keluarkan semua bateri untuk mengelakkan kebocoran.
Menyelesaikan masalah
| Masalah | Kemungkinan Punca | Penyelesaian |
|---|---|---|
| Tiada paparan atau paparan malap | Bateri rendah atau mati; kekutuban bateri yang tidak betul. | Gantikan bateri dengan yang baharu, memastikan kekutuban yang betul. |
| No RC time signal (WWVB) | Interference; poor reception area; signal not yet received. | Move the clock closer to a window; avoid electronic devices; allow up to 24 hours for signal acquisition. Manually set time if necessary. |
| Suhu luar tidak dipaparkan atau salah | Sensor out of range; sensor batteries low; interference; sensor not paired. | Ensure sensor is within range; replace sensor batteries; re-pair sensor (refer to setup); avoid placing sensor in direct sunlight. |
| Tayangan adalah kabur | Fokus tidak dilaraskan. | Putarkan gelang fokus pada kanta projektor sehingga imej menjadi jelas. |
Spesifikasi
- Nombor Model: RPW3008CM3000
- UPC: 811803033238
- Jenis Paparan: digital
- Format Masa: Boleh Dipilih 12/24 Jam
- Weekday Display: 5 Languages (EN, GE, FR, IT, DU)
- Julat Suhu Dalaman: 23°F hingga 122°F (-5°C hingga 50°C)
- Julat Suhu Luaran: -4°F hingga 140°F (-20°C hingga 60°C)
- Unit Suhu: ° F / ° C Boleh ditukar
- Kawalan Radio: NIST WWVB Receiver
- Unjuran: Time with 180° Flip
- Alarms: Dual Alarms with Snooze
- Lampu latar: ya
- Outdoor Sensor Support: Up to 3 sensors (1 included)
- Sumber Kuasa: Battery Powered (Batteries included)
- Bahan: Akrilonitril Butadiena Stirena
- Jenis Pemasangan: Atas meja
Waranti dan Sokongan
Explore Scientific products are designed for quality and reliability. This product is covered by a manufacturer's warranty. For specific warranty terms, registration, or technical support, please refer to the warranty card included in your package or visit the official Explore Scientific webtapak. Sila simpan bukti pembelian anda untuk tuntutan waranti.
GTIN: 00811803033238


