1. Pengenalan
Thank you for choosing the DEXTER Industrial Wet/Dry Vacuum Cleaner. This appliance is designed for regular use in various environments, capable of vacuuming water, dust, sawdust, ash, and general debris. To ensure safe and efficient operation, please read this manual thoroughly before first use and retain it for future reference.
This manual provides essential information on assembly, operation, maintenance, and troubleshooting for your DEXTER vacuum cleaner.
2. Arahan Keselamatan
Sentiasa patuhi langkah berjaga-jaga keselamatan asas apabila menggunakan peralatan elektrik untuk mengurangkan risiko kebakaran, renjatan elektrik dan kecederaan diri.
- Baca semua arahan sebelum mengendalikan perkakas.
- Jangan biarkan perkakas tanpa pengawasan apabila dipasang. Cabut plag dari saluran keluar apabila tidak digunakan dan sebelum diservis.
- To reduce the risk of electric shock, do not expose to rain or use on wet surfaces. Store indoors.
- Jangan biarkan digunakan sebagai mainan. Perhatian yang rapi diperlukan apabila digunakan oleh atau berhampiran kanak-kanak.
- Gunakan hanya seperti yang diterangkan dalam manual ini. Gunakan hanya lampiran yang disyorkan pengilang.
- Jangan gunakan dengan kord atau palam yang rosak. Jika perkakas tidak berfungsi sebagaimana mestinya, telah terjatuh, rosak, ditinggalkan di luar rumah, atau terjatuh ke dalam air, kembalikannya ke pusat servis.
- Jangan tarik atau bawa dengan kord, gunakan kord sebagai pemegang, tutup pintu pada kord, atau tarik kord di sekeliling tepi atau sudut yang tajam. Jangan jalankan perkakas di atas kord. Jauhkan kord dari permukaan yang dipanaskan.
- Jangan cabut plag dengan menarik kord. Untuk mencabut palam, pegang palam, bukan kordnya.
- Jangan pegang palam atau perkakas dengan tangan yang basah.
- Jangan letakkan sebarang objek ke dalam bukaan. Jangan gunakan dengan mana-mana bukaan yang disekat; jauhkan daripada habuk, serabut, rambut dan apa sahaja yang boleh mengurangkan aliran udara.
- Jauhkan rambut, pakaian longgar, jari dan semua bahagian badan daripada bukaan dan bahagian yang bergerak.
- Jangan ambil apa-apa yang terbakar atau berasap, seperti rokok, mancis, atau abu panas.
- Gunakan lebih berhati-hati semasa membersihkan di tangga.
- Jangan gunakan untuk mengambil cecair mudah terbakar atau mudah terbakar, seperti petrol, atau gunakan di kawasan yang mungkin terdapat.
- Jangan gunakan tanpa penapis di tempatnya.
- Matikan semua kawalan sebelum mencabut plag.
3. Kandungan Pakej
Carefully unpack your DEXTER Industrial Wet/Dry Vacuum Cleaner and ensure all components are present and undamaged. If any parts are missing or damaged, please contact customer support.

Image: The DEXTER Industrial Wet/Dry Vacuum Cleaner with its complete set of accessories, including the hose, extension tubes, various nozzles, and filters.
- DEXTER Industrial Wet/Dry Vacuum Cleaner Unit
- 4 Metal Wheels
- ACCY 35 mm System Hose
- Hose Extension (1.8 m x 3 sections)
- Round Brush (250 mm)
- Floor Nozzle/Scraper
- Alat Celah
- Foam Filter (for wet vacuuming)
- Fabric Bag (for dry vacuuming)
- Paper Dust Bag (for dry vacuuming)
- Kabel Kuasa (4 m)
4. Persediaan
Ikuti langkah-langkah ini untuk memasang pembersih vakum anda sebelum penggunaan pertama.
4.1 Memasang Roda
- Turn the vacuum cleaner tank upside down.
- Insert the four metal wheels into the designated slots on the base of the tank until they click securely into place.
4.2 Memasang Penapis
Jenis penapis yang diperlukan bergantung pada sama ada anda melakukan penyedutan basah atau kering.
- Untuk Pemvakum Kering: Install the paper dust bag or the fabric bag over the filter cage inside the tank. Ensure it covers the cage completely and is securely fastened.
- Untuk Pemvakum Basah: Remove any paper or fabric dust bags. Install the foam filter over the filter cage. Ensure it is properly seated to prevent water from entering the motor.
4.3 Assembling the Hose and Accessories
- Attach the flexible hose to the suction inlet on the front of the vacuum cleaner tank. Ensure it is firmly twisted or pushed into place.
- Connect the desired extension tubes to the end of the flexible hose. You can use one, two, or all three sections depending on the required reach.
- Attach the appropriate nozzle (floor nozzle, round brush, or crevice tool) to the end of the extension tube.

Image: The DEXTER Industrial Wet/Dry Vacuum Cleaner shown fully assembled with the hose, extension tubes, and floor nozzle ready for use.
5. Arahan Operasi
Before operating, ensure the vacuum cleaner is correctly assembled and the appropriate filter is installed for your task.
5.1 Sambungan Kuasa
Plug the 4-meter power cable into a suitable 220V electrical outlet. Ensure the outlet is grounded.
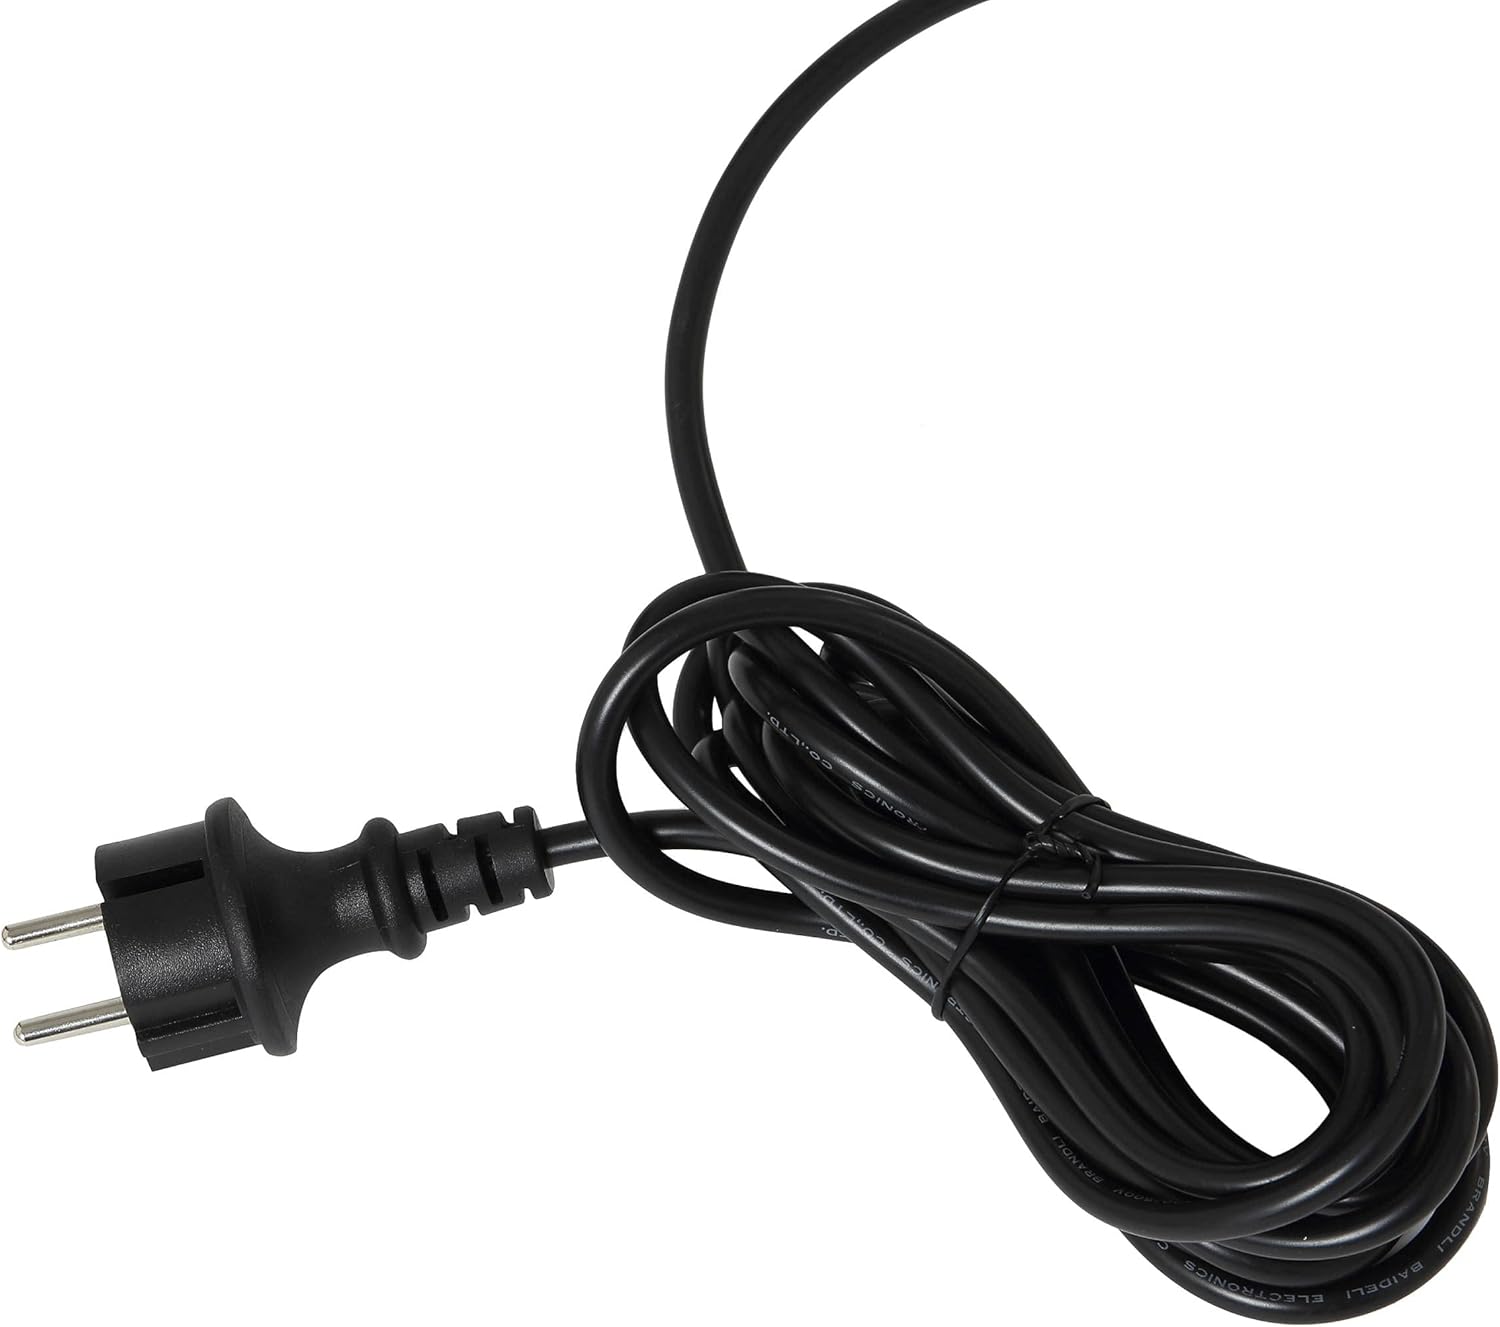
Image: The power cable with an EEA-type plug, ready to be connected to a power source.
5.2 Penyedutan Kering
- Ensure the paper dust bag or fabric bag is correctly installed.
- Select the appropriate nozzle for the surface you are cleaning. The floor nozzle is suitable for large areas, while the crevice tool is for tight spaces, and the round brush for delicate surfaces or upholstery.
- Hidupkan pembersih vakum menggunakan suis kuasa.
- Move the nozzle over the dry debris to be vacuumed.
- When finished, turn off the vacuum cleaner and unplug it.

Image: The DEXTER vacuum cleaner in a workshop setting, demonstrating its use for dry vacuuming sawdust from the floor.

Image: A hand using the round brush attachment to clean upholstery, highlighting the versatility of the included accessories.
5.3 Penyedutan Basah
- Ensure the foam filter is correctly installed and any dust bags are removed.
- Attach the floor nozzle or crevice tool.
- Hidupkan pembersih vakum.
- Move the nozzle over the liquid spill. The vacuum cleaner will automatically shut off when the tank reaches its maximum capacity.
- When finished or when the tank is full, turn off the vacuum cleaner and unplug it.
5.4 Fungsi Peniup
The DEXTER Industrial Wet/Dry Vacuum Cleaner also features a blower function for clearing debris from hard-to-reach areas.
- Locate the blower port on the vacuum cleaner (usually opposite the suction inlet).
- Attach the flexible hose to the blower port.
- Turn on the vacuum cleaner. Air will now be expelled from the hose, allowing you to blow away dust and debris.
- When finished, turn off the vacuum cleaner and unplug it.
6. Penyelenggaraan
Penyelenggaraan yang kerap memastikan ketahanan dan prestasi optimum pembersih vakum anda.
6.1 Mengosongkan Tangki
After each use, especially after wet vacuuming, empty the tank.
- Cabut plag pembersih vakum daripada salur keluar kuasa.
- Lepaskan selak yang mengikat kepala motor ke tangki.
- Angkat kepala motor dari tangki dengan berhati-hati.
- Dispose of the collected debris or liquid appropriately.
- Bersihkan bahagian dalam tangki dengan iklanamp cloth if necessary and allow it to dry completely before reassembling.
6.2 Pembersihan dan Penggantian Penapis
- Paper Dust Bag: Gantikan apabila penuh atau apabila kuasa sedutan berkurangan dengan ketara.
- Fabric Bag: Shake out accumulated dust. If heavily soiled, it can be gently hand-washed and air-dried completely before reuse.
- Penapis Buih: After wet vacuuming, rinse the foam filter under running water until clean. Squeeze out excess water and allow it to air dry completely before storing or reusing.
6.3 Penjagaan Hos dan Aksesori
Inspect the hose and accessories regularly for blockages or damage. Clear any blockages promptly. Clean accessories with a damp kain mengikut keperluan.

Image: The flexible hose, an essential component for both vacuuming and blowing functions, shown coiled.
6.4 Penyimpanan
Store the vacuum cleaner and its accessories in a clean, dry place, away from direct sunlight and extreme temperatures.
7. Penyelesaian masalah
If you encounter issues with your DEXTER Industrial Wet/Dry Vacuum Cleaner, refer to the following table for common problems and solutions.
| Masalah | Kemungkinan Punca | Penyelesaian |
|---|---|---|
| Pembersih hampagas tidak dihidupkan. | Tiada bekalan kuasa. Suis kuasa dimatikan. | Periksa sambungan kord kuasa dan salur keluar dinding. Ensure power switch is in the 'ON' position. |
| Kuasa sedutan rendah. | Hos atau muncung tersumbat. Penapis kotor atau tersumbat. Beg habuk sudah penuh. Tank lid not properly sealed. | Check and clear any blockages in the hose or nozzle. Bersihkan atau ganti penapis. Kosongkan atau ganti beg habuk. Ensure the motor head is securely latched onto the tank. |
| Air bocor semasa penyedutan basah. | Penapis busa tidak dipasang atau rosak. Tank is overfilled. | Ensure foam filter is correctly installed and undamaged. Replace if necessary. Empty the tank. The vacuum has an automatic shut-off when full. |
| Motor stops during wet vacuuming. | Tangki penuh. | Empty the tank. This is a safety feature to prevent overfilling. |
8. Spesifikasi
Detailed technical specifications for the DEXTER Industrial Wet/Dry Vacuum Cleaner.
| Ciri | Spesifikasi |
|---|---|
| Jenama | SELEPAS |
| Nombor Model | 3276000237679 |
| Kuasa/Wattage | 1400 W |
| Voltage | 220 V |
| Kapasiti Tangki | 20 Liter |
| Dimensi Produk | 48 x 48 x 55 cm |
| Berat badan | 6.86 kg |
| Panjang Hos | 1.8 m |
| Panjang Kabel Kuasa | 4 m |
| Kemurungan | 15 kPa |
| Anjakan Udara | 30 dm³/s |
| Tahap Kebisingan | 80 dB (A) |
| Jenis Penapis | Paper bag, Foam filter |
| Ciri Khas | Fungsi blower |
9. Maklumat Waranti
The DEXTER Industrial Wet/Dry Vacuum Cleaner is covered by a Waranti 2 tahun dari tarikh pembelian. Waranti ini meliputi kecacatan pembuatan dan kerosakan bahan di bawah keadaan penggunaan biasa.
Please retain your proof of purchase for any warranty claims. For warranty service, contact the retailer or the manufacturer's customer support.
The warranty does not cover damage resulting from misuse, neglect, unauthorized modifications, or normal wear and tear.
10. Sokongan dan Hubungan
For further assistance, technical support, or to inquire about spare parts, please visit the official DEXTER webtapak atau hubungi peruncit tempatan anda.
You can also visit the DEXTER Store on Amazon for more product information and support resources: DEXTER Store


