pengenalan
This manual provides detailed instructions for the assembly, operation, and maintenance of your Sunnydaze 10x13 Soft Top Patio Gazebo. Please read all instructions carefully before beginning assembly and retain this manual for future reference.

Image: Fully assembled Sunnydaze 10x13 Soft Top Patio Gazebo in tan.
Maklumat Keselamatan
AMARAN: Kegagalan mematuhi arahan keselamatan ini boleh mengakibatkan kecederaan atau kerosakan pada produk.
- Always assemble the gazebo with at least two people.
- Pastikan semua sambungan selamat sebelum digunakan.
- Do not use the gazebo in strong winds, heavy rain, or snow. Disassemble or secure the canopy during adverse weather conditions to prevent damage.
- Jauhkan semua sumber api dan haba daripada fabrik gazebo. Fabrik ini tidak kalis api.
- Jangan gantung objek berat dari bingkai.
- Supervise children around the gazebo.
- Periksa secara berkala semua nat dan bolt untuk memastikan ia ketat.
- This gazebo is designed for temporary shade and shelter. It is not intended as a permanent structure.
Kandungan Pakej
Before assembly, verify that all components listed below are present and undamaged. If any parts are missing or damaged, contact customer support.
- 4 x Kaki
- 4 x Kaki
- 8 x Beams
- 13 x Trusses
- 4 x Dinding Sisi
- 4 x Screens (Mosquito Netting)
- 2 x Peak Hubs
- 1 x Main Canopy
- 1 x Upper Canopy
- 4 x Long Net Poles
- 4 x Short Net Poles
- 1 x Hardware Kit (includes nuts, bolts, wrenches, etc.)
Arahan Perhimpunan
Assembly requires two people. Please follow these steps carefully. Refer to the diagrams for visual guidance.
Langkah 1: Pasang Bingkai Asas
- Lay out the 4 legs and 4 feet on a flat, level surface.
- Attach the feet to the bottom of each leg using the provided hardware.
- Connect the 8 beams to the top of the legs to form the rectangular base structure. Ensure all bolts are finger-tight at this stage.
Imej: Terperinci view of the steel frame structure.
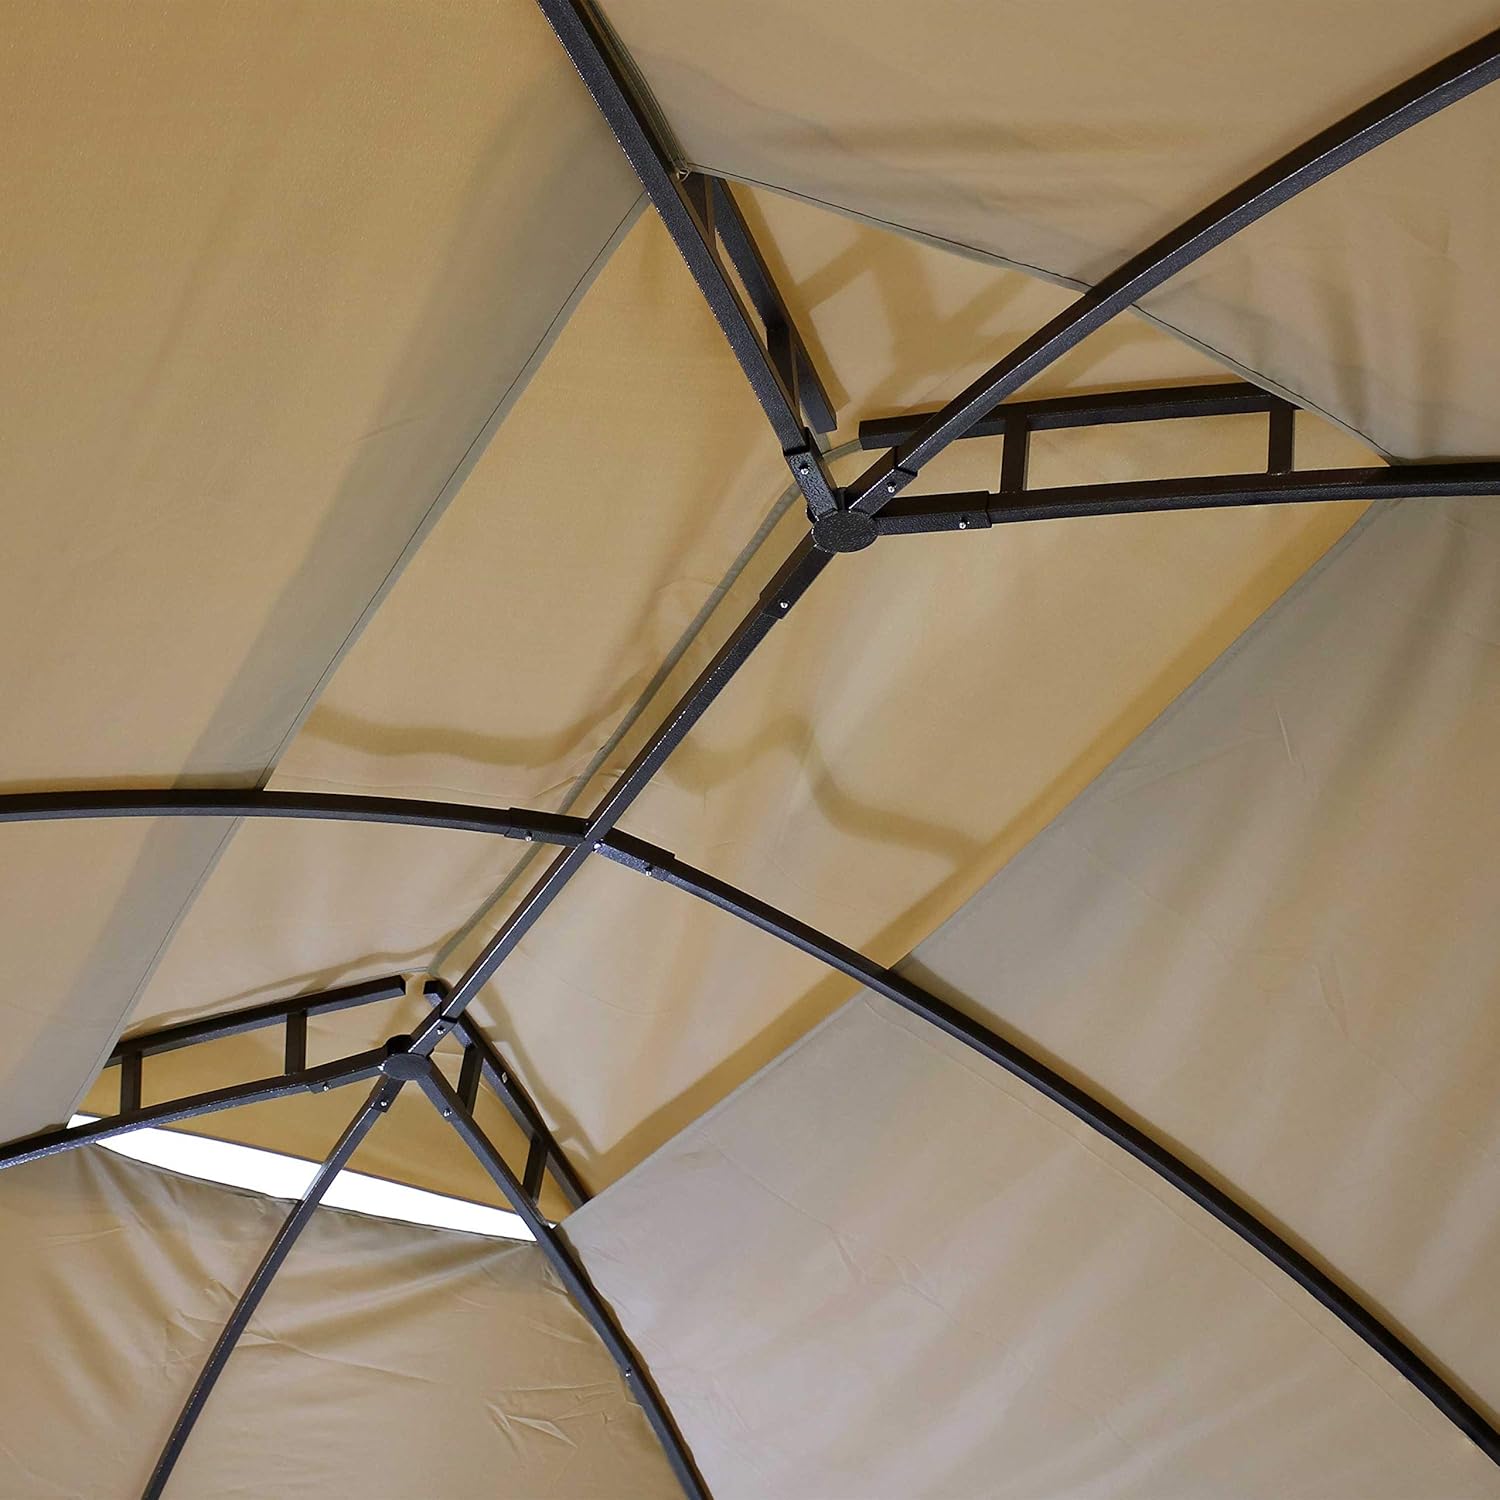
Step 2: Install the Roof Trusses and Peak Hubs
- Attach the 13 trusses to the beams and connect them to the 2 peak hubs to form the roof structure.
- Pastikan semua sambungan selamat.
Step 3: Attach the Canopies
- Carefully place the main canopy over the assembled roof frame. Ensure it is centered and all corners are aligned.
- Secure the main canopy to the frame using the integrated fasteners.
- Install the upper canopy onto the smaller top frame, ensuring it is properly seated for ventilation.

Image: Canopy fabric secured to the frame.
Step 4: Install Sidewalls and Screens
- Attach the long and short net poles to the frame as indicated in the diagram.
- Hang the 4 screens (mosquito netting) from the designated tracks or hooks on the frame.
- Hang the 4 sidewalls (privacy curtains) over the screens. The double zippers allow independent operation of screens and sidewalls.
- Use the fabric hook-and-loop fasteners to secure the sidewalls to the legs or tie them back when not in use.
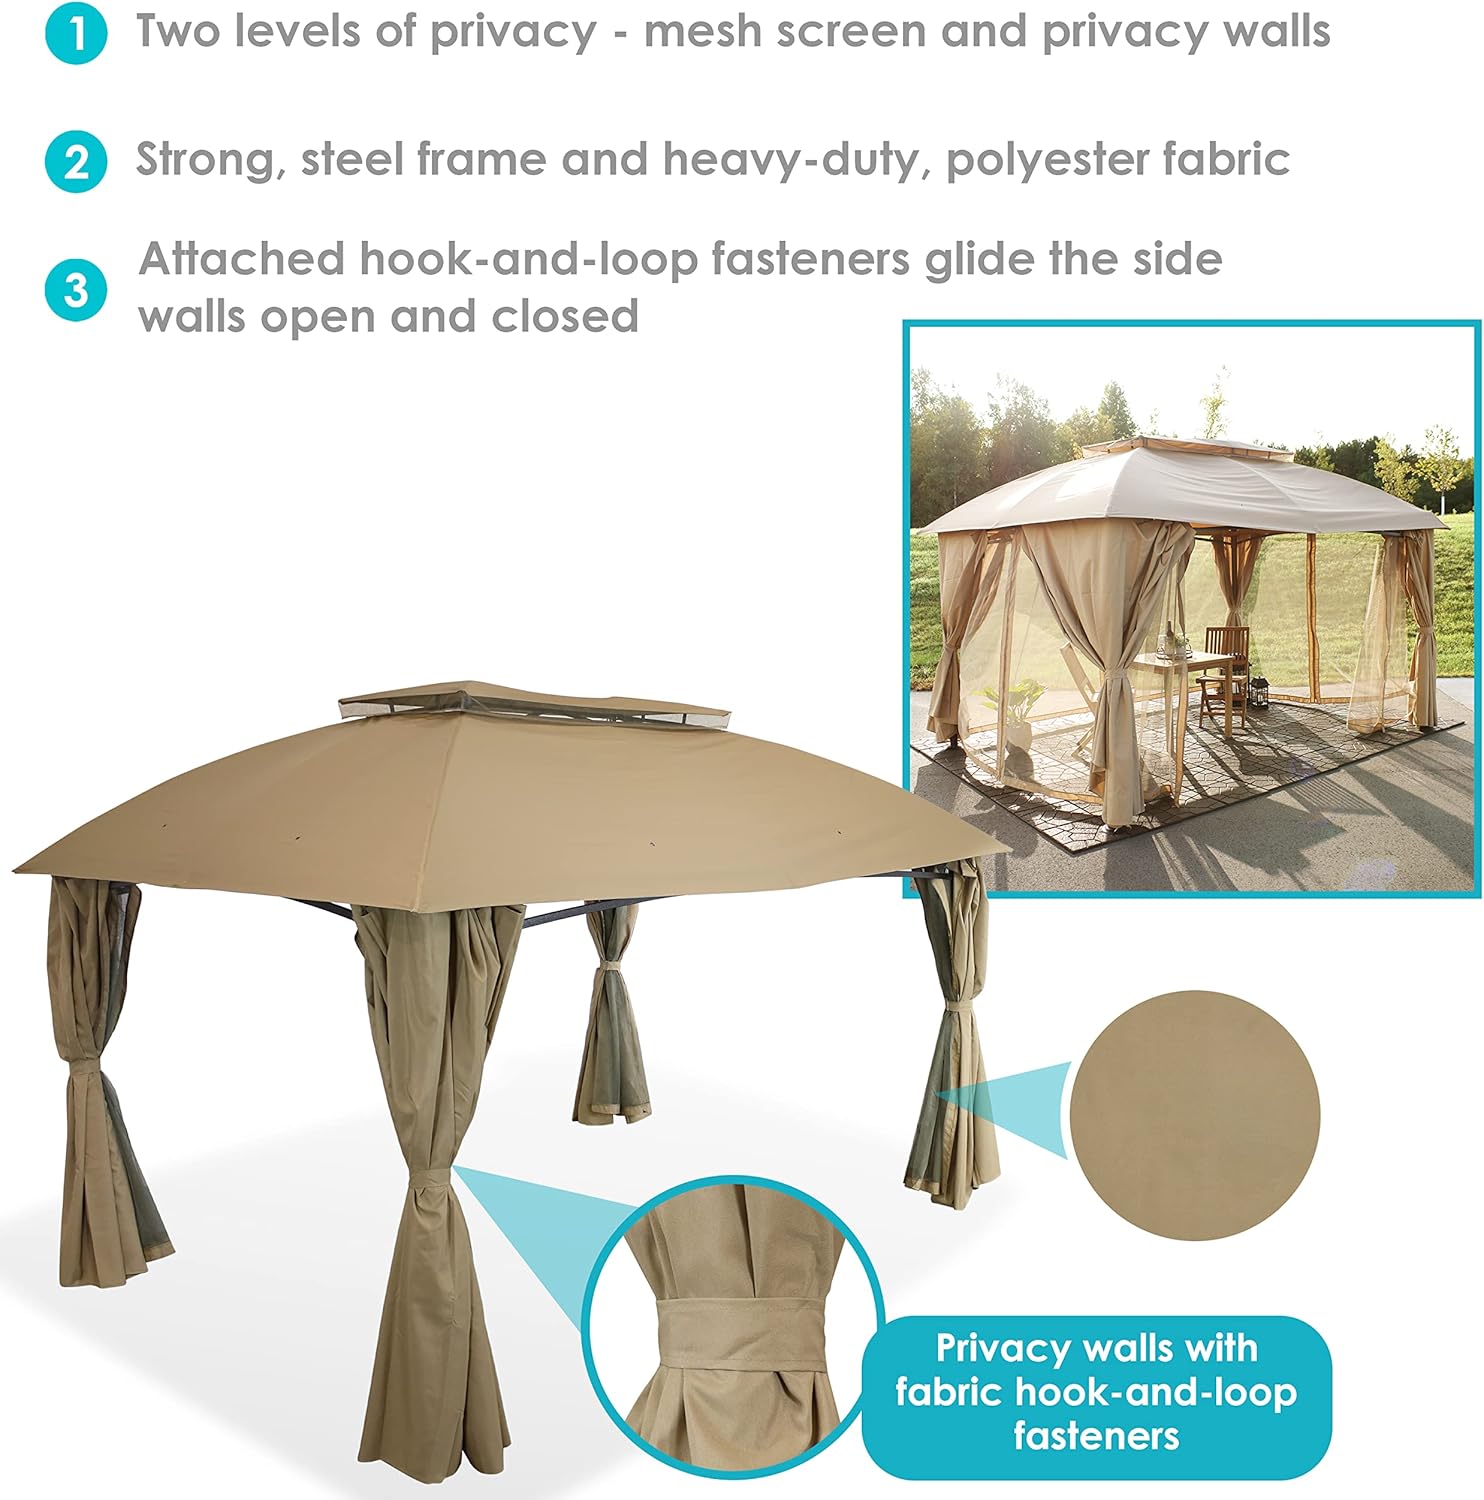
Image: Features of the gazebo including mesh screens and privacy walls.

Image: Detail of privacy wall with fabric hook-and-loop fastener.

Image: Visual comparison of screens versus privacy walls.
Langkah 5: Pengetatan Akhir
Once all components are in place, go back and fully tighten all nuts and bolts using the provided tools. Do not overtighten.
Arahan Operasi
Using the Mosquito Netting
The mesh screens are designed to provide ventilation while keeping insects out. They can be zipped closed for full enclosure or tied back to allow open access.
Using the Privacy Curtains
The privacy curtains offer additional shade and privacy. They can be pulled closed over the mesh screens and secured with zippers, or tied back to the gazebo legs using the integrated fabric fasteners when not needed.
Menjamin Gazebo
For added stability, especially in moderate weather, consider using stakes or weights (not included) to secure the gazebo feet to the ground.
Penyelenggaraan
Penjagaan Kanopi
- Clean the polyester canopy fabric with mild soap and water. Do not use harsh chemicals or abrasive cleaners.
- Allow the canopy to air dry completely before folding and storing to prevent mildew.
- Remove the canopy during strong winds or heavy precipitation to prolong its lifespan.
Penjagaan Bingkai
- Lap bingkai keluli dengan iklanamp kain untuk menghilangkan kotoran dan serpihan.
- Inspect the frame periodically for any signs of rust or damage. Touch up any scratches with rust-inhibiting paint if necessary.
- Ensure all bolts and connections remain tight.
Penyimpanan Bermusim
For prolonged periods of non-use or during winter months, it is recommended to disassemble the gazebo and store all components in a dry, protected area to prevent damage and extend product life.
Menyelesaikan masalah
| Masalah | Kemungkinan Punca | Penyelesaian |
|---|---|---|
| Canopy does not fit or is too tight. | Incorrect assembly of frame; canopy not stretched evenly; fabric shrinkage. | Ensure frame is assembled correctly and square. Try loosening frame connections slightly, fitting the canopy, then re-tightening. Allow fabric to stretch over time. |
| Kumpulan air di atas kanopi. | Canopy not taut enough; improper installation of upper canopy; heavy rainfall. | Ensure canopy is stretched tightly over the frame. Verify upper canopy is correctly positioned for drainage. Remove canopy during heavy rain. |
| Gazebo feels unstable. | Loose connections; not properly anchored. | Check and tighten all bolts and connections. Use ground stakes or weights to secure the gazebo legs. |
| Zippers on sidewalls/screens stick or break. | Dirt or debris in zipper teeth; excessive force. | Clean zipper teeth with a small brush. Apply a zipper lubricant. Operate zippers gently. |
Spesifikasi

Image: Dimensional diagram of the gazebo.
| Ciri | Perincian |
|---|---|
| Jenama | Sunnydaze |
| Nombor Model | CRE-168 |
| Product Dimensions (Overall/Roof) | 156" L x 116.5" W x 106.5" H |
| Frame Dimensions (Base) | 140" W x 105" D |
| Pembersihan Kepala | 75.25" (103.5" at frame peak) |
| Shaded Area | Sehingga 126.2 kaki persegi |
| Berat Barang | 106 paun |
| Bahan Bingkai | Alloy Steel (60mm) |
| Bahan Kanopi | 100 GSM Polyester |
| warna | Tan |
| Tahap Ketahanan Air | Bukan Tahan Air |
| Perlindungan UV | UPF 30 |
| Perhimpunan Diperlukan | Yes (Two people recommended) |
Waranti & Sokongan
Waranti Pengeluar
Sunnydaze Decor backs its products with a Waranti pengilang selama 1 tahun dari tarikh pembelian. Waranti ini melindungi kecacatan pada bahan dan mutu kerja di bawah penggunaan biasa.
Sokongan Pelanggan
For questions, missing parts, or warranty claims, please contact Sunnydaze Decor customer service. Refer to your purchase documentation or the official Sunnydaze Decor webtapak untuk maklumat hubungan semasa.
Sumber Dalam Talian: Anda mungkin menemui sokongan tambahan dan maklumat produk di Sunnydaze Decor Brand Store.


