1. Arahan Keselamatan Penting
Please read all instructions carefully before using the CREATE Thera Classic Espresso Machine. Retain this manual for future reference. Incorrect operation may result in damage to the appliance or personal injury.
- Pastikan perkakas disambungkan ke salur keluar kuasa yang dibumikan dengan voltan yang betultage (240V).
- Jangan rendam perkakas, kord kuasa, atau palamkan ke dalam air atau cecair lain.
- Keep hands and cords away from hot surfaces and steam. The steam wand and portafilter can become very hot during operation.
- Always turn off the machine and unplug it before cleaning or when not in use.
- Do not operate the machine with a damaged cord or plug, or if the appliance malfunctions or has been damaged in any manner.
- Perkakas ini adalah untuk kegunaan isi rumah sahaja. Jangan gunakan di luar rumah.
- Kanak-kanak harus diawasi untuk memastikan mereka tidak bermain dengan perkakas.
2. Produk Lebihview dan Komponen
Familiarize yourself with the parts of your CREATE Thera Classic Espresso Machine.

Imej 2.1: Depan view of the CREATE Thera Classic Espresso Machine, showing the control panel, portafilter, and drip tray with two espresso cups.

Imej 2.2: All removable components of the espresso machine laid out, including the portafilter, single and double shot filter baskets, measuring spoon with tamper, and the water tank.
Komponen Utama:
- Panel Kawalan: Power button, single shot button, double shot button, pressure gauge, steam knob.
- Tangki Air: Removable tank for fresh water. Capacity: 1.25 Liters.
- Penapis Porta: Handle with filter basket holder.
- Bakul Penapis: For single and double espresso shots, or ESE pods.
- Tongkat Stim: Untuk membuih susu dan mengeluarkan air panas.
- Dulang Drip: Dulang boleh tanggal untuk mengumpul cecair berlebihan.
- Sudu Pengukur/Tamper: For measuring ground coffee and tamping it into the filter basket.
3. Persediaan dan Penggunaan Pertama
3.1 Membongkar
- Keluarkan semua bahan pembungkus dengan berhati-hati dan pastikan semua komponen ada.
- Clean the water tank, portafilter, filter baskets, and drip tray with warm water and mild detergent. Rinse thoroughly.
- Lap bahagian luar mesin dengan iklanamp kain.
3.2 Mengisi Tangki Air
- Tanggalkan tangki air dari bahagian belakang mesin.
- Fill the tank with fresh, cold water up to the MAX level indicator. Do not exceed the MAX line.
- Letakkan tangki air kembali ke kedudukannya, pastikan ia diletakkan dengan betul.
3.3 Priming the Machine (First Use or After Extended Storage)
Priming ensures the water system is filled and ready for operation.
- Pastikan tangki air diisi.
- Place a large container under the portafilter head and another under the steam wand.
- Plug in the machine and press the power button (usually indicated by a power symbol or a light). The indicator light will illuminate.
- Once the machine has heated up (indicator light stops flashing or turns solid), press the double shot button to run water through the portafilter head until water flows steadily.
- Turn the steam knob to release steam/hot water through the steam wand until water flows steadily. Close the steam knob.
- The machine is now primed and ready for use.
4. Arahan Operasi
4.1 Membuat Espresso dengan Kopi Kisar
- Sediakan Mesin: Ensure the water tank is filled and the machine is powered on and preheated.
- Sediakan Portafilter: Masukkan bakul penapis yang dikehendaki (satu atau dua) ke dalam penapis porta.
- Tambah Kopi: Use the measuring spoon to add freshly ground espresso coffee to the filter basket. For a single shot, use one level spoon; for a double, use two.
- Tamp Kopi: Gunakan tampGunakan hujung sudu penyukat untuk menekan serbuk kopi dengan kuat dan sekata. Pastikan permukaannya rata.
- Lampirkan Portafilter: Align the portafilter with the group head (INSERT position) and twist it firmly to the right until it is securely locked (LOCK position).
- Tempat Cawan: Position one or two espresso cups on the drip tray directly under the portafilter spouts.
- Brew Espresso: Press the single shot or double shot button. The machine will begin brewing. The pressure gauge will indicate the brewing pressure.
- Hentikan Pembuatan Bir: The machine may stop automatically, or you can press the button again to stop brewing manually when the desired volume is reached.
- Buang Penapis Portabel: Carefully twist the portafilter to the left to remove it. Dispose of the used coffee grounds.
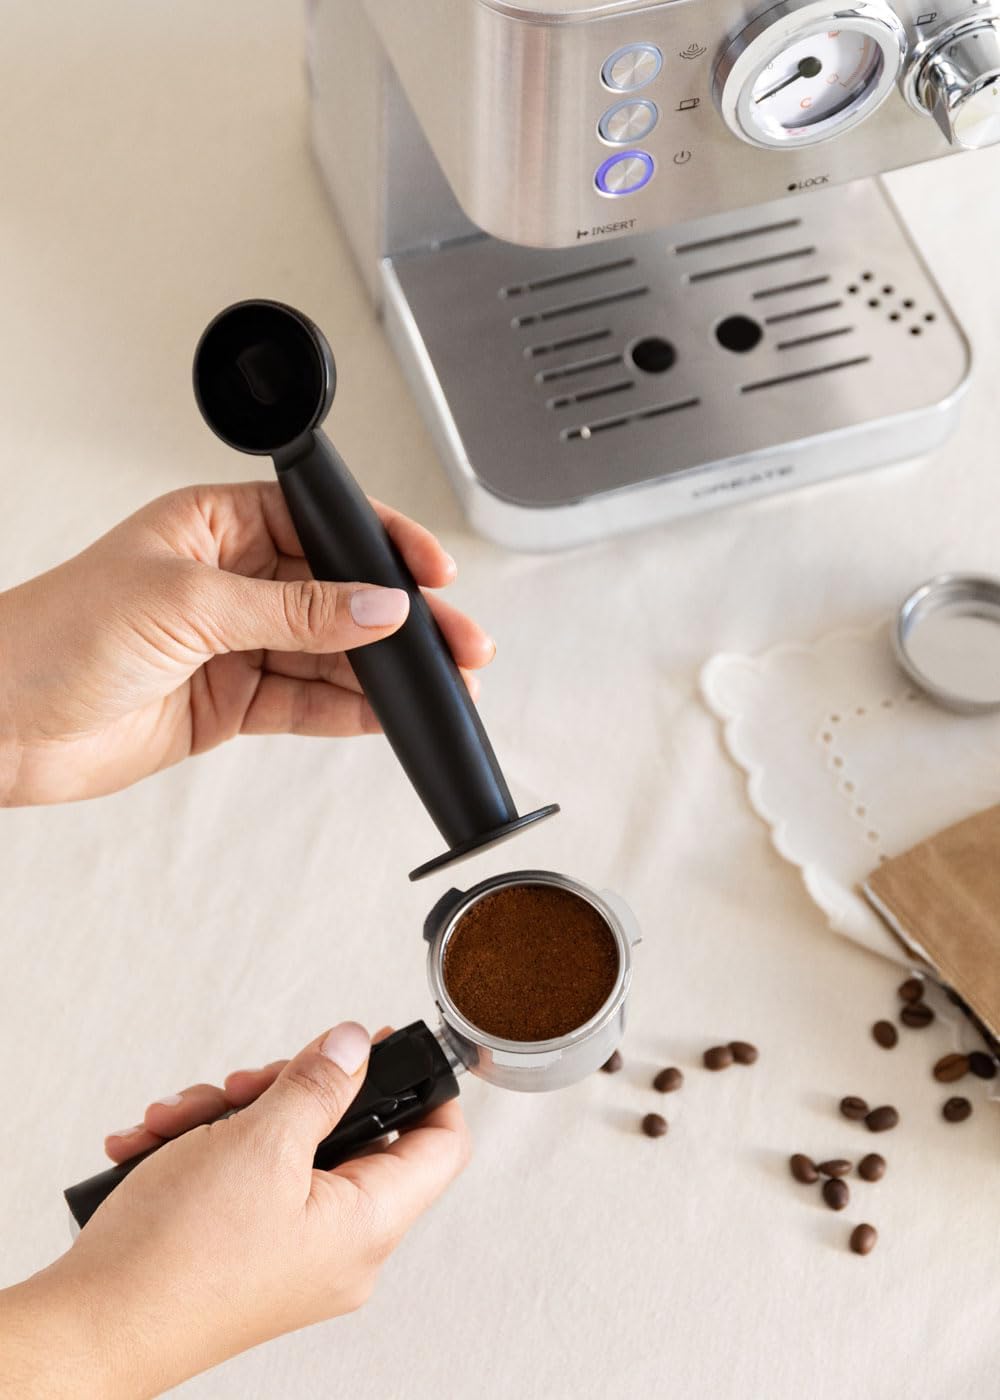
Imej 4.1: Tangan tamping ground coffee into the portafilter for espresso preparation.
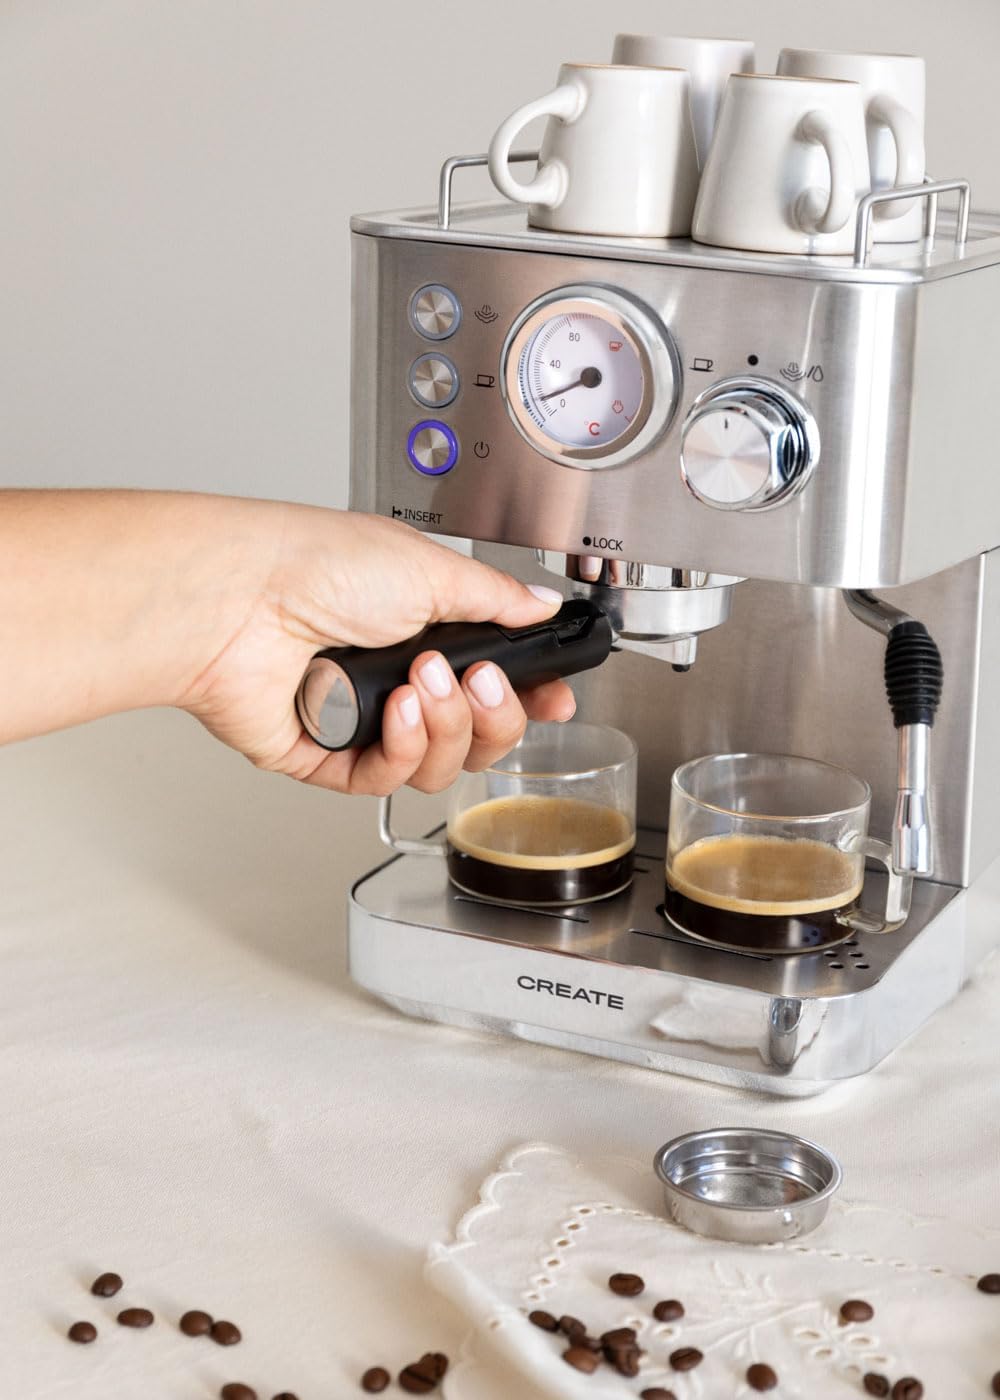
Imej 4.2: A hand inserting the portafilter into the group head of the espresso machine.

Imej 4.3: Espresso being brewed into two clear glass cups, showing the rich crema.
4.2 Making Espresso with ESE Single-Dose Pods
- Follow steps 1-2 from 'Making Espresso with Ground Coffee'. Use the specific filter basket designed for ESE pods if provided.
- Place one ESE pod into the filter basket. Do not tamp.
- Follow steps 5-9 from 'Making Espresso with Ground Coffee'.
4.3 Susu Kukus
- Sediakan Susu: Isikan periuk buih keluli tahan karat dengan susu sejuk (tenusu atau bukan tenusu) sehingga tepat di bawah muncung.
- Aktifkan Steam: Ensure the machine is preheated. Turn the steam knob to the steam position. Wait for the steam indicator light to illuminate steadily, indicating the machine has reached steaming temperature.
- Bersihkan Tongkat Stim: Briefly open the steam knob to release any condensed water from the wand into the drip tray, then close it.
- Susu Buih: Insert the steam wand tip just below the surface of the milk. Open the steam knob fully. Move the pitcher up and down slightly to create foam.
- Panaskan Susu: Once desired foam is achieved, lower the wand deeper into the milk to heat it without adding more air. Continue until the pitcher is hot to the touch.
- Berhenti mengukus: Close the steam knob, then remove the pitcher.
- Tongkat Stim Bersih: Segera lap tongkat wap dengan iklanamp cloth to remove any milk residue. Briefly open the steam knob again to clear any milk from inside the wand, then close it.

Imej 4.4: A hand holding a frothing pitcher while the steam wand froths milk.
5. Penyelenggaraan dan Pembersihan
Pembersihan berkala memastikan prestasi optimum dan memanjangkan hayat mesin espresso anda.
5.1 Pembersihan Harian
- Penapis Portabel dan Bakul Penapis: Selepas setiap penggunaan, tanggalkan penapis porta, buang serbuk kopi dan bilas penapis porta serta bakul penapis di bawah air panas.
- Tongkat Stim: As described in section 4.3, clean immediately after each use.
- Dulang Drip: Kosongkan dan bilas dulang titisan setiap hari atau apabila penunjuk terapung ke atas.
- Luaran: Lap bahagian luar mesin dengan lembut, damp kain. Jangan gunakan pembersih yang melelas atau pad penyental.
5.2 Penyahkelasan
Over time, mineral deposits (limescale) can build up in the machine, affecting performance. Descale your machine every 2-3 months, or more frequently if you have hard water.
- Use a commercially available descaling solution specifically designed for espresso machines. Follow the manufacturer's instructions for mixing the solution with water.
- Isikan tangki air dengan larutan penyahkerak.
- Letakkan bekas besar di bawah penapis porta dan tongkat stim.
- Run half of the solution through the portafilter by pressing the double shot button.
- Open the steam knob to run the remaining solution through the steam wand.
- Matikan mesin dan biarkan selama 15-20 minit.
- Kosongkan dan bilas tangki air dengan teliti. Isi dengan air bersih.
- Ulangi langkah 3-5 dengan air bersih untuk membilas mesin sepenuhnya.
6. Penyelesaian masalah
If you encounter issues with your machine, refer to the following common problems and solutions.
| Masalah | Kemungkinan Punca | Penyelesaian |
|---|---|---|
| Tiada kopi dispens | No water in tank; Clogged filter; Machine not primed. | Fill water tank; Clean filter basket; Prime the machine. |
| Coffee brews too slowly or not at all | Serbuk kopi terlalu halus atau tamped too hard; Clogged filter. | Use coarser grind; Tamp less firmly; Clean filter. |
| Coffee brews too quickly, weak coffee | Coffee grounds too coarse or not enough coffee; Not tampcukup ed. | Use finer grind; Use more coffee; Tamp dengan lebih tegas. |
| Tiada wap dari tongkat | Steam wand clogged; Machine not at steaming temperature. | Clean steam wand; Wait for steam indicator light to be solid. |
| Air bocor dari mesin | Water tank not seated correctly; Drip tray full; Portafilter not secured. | Reseat water tank; Empty drip tray; Secure portafilter firmly. |
Jika masalah berterusan selepas mencuba penyelesaian ini, sila hubungi sokongan pelanggan.
7. Spesifikasi
Technical details for the CREATE Thera Classic Espresso Machine.

Imej 7.1: Dimensional drawing of the espresso machine, indicating height, width, and depth measurements.
- Jenama: CIPTA
- Nombor Model: AXleftj (also 59225_115714)
- gaya: KLASIK
- Kuasa: 1100 W
- Voltage: 240 V
- Tekanan: 20 bar
- Kapasiti Tangki Air: 1.25 Liter
- Dimensi Produk: 30.1 x 20.2 x 31.3 cm (L x W x T)
- Berat: 4.5 kg
- Bahan: Keluli Tahan Karat
- Keserasian: Ground coffee and ESE single-dose pods
8. Waranti dan Sokongan
For warranty information, please refer to the documentation provided at the time of purchase. This typically includes details on coverage period and terms.
For technical support, spare parts, or service inquiries, please visit the official CREATE website or contact their customer service department. Contact details can usually be found on the product packaging or the manufacturer's webtapak.