1. Pengenalan
The CHACON DiO 1.0 Nano On/Off Plugs and 3-Channel Remote Control system allows you to wirelessly control your lamps and electrical appliances. This system offers individual, centralized, or automatic control via the included remote control, a compatible switch, or a smartphone when integrated with a home automation hub. This manual provides essential information for safe and effective use of your device.
2. Kandungan Pakej
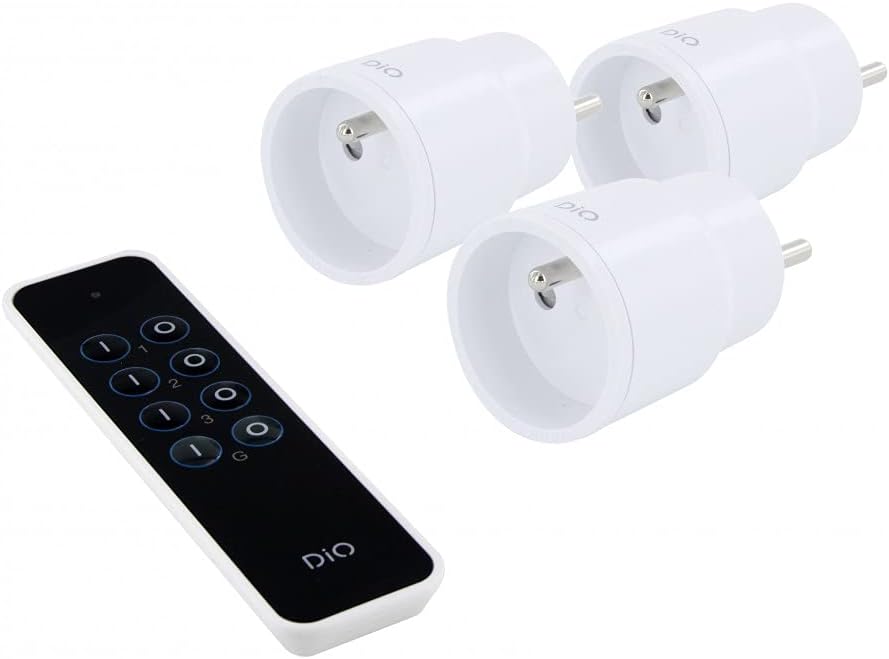
Sahkan bahawa semua item terdapat dalam pakej anda:
- 3 x DiO 1.0 Nano On/Off Plugs
- 1 x 3-Channel Remote Control
- 1 x CR2032 - 3V Battery (for remote control)

Rajah 1: Contents of the CHACON DiO 1.0 Nano Plugs and Remote Control package. Shows three compact white plugs and a sleek black remote control.
3. Spesifikasi
| Jenama | CHACON |
| Nombor Model | 54895 |
| Teknologi Ketersambungan | Frekuensi Radio (RF) |
| Kekerapan | 433.92 MHz (DiO 1.0) |
| Julat Maksimum | Sehingga 30 meter (tidak terhalang) |
| Power Supply (Plugs) | 230VAC / 50Hz |
| Maximum Load (Plugs) | 2300W |
| Jenis Mentol Serasi | LED, Halogen, Energy-saving, Incandescent |
| Bateri Kawalan Jauh | 1 x CR2032 (3V) Lithium Manganese Dioxide |
| Number of Channels (Remote) | 3 channels + 1 group |
| Maximum Emitters Supported | Up to 32 commands |
| Dimensi (Anggaran) | 16cm (L) x 9cm (W) x 5cm (H) (Package) |
| Berat (Anggaran) | 250g (Package) |

Rajah 2: Illustration of the wireless connection between a DiO plug and the remote control, highlighting the 230VAC/50Hz power and CR2032 3V battery for the remote.
4. Persediaan
4.1. Pemasangan Bateri Kawalan Jauh
- Cari petak bateri di belakang alat kawalan jauh.
- Buka penutup petak.
- Insert the CR2032 3V battery, ensuring the correct polarity (+/-).
- Tutup penutup petak bateri dengan selamat.
4.2. Pairing Plugs with the Remote Control
Each plug needs to be paired with the remote control to establish communication. Follow these steps for each plug:
- Plug the DiO Nano On/Off Plug into a standard wall socket. The LED indicator on the plug will flash slowly.
- Within 5 seconds of plugging in the device, press the ON button for the desired channel (1, 2, or 3) on your remote control.
- The LED indicator on the plug will flash rapidly to confirm successful pairing.
- Repeat this process for each plug, assigning each to a different channel (or the same channel if you wish to control multiple plugs simultaneously).
Nota: If the pairing is not successful within 5 seconds, unplug the device and try again. Each plug can be linked to up to 32 different DiO 1.0 transmitters.
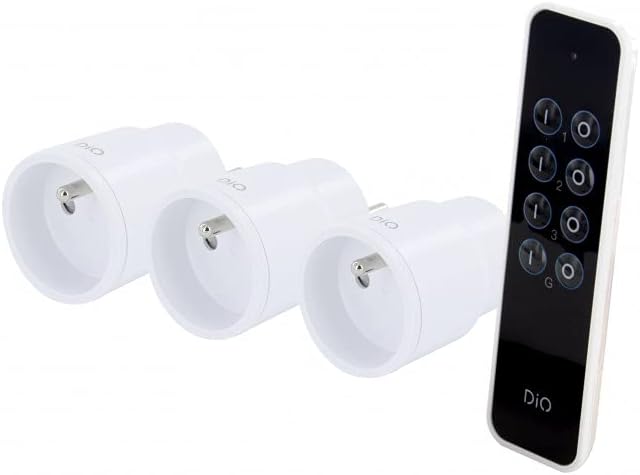
Rajah 3: The remote control and three nano plugs, ready for pairing and use.
5. Beroperasi
Once paired, you can control your appliances using the remote control.
5.1. Individual Control
- To turn on an appliance connected to a specific plug, press the ON button corresponding to its assigned channel (1, 2, or 3).
- To turn off an appliance, press the DIMATIKAN button corresponding to its assigned channel (1, 2, or 3).

Rajah 4: A hand operating the DiO remote control to switch an appliance on or off.
5.2. Kawalan Kumpulan
The remote control includes a group function to control all paired plugs simultaneously.
- To turn on all paired appliances, press the G ON butang.
- To turn off all paired appliances, press the G OFF butang.
Rajah 5: A user comfortably controlling home lighting with the DiO remote control from a sofa.
6. Penyelenggaraan
- Pembersihan: Use a soft, dry cloth to clean the plugs and remote control. Do not use liquid cleaners or abrasive materials.
- Penggantian Bateri: Replace the CR2032 battery in the remote control when its range decreases or it stops responding. Ensure proper disposal of used batteries according to local regulations.
- Storan: Simpan peranti di tempat yang sejuk dan kering jauh dari cahaya matahari langsung dan suhu yang melampau apabila tidak digunakan untuk tempoh yang lama.
7. Penyelesaian masalah
| Masalah | Kemungkinan Punca | Penyelesaian |
|---|---|---|
| Plug does not respond to remote control. |
|
|
| LED on plug does not flash during pairing. |
|
|
| Jarak kawalan jauh dikurangkan. |
|
|
8. Maklumat Keselamatan
- Jangan buka atau ubah suai peranti.
- Jangan dedahkan peranti kepada air, kelembapan atau suhu yang melampau.
- Ensure the total load of connected appliances does not exceed 2300W.
- Jauhkan daripada kanak-kanak.
- Gunakan hanya di dalam rumah.
- Dispose of electronic waste and batteries responsibly according to local regulations.
9. Waranti dan Sokongan
This product comes with a 2-year warranty. For technical support or warranty claims, please contact your retailer or the manufacturer directly. Information regarding spare parts availability is not provided.
Manufacturer: Chacon


