1. Produk Lebihview
The Progress Lighting Gulliver Collection P350117-141 is a four-light semi-flush convertible fixture. This fixture features an airy design with arching details and a dual-toned frame in a Galvanized finish with antique white accents. Its design complements various interior styles including Rustic, Modern Farmhouse, Urban Industrial, and Coastal settings. This fixture can be installed as a semi-flush mount or converted to a hanging fixture.
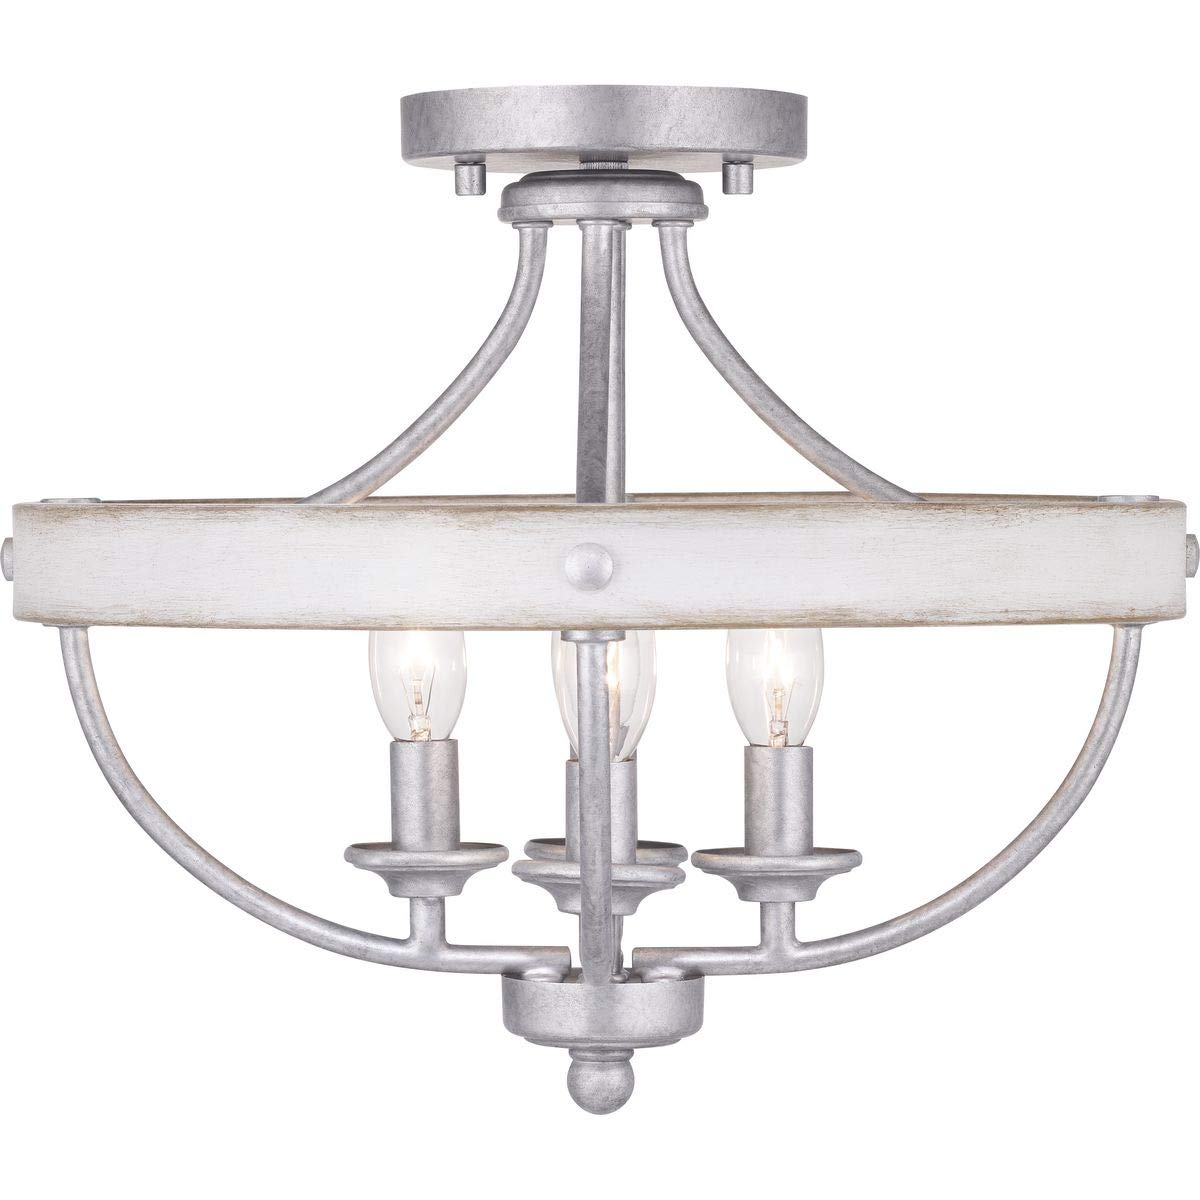
Figure 1: Progress Lighting Gulliver Collection Four-Light Semi-Flush Convertible Fixture.
Understanding Fixture Types
Video ini memberikan penamatview of close-to-ceiling lighting trends, including flush mount and semi-flush mount fixtures, which can help in understanding the application of your Gulliver fixture.
Video 1: Close to Ceiling Lighting Trends by Progress Lighting. This video explains the differences and applications of flush mount and semi-flush mount ceiling light fixtures, providing context for the Gulliver Collection's design.
2. Maklumat Keselamatan
Before beginning installation, carefully read and understand these instructions. Failure to do so may result in electric shock, fire, or other injuries that could be fatal or cause property damage. All wiring must be performed by a qualified electrician in accordance with national and local electrical codes.
- AMARAN: Disconnect power at the main circuit breaker or fuse box before installation or servicing.
- PERHATIAN: Risk of electric shock. Ensure the electrical supply is turned off before handling the fixture.
- Jangan melebihi wat yang disyorkantage untuk mentol.
- Kendalikan komponen kaca dengan berhati-hati untuk mengelakkan pecah.
3. Kandungan Pakej
Verify that all components are present before proceeding with installation. If any parts are missing or damaged, contact customer service.
- Light Fixture Assembly
- Mounting Hardware Kit (mounting strap, outlet box screws, mounting screws, wire connectors)
- Canopy/Cover Plate
- Lembaran Arahan
4. Pemasangan
Alat Diperlukan (Tidak Termasuk)
- Pemutar Skru Kepala Phillips
- Pemutar Skru Flathead
- Pelucut Kawat
- Tang
- Pita Elektrik
- Cermin Mata Keselamatan
Langkah Pemasangan
- Matikan Kuasa: Locate the circuit breaker or fuse box that supplies power to the fixture location. Turn off the power completely.
- Sediakan Pemasangan: Attach the mounting strap to the outlet box using the provided outlet box screws. Ensure the mounting strap is securely fastened.
- Pendawaian: Connect the fixture's electrical wires to the corresponding household wires using the wire connectors. Connect the black wire (live) to the black wire, the white wire (neutral) to the white wire, and the bare copper or green wire (ground) to the household ground wire. Secure all connections with electrical tape.
- Lekapan Lekapan: Carefully lift the fixture and align it with the mounting strap. Secure the fixture to the mounting strap using the mounting screws.
- Pasang Mentol: Insert four E12 Candelabra base bulbs (not included) into the sockets. Do not exceed 60 watts per bulb.
- Pulihkan Kuasa: Once installation is complete and all connections are secure, restore power at the main circuit breaker or fuse box.
Converting to a Hanging Fixture
This fixture is designed to be convertible. If you wish to install it as a hanging fixture, refer to the detailed instructions provided in the package for chain length adjustment and secure hanging methods. This typically involves attaching a chain to the fixture and canopy, and adjusting the length to achieve the desired hanging height.

Figure 2: Dimensional drawing of the Gulliver Collection fixture.
5. Operasi
Once installed and powered, the fixture operates like any standard ceiling light. Use your wall switch or dimmer (if installed) to turn the light on and off. Ensure compatible E12 Candelabra base bulbs are used for optimal performance.

Figure 3: Close-up of bulb sockets.
6. Penyelenggaraan
Pembersihan
To clean the fixture, ensure the power is turned off. Use a soft, dry cloth to wipe down the metal and glass surfaces. Avoid abrasive cleaners or solvents, as these can damage the finish.
Penggantian Mentol
Always turn off the power before replacing bulbs. Allow bulbs to cool before touching them. This fixture requires four E12 Candelabra base bulbs, with a maximum wattage of 60 watts per bulb. Using bulbs with higher wattage can cause overheating and damage to the fixture or create a fire hazard.
7. Penyelesaian masalah
| Masalah | Kemungkinan Punca | Penyelesaian |
|---|---|---|
| Lampu tidak menyala | Tiada kuasa untuk lekapan Sambungan pendawaian longgar Mentol rosak | Periksa pemutus litar/fius Sahkan semua sambungan wayar selamat (matikan kuasa) Gantikan mentol |
| Cahaya berkelip-kelip | Mentol longgar Jenis mentol yang salah Sambungan pendawaian longgar Suis dimmer tidak serasi | Ketatkan mentol Ensure E12 Candelabra base, 60W max bulbs are used Periksa sambungan pendawaian (matikan kuasa) Consult an electrician to check dimmer compatibility |
8. Spesifikasi
| Ciri | Perincian |
|---|---|
| Jenama | Pencahayaan Kemajuan |
| Nombor Model | P350117-141 |
| Jenis Lekapan | Boleh Tukar Separa Siram |
| warna | Gray (with antique white accents) |
| bahan | Keluli Aloi, Kaca |
| Dimensi Produk | 15.25"L x 15.25"W x 12.63"H |
| Bilangan Sumber Cahaya | 4 |
| Pangkalan Mentol | E12 Candelabra |
| Max Wattage setiap Mentol | 60 watt |
| Voltage | 120 Volt |
| Jenis Selesai | Bergalvani |
| Penggunaan Dalaman/Luar | Dalaman |
| Perhimpunan Diperlukan | ya |
| Berat Barang | 6.28 paun |
9. Waranti dan Sokongan
Lekapan Lampu Progress ini dilindungi oleh Waranti Terhad 1 tahun. This warranty guarantees your satisfaction with your purchase and includes professional after-sales customer service support. For warranty claims or technical assistance, please contact Progress Lighting customer service.
Sila simpan bukti pembelian anda untuk pengesahan waranti.


