pengenalan
Thank you for choosing the Peakeep S8 Digital Alarm Clock. This manual provides detailed instructions for setting up, operating, and maintaining your new alarm clock. Please read this manual thoroughly before use to ensure proper function and to maximize your product experience.
Ciri-ciri Produk
- Skrin LCD Besar: Features a clear, boldface number display for easy readability.
- Penderia Cahaya Pintar: Built-in sensor automatically activates a soft backlight in dark environments, ensuring visibility without disturbing sleep.
- Gradually Strengthening Alarm: The alarm sound increases in volume gradually to gently wake you up.
- Fungsi Tunda: Provides an additional 5 minutes of sleep after the alarm sounds.
- Adjustable Time and Date Format: Customize time display (12/24 hour) and date format.
- Pemantauan Suhu: Displays ambient temperature in Celsius or Fahrenheit.
- Dikuasakan Bateri: Beroperasi pada 3 x bateri AAA (tidak termasuk).
Kandungan Pakej
- 1 x Peakeep S8 Digital Alarm Clock
- 1 x Manual Pengguna
Kawalan dan Paparan
Paparan Depan
The large LCD screen displays time, date, day of the week, alarm status, and temperature. The backlight activates automatically in low light conditions when the sensor is enabled.
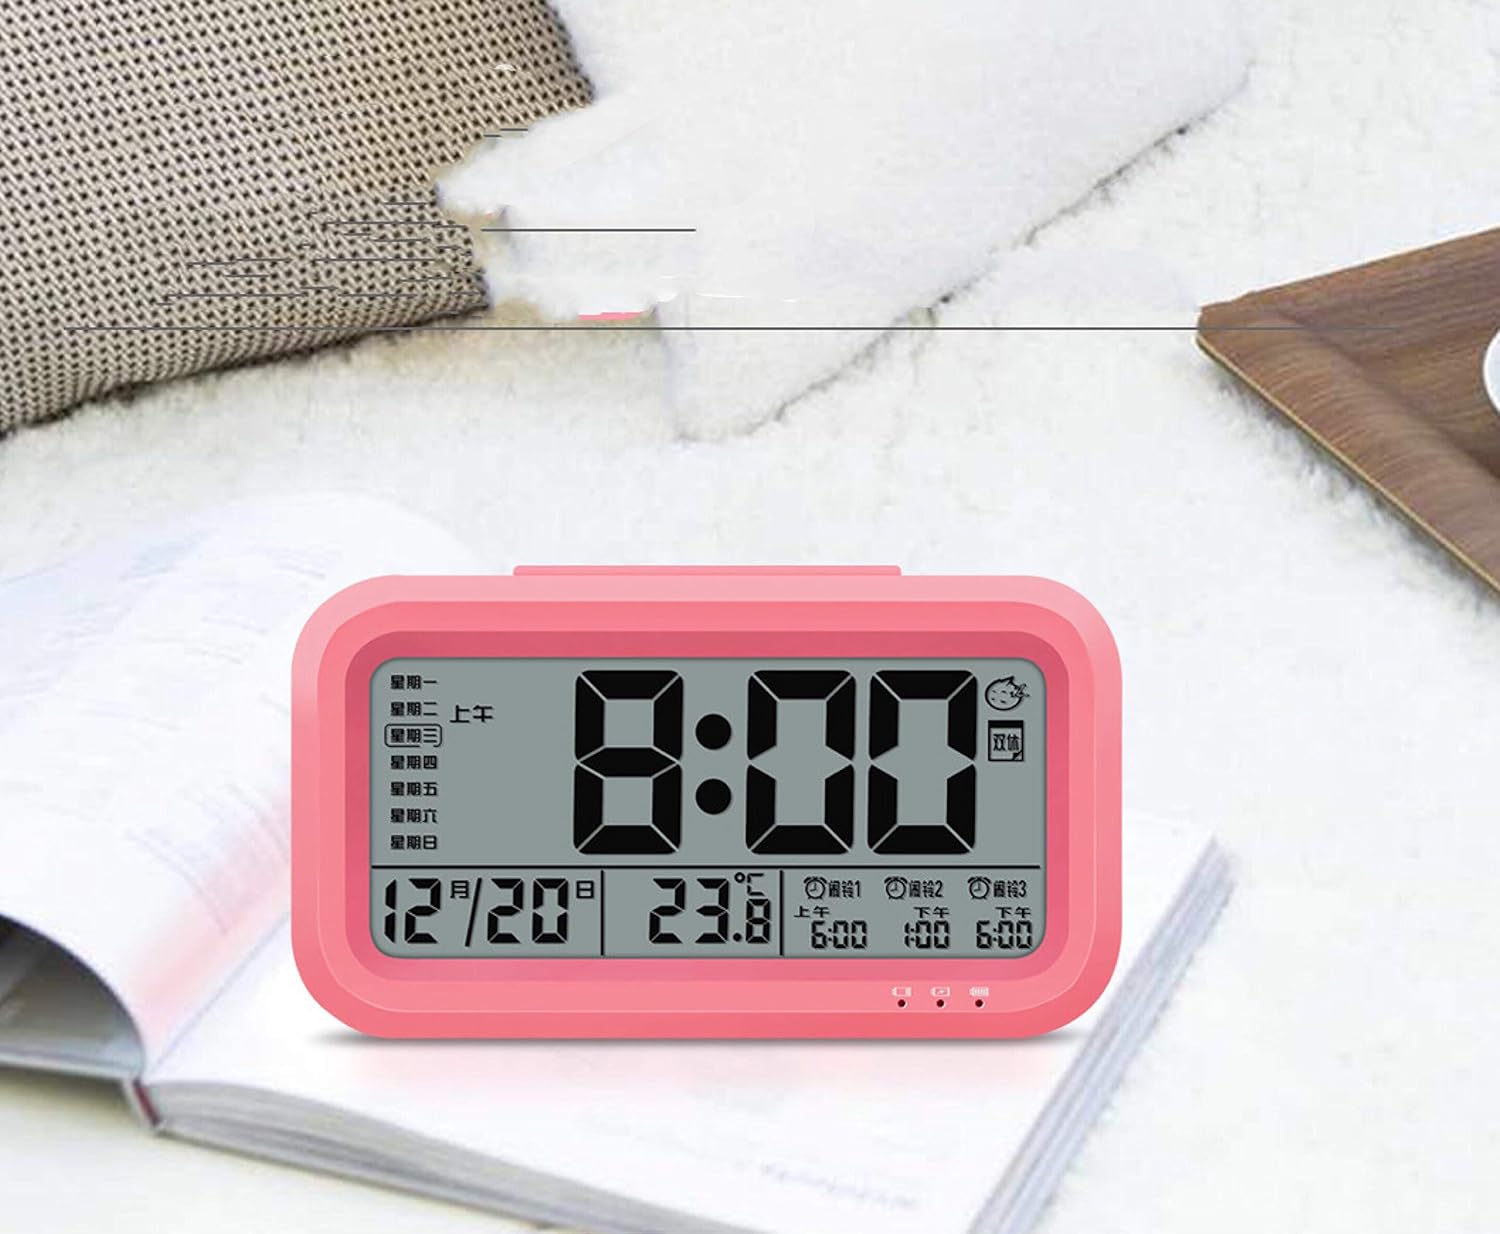
Imej: Depan view of the Peakeep S8 Digital Alarm Clock. This image shows the large digital display with the time (8:00), date (12/20), and temperature (23.8°C). It also indicates alarm settings and day of the week.
Kawalan Belakang
The back of the clock features several buttons and switches for setting time, date, alarm, and other functions.
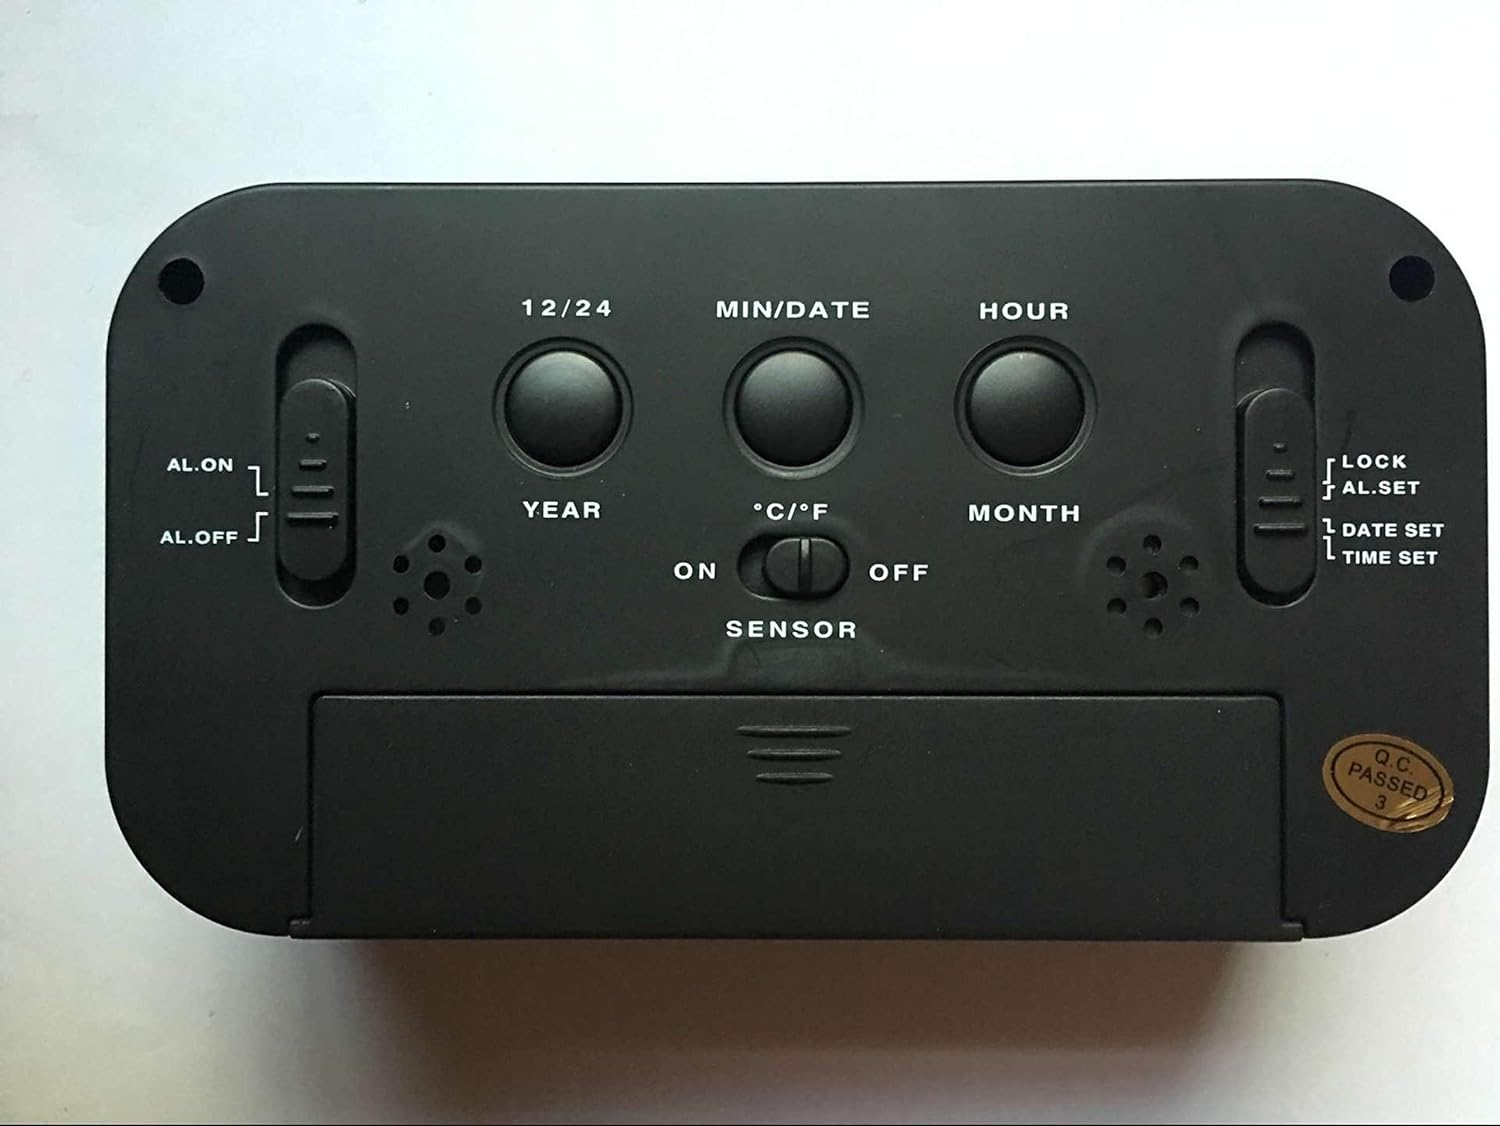
Imej: Belakang view of the Peakeep S8 Digital Alarm Clock. This image highlights the control panel on the back, including buttons for 12/24 hour format, MIN/DATE, HOUR, YEAR, MONTH, °C/°F, and switches for AL.ON/AL.OFF, LOCK/AL.SET/DATE SET/TIME SET, and SENSOR ON/OFF.
- Butang 12/24: Toggles between 12-hour and 24-hour time display.
- MIN/DATE Button: Used to adjust minutes during time/alarm setting, and to view tarikh.
- Butang JAM: Used to adjust hours during time/alarm setting.
- YEAR Button: Used to set the year.
- MONTH Button: Used to set the month.
- Butang °C/°F: Switches temperature display between Celsius and Fahrenheit.
- AL.ON/AL.OFF Switch: Turns the alarm function on or off.
- MODE Switch (LOCK/AL.SET/DATE SET/TIME SET):
- KUNCI: Locks current settings to prevent accidental changes.
- AL.SET: Memasuki mod tetapan penggera.
- DATE SET: Memasuki mod penetapan tarikh.
- MASA DITETAPKAN: Memasuki mod tetapan masa.
- SENSOR ON/OFF Switch: Activates or deactivates the smart light sensor for automatic backlight.
- SNOOZE/LIGHT Button (Top): Activates snooze when alarm sounds, or temporarily illuminates the display.
Persediaan
1. Pemasangan Bateri
- Buka penutup petak bateri di bahagian belakang jam.
- Insert 3 new 1.5V AAA batteries, ensuring correct polarity (+ and -).
- Tutup penutup petak bateri dengan selamat.
- Nota: Bateri tidak disertakan.
2. Penetapan Masa Awal
- Slide the MODE switch to MASA DITETAPKAN.
- Tekan ke JAM butang untuk menyesuaikan jam.
- Tekan ke MIN/TARIKH butang untuk menyesuaikan minit.
- Once the correct time is set, slide the MODE switch back to KUNCI.
3. Initial Date Setting
- Slide the MODE switch to TARIKH SET.
- Tekan ke TAHUN butang untuk melaraskan tahun.
- Tekan ke BULAN butang untuk melaraskan bulan.
- Tekan ke MIN/TARIKH butang untuk melaraskan hari.
- Once the correct date is set, slide the MODE switch back to KUNCI.
Arahan Operasi
Menetapkan Penggera
- Slide the MODE switch to AL.SET.
- Tekan ke JAM butang untuk menyesuaikan jam penggera.
- Tekan ke MIN/TARIKH butang untuk melaraskan minit penggera.
- Once the desired alarm time is set, slide the MODE switch back to KUNCI.
- Untuk mengaktifkan penggera, luncurkan penggera AL.ON/AL.OFF bertukar kepada AL.ON. An alarm icon will appear on the display.
Menggunakan Fungsi Tunda
Apabila penggera berbunyi, tekan besar SNOOZE / CAHAYA button on top of the clock. The alarm will pause for approximately 5 minutes and then sound again. This can be repeated.
Mematikan Penggera
Untuk mematikan penggera sepenuhnya, luncurkan AL.ON/AL.OFF bertukar kepada AL.OFF. The alarm icon will disappear from the display.
Activating the Smart Light Sensor
To enable the automatic backlight feature, slide the SENSOR bertukar kepada ON. The display will automatically illuminate with a soft glow in dark environments. Slide the switch to DIMATIKAN untuk melumpuhkan ciri ini.
Menukar Unit Suhu
Tekan ke ° C / ° F button on the back of the clock to switch the temperature display between Celsius and Fahrenheit.
Changing Time Format (12/24 Hour)
Tekan ke 12/24 button on the back of the clock to toggle between 12-hour (with AM/PM indicator) and 24-hour time formats.
Penyelenggaraan
Pembersihan
Wipe the clock with a soft, dry cloth. Do not use abrasive cleaners or solvents, as they may damage the surface.
Penggantian Bateri
When the display becomes dim or the clock functions erratically, it is time to replace the batteries. Follow the battery installation steps in the "Setup" section. Always replace all three AAA batteries at the same time with new ones.
Menyelesaikan masalah
| Masalah | Kemungkinan Punca / Penyelesaian |
|---|---|
| Paparan kosong atau malap. |
|
| Penggera tidak berbunyi. |
|
| Jam semakin berkurangan atau semakin bertambah masa. |
|
| Butang tidak bertindak balas. |
|
Spesifikasi
- Jenama: Peakeep
- Nombor Model: S8 (Item Model Number: Crazy Curry-030)
- Jenis Paparan: LCD Digital
- Bahan: plastik
- warna: Black (Black-a)
- Sumber Kuasa: 3 x 1.5V AAA Batteries (Not included)
- Ciri Khas: Alarm, Snooze, Smart Light Sensor, Temperature Display (°C/°F), 12/24 Hour Format
- Dimensi: (Approximate, based on typical alarm clock size and weight)
- Berat Barang: 178 g
- Berat Penghantaran: 0.18 Kilogram
- UPC: 734602860235
Waranti dan Sokongan
This product is designed for reliability and ease of use. For specific warranty information, please refer to the documentation provided at the time of purchase or contact your retailer.
If you encounter any issues not covered in this manual, please contact the retailer or manufacturer for assistance. Keep your purchase receipt as proof of purchase for any warranty claims.


