pengenalan
This user manual provides comprehensive instructions for the assembly, operation, and maintenance of your Amazon Basics Single Computer Monitor Stand. This desk-mounted arm is designed to enhance your workspace ergonomics and free up valuable desk space by securely holding a single computer monitor.
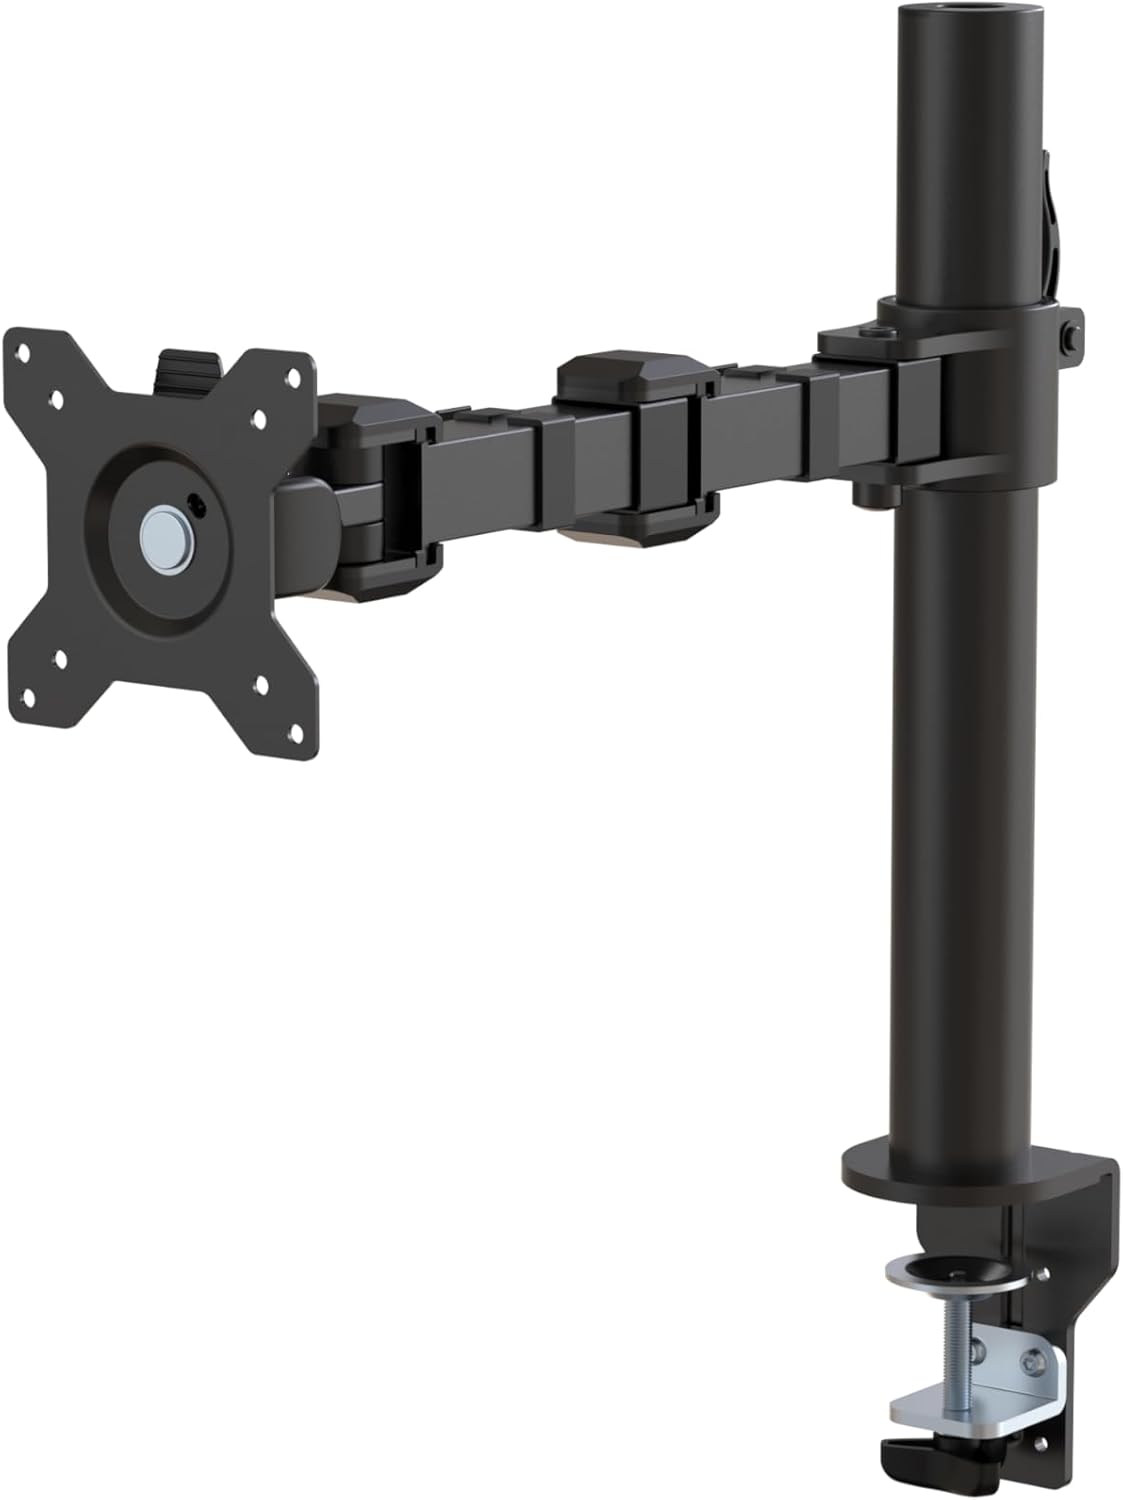
Gambar 1: Lebihview of the Amazon Basics Single Computer Monitor Stand.
Maklumat Keselamatan Penting
- Baca semua arahan dengan teliti sebelum pemasangan dan penggunaan.
- Jangan melebihi kapasiti berat maksimum 22 paun (10 kg).
- Ensure your desk surface is stable and can support the combined weight of the monitor arm and your monitor.
- Verify that the desk thickness is between 0.8 to 3.9 inches (2 cm to 10 cm) for proper clamp pemasangan.
- Gunakan hanya perkakasan yang disediakan. Jika mana-mana bahagian hilang atau rosak, hubungi khidmat pelanggan.
- Jauhkan kanak-kanak dan haiwan peliharaan semasa perhimpunan.
- Periksa semua skru dan sambungan secara berkala untuk memastikan ia kekal ketat dan selamat.
Kandungan Pakej
Sila sahkan bahawa semua komponen hadir sebelum memulakan pemasangan:
- Monitor Arm Assembly (Pre-assembled arm and VESA plate)
- Meja Clamp Pangkalan
- Tiang Pemasangan
- Hardware Kit (Screws for VESA mounting, Allen keys)
- Klip Pengurusan Kabel
- Manual Pengguna
Arahan Persediaan
Langkah 1: Pasangkan Meja Clamp Pangkalan
Letakkan meja clamp base on your desk edge. Ensure the desk thickness is compatible (0.8 to 3.9 inches). Tighten the clamp screw securely until the base is firmly attached to the desk. Do not overtighten.

Figure 2: Securely attaching the desk clamp base to your desk.
Step 2: Install Mounting Pole
Insert the mounting pole into the hole on the desk clamp base. Secure it by tightening the set screw on the side of the clamp base using the provided Allen key.
Step 3: Attach Monitor Arm to Pole
Slide the monitor arm assembly onto the mounting pole. Adjust the height to your desired position and tighten the height adjustment screw on the arm collar to secure it.
Langkah 4: Pasang Plat VESA pada Monitor
The monitor arm features a detachable VESA plate. Remove the VESA plate from the arm by lifting it up. Align the VESA plate with the mounting holes on the back of your monitor (compatible with 100x100mm and 75x75mm VESA patterns). Use the appropriate screws from the hardware kit to secure the plate to your monitor. Ensure the screws are tightened firmly but do not overtighten.

Figure 3: The detachable VESA plate for easy monitor attachment.
Step 5: Mount Monitor to Arm
Carefully slide the monitor (with the attached VESA plate) onto the monitor arm. Ensure it clicks securely into place. You may need to adjust the tension screws on the arm joints to support the monitor's weight and allow for smooth movement.

Figure 4: Monitor securely mounted on the arm, viewed dari hadapan.

Figure 5: Top-down perspective of the monitor mounted, showcasing desk space optimization.
Langkah 6: Pengurusan Kabel
Utilize the integrated cable management system to route your monitor cables (power, video, etc.) along the arm and down the pole. This helps maintain a tidy workspace and prevents cable clutter.
Arahan Operasi
The monitor arm offers a full range of motion to customize your viewpengalaman:
- Pelarasan Ketinggian: The horizontal arm can be adjusted from 7.9 to 14.2 inches high along the pole. Loosen the height adjustment screw on the arm collar, slide the arm to the desired height, and re-tighten.
- Condong: Adjust the screen tilt from -15 to +85 degrees to reduce glare and optimize viewsudut-sudut.
- Pusing: Swivel the monitor left or right up to 180 degrees at various joints for collaborative viewing or screen sharing.
- Putaran: Rotate the monitor 360 degrees to switch between landscape and portrait modes without removing the monitor.

Figure 6: Visual representation of the flexible screen adjustment capabilities: Tilt (-85/+15 degrees), Swivel (±180 degrees), and Rotation (360 degrees).
Kedudukan Ergonomik
Proper monitor positioning is crucial for ergonomic comfort and reducing strain. Adjust the monitor arm so that the top of your monitor screen is at or slightly below eye level when you are sitting upright. Your eyes should be approximately an arm's length away from the screen. Ensure your wrists are straight and your forearms are parallel to the floor when typing.

Figure 7: Comparison of correct and incorrect sitting postures, highlighting the importance of proper monitor height.
Penyelenggaraan
- Pembersihan: Lap lengan monitor dengan kain lembut,amp kain. Elakkan pembersih atau pelarut yang melelas yang boleh merosakkan kemasan.
- Pemeriksaan kekejangan: Periodically check all screws and connections, especially the desk clamp and VESA plate screws, to ensure they are tight and secure. Re-tighten if necessary.
- Pelinciran: No lubrication is required for the moving parts.
Menyelesaikan masalah
| Masalah | Kemungkinan Punca | Penyelesaian |
|---|---|---|
| Lengan monitor kendur atau tidak kekal dalam kedudukannya. | Tension screws are too loose. | Tighten the tension screws on the arm joints using the provided Allen key until the arm holds the monitor's weight. |
| Monitor wobbles on the arm. | VESA plate screws are loose or desk clamp is not secure. | Ensure the VESA plate screws attaching the monitor are tight. Re-tighten the desk clamp skru. |
| Cannot adjust monitor height. | Height adjustment screw is too tight. | Loosen the height adjustment screw on the arm collar, adjust height, then re-tighten. |
Spesifikasi
| Ciri | Perincian |
|---|---|
| Nombor Model | DLB111-US290 |
| Dimensi Produk | 20 x 18.13 x 4.5 inci |
| Berat Barang | 5.59 paun |
| bahan | Keluli Aloi |
| warna | Hitam |
| Jenis Pemasangan | Atas meja Clamp Gunung |
| Saiz Skrin yang Serasi | 13 hingga 30 inci |
| Kapasiti Berat Maksimum | 22 paun (10 kg) |
| Desk Thickness Compatibility | 0.8 hingga 3.9 inci |
| Keserasian VESA | 75x75mm, 100x100mm |
| Julat Pelarasan Tinggi | 7.9 to 14.2 inches (horizontal arm) |
| Sudut Kecondongan | -15 ke darjah + 85 |
| Putaran | 360 darjah |
Waranti dan Sokongan
This product is backed by an Amazon Basics limited 1-year warranty.
For detailed warranty information or technical support, please refer to the official documentation or contact Amazon Basics customer service.
- Manual Pengguna (PDF): Muat turun Manual Pengguna
- Waranti (PDF): Muat turun Maklumat Waranti