1. Produk Lebihview
The Midiplus Studio M is a compact and high-performance USB audio interface designed for studio recording. It features one input and two outputs, supporting high-quality microphone input and 24-bit/192kHz high-precision sampling. The device is powered via PC USB and includes 48V phantom power for condenser microphones. Its small, exquisite design is compatible with both Mac and Windows operating systems, making it a versatile tool for musicians and producers.
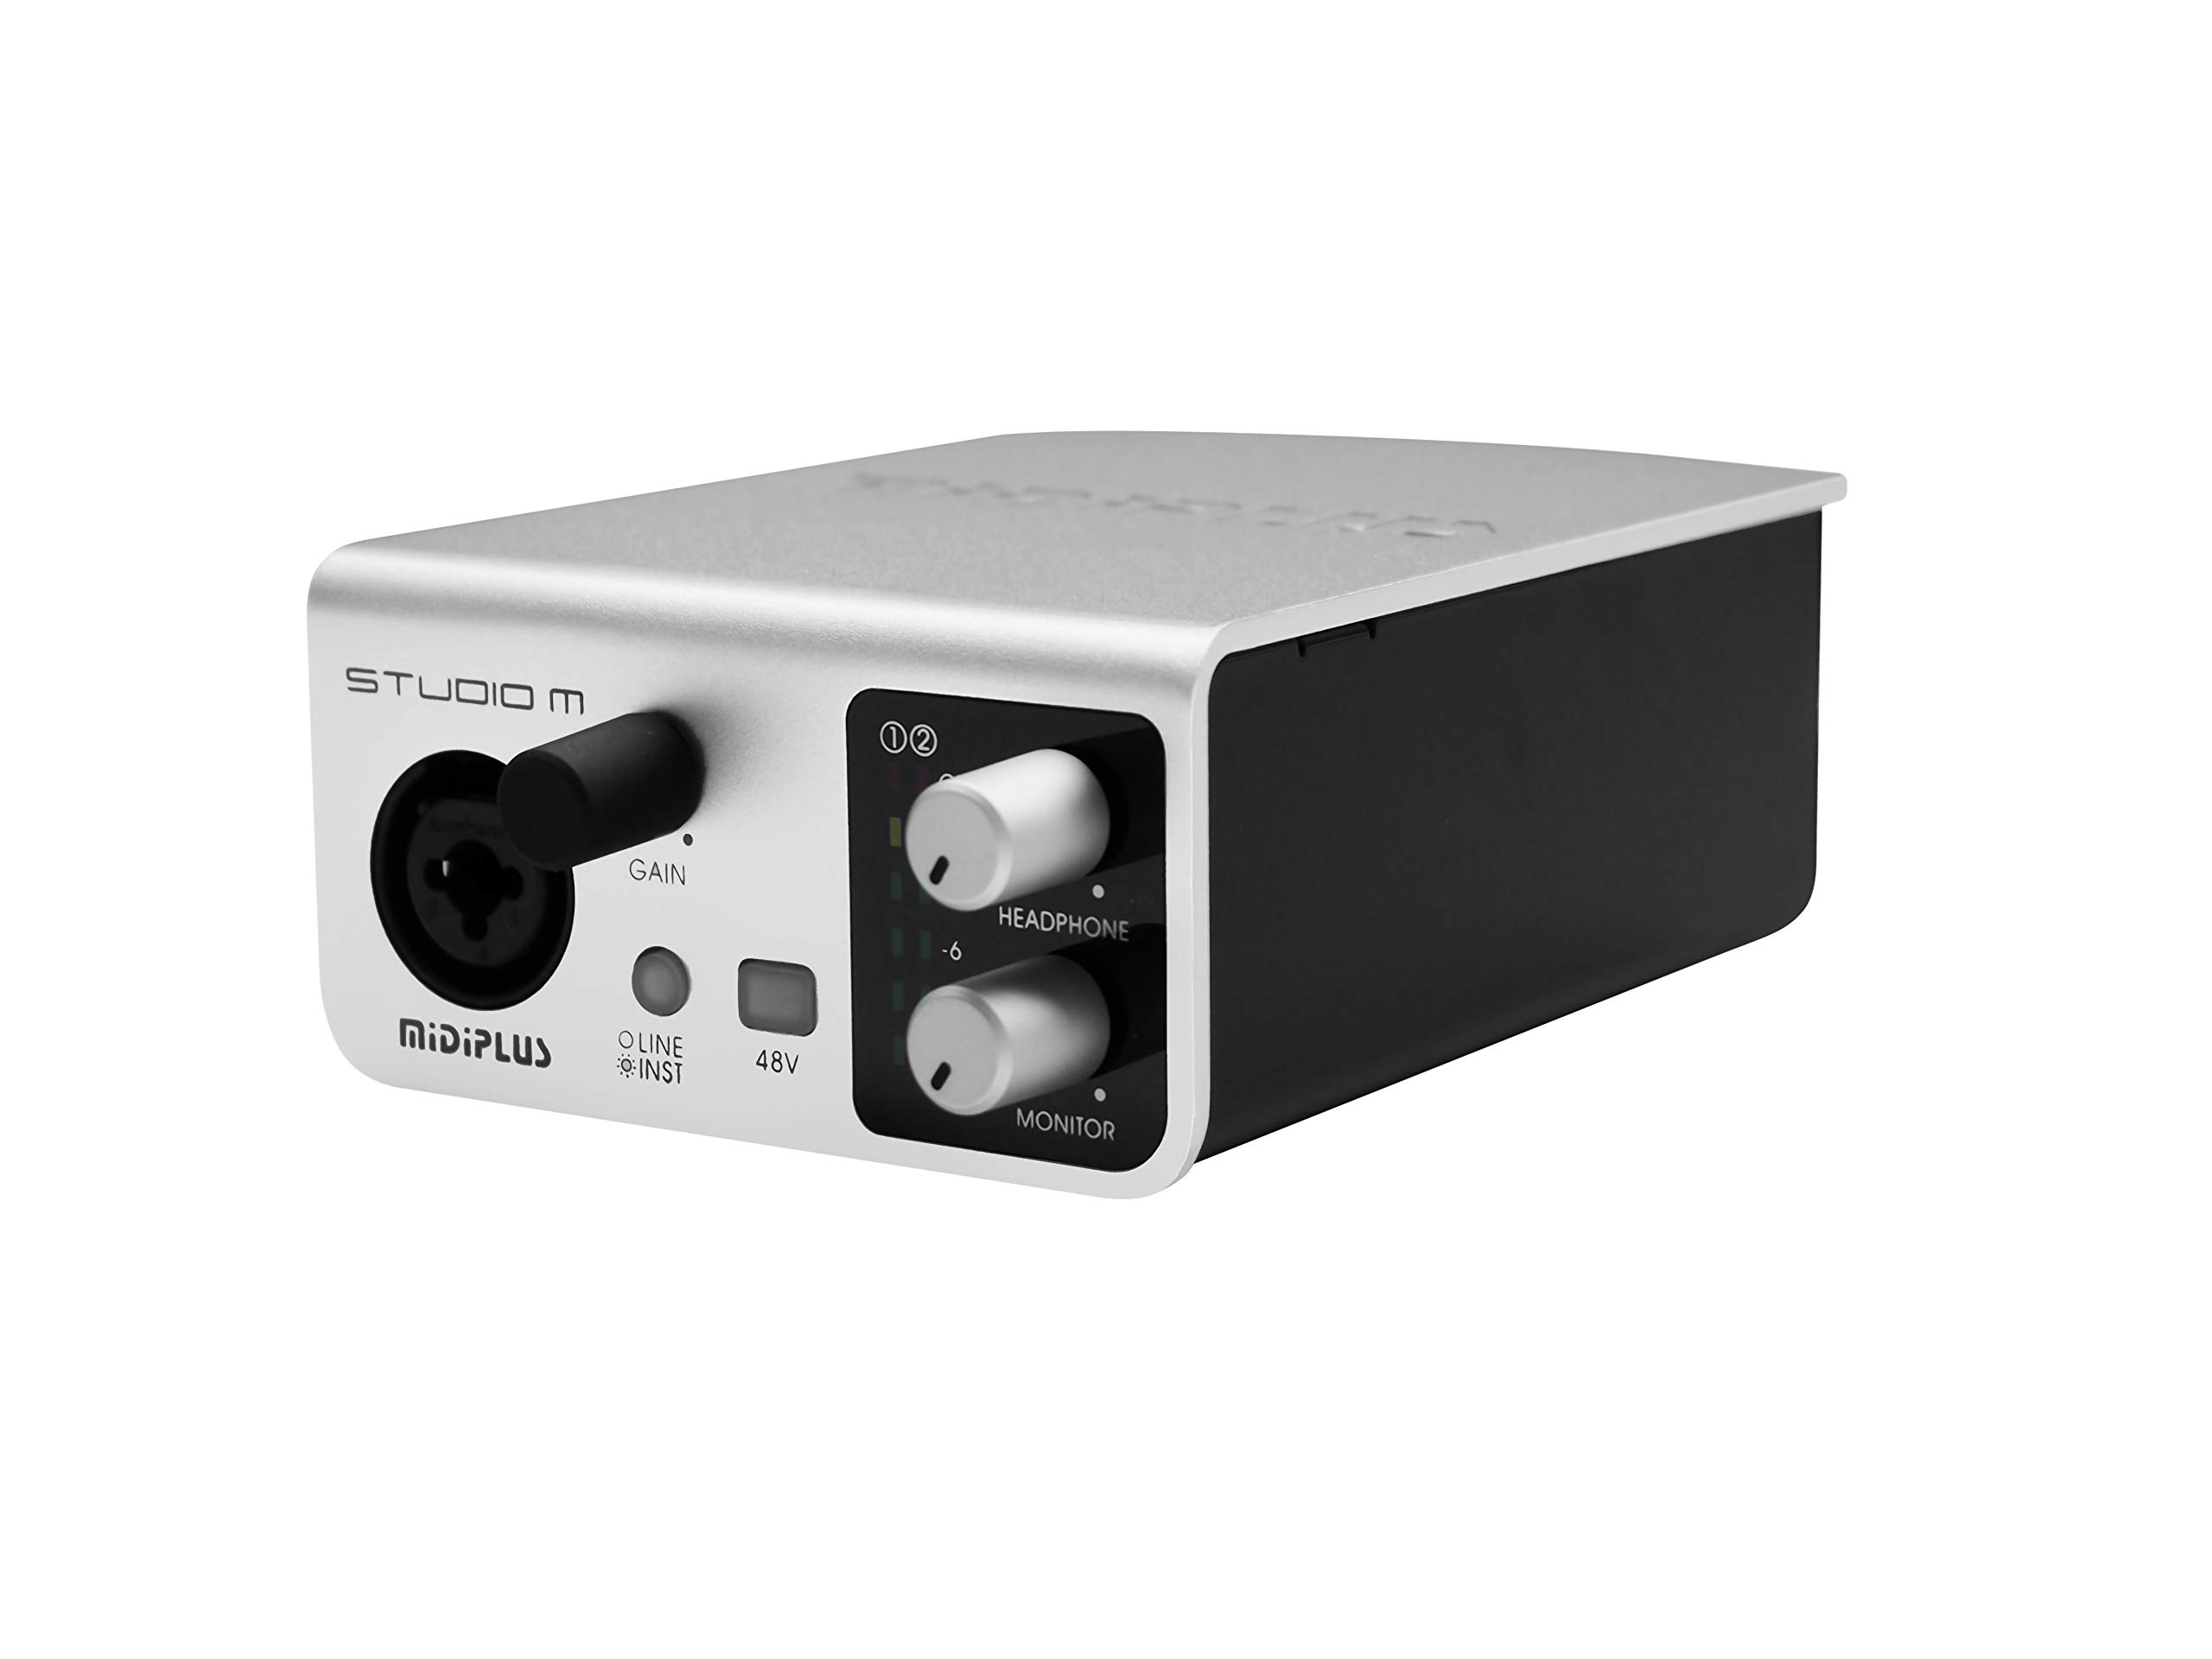
Rajah 1: Depan dan belakang view of the Midiplus Studio M USB Audio Interface.
2. Panduan Persediaan
2.1 Kandungan Pakej
- Midiplus Studio M USB Audio Interface
- Kabel USB
- Manual Pemilik (dokumen ini)
- Kad Maklumat
2.2 Keperluan Sistem
- Sistem Pengendalian: Windows, macOS
- Compatible Devices: Personal Computer with USB port
2.3 Menyambung Peranti
- Connect the Midiplus Studio M to your computer using the provided USB cable. The device is USB-powered.
- Ensure your operating system (Windows or macOS) recognizes the device. Drivers may be required for optimal performance; refer to the Midiplus weblaman web untuk muat turun pemacu terkini.
- Connect your microphone or instrument to the Input (MIC/Line/Hi-z) interface on the front panel.
- Connect your headphones to the headphone interface on the front panel, or your studio monitors to the Output interface (Left/Right) on the rear panel.

Figure 2: Midiplus Studio M connected to a computer, showing input and output cables.
3. Arahan Operasi
3.1 Kawalan Panel Hadapan
- Input Gain Control Knob: Adjusts the input level for the connected microphone or instrument.
- Switch (Mic/Instrument) Button: Toggles between microphone and instrument input modes.
- 48V Phantom Power ON/OFF: Activates or deactivates 48V phantom power for condenser microphones.
- Headphone Volume Control Button: Adjusts the output volume for connected headphones.
- Output Volume Control Button: Adjusts the main output volume for connected studio monitors.

Figure 3: Midiplus Studio M in a studio setup, demonstrating its compact size and integration.
3.2 Sambungan Panel Belakang
- Antaramuka USB: USB2.0 port for connection to your computer and power supply.
- Output Interface (Left/Right): Connects to your studio monitors or other output devices.
- Extensible Device Interface: Provides additional connectivity options for other devices.
4. Penyelenggaraan
- Pastikan peranti bersih dengan mengelapnya dengan kain yang lembut dan kering. Elakkan menggunakan bahan kimia yang keras atau bahan yang melelas.
- Ensure all cables are securely connected to prevent signal loss or damage.
- Simpan antara muka di tempat yang sejuk dan kering, jauh daripada cahaya matahari langsung dan suhu yang melampau.
- Elakkan meletakkan objek berat di atas unit.
5. Penyelesaian masalah
5.1 Tiada Keluaran Bunyi
- Check all cable connections (USB, input, output, headphones).
- Ensure the device is powered on and recognized by your computer.
- Verify that the output volume controls (headphone and main output) are turned up.
- Check your computer's sound settings to ensure the Midiplus Studio M is selected as the output device.
5.2 Input Signal Issues
- Adjust the Input Gain Control Knob.
- Ensure the correct input mode (Mic/Instrument) is selected.
- If using a condenser microphone, verify that 48V Phantom Power is enabled.
- Check the microphone/instrument cable for damage.
5.3 Peranti Tidak Dikenali oleh Komputer
- Cuba sambungkan kabel USB ke port USB lain pada komputer anda.
- Mulakan semula komputer anda.
- Ensure the latest drivers for the Midiplus Studio M are installed from the official Midiplus webtapak.
- Uji dengan kabel USB yang berbeza jika ada.
6. Spesifikasi Teknikal
| Ciri | Perincian |
|---|---|
| Nombor Model | Studio M |
| Jenama | Midiplus |
| Teknologi Ketersambungan | USB (USB2.0) |
| Resolusi Audio | 24-bit / 192kHz |
| Input | 1 (MIC/Line/Hi-z) |
| Keluaran | 2 (Left/Right) |
| Kuasa Hantu | 48V (boleh suis) |
| Sistem Operasi yang Serasi | Windows, macOS |
| Dimensi Produk | 5.28 x 3.54 x 1.89 inci |
| Berat Barang | 14.1 auns (0.4 Kilogram) |
7. Waranti dan Sokongan
For warranty information and technical support, please refer to the official Midiplus website or contact your local dealer. Keep your purchase receipt as proof of purchase for any warranty claims.


