1. Pengenalan
Thank you for choosing the Juki HZL-12ZS Sewing Machine. This compact and user-friendly machine is designed for a variety of sewing tasks, making it ideal for beginners and experienced sewers alike. To ensure safe and efficient operation, please read this instruction manual thoroughly before using your machine. Keep this manual in a safe place for future reference.

Imej: Depan view of the Juki HZL-12ZS Sewing Machine, showcasing its compact design and control dials.
2. Arahan Keselamatan Penting
Apabila menggunakan perkakas elektrik, langkah berjaga-jaga keselamatan asas hendaklah sentiasa dipatuhi, termasuk yang berikut:
- Baca semua arahan sebelum menggunakan mesin jahit ini.
- Jauhkan jari dari semua bahagian yang bergerak. Penjagaan khas diperlukan di sekitar jarum mesin jahit.
- Always unplug the sewing machine from the electrical outlet immediately after using and before cleaning, removing covers, or when making any user servicing adjustments mentioned in the instruction manual.
- Gunakan perkakas ini hanya untuk kegunaan yang dimaksudkan seperti yang diterangkan dalam manual ini.
- Jangan sekali-kali mengendalikan mesin jahit jika ia mempunyai kord atau palam yang rosak, jika ia tidak berfungsi dengan betul, atau jika ia telah terjatuh atau rosak.
- Jangan sekali-kali menjatuhkan atau memasukkan sebarang objek ke dalam mana-mana bukaan.
- Jangan gunakan di luar rumah.
- Jangan beroperasi di tempat produk aerosol (semburan) digunakan atau di mana oksigen diberikan.
- Untuk memutuskan sambungan, matikan semua kawalan ke kedudukan mati, kemudian tanggalkan palam dari alur keluar.
3. Persediaan
3.1 Membongkar
Carefully remove the machine from its packaging. Remove all packing materials, tape, and protective films from the machine. Ensure all accessories are present before discarding packaging.

Image: Cover of the Juki HZL-12ZS instruction manual, indicating the model number.
3.2 Connecting Power and Foot Pedal
- Masukkan palam mesin ke dalam soket kuasa mesin.
- Insert the foot pedal plug into the machine's foot pedal socket.
- Palamkan kord kuasa ke salur keluar elektrik yang sesuai.
- Turn on the power switch, usually located on the side of the machine. The sewing light should illuminate.

Image: The foot pedal for the Juki HZL-12ZS Sewing Machine, with its attached power cord.
3.3 Identifying Main Components
Familiarize yourself with the key parts of your sewing machine:
- Spool Pin: Holds the thread spool.
- Dail Ketegangan: Melaraskan ketegangan benang atas.
- Dail Pemilih Jahitan: Chooses stitch patterns.
- Panjang Jahitan Dail: Adjusts stitch length.
- Lebar Jahitan Dail: Adjusts stitch width (if applicable).
- Take-up Lever: Guides the upper thread.
- Jarum Clamp: Memegang jarum.
- Kaki Penekan: Holds fabric against feed dogs.
- Memberi makan anjing: Move fabric under the needle.
- Penggulung Bobbin: Benang angin digulung pada gelendong.
- roda tangan: Menaikkan dan menurunkan jarum secara manual.

Imej: Jarak dekat view of the Juki HZL-12ZS control dials, including the stitch selector and tension dial.
4. Mengulirkan Mesin
4.1 Menggulung Bobbin
- Letakkan gelendong benang pada pin gelendong.
- Guide the thread through the upper thread guide and around the tension disc for bobbin winding.
- Insert the thread end through a hole in the bobbin from the inside out.
- Place the bobbin onto the bobbin winder spindle and push it to the right until it clicks.
- Hold the thread end and gently press the foot pedal. The bobbin will start to wind. Once a few turns are made, trim the excess thread end.
- Continue winding until the bobbin is full. The winder will automatically stop or slow down.
- Cut the thread, push the bobbin winder spindle to the left, and remove the wound bobbin.
4.2 Penguliran Atas
- Naikkan tuas kaki penekan.
- Letakkan gelendong benang pada pin gelendong.
- Pandu benang melalui panduan benang atas.
- Bring the thread down the right channel, around the bottom, and up the left channel.
- Putar tuil pengambil dari kanan ke kiri.
- Bring the thread down through the lower thread guide.
- Thread the needle from front to back. If your machine has an automatic needle threader, use it carefully.

Imej: Jarak dekat view of the needle and presser foot area of the Juki HZL-12ZS, showing the threading path.
5. Memasukkan Bobbin
- Open the bobbin cover plate, usually located on the needle plate.
- Insert the wound bobbin into the bobbin case with the thread unwinding in the correct direction (usually counter-clockwise).
- Guide the bobbin thread through the tension spring slot.
- Hold the upper thread lightly with one hand. Turn the handwheel towards you to lower and then raise the needle. This will catch the bobbin thread.
- Pull both the upper and bobbin threads to the back under the presser foot.
- Tutup plat penutup gelendong.

Image: Open bobbin area of the Juki HZL-12ZS, showing the bobbin case and threading path.
6. Mengendalikan Mesin
6.1 Pemilihan Jahitan
Turn the stitch selector dial to choose your desired stitch pattern. The machine offers a range of utility and decorative stitches. Refer to the stitch guide on the machine or in the full manual for details on each stitch.
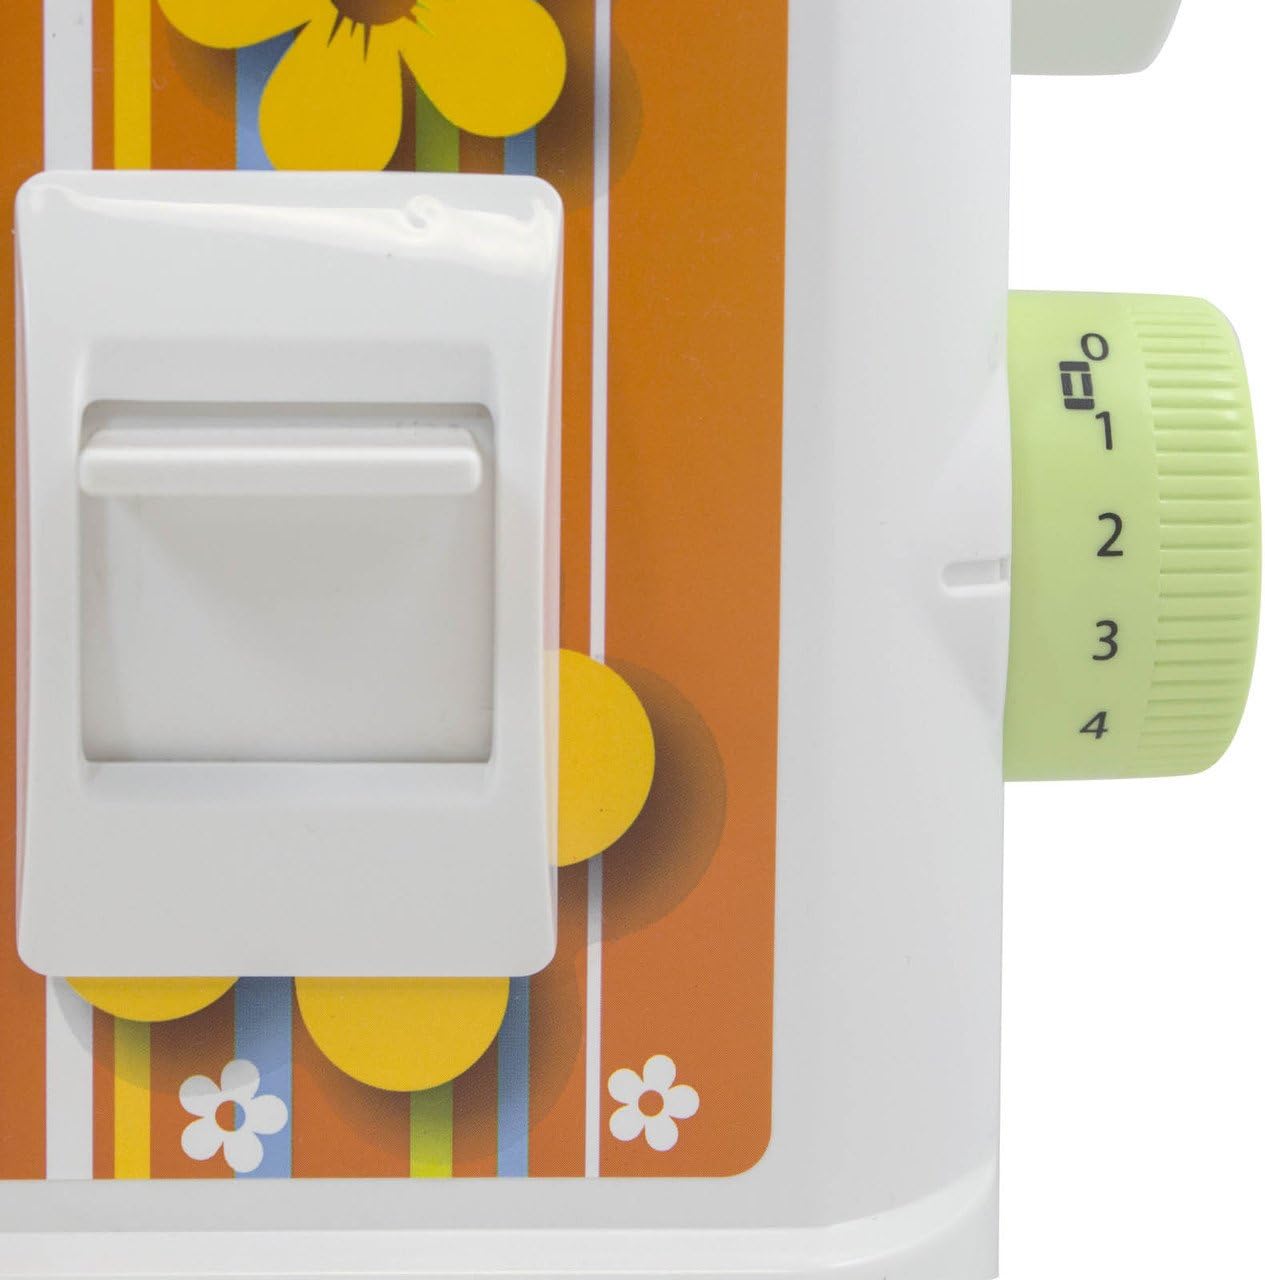
Image: Close-up of the Juki HZL-12ZS showing the stitch selection dial and stitch patterns.
6.2 Stitch Length and Width
Adjust the stitch length and width using their respective dials. For most general sewing, a medium stitch length (around 2.5) is suitable. Adjust width for zigzag or decorative stitches as needed.
6.3 Jahitan Songsang
To secure the beginning and end of a seam, press and hold the reverse lever/button while sewing. The machine will sew backward. Release the lever/button to resume forward sewing.
6.4 Jahitan Lengan Percuma
To sew cylindrical items like sleeves, cuffs, or pant legs, slide off the accessory box to reveal the free arm. This allows fabric to be easily maneuvered around the narrow arm.
7. Penyelenggaraan
7.1 Pembersihan
Regular cleaning is essential for smooth operation. Always unplug the machine before cleaning.
- Hook Area: Remove the needle, presser foot, needle plate, and bobbin case. Use the small brush provided (or a soft brush) to remove lint and dust from the hook race and feed dogs.
- Permukaan Mesin: Lap bahagian luar mesin dengan kain lembut dan kering. Jangan gunakan bahan kimia yang keras atau pembersih yang kasar.

Image: Various accessories included with the Juki HZL-12ZS, such as bobbins, needles, and a cleaning brush.
7.2 Penggantian Jarum
Replace the needle regularly (after 8-10 hours of sewing or if it becomes bent/dull) to prevent skipped stitches and fabric damage. Use only appropriate sewing machine needles for your machine.
8. Penyelesaian masalah
If you encounter issues, check the following common problems before seeking professional service:
- Jahitan yang dilangkau: Ensure the needle is inserted correctly, not bent, and is the correct type for your fabric. Re-thread the machine completely.
- Pecah Benang: Check for correct threading, proper tension, a burr on the needle or hook, or a damaged needle.
- Fabrik Tidak Memberi Makan: Ensure the presser foot is lowered and the feed dogs are not disengaged. Check for lint buildup under the needle plate.
- Mesin Tidak Bermula: Verify the power cord and foot pedal are securely plugged in, and the power switch is on.
9. Spesifikasi
| Ciri | Spesifikasi |
|---|---|
| Nombor Model | HZL-12ZS |
| Dimensi Pakej | 15.6 x 13.2 x 9 inci |
| Berat Barang | 12.6 paun |
| Sumber Kuasa | Elektrik Bertali |
| Adalah Elektrik | ya |
| UPC | 189684000602 |
10. Waranti dan Sokongan
For detailed warranty information, please refer to the warranty card included with your machine or visit the official Juki website. For technical support, service, or to order replacement parts, contact Juki customer service or your authorized dealer. Always use genuine Juki parts for repairs.


