1. Pengenalan dan Maklumat Keselamatan
This manual provides essential instructions for the safe installation, operation, and maintenance of your Beko Oven Hood Red Indicator Lamp. Please read these instructions carefully before proceeding with installation or maintenance.
Amaran Keselamatan Penting:
- Always disconnect the appliance from the main power supply before attempting any installation, maintenance, or repair work. Failure to do so can result in electric shock or serious injury.
- Installation should ideally be performed by a qualified technician. If you are unsure, consult a professional.
- Mengendalikan lamp assembly with care to avoid damage to the bulb or housing.
- Ensure all connections are secure and correctly fitted before restoring power.
2. Produk Lebihview
The Beko Oven Hood Red Indicator Lamp is a genuine replacement part designed to indicate the operational status of your oven hood. It includes the red lens, the indicator bulb, and the housing unit.
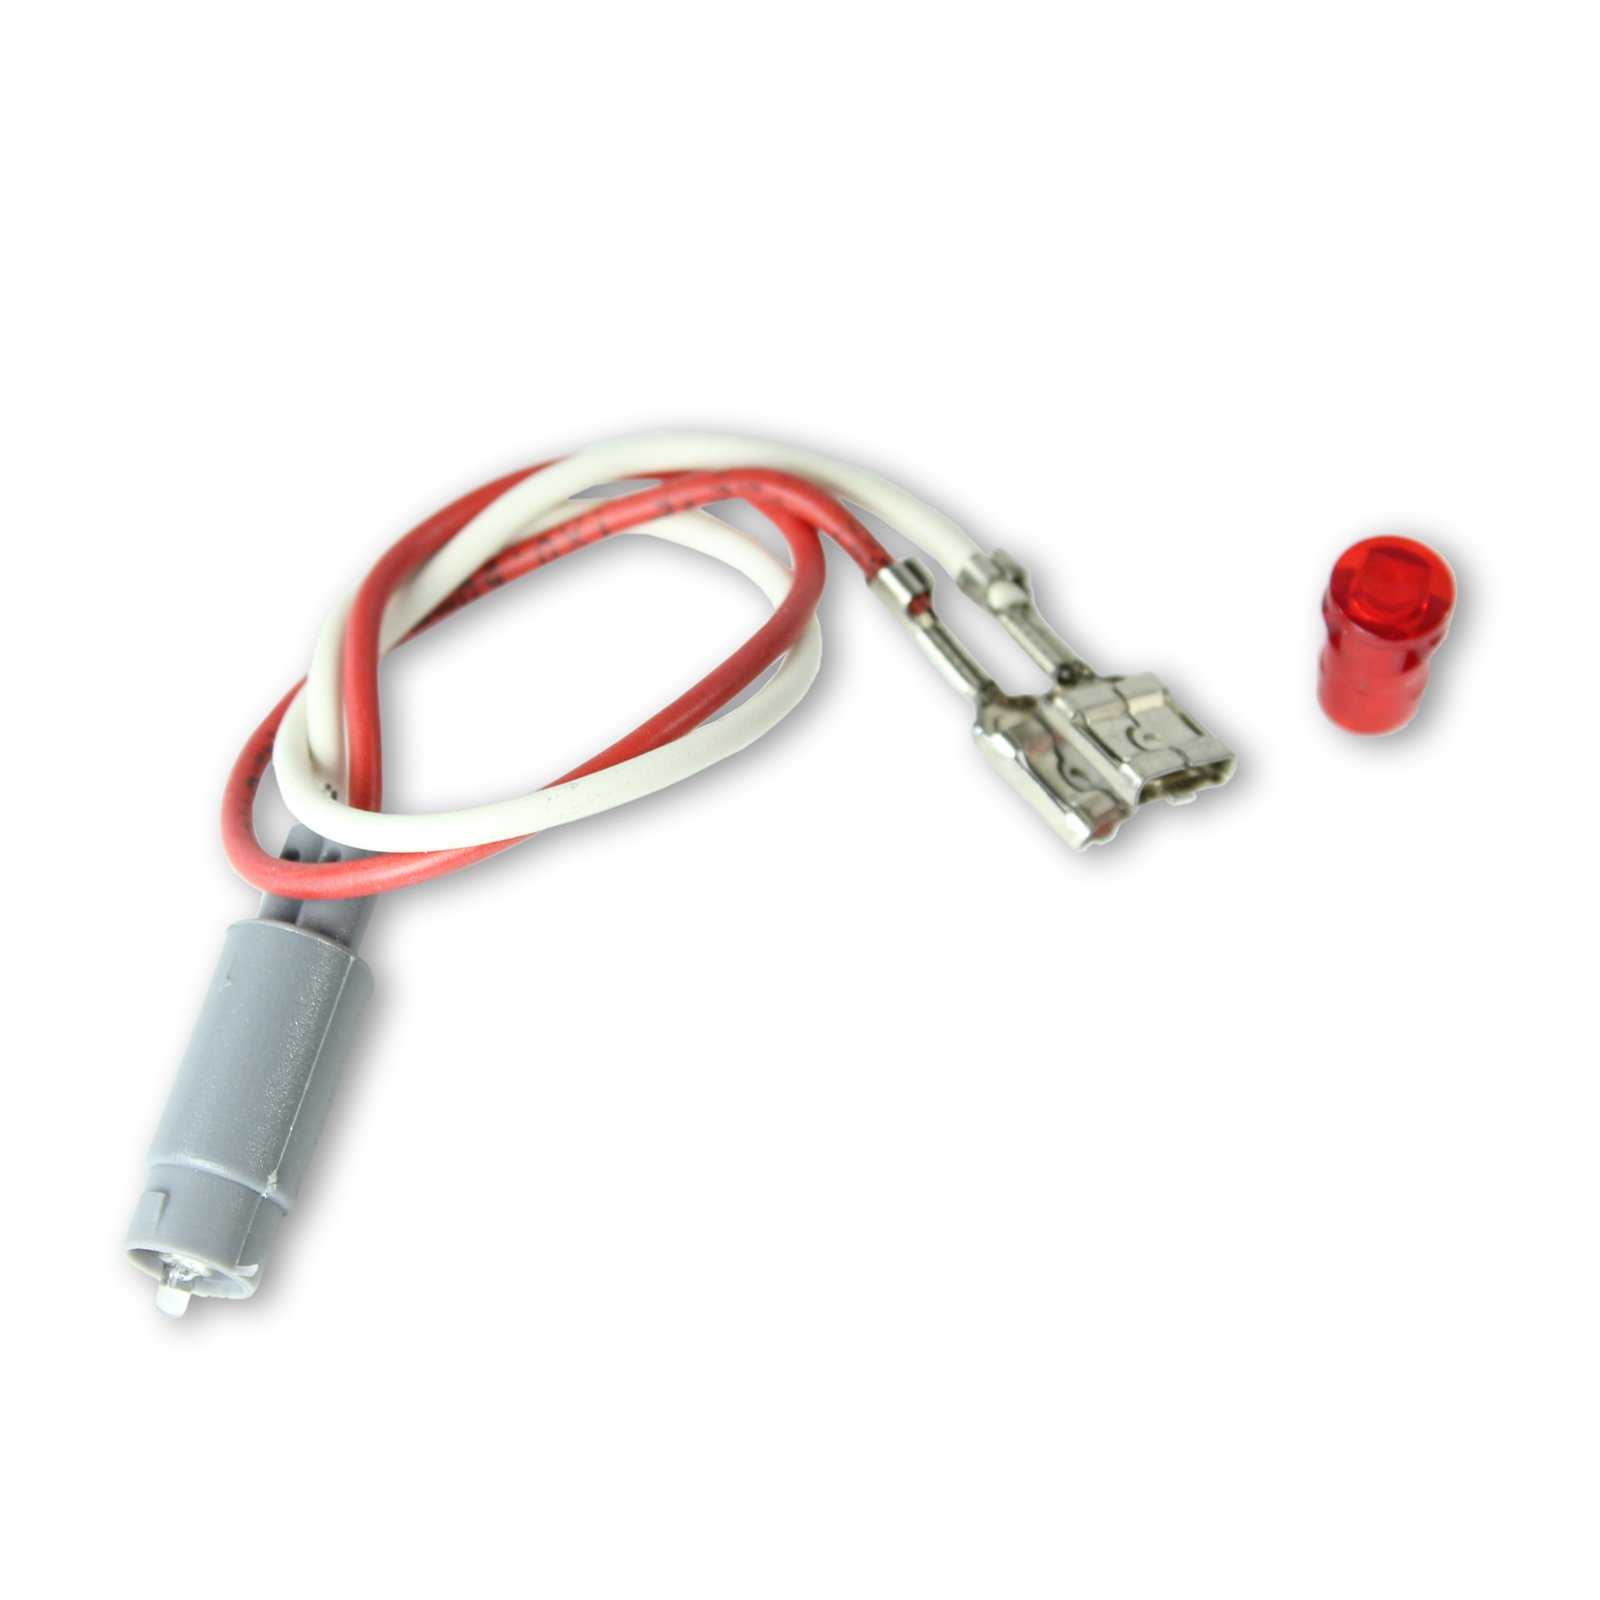
Rajah 2.1: The Beko Oven Hood Red Indicator Lamp assembly. This image displays the complete Beko Oven Hood Red Indicator Lamp assembly, including the red lens, the bulb, and the housing unit, ready for installation.
Model yang Serasi:
Penunjuk ini lamp is compatible with various Beko oven hood models, including but not limited to:
- D531S, D531W, D533S, D533W, D533X
- D653W
- DC5422S, DC5422W, DC5422X, DC543S, DC543W, DC543X
- DVC5622X
- S502S, S502W
Please verify your appliance model number before purchasing and installing this replacement part.
3. Arahan Pemasangan
Follow these steps to safely install the Beko Oven Hood Red Indicator Lamp:
- Putuskan Kuasa: Before beginning, ensure the oven hood is completely disconnected from the main power supply at the circuit breaker or fuse box.
- Access Old Lamp: Carefully locate the existing indicator lamp on your oven hood fascia. Depending on your model, you may need to remove a panel or gently pry the old lamp assembly out.
- Keluarkan L Lamaamp: Disconnect the electrical wires from the old lamp assembly. Note the orientation of the wires (e.g., which wire connects to which terminal) if they are not color-coded.
- Pasang L Baharuamp: Connect the electrical wires to the new Beko Red Indicator Lamp assembly. Ensure the connections are firm and correct.
- selamat Lamp: Masukkan l baruamp assembly into its designated opening on the oven hood fascia. Ensure it clicks securely into place or is fastened as per your appliance's design.
- Pulihkan Kuasa: Once the new lamp is securely installed and all connections are verified, restore power to the oven hood at the circuit breaker or fuse box.
- Kefungsian Ujian: Turn on your oven hood to verify that the new red indicator lamp illuminates correctly.
Nota Penting: Some users have reported that the electrical leads on the replacement lamp may be shorter than the original, potentially making it difficult to reach the plug-in points near the cooker knobs. If this occurs, ensure the lamp is positioned correctly and consider extending the wiring with appropriate, heat-resistant electrical connectors if necessary, or consult a qualified electrician.
4. Arahan Operasi
The Beko Oven Hood Red Indicator Lamp operates automatically with your appliance. When the oven hood is switched on, the indicator lamp will illuminate, signaling that the appliance is active. When the oven hood is switched off, the lamp akan memadamkan.
5. Penyelenggaraan
The Beko Oven Hood Red Indicator Lamp memerlukan penyelenggaraan yang minimum.
- Pembersihan: If the lens becomes dirty, gently wipe it with a soft, damp cloth. Avoid abrasive cleaners or solvents, as these can damage the plastic lens. Ensure the appliance is off and cool before cleaning.
- Penggantian mentol: Lamp assembly includes a bulb. If the indicator lamp stops illuminating, the bulb may need replacement. Follow the installation steps (Section 3) to access the lamp assembly and replace the bulb. Ensure the replacement bulb matches the specifications of the original.
6. Penyelesaian masalah
If your Beko Oven Hood Red Indicator Lamp tidak berfungsi seperti yang dijangkakan, pertimbangkan perkara berikut:
| Masalah | Kemungkinan Punca | Penyelesaian |
|---|---|---|
| Lamp tidak menerangi. | Tiada kuasa kepada perkakas. | Check the circuit breaker or fuse box to ensure power is supplied to the oven hood. |
| Lamp tidak menerangi. | Mentol rosak. | Replace the bulb within the lamp assembly. Refer to Section 5 for bulb replacement. |
| Lamp tidak menerangi. | Sambungan pendawaian longgar atau salah. | Putuskan kuasa and re-check all electrical connections to the lamp assembly. Ensure they are secure and correctly oriented. |
| Lamp wires are too short during installation. | Variation in wire length compared to original part. | Laraskan l dengan berhati-hatiamp's position. If necessary, consult a qualified electrician for safe wire extension using appropriate connectors. Do not force connections. |
7. Spesifikasi
- Pengeluar: Beko
- Rujukan Pengilang: 165955705
- ASIN: B00IINHTQO
- Jenis Produk: Oven Hood Red Indicator Lamp (includes Bulb, Lens & Housing)
8. Waranti dan Sokongan
Information regarding the specific warranty period or direct customer support for this Beko Oven Hood Red Indicator Lamp is not available in the provided product data. For warranty claims or technical assistance, please refer to the documentation supplied with your original Beko appliance or contact Beko customer service directly through their official webtapak.


