1. Pengenalan
This manual provides instructions for the Vivitek D555 XGA DLP Portable Projector. The D555 is designed for clear and vivid image projection, featuring XGA resolution, 3000 lumens brightness, and 3D readiness via DLP Link. It incorporates DLP and Brilliant Color technologies for enhanced visual performance and offers various connectivity options including HDMI v1.4.
2. Maklumat Keselamatan
- Jangan sekat bukaan pengudaraan. Pastikan ruang yang mencukupi di sekeliling projektor untuk aliran udara yang betul.
- Jangan lihat terus ke dalam kanta projektor apabila lamp sedang dihidupkan. Cahaya terang boleh menyebabkan kerosakan mata.
- Elakkan meletakkan projektor di bawah cahaya matahari langsung, berhampiran sumber haba atau dalam persekitaran yang mempunyai kelembapan atau habuk yang tinggi.
- Gunakan hanya kord kuasa yang dibekalkan dengan projektor.
- Jangan cuba servis produk ini sendiri. Rujuk semua perkhidmatan kepada pegawai perkhidmatan yang berkelayakan.
- Jauhkan projektor daripada air atau cecair lain.
- Cabut plag projektor daripada salur keluar kuasa sebelum membersihkan atau apabila tidak digunakan untuk tempoh yang lama.
3. Kandungan Pakej
Sahkan bahawa semua item yang disenaraikan di bawah disertakan dalam pakej anda:
- Vivitek D555 Projector
- Kord Kuasa AC
- Kabel VGA
- Alat Kawalan Jauh
- Batteries for Remote (AA x 2)
- User's Manual (on CD)
4. Produk Lebihview
4.1 Depan dan Atas View
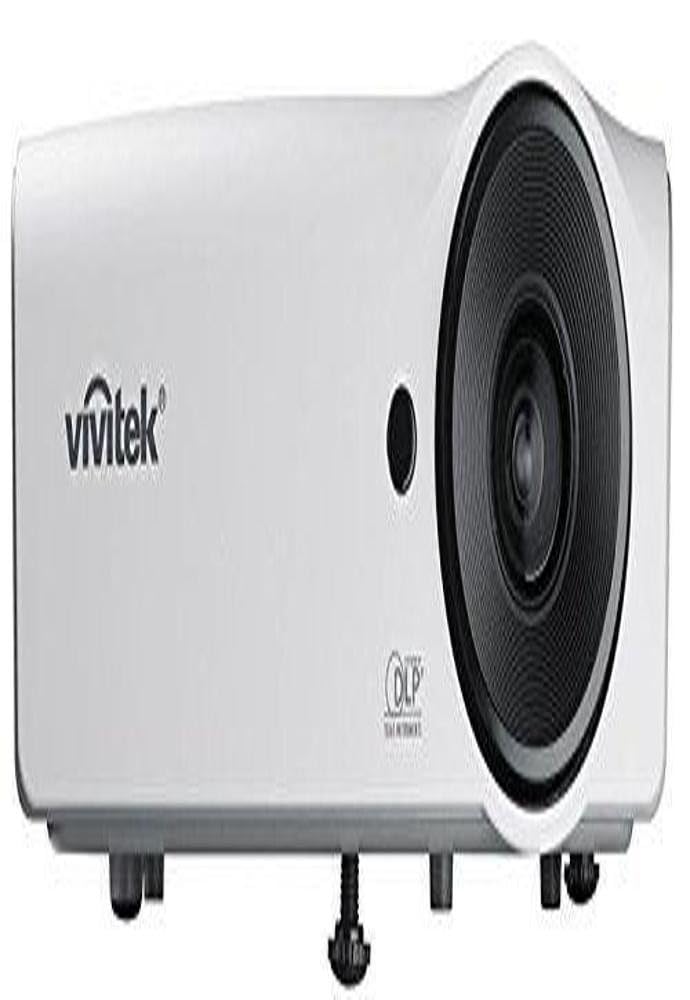
Rajah 4.1: Depan dan atas view of the Vivitek D555 projector. This image shows the projector's lens, control panel on top, and the Vivitek logo.
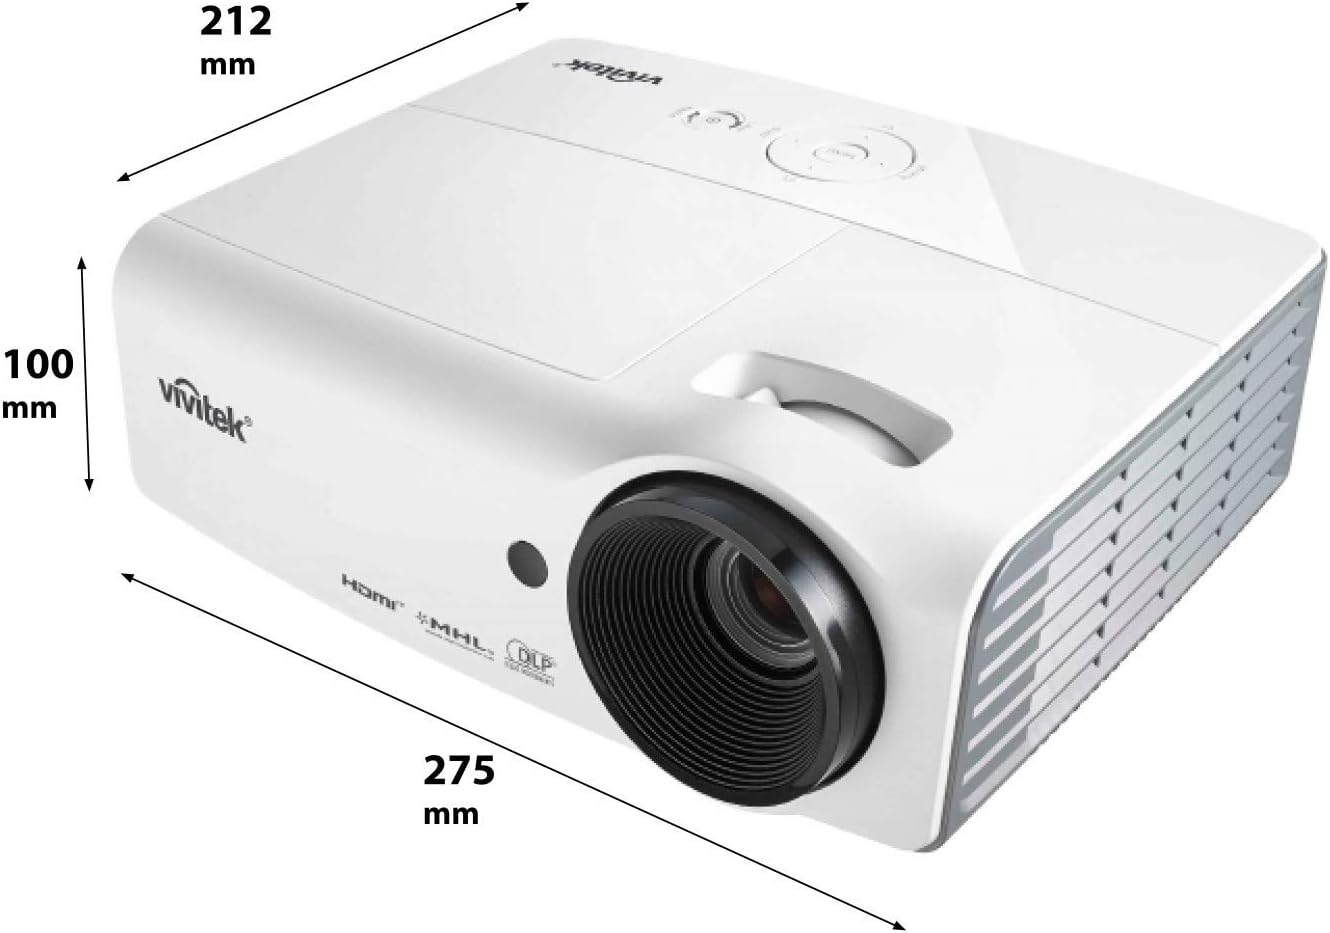
Rajah 4.2: Dimensions of the Vivitek D555 projector. The image indicates a width of 275 mm, a depth of 212 mm, and a height of 100 mm.
The front of the projector features the projection lens. The top panel includes the control buttons for power, menu navigation, source selection, and focus/zoom adjustments. The Vivitek logo is prominently displayed.
4.2 Sambungan Panel Belakang

Rajah 4.3: Rear panel of the Vivitek D555 projector showing various input and output ports. These include HDMI, dual VGA inputs, VGA output, S-Video, Composite Video, audio input/output, and a USB port.
The rear panel provides all necessary connection ports for video and audio sources. These include:
- HDMI v1.4: For digital video and audio input.
- Computer In 1 (VGA): D-Sub 15-pin input for computer connection.
- Computer In 2 (VGA): Second D-Sub 15-pin input for computer connection.
- Computer Out (VGA): D-Sub 15-pin output for monitor loop-through.
- S-Video: For S-Video input.
- Video (Composite): RCA jack for composite video input.
- Audio Dalam: 3.5mm stereo mini-jack for audio input.
- Keluar Audio: 3.5mm stereo mini-jack for audio output.
- USB (Jenis B): Untuk perkhidmatan atau kemas kini perisian tegar.
- Masuk Kuasa AC: Untuk menyambungkan kord kuasa.
5. Persediaan
5.1 Penempatan Projektor
Place the projector on a stable, flat surface or mount it securely. Ensure the projector is positioned at an appropriate distance from the screen to achieve the desired image size. The lens should be perpendicular to the screen for optimal image geometry.
5.2 Menyambung kepada Sumber Kuasa
- Connect the AC power cord to the projector's AC power inlet.
- Palamkan hujung kord kuasa yang lain ke dalam salur keluar elektrik yang dibumikan.
5.3 Menghubungkan Sumber Video
Choose the appropriate cable for your video source and connect it to the corresponding port on the projector's rear panel.
- HDMI: For high-definition digital sources like Blu-ray players, gaming consoles, or laptops.
- VGA (Computer In 1/2): For computers or other devices with VGA output.
- S-Video/Composite Video: For standard definition video sources like DVD players or VCRs.
For audio, connect an audio cable from your source to the projector's Audio In port, or use the HDMI connection which carries both video and audio.
6. Mengendalikan Projektor
6.1 Menghidupkan/Mematikan
- Untuk Menghidupkan: Press the Power button on the projector's control panel or the remote control. The power indicator light will turn blue.
- Untuk Mematikan: Press the Power button twice. The projector will enter a cooling down cycle, and the power indicator will flash. Do not unplug the projector until the cooling cycle is complete and the power indicator light stops flashing.
6.2 Melaraskan Imej
- Fokus: Putarkan gelang fokus pada kanta projektor sehingga imej tajam dan jelas.
- Zum: Putarkan gelang zum pada kanta projektor untuk melaraskan saiz imej.
- Pembetulan Keystone: If the image appears trapezoidal, use the Keystone Correction function in the projector's OSD (On-Screen Display) menu to square the image.
6.3 Memilih Sumber Input
Press the "Source" button on the projector or remote control to cycle through available input sources (HDMI, VGA1, VGA2, S-Video, Video).
6.4 Fungsi 3D
The Vivitek D555 is 3D-ready via DLP Link. To view kandungan 3D:
- Connect a 3D-compatible source (e.g., 3D Blu-Ray player) to the projector via HDMI.
- Pastikan kandungan 3D anda sedang dimainkan.
- Wear active DLP Link 3D glasses (sold separately). The projector will automatically detect the 3D signal and enable 3D mode.
7. Penyelenggaraan
7.1 Membersihkan Projektor
- Luaran: Gunakan kain yang lembut dan tidak berbulu dampened with a mild cleaning solution to wipe the projector's casing. Jangan gunakan pembersih atau pelarut yang melelas.
- Kanta: Use a lens cleaning cloth and lens cleaning solution specifically designed for optical surfaces. Avoid touching the lens with your fingers.
- Bolong Udara: Regularly check and clean the air vents to prevent dust buildup, which can affect cooling and performance. Use a soft brush or compressed air.
7.2 Lamp Penggantian
Projektor lamp has a lifespan of up to 6,000 hours in Eco-mode. When the lamp reaches the end of its life, a warning message will appear, or the lamp indicator light will illuminate. Refer to the detailed instructions in the full user manual (on CD) for safe lamp prosedur penggantian. Sentiasa biarkan projektor sejuk sepenuhnya sebelum cubaamp penggantian.
8. Penyelesaian masalah
| Masalah | Kemungkinan Punca | Penyelesaian |
|---|---|---|
| Tiada gambar di skrin |
|
|
| Imej kabur |
|
|
| Imej adalah trapezoid |
|
|
| Tiada audio |
|
|
9. Spesifikasi
| Nombor Model | DP535-264VVUP (D555) |
| Jenama | Vivitek |
| Teknologi Paparan | DLP |
| Resolusi Asli | XGA (1024 x 768) |
| Resolusi Maksimum | WUXGA(1920x1200) |
| Kecerahan | 3000 Lumen |
| Nisbah Kontras | 15000:1 |
| Lamp kehidupan | Sehingga 6,000 jam (Mod Eko) |
| Ketersambungan | HDMI v1.4, Dual VGA In, VGA Out, S-Video, Composite Video, Audio In/Out, USB |
| Ciri Khas | 3D-Ready (DLP Link), Brilliant Color Technology |
| Dimensi Produk | 10.8 x 8.35 x 3.66 inci (275 x 212 x 100 mm) |
| Berat Barang | 5.1 paun |
| Pengeluar | Vivitek Corp. |
| Bateri (untuk alat kawalan jauh) | 2 bateri AA (termasuk) |
10. Waranti dan Sokongan
For warranty information and technical support, please refer to the official Vivitek website or the warranty card included with your product. Do not attempt to repair the projector yourself, as this may void your warranty. Contact Vivitek customer service for assistance with any issues not covered in the troubleshooting section.


