1. Pengenalan
This manual provides instructions for the installation, operation, and maintenance of the TYC Right Tail Light Assembly, Model 11-6443-00. This assembly is designed as a direct replacement for the passenger side tail light on 2012-2014 Honda CRV vehicles.
The TYC replacement lamps are manufactured to meet SAE/DOT regulations and are FMVSS 108 compliant. They feature OE comparable harnesses for hassle-free installation and OE comparable mounting provisions for a precise fit. The lens surface includes a special coating to prevent hazing and fading, ensuring proper illumination and operational safety. Rigorous testing is conducted to ensure product quality and durability.

Imej 1.1: Depan view of the TYC Right Tail Light Assembly, showcasing its red and clear lens design.
2. Maklumat Keselamatan
Always prioritize safety when working on your vehicle. Failure to follow safety precautions may result in injury or damage to the vehicle.
- Pastikan kenderaan diletakkan di atas permukaan yang rata dengan brek letak kereta dihidupkan.
- Turn off the vehicle's ignition and remove the key.
- For electrical work, it is recommended to disconnect the negative terminal of the vehicle's battery to prevent electrical shorts.
- Pakai peralatan perlindungan diri yang sesuai, seperti cermin mata keselamatan dan sarung tangan.
- Jika anda tidak pasti tentang mana-mana langkah proses pemasangan, sila rujuk juruteknik automotif yang berkelayakan.
3. Kandungan Pakej
The TYC Right Tail Light Assembly package includes:
- One (1) TYC Right Tail Light Assembly
- All necessary bulbs pre-installed within the assembly

Imej 3.1: Belakang view of the tail light assembly, showing the integrated bulb sockets and wiring harness connection points.
4. Panduan Pemasangan
4.1. Alatan Diperlukan
- Pemutar skru kepala Phillips
- Flathead screwdriver (for prying trim, if necessary)
- Socket wrench set (with appropriate sockets for vehicle fasteners)
- Trim removal tool (optional, for interior panel removal)
4.2. Persediaan
- Letakkan kenderaan di atas permukaan yang rata dan stabil.
- Pasang brek letak kereta.
- Matikan enjin dan keluarkan kunci pencucuhan.
- Putuskan sambungan terminal negatif bateri kenderaan.
4.3. Removal of Existing Tail Light Assembly
- Open the rear hatch or trunk to access the interior trim panels near the tail light.
- Carefully remove any access panels or trim pieces that obstruct access to the tail light mounting bolts. Refer to your vehicle's service manual for specific trim removal instructions.
- Locate and remove the mounting bolts or nuts securing the tail light assembly to the vehicle body. There are typically 2-3 fasteners accessible from inside the trunk/hatch area.
- From the exterior, gently pull the tail light assembly straight back from the vehicle. It may be held by alignment pins or clips. Avoid excessive force to prevent damage.
- Once the assembly is loose, carefully disconnect the electrical connector(s) by pressing the release tab and pulling apart.
- Remove the old tail light assembly from the vehicle.
4.4. Installation of New TYC Tail Light Assembly
- Connect the electrical harness from the vehicle to the new TYC tail light assembly. Ensure the connection is secure and the locking tab engages. The TYC assembly features an OE comparable harness for a direct fit.
- Align the new tail light assembly with the mounting holes and alignment pins on the vehicle body. The TYC assembly includes OE comparable mounting provisions for a precise, drop-in fit.
- Gently push the tail light assembly into place until it sits flush against the vehicle body.
- Reinstall the mounting bolts or nuts from inside the trunk/hatch area. Tighten them securely, but do not overtighten.
- Reinstall any interior trim panels or access covers that were removed.
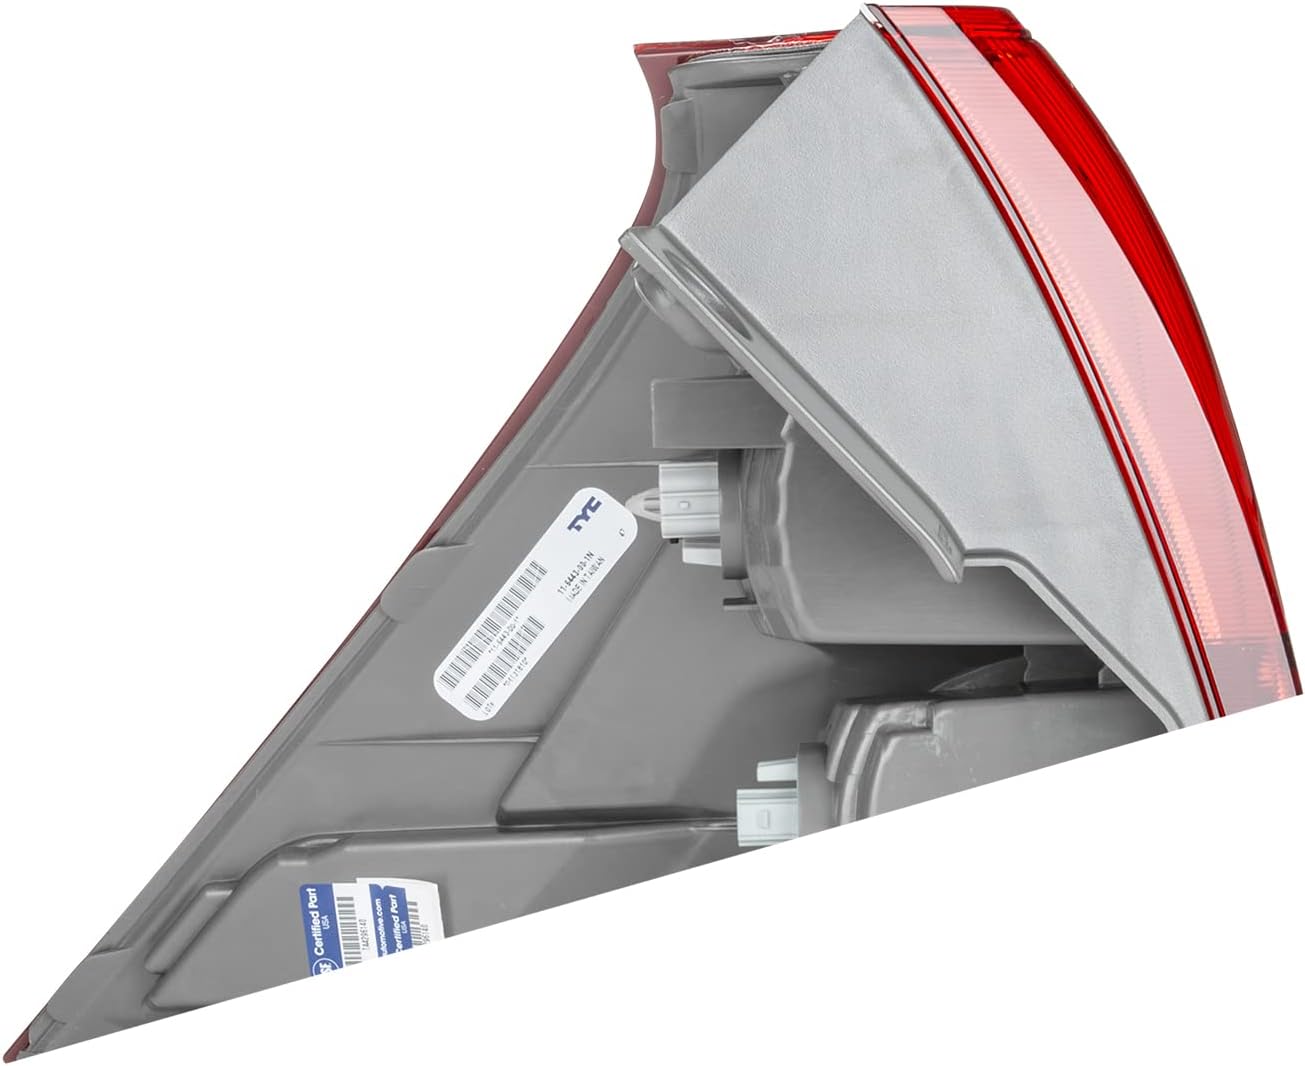
Imej 4.1: Sisi view illustrating the mounting tabs and overall shape designed for vehicle integration.
4.5. Pengujian
- Sambung semula terminal negatif bateri kenderaan.
- Turn on the vehicle's ignition (do not start the engine).
- Test all tail light functions: running lights, brake lights, turn signal, and reverse light. Ensure all lights illuminate correctly and operate as expected.
- If any light does not function, refer to the Troubleshooting section.
5. Arahan Operasi
The TYC Right Tail Light Assembly functions automatically with your vehicle's electrical system. It provides the following lighting functions:
- Lampu Berjalan: Illuminate when the vehicle's headlights or parking lights are on, providing rear visibility.
- Lampu Brek: Illuminate brightly when the brake pedal is pressed, signaling deceleration to following vehicles.
- Isyarat Belok: Flashes when the turn signal lever is activated, indicating a turn or lane change.
- Lampu Songsang: Illuminates when the vehicle is shifted into reverse gear, providing illumination and signaling backing maneuvers.
The assembly is designed to be waterproof, ensuring reliable operation in various weather conditions.
6. Penyelenggaraan
Regular maintenance helps ensure the longevity and optimal performance of your tail light assembly.
- Pembersihan: Periodically clean the exterior lens with a soft cloth and mild automotive soap and water. Avoid abrasive cleaners or harsh chemicals that could damage the lens coating.
- Pemeriksaan: Regularly inspect the tail light for any signs of damage, cracks, or loose connections. Ensure the assembly remains securely mounted to the vehicle.
- Penggantian mentol: While the assembly comes with bulbs, if a bulb fails in the future, it can be replaced by accessing the bulb sockets from the rear of the assembly. Ensure to use the correct bulb type as specified by your vehicle manufacturer.
7. Penyelesaian masalah
If you encounter issues with your TYC Right Tail Light Assembly, consider the following:
- Cahaya Tidak Berfungsi:
- Check the electrical connection to the tail light assembly to ensure it is fully seated and secure.
- Inspect the bulbs within the assembly. Although new, bulbs can sometimes be faulty or become loose during transit/installation.
- Check the vehicle's fuse box for a blown fuse related to the tail lights or specific lighting function. Refer to your vehicle's owner's manual for fuse locations and diagrams.
- Pemasangan yang lemah:
- Ensure all mounting bolts/nuts are properly tightened.
- Verify that no wires or obstructions are preventing the assembly from seating flush against the vehicle body.
- Confirm that the alignment pins are correctly engaged in their respective holes.
- Hazing or Fading:
- The lens features a special coating to prevent hazing and fading. If this occurs prematurely, ensure proper cleaning methods are being used. Contact TYC customer support if the issue persists.
8. Spesifikasi
| Ciri | Perincian |
|---|---|
| Jenama | TYC |
| Nombor Model | 11-6443-00 |
| Jenis Perkhidmatan Kenderaan | Car (Honda CRV 2012-2014) |
| Kedudukan Bahagian Auto | Right (Passenger Side) |
| Warna Kanta | merah |
| Bahan Lensa | plastik |
| Ciri Khas | Kalis air |
| UPC | 762405656250 |
| Nombor Bahagian OEM | 33500-T0A-A01 |
| Nombor Bahagian Pengilang | 11-6443-00 |
| Nombor Pautan Bahagian ABPA | HO2801183 |
| Berat Barang | 4.25 paun |
| Perhimpunan Diperlukan | No (comes pre-assembled with bulbs) |
9. Waranti dan Sokongan
For specific warranty information regarding your TYC Right Tail Light Assembly, please refer to the documentation included with your purchase or visit the official TYC website. TYC stands behind the quality of its products.
If you require technical assistance or have questions not covered in this manual, please contact TYC customer support. When contacting support, please have your product model number (11-6443-00) and purchase information readily available.
TYC Official Webtapak: www.tyc.com