1. Pengenalan
The Vivitek D519 is a versatile and portable digital projector designed to deliver high-quality presentations and media experiences. Featuring 3000 lumens of brightness, XGA (1024x768) native resolution, and a 15,000:1 contrast ratio, it ensures clear and vibrant images. This manual will guide you through the setup, operation, and maintenance of your D519 projector.
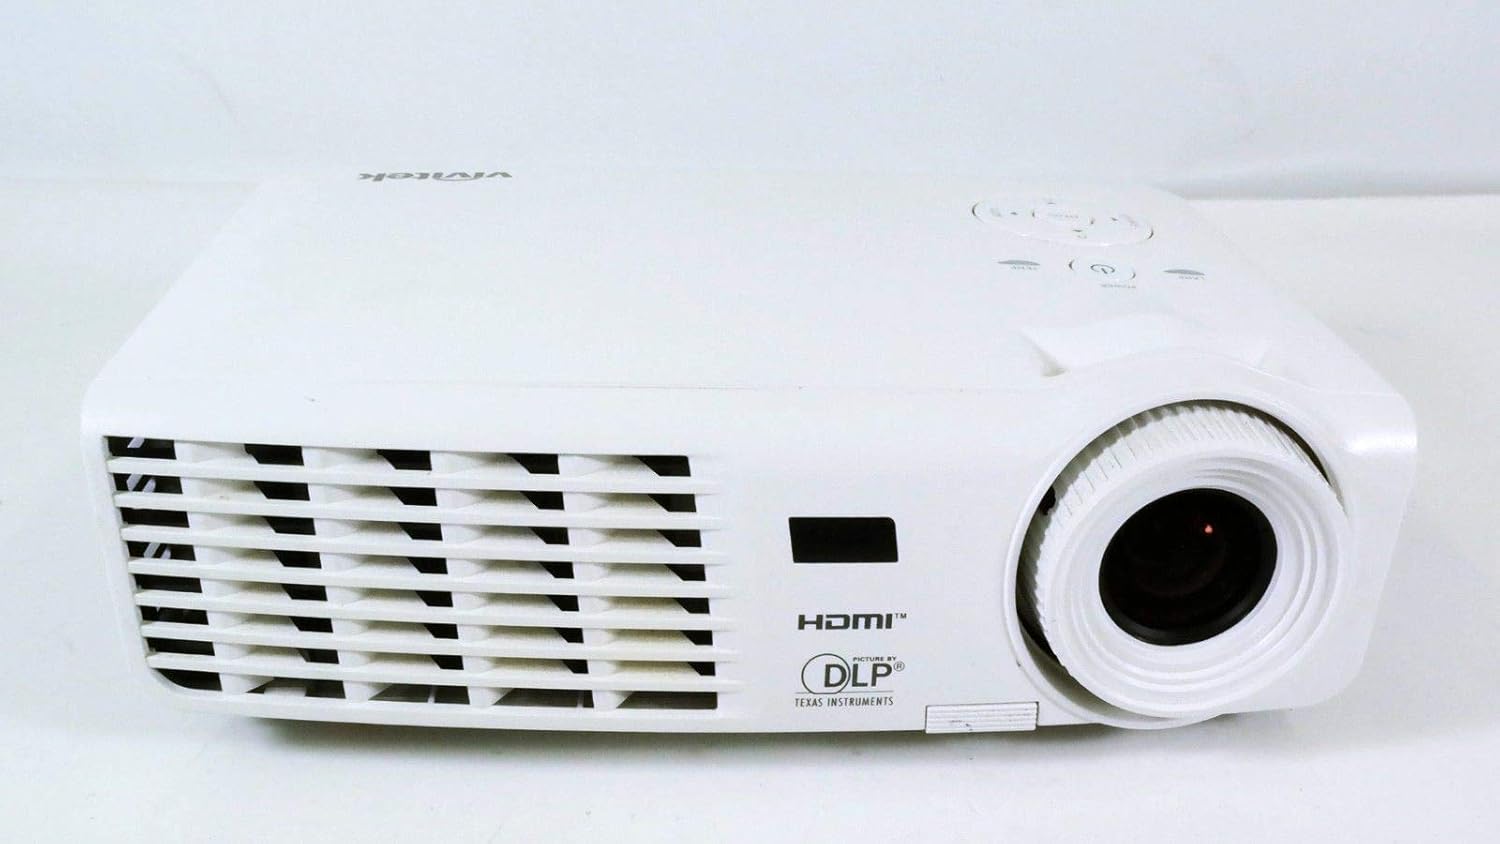
Rajah 1.1: Depan view of the Vivitek D519 Projector, showing the lens and ventilation.
2. Persediaan
2.1 Membuka Projektor
Keluarkan semua komponen dari pembungkusan dengan berhati-hati. Pastikan semua item yang disenaraikan di bawah ada:
- Vivitek D519 Projector
- Kord Kuasa AC
- Kabel VGA
- Alat Kawalan Jauh (dengan bateri)
- Membawa Sarung
- User's Manual (CD)
- Cap Lens
- Kad Waranti
2.2 Penempatan Fizikal
Place the projector on a stable, flat surface or mount it securely. Ensure adequate ventilation around the projector to prevent overheating. Avoid placing it near heat sources or in direct sunlight.
2.3 Menyambung Peranti
The D519 offers various connectivity options. Connect your source device (e.g., laptop, DVD player) to the appropriate input port on the projector.

Rajah 2.1: Belakang view of the Vivitek D519 Projector, highlighting the HDMI, VGA, S-Video, and audio input ports.
- HDMI: For high-definition digital video and audio. Connect an HDMI cable from your source to the projector's HDMI port.
- VGA: For analog computer video. Connect a VGA cable from your computer to the projector's VGA port.
- Audio Dalam: For analog audio input. Connect audio cables to the L-AUDIO-R or AUDIO IN ports as needed.
- S-Video: Untuk video definisi standard.
- RS-232: Untuk kawalan projektor melalui komputer atau sistem kawalan.
2.4 Menghidupkan
Connect the AC power cord to the projector's power inlet and then to a power outlet. Press the kuasa button on the projector's control panel or the remote control to turn on the projector. The power indicator light will illuminate.
3. Mengendalikan Projektor
3.1 Panel Kawalan Selesaiview
The control panel on top of the projector allows for basic operation without the remote control.

Rajah 3.1: Atas view of the Vivitek D519 Projector, showing the control panel with power, menu, source, and navigation buttons.
- Butang Kuasa: Menghidupkan atau mematikan projektor.
- Butang Sumber: Cycles through available input sources (HDMI, VGA, S-Video, etc.).
- Butang Menu: Mengakses menu paparan pada skrin (OSD) untuk tetapan lanjutan.
- Butang Navigasi (Atas/Bawah/Kiri/Kanan): Used to navigate through menu options and adjust settings.
- Butang Auto: Automatically adjusts the image for optimal display.
3.2 Melaraskan Imej
Once the projector is powered on and an input source is selected, you may need to adjust the image for clarity and size.
- Cincin Fokus: Rotate the focus ring around the lens to sharpen the image.
- Cincin Zum: Rotate the zoom ring to adjust the image size without moving the projector. The D519 has a 1.1:1 zoom ratio.
- Pembetulan Keystone: If the image appears trapezoidal, use the keystone correction feature (accessible via the OSD menu) to square the image.
3.3 Menggunakan Menu Paparan Pada Skrin (OSD)
Tekan ke Menu button on the projector or remote to access the OSD. Use the navigation buttons to browse categories such as Picture, Display, Setup, and Information. Press Masuk (or the center button on the navigation pad) to select an option and adjust settings.
4. Penyelenggaraan
4.1 Lamp Kehidupan dan Penggantian
Projektor lamp has a rated life of 4000 hours in Standard mode and up to 6000 hours in Economy mode. When the lamp mencapai penghujung hayatnya, lamp indicator light will illuminate, and a message may appear on screen. Refer to the detailed user manual (on CD) for lamp arahan penggantian.
4.2 Membersihkan Projektor
- Kanta: Gunakan kain lembut dan bebas lin yang direka khusus untuk kanta optik. Jangan gunakan pembersih yang kasar.
- Casing: Lap projektor casing dengan lembut, damp kain. Elakkan menggunakan bahan kimia atau pelarut yang keras.
- Bolong Udara: Regularly check and clean the air vents to ensure proper airflow and prevent dust buildup, which can lead to overheating. Use a soft brush or compressed air.
5. Penyelesaian masalah
This section addresses common issues you might encounter with your Vivitek D519 projector.
| Masalah | Kemungkinan Punca | Penyelesaian |
|---|---|---|
| Tiada gambar di skrin | Power cable disconnected; Incorrect input source; Source device off. | Check power connection; Press 'Source' button to select correct input; Ensure source device is on. |
| Imej kabur | Lens out of focus; Projector too close/far from screen. | Adjust the focus ring; Adjust projector distance or use zoom ring. |
| Imej adalah trapezoid | Projektor tidak berserenjang dengan skrin. | Adjust keystone correction via OSD menu. |
| Projektor dimatikan tanpa diduga | Overheating; Lamp menghampiri penghujung hayat. | Ensure vents are clear; Allow projector to cool; Consider lamp replacement if indicator light is on. |
| Distorted image on startup | Software glitch; Connection issue. | Restart the projector; Check all cable connections; If persistent, consult Vivitek support. |
6. Spesifikasi
Key technical specifications for the Vivitek D519 Projector:
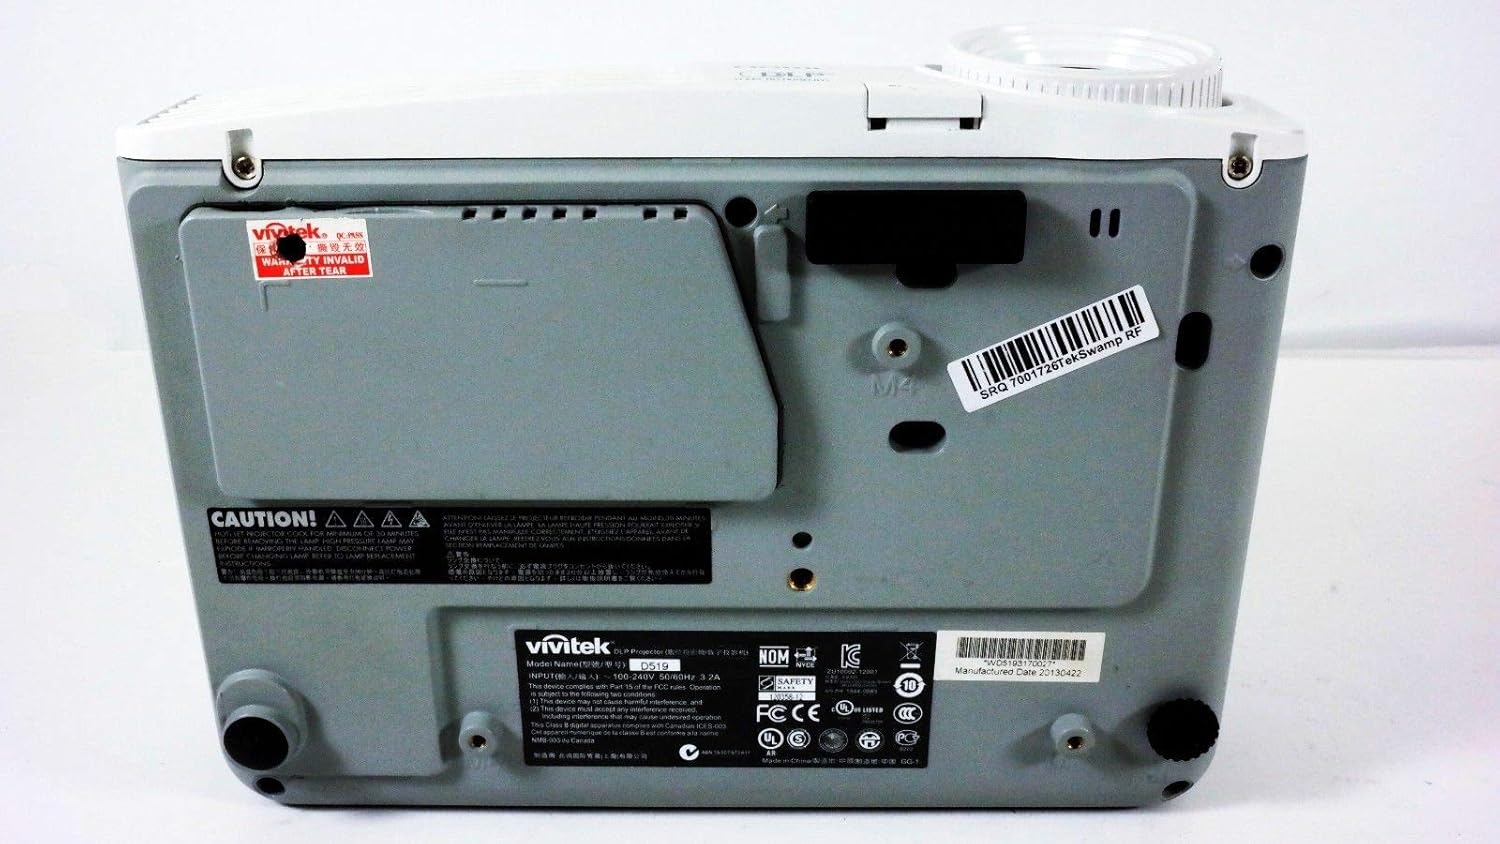
Rajah 6.1: Bawah view of the Vivitek D519 Projector, showing the product label with model and serial information.
| Ciri | Perincian |
|---|---|
| Nombor Model | DPU35-262VVUA |
| Teknologi Paparan | Single 0.55” DLP Display Technology by Texas Instruments |
| Resolusi Asli | XGA (1024 x 768) |
| Kecerahan | 3000 Lumen |
| Nisbah Kontras | 15,000:1 |
| Lamp kehidupan | 4000 hours (Standard) / 6000 hours (Economy) |
| Nisbah Zum | 1.1:1 (Manual Zoom and Focus) |
| Ketersambungan | HDMI v1.3, VGA, S-Video, L-Audio-R, Audio In, RS-232 |
| Ciri Khas | HD Compatible, 3D-Ready, Screen Size compatibility: 40 - 300 inches |
| Dimensi Produk | 7.5 x 10.3 x 3.1 inci |
| Berat Barang | 4.35 paun |
7. Waranti dan Sokongan
Your Vivitek D519 projector comes with a limited warranty. Please refer to the Warranty Card included in your product packaging for detailed terms and conditions. For technical support, service, or warranty claims, please contact Vivitek customer service through their official webtapak atau maklumat hubungan yang diberikan dalam dokumentasi jaminan anda.
It is recommended to register your product online to receive updates and support.