1. Pengenalan
This manual provides essential information for the proper installation, operation, and maintenance of your Technical Pro LZ6200 2U Professional 2-Channel Power Amppengalir. Sila baca manual ini dengan teliti sebelum menggunakan amppenggalak untuk memastikan prestasi dan keselamatan yang optimum.
The LZ6200 is a professional-grade 2-channel power amplifier designed for reliable audio amplification in various settings. It features a robust design, versatile input/output options, and a selectable operating voltage dari 110V atau 220V.
2. Arahan Keselamatan
- Sumber Kuasa: Memastikan amplifier is connected to a power source matching the selected voltage (110V or 220V) on the rear panel. Incorrect voltagPemilihan e boleh menyebabkan kerosakan yang teruk.
- Pengudaraan: Do not block ventilation openings. Ensure adequate airflow around the unit to prevent overheating. Maintain at least 4 inches (10 cm) of clear space around the amplebih hidup.
- Kelembapan: Jangan dedahkan amppenyaman udara terhadap hujan, kelembapan atau kelembapan berlebihan. Jauhkan cecair daripada unit.
- penempatan: Letakkan amplifier on a stable, level surface. Avoid placing it near heat sources or in direct sunlight.
- Servis: Jangan cuba servis unit ini sendiri. Rujuk semua servis kepada kakitangan perkhidmatan yang berkelayakan.
- Pembumian: Always use a grounded power cord.
3. Kandungan Pakej
Sahkan bahawa pakej anda mengandungi item berikut:
- Technical Pro LZ6200 Power AmpUnit penguat
- Kabel Kuasa AC
- Manual Arahan (dokumen ini)
- Key for Front Panel Lock
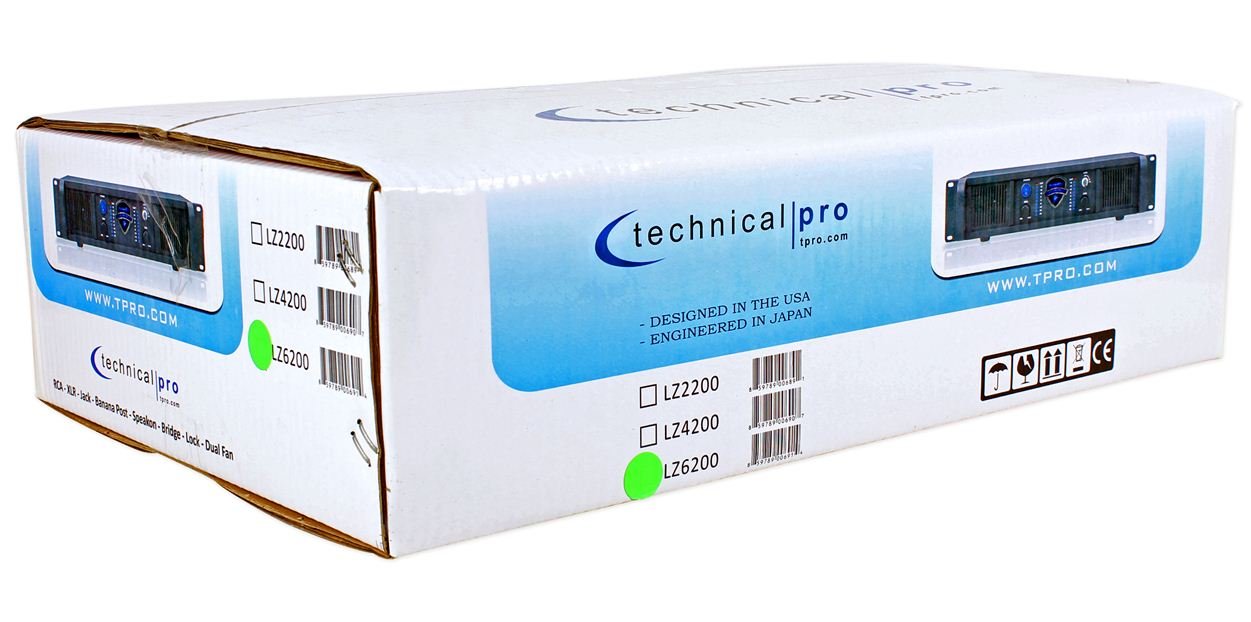
Image: Packaging box for the Technical Pro LZ6200 amplifier, showing the model number and brand logo.
4. Ciri-ciri Panel Depan
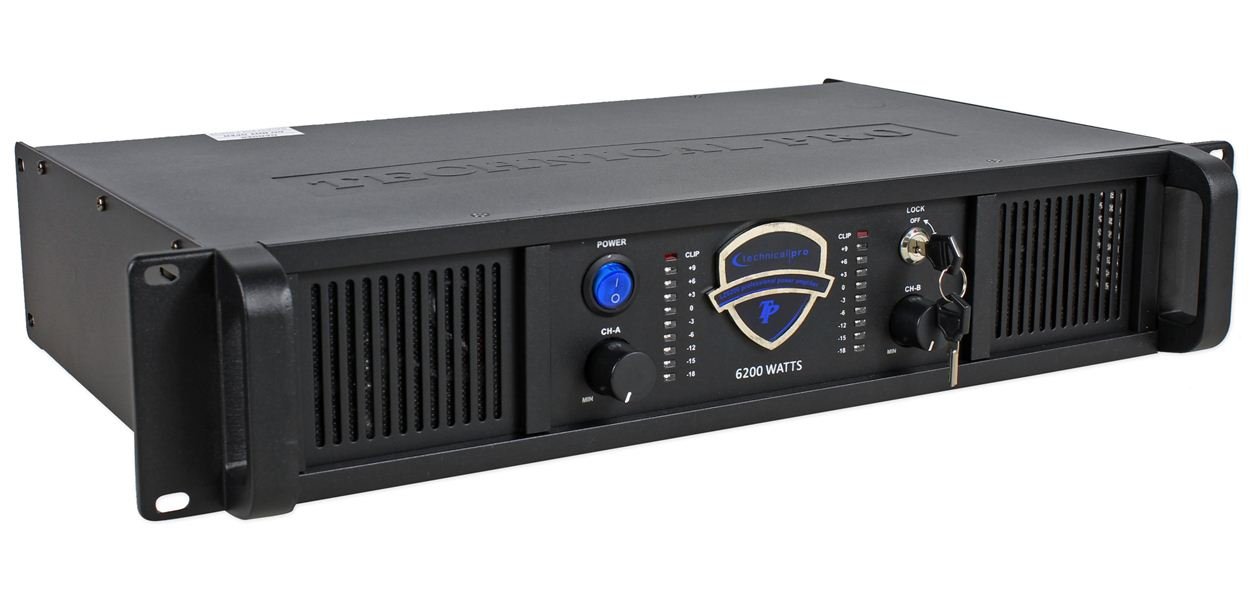
Imej: Depan view of the Technical Pro LZ6200 amplifier, displaying the power button, level controls, LED meters, and lock switch.
- Butang kuasa: Togol ampkuasa lifier hidup dan mati.
- CH-A / CH-B Level Controls: Rotary knobs to adjust the output level for Channel A and Channel B independently.
- Petunjuk CLIP: Red LEDs that illuminate when the input signal is too high, indicating potential distortion. Reduce the input level if these LEDs light up frequently.
- Meter LED: Multi-segment LED displays showing the output level for each channel.
- Suis KUNCI: A key-operated switch to prevent unauthorized operation of the amplifier. Insert the provided key to enable or disable the amplifier's functions.

Imej: Depan view of the Technical Pro LZ6200 amplifier with the security key inserted into the lock switch.
5. Sambungan Panel Belakang
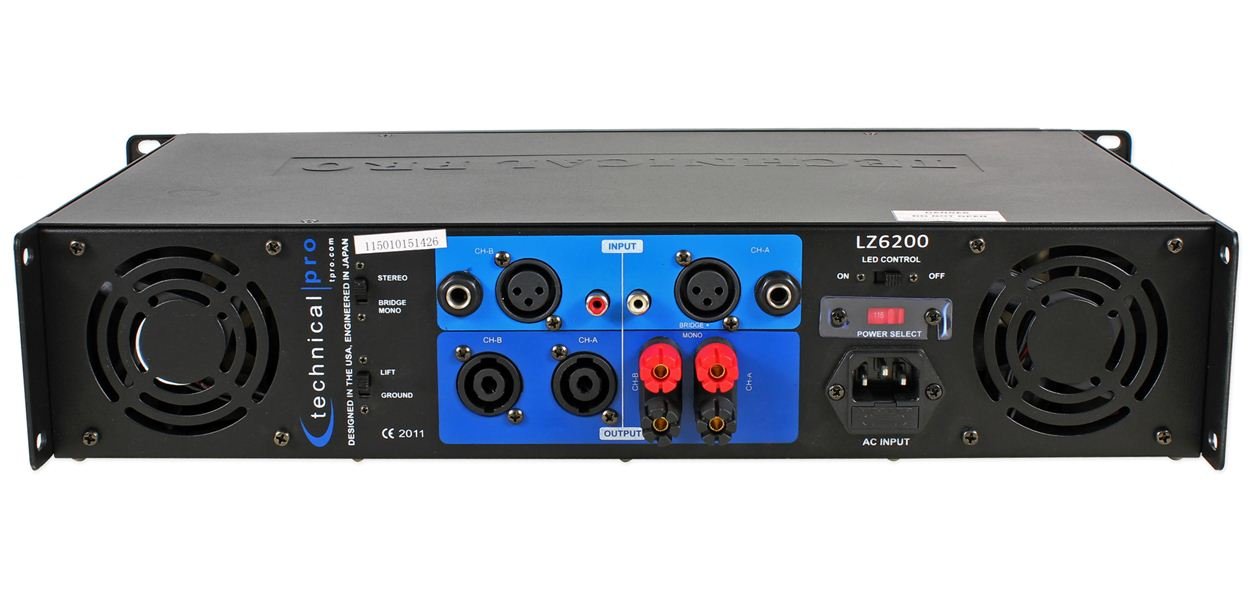
Imej: Belakang view of the Technical Pro LZ6200 amplifier, showing input and output connectors, mode switches, and power input.
- INPUT (CH-A / CH-B): Balanced XLR and 1/4" TRS combo jacks for connecting audio sources.
- OUTPUT (CH-A / CH-B): Speakon and Binding Post terminals for connecting speakers.
- Suis MOD: Memilih amplifier's operating mode: STEREO (two independent channels), JAMBATAN (combines both channels for mono, higher power output), or MONO (parallel input to both channels, independent outputs).
- LIFT / GROUND Switch: Used to break the ground loop if hum or noise is present in the audio signal.
- LED CONTROL Switch: Toggles the front panel LED meters on or off.
- POWER SELECT Switch (110V/220V): Memilih volum operasi yang sesuaitage untuk wilayah anda. Ensure this is set correctly before connecting to power.
- INPUT AC: Standard IEC power inlet for the AC power cable.
6. Persediaan
6.1 Penempatan
Kedudukan yang amplifier in a location that allows for proper ventilation. Avoid enclosed spaces or stacking other heat-generating equipment directly on top of the unit. Ensure the surface is stable and can support the ampberat pengalir.
6.2 Sambungan Kuasa
- Sahkan PILIHAN KUASA suis pada panel belakang ditetapkan kepada volum yang betultage (110V or 220V) for your electrical supply.
- Connect the supplied AC power cable to the INPUT AC on the rear panel and then to a grounded electrical outlet.
6.3 Sambungan Input
Sambungkan sumber audio anda (pengadun, pra-amplifier, etc.) to the INPUT jacks (XLR or 1/4" TRS) on the rear panel. Use high-quality shielded cables to minimize noise.
6.4 Output Connections (Speakers)
Sambungkan pembesar suara anda ke OUTPUT terminals (Speakon or Binding Post) on the rear panel. Ensure correct polarity (+ to + and - to -) for all connections. Match speaker impedance to ampkeupayaan pencair.
6.5 Pemilihan Mod
Tetapkan MODE switch on the rear panel according to your desired configuration:
- STEREO: For typical two-channel operation, with independent signals for Channel A and Channel B.
- JAMBATAN: For combining both channels into a single, higher-power mono output. Connect the speaker to the designated bridge output terminals (refer to markings on the unit).
- ROTI: For parallel input to both channels, with independent outputs. Both channels receive the same input signal.
7. Arahan Operasi
- Ensure all connections (power, input, output) are secure and correct.
- Menolak CH-A dan CH-B Level Controls on the front panel to their minimum (MIN) position.
- Tekan ke KUASA butang untuk menghidupkan amplifier. The power indicator will illuminate.
- If desired, insert the key into the KUNCI switch and turn it to the 'ON' position to enable ampfungsi penguat.
- Mula memainkan audio daripada peranti sumber anda.
- Perlahan-lahan tingkatkan CH-A dan CH-B Level Controls untuk mencapai volum yang dikehendaki.
- Pantau Meter LED to observe output levels and the CLIP Indicators to prevent distortion. If a CLIP indicator flashes frequently, reduce the input level from your source or the amplifier's level control.
- Untuk mematikan amplifier, first reduce the level controls to minimum, then press the KUASA butang.
8. Penyelenggaraan
- Pembersihan: Putuskan sambungan amplifier from power before cleaning. Use a soft, dry cloth to wipe the exterior. Do not use liquid cleaners or solvents.
- Pengudaraan: Regularly check that the ventilation grilles are free from dust and obstructions. Dust accumulation can lead to overheating.
- Sambungan: Periodically check all cable connections for tightness and wear.
9. Penyelesaian masalah
| Masalah | Kemungkinan Punca | Penyelesaian |
|---|---|---|
| Tiada kuasa | Power cable disconnected; Power switch off; Incorrect voltage selection; Blown fuse; Lock switch engaged. | Check power cable connection; Ensure power switch is ON; Verify 110V/220V switch setting; Check/replace fuse (by qualified personnel); Disengage lock switch with key. |
| Tiada keluaran bunyi | Input cables disconnected; Speaker cables disconnected/incorrectly wired; Input source not playing; Amplifier level controls at minimum; Incorrect mode selection. | Check all input and output cable connections; Ensure input source is active; Increase amplifier level controls; Verify MODE switch setting. |
| Bunyi herot | Input signal too high (clipping); Speaker impedance mismatch; Damaged speaker. | Reduce input level from source or amplifier level controls; Ensure speaker impedance is compatible; Test with different speakers. |
| Hum atau bunyi bising | Ground loop; Poor cable shielding. | Engage the LIFT switch on the rear panel; Use higher quality shielded cables. |
| Terlalu panas | Blocked ventilation; Excessive load. | Ensure adequate airflow around the unit; Reduce output level or speaker load. |
10. Spesifikasi
- Jenama: Pro Teknikal
- model: LZ6200
- Saluran: 2
- Kuasa Puncak: 6200W
- Vol Operasitage: 110V/220V (selectable)
- Penyambung Input: XLR, 1/4" TRS
- Penyambung Output: Speakon, Binding Post
- Konfigurasi Saluran Bunyi Sekeliling: 2
- Dimensi (Pakej): 52.07 x 35.56 x 14.73 cm (lebih kurang)
- Berat Barang: 7.98 kg (anggaran)
11. Waranti dan Sokongan
For warranty information and technical support, please refer to the documentation provided at the time of purchase or contact Technical Pro customer service directly. Keep your purchase receipt as proof of purchase.
Untuk bantuan lanjut, sila layari laman web rasmi Technical Pro webtapak atau hubungi pusat perkhidmatan mereka yang dibenarkan.


