pengenalan
This manual provides essential information for the safe and efficient operation of your NEC VT37 1500-Lumen Portable Projector. Please read these instructions thoroughly before using the projector and retain them for future reference.
Kandungan Pakej
Sahkan bahawa semua item yang disenaraikan di bawah disertakan dalam pakej anda:
- NEC VT37 Projector
- Cap Lens
- Kes Membawa Lembut
- Kabel Kuasa
- RGB Cable (VGA)
- Alat Kawalan Jauh
- Bateri AAA (x2)
- Panduan Persediaan Pantas
- CD-ROM (User Manual)
- Kad Waranti
Maklumat Keselamatan
WARNING: To prevent electric shock, do not open the top cover. No user-serviceable parts are inside. Refer all servicing to qualified service personnel.
AMARAN: Untuk mengurangkan risiko kebakaran atau kejutan elektrik, jangan dedahkan perkakas ini kepada hujan atau lembapan.
CAUTION HOT: The lamp and surrounding areas become extremely hot during operation. Allow the projector to cool down for at least 60 minutes after turning off before attempting any maintenance, especially lamp penggantian.
CAUTION: Replace with same type number lamp (LAMP TYPE: VT70LP).
Always ensure proper ventilation around the projector. Do not block ventilation openings.

Persediaan
1. penempatan
Place the projector on a stable, level surface. Ensure there is adequate space around the projector for ventilation. The versatile projection distance ranges from approximately 2 feet to 24 feet.
2. Kuasa Penyambung
- Connect the power cable to the 'AC IN' port on the rear of the projector.
- Palamkan hujung kabel kuasa yang lain ke dalam salur keluar elektrik yang dibumikan.
3. Menyambung Sumber Input
The NEC VT37 offers multiple input options. Connect your source device (computer, DVD player, etc.) to the appropriate port on the projector's rear panel.

- COMPUTER IN (VGA): Connect a computer using the supplied RGB (VGA) cable.
- S-VIDEO DALAM: Connect devices with S-Video output.
- VIDEO DALAM: Connect devices with composite video output.
- AUDIO DALAM: Connect audio cables from your source device to the corresponding audio input jacks.
Mengendalikan Projektor
1. Menghidupkan/Mematikan
- Tekan ke KUASA button on the projector's control panel or remote control to turn on the projector. The power indicator will illuminate.
- Untuk mematikan, tekan KUASA button again. The projector will enter a cool-down cycle before fully shutting down.
2. Kawalan Asas
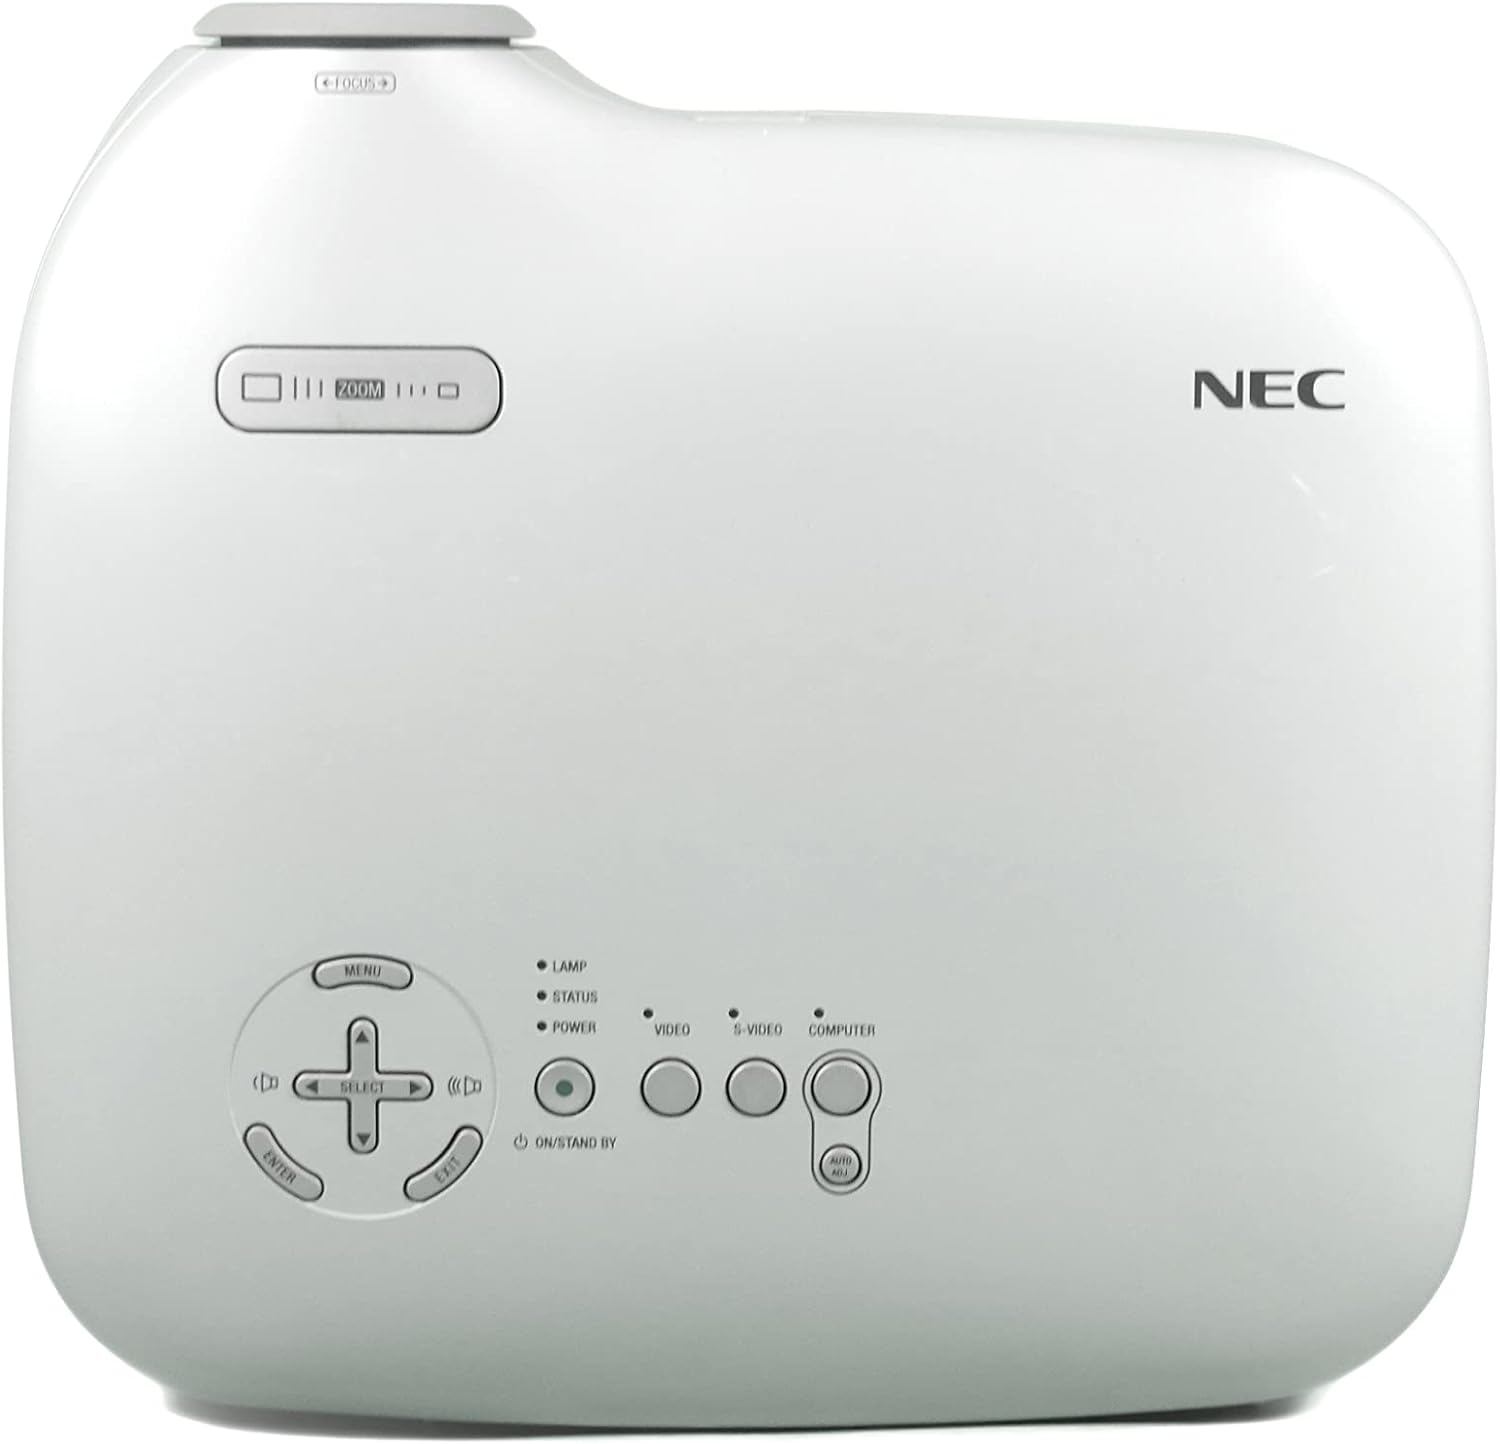
- MENU: Mengakses menu paparan pada skrin (OSD).
- SELECT / Arrow Buttons: Navigasi melalui pilihan menu.
- MASUK: Mengesahkan pilihan.
- ZOMAN: Melaraskan saiz imej.
- FOKUS: Menajamkan imej.
- VIDEO / S-VIDEO / COMPUTER: Memilih sumber input.
3. Pelarasan Imej
- Fokus: Putar cincin fokus pada lensa sehingga imej tajam.
- Zum: Gunakan tuil zum berhampiran kanta untuk melaraskan saiz imej.
- Pembetulan Keystone: The projector features Square Shot Keystone Correction to instantly project a square image, even when the projector is set up at a steep offset angle to the screen. Access this function via the OSD menu.

Penyelenggaraan
1. Lamp Penggantian
Lamp has an estimated life of 4,000 hours in eco-mode or 3,000 hours in normal mode. When the lamp life is nearing its end, a warning message may appear, or the lamp indicator may illuminate.
- Turn off the projector and unplug the power cable.
- Allow the projector to cool down for at least 60 minutes. The lamp compartment becomes extremely hot.
- Refer to the detailed instructions in the full user manual (on CD-ROM) for specific steps on how to open the lamp cover and replace the lamp.
- Always use a genuine NEC replacement lamp (Type: VT70LP).
2. Membersihkan Penapis Udara
Regular cleaning of the air filter is crucial for maintaining optimal performance and preventing overheating. The bottom label provides a reminder to clean the air filter.
- Turn off the projector and unplug the power cable.
- Locate the air filter cover, typically on the side or bottom of the projector.
- Remove the filter and gently clean it with a vacuum cleaner or soft brush. Do not wash the filter with water or any liquid.
- Reinsert the clean filter and close the cover securely.
3. Membersihkan Lensa
Gunakan kain lembut dan bebas bulu yang direka khas untuk kanta optik. Jangan gunakan pembersih atau pelarut yang kasar.
Menyelesaikan masalah
Jika anda menghadapi masalah dengan projektor anda, rujuk penyelesaian biasa berikut:
- Tiada Kuasa: Ensure the power cable is securely connected to both the projector and a working electrical outlet. Check the power indicator light.
- Tiada gambar:
- Verify the input source is correctly selected (e.g., COMPUTER, VIDEO).
- Check the connection cable between the source device and the projector.
- Pastikan peranti sumber dihidupkan dan mengeluarkan isyarat.
- Imej Kabur: Laraskan cincin fokus pada lensa.
- Image is Distorted (not square): Use the keystone correction feature in the OSD menu.
- Amaran Terlalu Panas: Ensure the air filter is clean and ventilation openings are not blocked. Allow the projector to cool down.
For more detailed troubleshooting, consult the full user manual provided on the CD-ROM.
Spesifikasi
| Ciri | Spesifikasi |
|---|---|
| Nombor Model | VT37 |
| Kecerahan | 1500 ANSI Lumen |
| Nisbah Kontras | 400:1 |
| Resolusi Paparan | 1920 x 1080 (Native, likely supports lower resolutions like SVGA) |
| Lamp kehidupan | 3,000 hours (Normal Mode), 4,000 hours (Eco-Mode) |
| Jarak Unjuran | Approx. 2 to 24 feet |
| Projection Angles | 14-14.6 darjah |
| Pembiakan Warna | 16.7 million simultaneous colors |
| Audio | Built-in Monaural Speaker |
| Tahap Kebisingan | Serendah 28 dB |
| Teknologi Ketersambungan | HDMI, VGA (Note: HDMI is listed in specifications, but not explicitly on the rear panel image. Please verify actual unit.) |
| Berat Barang | 11 pounds (Package Weight) |
| Dimensi Pakej | 15 x 14.6 x 11.3 inci |
Waranti dan Sokongan
Maklumat Waranti
The manufacturer provides a two-year warranty covering parts and labor for the projector. A separate three-month warranty is provided for the lamp.
Sokongan Pelanggan
For technical assistance, warranty claims, or inquiries about accessories, please refer to the contact information provided on your warranty card or the official NEC webtapak.


