1. Pengenalan
This manual provides detailed instructions for the proper installation, operation, and maintenance of your Lanzar VIBE211 Vibe 360 Watt 2 Channel Mosfet Amppengalir. Sila baca manual ini dengan teliti sebelum cuba memasang atau mengendalikan amppenggalak untuk memastikan prestasi dan keselamatan yang optimum.
2. Maklumat Keselamatan
Sentiasa patuhi langkah berjaga-jaga keselamatan berikut semasa pemasangan dan operasi:
- Disconnect the vehicle's negative battery terminal before any wiring connections are made.
- Pastikan semua pendawaian dijalurkan dan dipasang dengan betul untuk mengelakkan kerosakan atau litar pintas.
- Gunakan pendawaian tolok yang sesuai untuk sambungan kuasa dan pembumian seperti yang dinyatakan dalam bahagian pemasangan.
- Lekapkan ampkipas dengan selamat di lokasi yang membolehkan pengudaraan yang mencukupi dan dilindungi daripada kelembapan dan haba berlebihan.
- Jangan kendalikan amplifier if it is damaged or malfunctioning. Refer to the troubleshooting section or seek professional assistance.
3. Produk Lebihview
The Lanzar VIBE211 is a 2-channel Mosfet amplifier designed for car audio systems. It features a bridgeable design, allowing for flexible configuration, and incorporates a regulated Mosfet power supply for stable performance. Key features include variable high/low pass crossover controls and a remote subwoofer bass control.
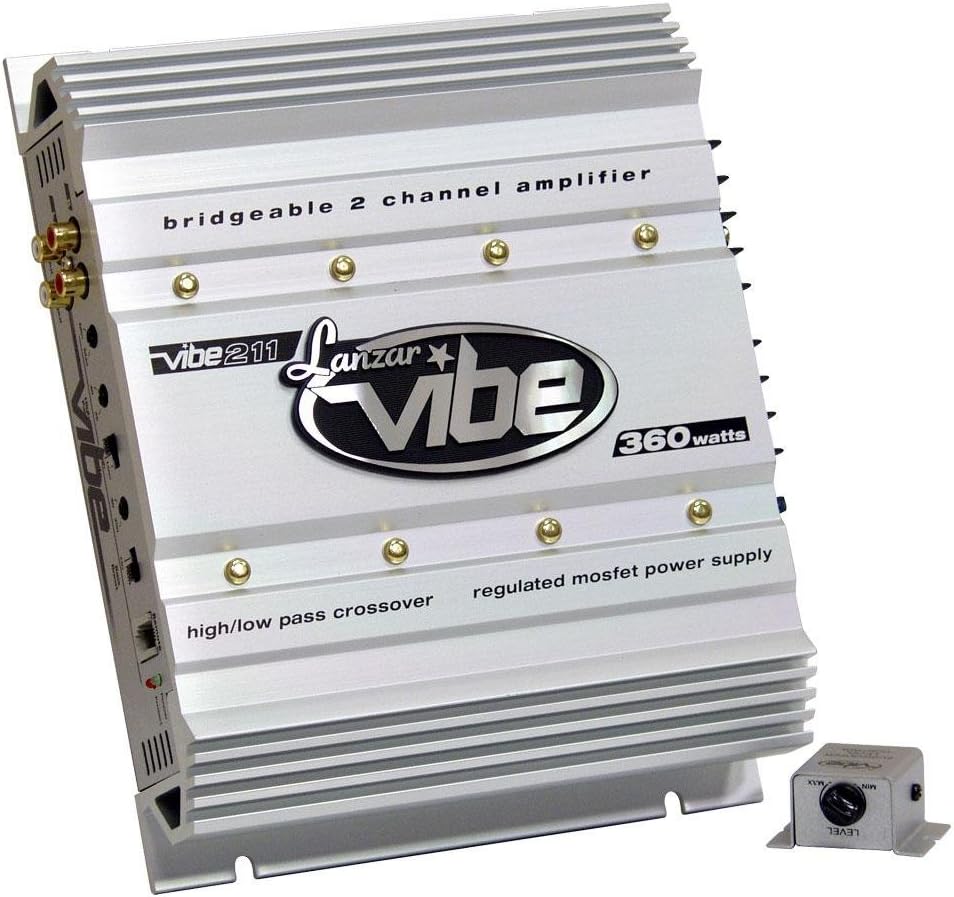
Bersudut view of the silver Lanzar VIBE211 Vibe 360 Watt 2 Channel Mosfet Amppenguat, pertunjukancasing its finned heatsink design, RCA inputs, and control panel. The amplifier features text indicating 'bridgeable 2 channel amplifier', 'vibe 211', 'Lanzar vibe', '360 watts', 'high/low pass crossover', and 'regulated mosfet power supply'. A small, separate remote bass level control unit is visible in the foreground.
4. Persediaan dan Pemasangan
4.1 Memasang Amplebih hidup
Choose a secure mounting location that provides adequate air circulation around the amplifier's heatsink. Avoid mounting in direct sunlight or areas prone to moisture. Use the provided mounting hardware to secure the amplifier firmly to a solid surface.
4.2 Sambungan Pendawaian
Ensure all connections are tight and properly insulated to prevent short circuits.
- Power (B+): Connect a heavy-gauge wire (e.g., 8 AWG or larger) directly from the positive terminal of the vehicle's battery to the amplifier's B+ terminal. Install an appropriate fuse (15A) within 18 inches of the battery.
- Tanah (GND): Connect a heavy-gauge wire of the same size as the power wire from the amplifier's GND terminal to a clean, unpainted metal surface of the vehicle chassis. Ensure a good electrical connection.
- Jauh (REM): Connect a smaller gauge wire (e.g., 18 AWG) from the amplifier's REM terminal to the remote turn-on output of your head unit. This wire turns the amphidupkan dan matikan lampu isyarat dengan stereo anda.
- Input RCA: Connect the RCA audio cables from your head unit's pre-amp output kepada amplifier's Gold RCA Inputs. The amplifier includes Line Outs for Left and Right Channels for daisy-chaining to other amppenyelamat.
- Output Speaker: Connect your speakers to the amplifier's speaker terminals. Observe correct polarity (+ to + and - to -). The amplifier is 2 Ohm stereo stable and bridgeable at 4 Ohms.
- Remote Subwoofer Bass Control: Connect the remote bass control unit to the designated port on the amplifier. Mount the control unit in an accessible location for easy adjustment.
5. Arahan Operasi
5.1 Kuasa Permulaan
After all connections are made, reconnect the vehicle's negative battery terminal. Turn on your head unit. The amplifier features Soft Turn On/Off circuitry to prevent pops and clicks. Power Protection LED Indicators will illuminate to show operational status.
5.2 Adjusting Input Level Controls
The amplifier has Variable Input Level Controls. Start with the amplifier's input level set to minimum. Play a familiar piece of music through your head unit at about 75% of its maximum volume. Slowly increase the amplifier's input level until you hear slight distortion, then back it off slightly. This ensures the amplifier receives an optimal signal without clipping.
5.3 Tetapan Crossover
The amplifier features Variable High Low Pass Crossover Controls. These allow you to filter specific frequencies to your speakers or subwoofers.
- Penapis Lulus Tinggi (HPF): Used for full-range speakers to prevent low frequencies from reaching them, improving clarity.
- Penapis Lulus Rendah (LPF): Used for subwoofers to allow only low frequencies to pass, enhancing bass response.
Adjust these controls to match the frequency response characteristics of your speakers and subwoofers.
5.4 Bass Boost Circuit
The built-in Bass Boost Circuit allows for an increase in bass output at specific frequencies. Use this feature sparingly and adjust to your preference, avoiding excessive boosting that could lead to distortion or speaker damage.
5.5 Bridged Mode Operation
The amplifier can be bridged at 4 Ohms to combine the power of both channels into a single, higher-power output, typically for driving a subwoofer. Refer to the wiring diagram for specific instructions on bridging the amplebih hidup.
6. Penyelenggaraan
The Lanzar VIBE211 amplifier requires minimal maintenance. Periodically inspect the wiring connections for tightness and corrosion. Keep the amplifier's heatsink clean and free of dust or debris to ensure proper cooling. Use a soft, dry cloth for cleaning the exterior.
7. Penyelesaian masalah
Jika anda mengalami masalah dengan anda amplifier, rujuk jadual berikut sebelum mendapatkan perkhidmatan profesional:
| Masalah | Kemungkinan Punca | Penyelesaian |
|---|---|---|
| Tiada Kuasa / Tiada Bunyi | Blown fuse; Loose power/ground/remote wire; Faulty head unit. | Check and replace fuse; Verify all power, ground, and remote connections; Test head unit functionality. |
| Bunyi Herot | Input level too high; Speaker impedance too low; Damaged speakers. | Adjust input level; Verify speaker impedance (2 Ohm stereo stable, 4 Ohm bridged); Inspect speakers for damage. |
| Amplifier Goes into Protection Mode | Terlalu panas; Litar pintas dalam pendawaian pembesar suara; Voltan rendahtage. | Ensure adequate ventilation; Check speaker wires for shorts; Verify battery voltage dan sistem pengecasan. |
| Tiada Bas daripada Subwufer | LPF not enabled or set too high; Phase issue; Remote bass control set to minimum. | Adjust LPF setting; Check subwoofer phase; Increase remote bass control level. |
8. Spesifikasi
Technical specifications for the Lanzar VIBE211 amplebih hidup:
- Power Output (RMS @ 4 Ohms): 2 x 90 Watt
- Power Output (Max @ 4 Ohms): 2 x 180 Watt
- Power Output (Max Bridged @ 4 Ohms): 1 x 360 Watt
- Power Output (RMS @ 2 Ohms): 2 x 150 Watt
- AmpJenis yang lebih hidup: 2 Channel Mosfet
- Respons Kekerapan: 15 Hz - 35 kHz
- Nisbah Isyarat-kepada-Bunyi (S/N): 90 dB
- Peringkat Fius: 15A
- Dimensi (W x H x L): 10.25 inci x 2 inci x 8 inci
- Kawalan Tahap Input: Pembolehubah
- Kawalan Crossover: Variable High/Low Pass
- Kestabilan: 2 Ohm Stereo Stable, Bridgeable at 4 Ohms
- Litar Perlindungan: Advanced Power Protection LED Indicators
- Ciri-ciri Tambahan: Remote Subwoofer Bass Control, Electronic Crossover Network, Bass Boost Circuit, Soft Turn On/Off
9. Waranti dan Sokongan
9.1 Maklumat Waranti
The Lanzar VIBE211 ampliifier dilengkapi dengan a 1 TAHUN limited warranty from the date of purchase. This warranty covers defects in materials and workmanship under normal use. Please retain your proof of purchase for warranty claims. The warranty does not cover damage caused by improper installation, accident, misuse, abuse, negligence, or unauthorized modification.
9.2 Sokongan Pelanggan
For technical assistance, troubleshooting beyond this manual, or warranty service, please contact Lanzar customer support. Refer to the official Lanzar webtapak atau pembungkusan produk untuk maklumat hubungan semasa.


