
pengenalan
This manual provides detailed instructions for the safe and efficient operation of your VEVOR 396GPH 4-Stage External Aquarium Canister Filter, Model AQ1000. This filter is designed for freshwater aquariums ranging from 100 to 125 gallons, offering powerful water purification and circulation.
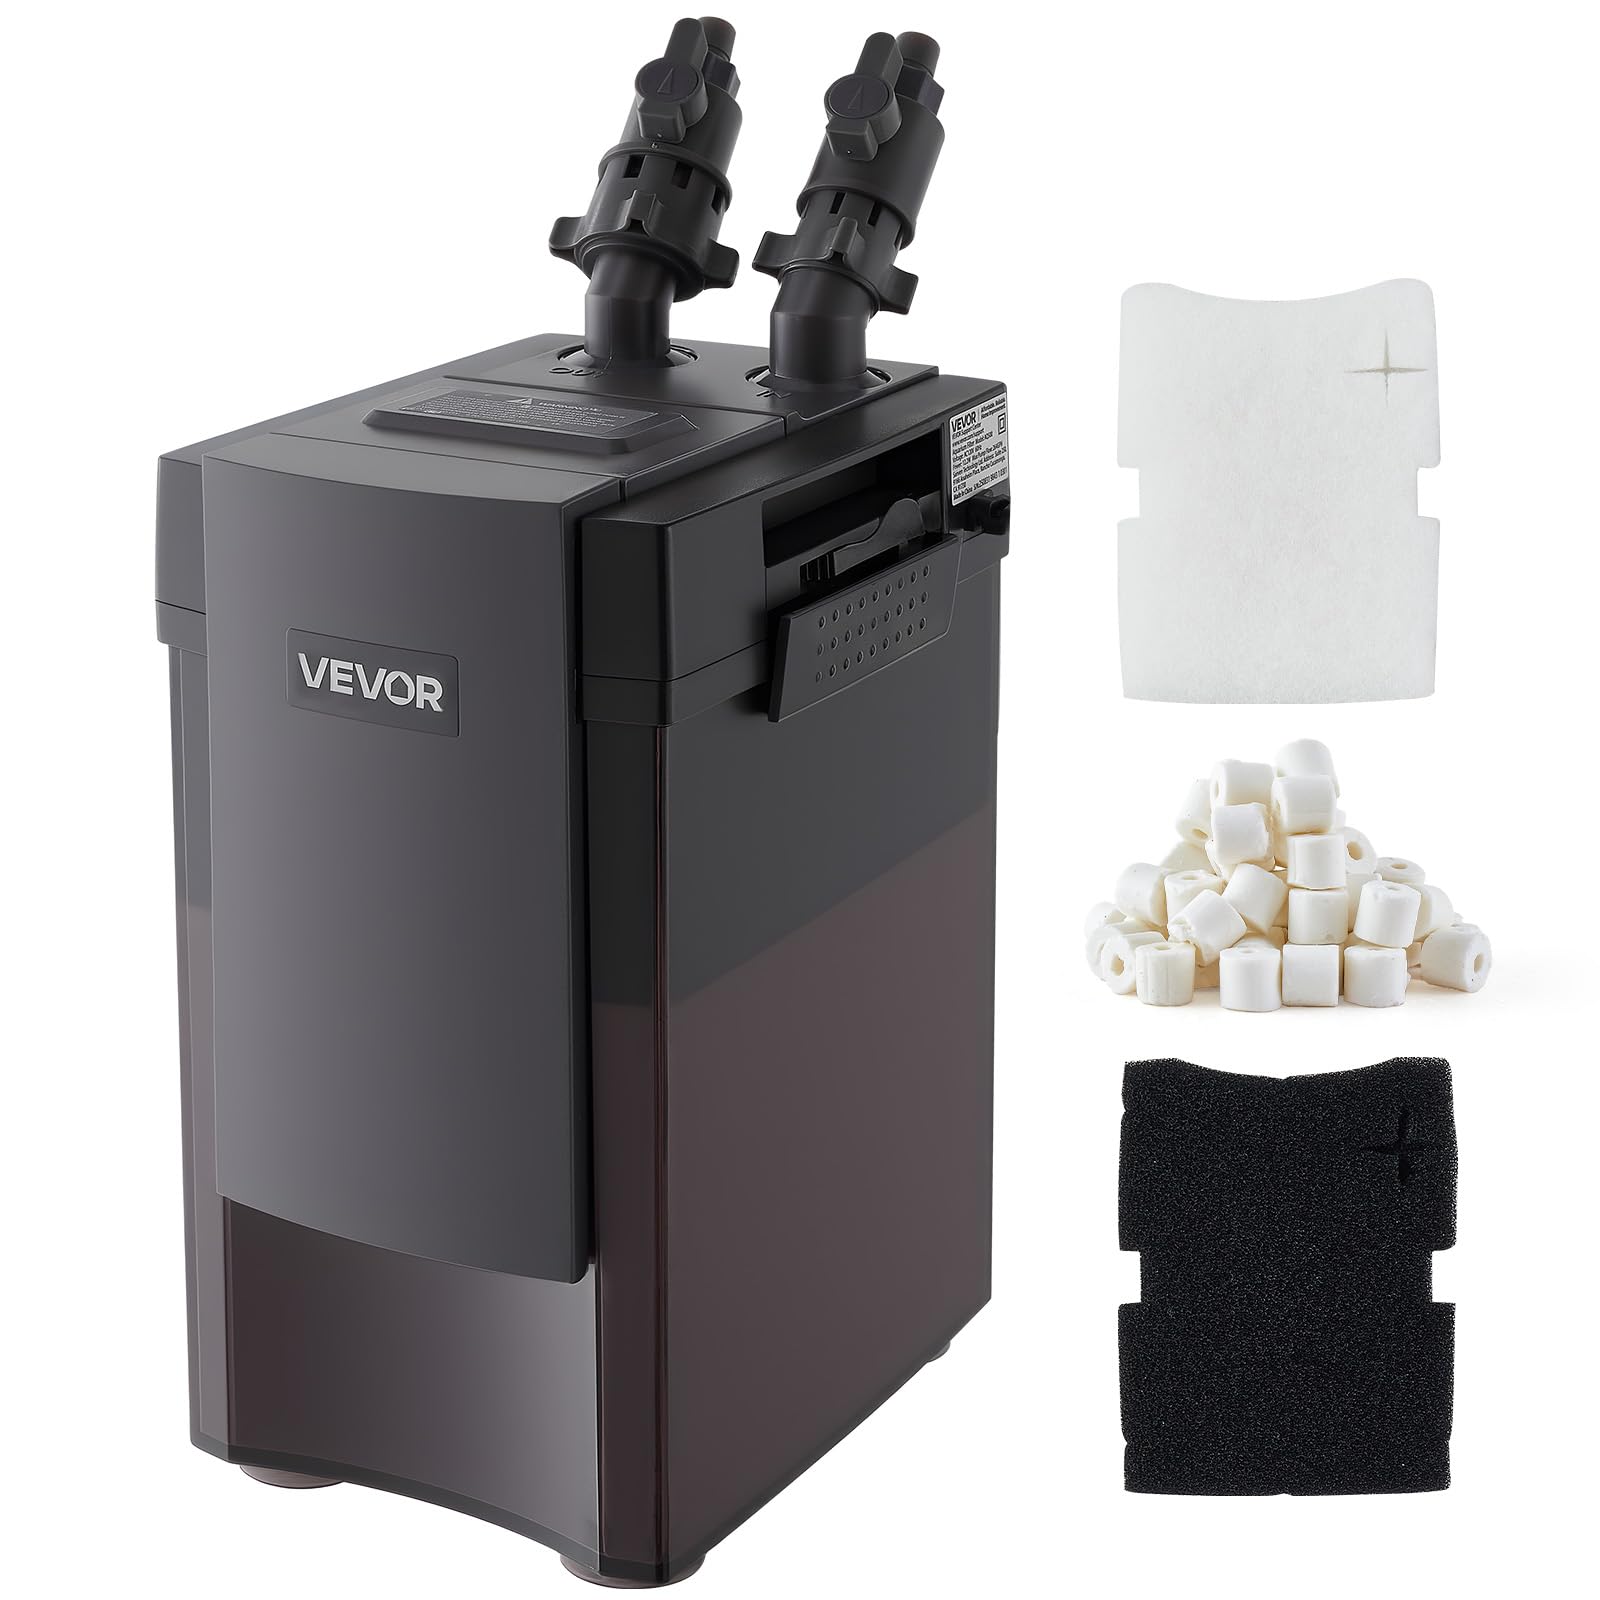
Image: The VEVOR 396GPH Canister Filter main unit, showcasing reka bentuknya yang padat.
Maklumat Keselamatan
Please read all safety warnings and instructions carefully before operating the filter. Failure to follow these instructions may result in electric shock, fire, or serious injury.
- Sentiasa putuskan sambungan kuasa sebelum melakukan sebarang penyelenggaraan atau pembersihan.
- Ensure the filter is placed on a stable, level surface below the aquarium water level as specified in the setup instructions.
- Jangan kendalikan penapis jika kord kuasa atau palamnya rosak.
- Keep all electrical connections dry.
- Perkakas ini adalah untuk kegunaan dalaman sahaja.
- Do not allow children to operate this appliance without adult supervision.
- Ensure all hose connections are secure to prevent leaks.
Kandungan Pakej
Sahkan bahawa semua komponen ada dan tidak rosak semasa membongkar.
- 1 x Canister Filter Unit
- 1 x Accessory Kit (includes various connectors and fittings)
- 1 x Manual Pengguna (dokumen ini)
- 2 x PVC Tubes (1.5 m each)
- 1 x U-Shaped Inlet Tube
- 1 x U-Shaped Outlet Tube
- 1 x Media Basket Cover
- 4 x Media Baskets
- 4 x Spray Pipes
- 1 x Ceramic Rings (200g)
- 1 x White Media Pad
- 1 x Black Media Pad
- 8 x Cawan Sedutan
- 1 x Outlet Valve
- 1 x Inlet Valve

Image: All included components of the VEVOR 396GPH Canister Filter, laid out for identification.
Arahan Persediaan
Follow these steps to set up your VEVOR canister filter for optimal performance.
- Peletakan Penapis: Place the filter on a flat, stable surface. The filter must be positioned 15.75-43.3 inches (40-110 cm) below the aquarium water level to ensure proper operation and water flow.
- Pemasangan Media: Open the filter head and arrange the filter media into the baskets. The recommended order for the 4-stage filtration system is:
- Layer 1 (Bottom): Black Media Pad (for large debris and particles).
- Lapisan 2: DIY Consumables (optional, e.g., ceramic rings, shell carbon, not included unless specified).
- Lapisan 3: Ceramic Rings (for smaller impurities).
- Layer 4 (Top): White Media Pad (for fine particles).
- Hose and Tube Assembly: Connect the PVC tubes to the U-shaped inlet and outlet tubes. Attach the spray pipes to the U-shaped outlet tube and the inlet strainer to the U-shaped inlet tube. Secure these assemblies to the aquarium using the provided suction cups.
- Connect Hoses to Filter: Attach the inlet and outlet hoses to the corresponding valves on the filter head. Ensure all connections are tight to prevent leaks. The filter features a multi-lock design for a secure seal.
- Isi dengan Air: Before starting, ensure the PVC tubing is untwisted and the aquarium water reaches the U-shaped inlet tube.

Image: Proper placement of the canister filter on a flat surface, below the aquarium.

Image: Diagram illustrating the 4-layer efficient filtration system and media placement.

Imej: Jarak dekat view of the multi-lock design, including thickened rubber seals and widened vertical locks, for leak prevention.
Panduan Video Persediaan:
Video: "How to use aquarium filter" - A detailed guide on assembling and setting up the aquarium filter.
Video: "How to Install and Use an Aquarium Filter" - Visual instructions for installation and initial use.
Arahan Operasi
Once the filter is set up, follow these steps to begin operation.
- Menyusun Penapis: Turn the flow control knob to the maximum position. Repeatedly press the air release valve on the filter head until water begins to flow into the filter and air is expelled. No extra water should be needed; simply release the air inside the pump.
- Hidupkan kuasa: Once the filter is primed and water is flowing, connect the power cord to an electrical outlet. The pump will start circulating water.
- Laraskan Aliran: You can adjust the water flow rate using the flow control knob on the filter head to suit your aquarium's needs.
- Pantau Prestasi: Regularly check the water clarity and flow rate. The filter operates quietly, typically under 40 dB.

Image: Illustration demonstrating the low noise operation of the filter, typically below 40 dB.
Penyelenggaraan
Regular maintenance ensures the longevity and efficiency of your filter.
- Putuskan Kuasa: Sentiasa tanggalkan plag penapis dari soket kuasa sebelum melakukan sebarang penyelenggaraan.
- Disassemble Filter Head: Close the inlet and outlet valves, then detach the hoses. Unclip the multi-locks and carefully lift the filter head.
- Media Penapis Bersih: Remove the media baskets. Rinse the black and white filter pads and ceramic rings with old aquarium water to preserve beneficial bacteria. Replace filter pads as they become heavily soiled or degraded. DIY consumables should be replaced according to their specific instructions.
- Clean Pump Rotor: If water flow weakens, disconnect power and clean the rotor. The filter features an upgraded full-copper brushless motor with a zirconia bearing for durability.
- Pemasangan semula: Reassemble the filter in reverse order, ensuring all seals are properly seated and locks are securely fastened.
- Mulakan semula: Follow the priming and operating instructions to restart the filter.

Image: Illustration of the upgraded brushless motor and sturdy zirconia bearing, designed for efficient and quiet operation.
Menyelesaikan masalah
Rujuk bahagian ini untuk isu biasa dan penyelesaiannya.
| Masalah | Kemungkinan Punca | Penyelesaian |
|---|---|---|
| Aliran Air Berkurang |
|
|
| Filter Leaking |
|
|
| Penapis Tidak Bermula |
|
|
| Bunyi Berlebihan |
|
|
Spesifikasi
| Ciri | Perincian |
|---|---|
| Nama Model | 396GPH Canister Filter |
| Nombor Model Item | AQ1000 |
| Pump Maximum Flow | 396 GPH (1500 L/h) |
| Kuasa Pam | 20.5 W |
| Number of Media Layers | 4 |
| Saiz Akuarium yang Disyorkan | 100-125 Gallons (378.5-473 L) |
| Tahap Kebisingan | <40 dB |
| Dimensi Item (LxWxH) | 7.28 x 9.84 x 18.31 inci (185 x 250 x 465 mm) |
| Berat Barang | 10.63 paun |
| warna | Hitam |

Image: The VEVOR 396GPH Canister Filter with all its accessories, providing a complete overview daripada produk tersebut.
Waranti
Produk VEVOR direka bentuk untuk ketahanan dan prestasi. Untuk butiran jaminan khusus, sila rujuk kad jaminan yang disertakan dengan produk anda atau lawati laman web rasmi VEVOR. webtapak. Simpan resit pembelian anda sebagai bukti pembelian untuk sebarang tuntutan waranti.
Sokongan
If you encounter any issues or have questions regarding your VEVOR 396GPH Canister Filter, please contact VEVOR customer support. You can find contact information on the VEVOR official webtapak atau melalui platform pembelian anda.
Untuk sumber tambahan dan maklumat produk, lawati laman web Kedai VEVOR di Amazon.


