pengenalan
Thank you for choosing the INPHIC Wireless Rechargeable Mouse. This manual provides detailed instructions for setting up, operating, and maintaining your mouse to ensure optimal performance and longevity. This mouse features a visible battery indicator, silent buttons, an ergonomic design, and adjustable DPI settings for a comfortable and efficient user experience.
Persediaan
1. Kandungan Pakej
- INPHIC Wireless Rechargeable Mouse
- USB Receiver (stored in the mouse)
- Kabel Pengecas USB-C
- Manual Pengguna
2. Pengecasan Awal
Before first use, fully charge the mouse for approximately 1 hour. Connect the provided USB-C charging cable to the mouse's charging port and the other end to a USB power source (e.g., computer USB port, USB wall adapter). The visible battery indicator on the top of the mouse will show charging status and remaining battery level.

Image: The mouse connected via USB-C cable for charging, highlighting the charging port and the visible battery level indicator.
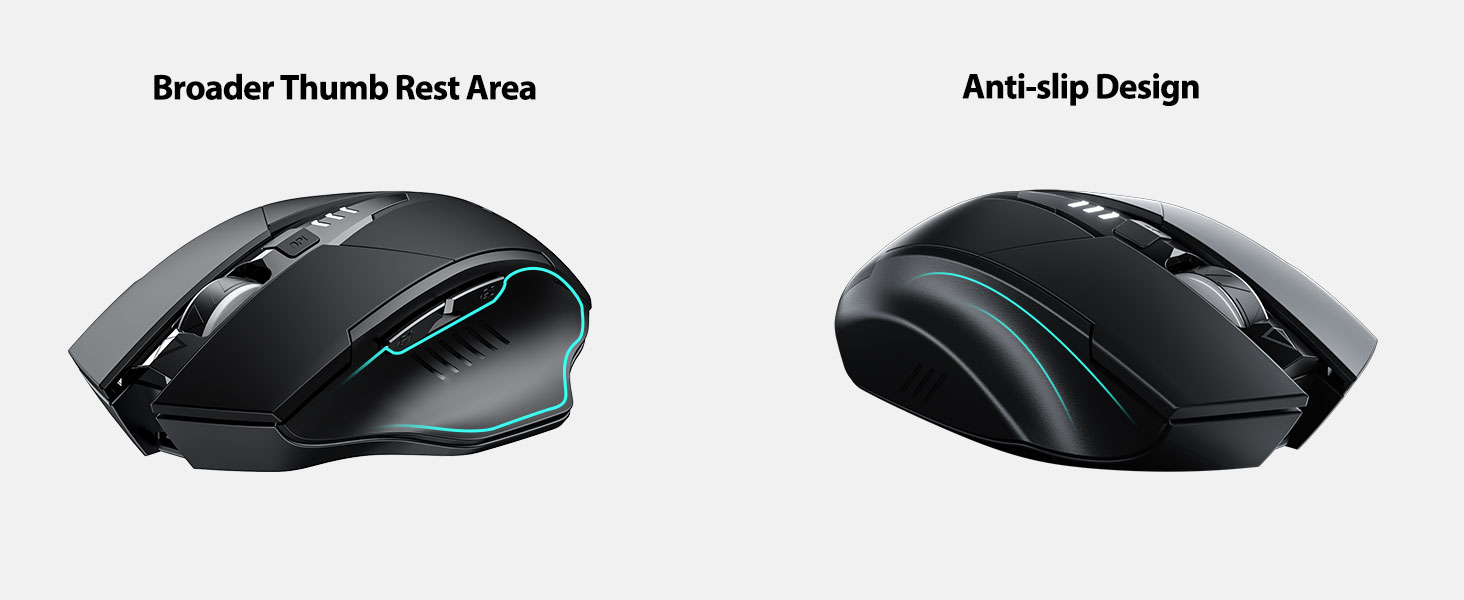
Image: A close-up of the mouse's top surface, showing the illuminated battery indicator displaying the current charge level.
3. Connecting the USB Receiver (2.4G Mode)
- Cari penerima USB yang disimpan di dalam petak di bahagian bawah tetikus.
- Tanggalkan penerima USB.
- Masukkan penerima USB ke dalam port USB yang tersedia pada komputer atau komputer riba anda.
- Hidupkan tetikus menggunakan suis kuasa yang terletak di bahagian bawah.
- Komputer anda harus secara automatik mengesan dan memasang pemacu yang diperlukan. Tetikus sedia untuk digunakan.

Image: The underside of the mouse, illustrating the storage compartment for the USB receiver.

Image: The mouse in use on a desk, demonstrating its reliable 2.4G wireless connection with a laptop.
4. Keserasian
The 2.4G USB connected mode is compatible with any USB-enabled device and supports a wide range of operating systems, including:
- Windows 7/8/10/XP, Vista
- Sistem Mac OS
- Android
- OS Chrome
- Kernel Linux 2.6+

Image: The mouse positioned alongside icons representing Windows, Chrome OS, and Linux, illustrating its broad compatibility.
Arahan Operasi
1. Hidup/Mati dan Mod Tidur
Use the power switch on the bottom of the mouse to turn it on or off. To conserve battery, the mouse will automatically enter sleep mode after 5 minutes of inactivity. Click any button to wake it up.
2. Pelarasan DPI
The mouse features 4 adjustable DPI levels: 800, 1200, 1600, and 2400. Press the DPI button located behind the scroll wheel to cycle through these settings. Each press will change the cursor speed, allowing you to select the sensitivity that best suits your task.
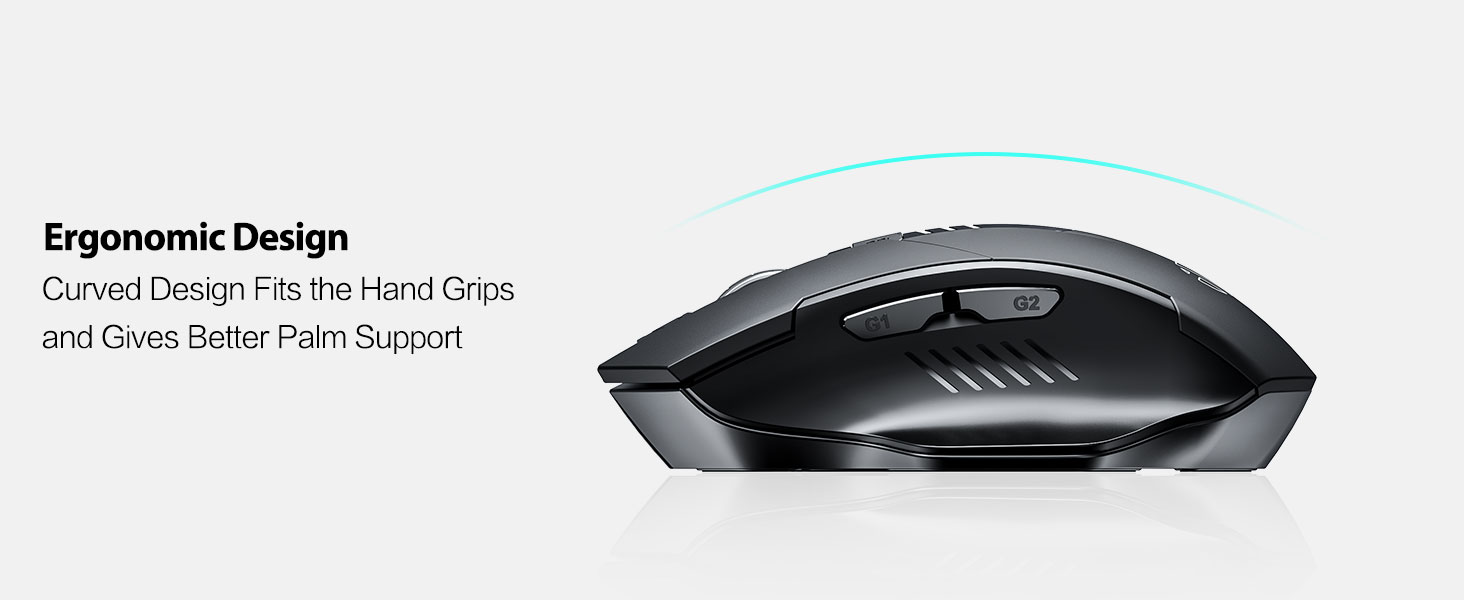
Image: An illustration showing the mouse and a graphic representing the adjustable DPI settings from 800 to 2400.

Imej: Dari dekat view of the DPI controller button located on the top of the mouse.
3. Fungsi Butang
The mouse is equipped with 6 efficient buttons:
- Butang Klik Kiri: Primary function, silent operation.
- Butang Klik Kanan: Secondary function, silent operation.
- Roda Tatal: For vertical scrolling. Can also be pressed for middle-click functionality.
- Butang DPI: Melaraskan kepekaan kursor (800/1200/1600/2400 DPI).
- Side Buttons (G1, G2): Typically function as 'Forward' and 'Back' in web pelayar dan file penjelajah.

Image: The mouse on a desk, emphasizing its quiet left and right click buttons for reduced noise.

Imej: Dari dekat view of the smooth scrolling wheel on the mouse.
4. Reka Bentuk Ergonomik
The mouse is designed for right-handed users with a curved shape and a broader thumb rest area to provide optimal support for the entire palm and fingers. This design aims to reduce pressure and tension during extended use.
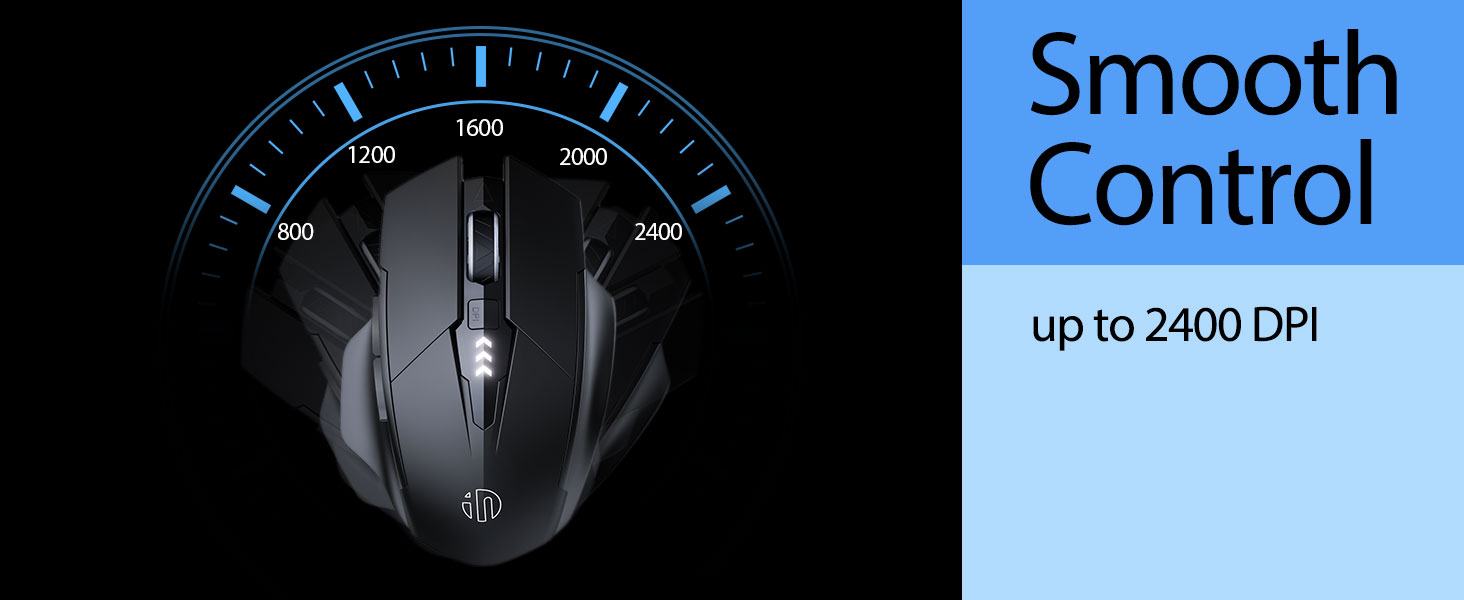
Image: An illustration demonstrating the ergonomic curve of the mouse, designed to fit the hand comfortably.

Imej: Dua views of the mouse, highlighting its broader thumb rest area and anti-slip design for improved grip and comfort.
Penyelenggaraan
1. Pembersihan
Untuk membersihkan tetikus anda, lap permukaan dengan lembut, damp kain. Elakkan menggunakan bahan kimia yang keras atau bahan kasar, kerana ini boleh merosakkan kemasan. Pastikan tiada cecair memasuki komponen dalaman.
2. Penyimpanan
When not in use for extended periods, store the mouse in a cool, dry place. It is recommended to turn off the mouse to preserve battery life. The USB receiver can be stored in its dedicated compartment on the mouse's underside.
3. Penjagaan Bateri
The built-in 400mAh rechargeable battery is designed for long-lasting performance. For optimal battery health, avoid completely draining the battery frequently. Recharge the mouse when the visible indicator shows a low battery level. Do not expose the mouse to extreme temperatures.
Menyelesaikan masalah
| Masalah | Kemungkinan Punca | Penyelesaian |
|---|---|---|
| Tetikus tidak bertindak balas | Low battery; USB receiver disconnected; Mouse power off. | Charge the mouse; Re-insert USB receiver; Turn on the mouse. |
| Pergerakan kursor tidak menentu atau perlahan | Incorrect DPI setting; Dirty optical sensor; Unsuitable surface. | Adjust DPI using the DPI button; Clean the optical sensor; Use on a clean, non-reflective surface. |
| Tetikus tidak dicas | Faulty USB-C cable or power source. | Try a different USB-C cable or USB port/power adapter. |
| Side buttons (G1/G2) not working | Application does not support side button functions. | Ensure the application (e.g., web browser) is active and supports 'back'/'forward' commands. |
Spesifikasi
- model: B0FQCCP1VH
- Dimensi Produk: 4.7 x 3.1 x 0.1 inci
- Berat Barang: 4.2 auns
- Bateri: 1 Nonstandard Battery (400mAh, included)
- Teknologi Ketersambungan: Wayarles 2.4G (Penerima USB)
- Teknologi Pengesanan Pergerakan: Optik
- Tahap DPI: 800 / 1200 / 1600 / 2400 (Boleh Laras)
- Butang: 6 (Left, Right, Scroll Wheel, DPI, G1, G2)
- Ciri Khas: Ergonomic Design, LED Battery Level Display, Rechargeable, Silent Clicks (Left & Right Buttons)
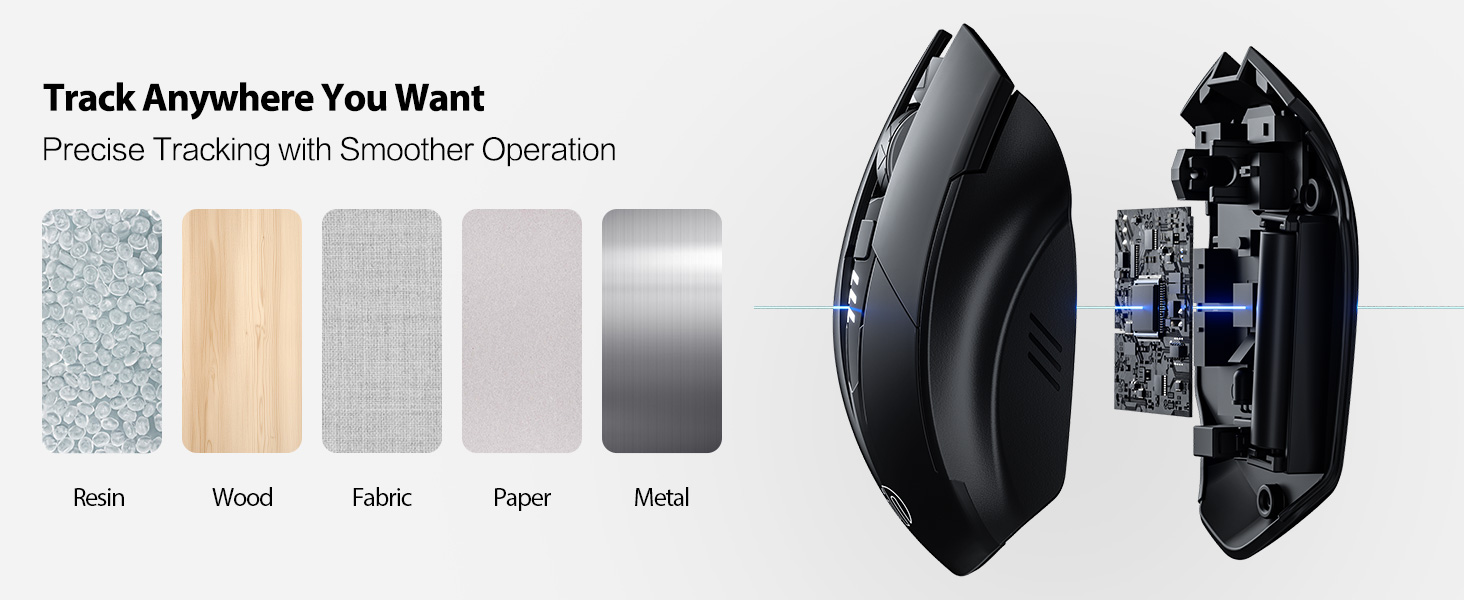
Image: A diagram illustrating the physical dimensions of the INPHIC Wireless Mouse.
Video Produk
Video: Tamatview of the INPHIC Wireless Rechargeable Mouse, demonstrating its features and ergonomic design.
Waranti dan Sokongan
Untuk maklumat jaminan atau sokongan teknikal, sila rujuk pembungkusan produk atau hubungi pengilang secara langsung. Simpan resit pembelian anda sebagai bukti pembelian.


