
1. Pengenalan
The HyperX SoloCast 2 is a compact USB condenser microphone designed for clear audio capture in various applications, including gaming, streaming, and content creation. It features a plug-and-play design for ease of use and integrates essential components for optimal performance.

Image: The HyperX SoloCast 2 USB Condenser Microphone in black, shown on its tiltable desktop stand.
2. Kandungan Pakej
Sahkan bahawa semua item terdapat dalam pakej:
- HyperX SoloCast 2 USB Condenser Microphone
- Detachable Tiltable Stand
- Kabel USB-C ke USB-A
- Panduan Mula Pantas (manual ini)
3. Persediaan
3.1 Menyambung Mikrofon
- Place the HyperX SoloCast 2 on a stable surface using its integrated tiltable stand, or attach it to a compatible mic arm using the built-in 3/8" or 5/8" threads.
- Connect the USB-C end of the provided cable to the USB-C port on the back of the microphone.
- Connect the USB-A end of the cable to an available USB-A port on your computer (PC or Mac).
- Mikrofon adalah plug-and-play dan harus dikenali secara automatik oleh sistem pengendalian anda.
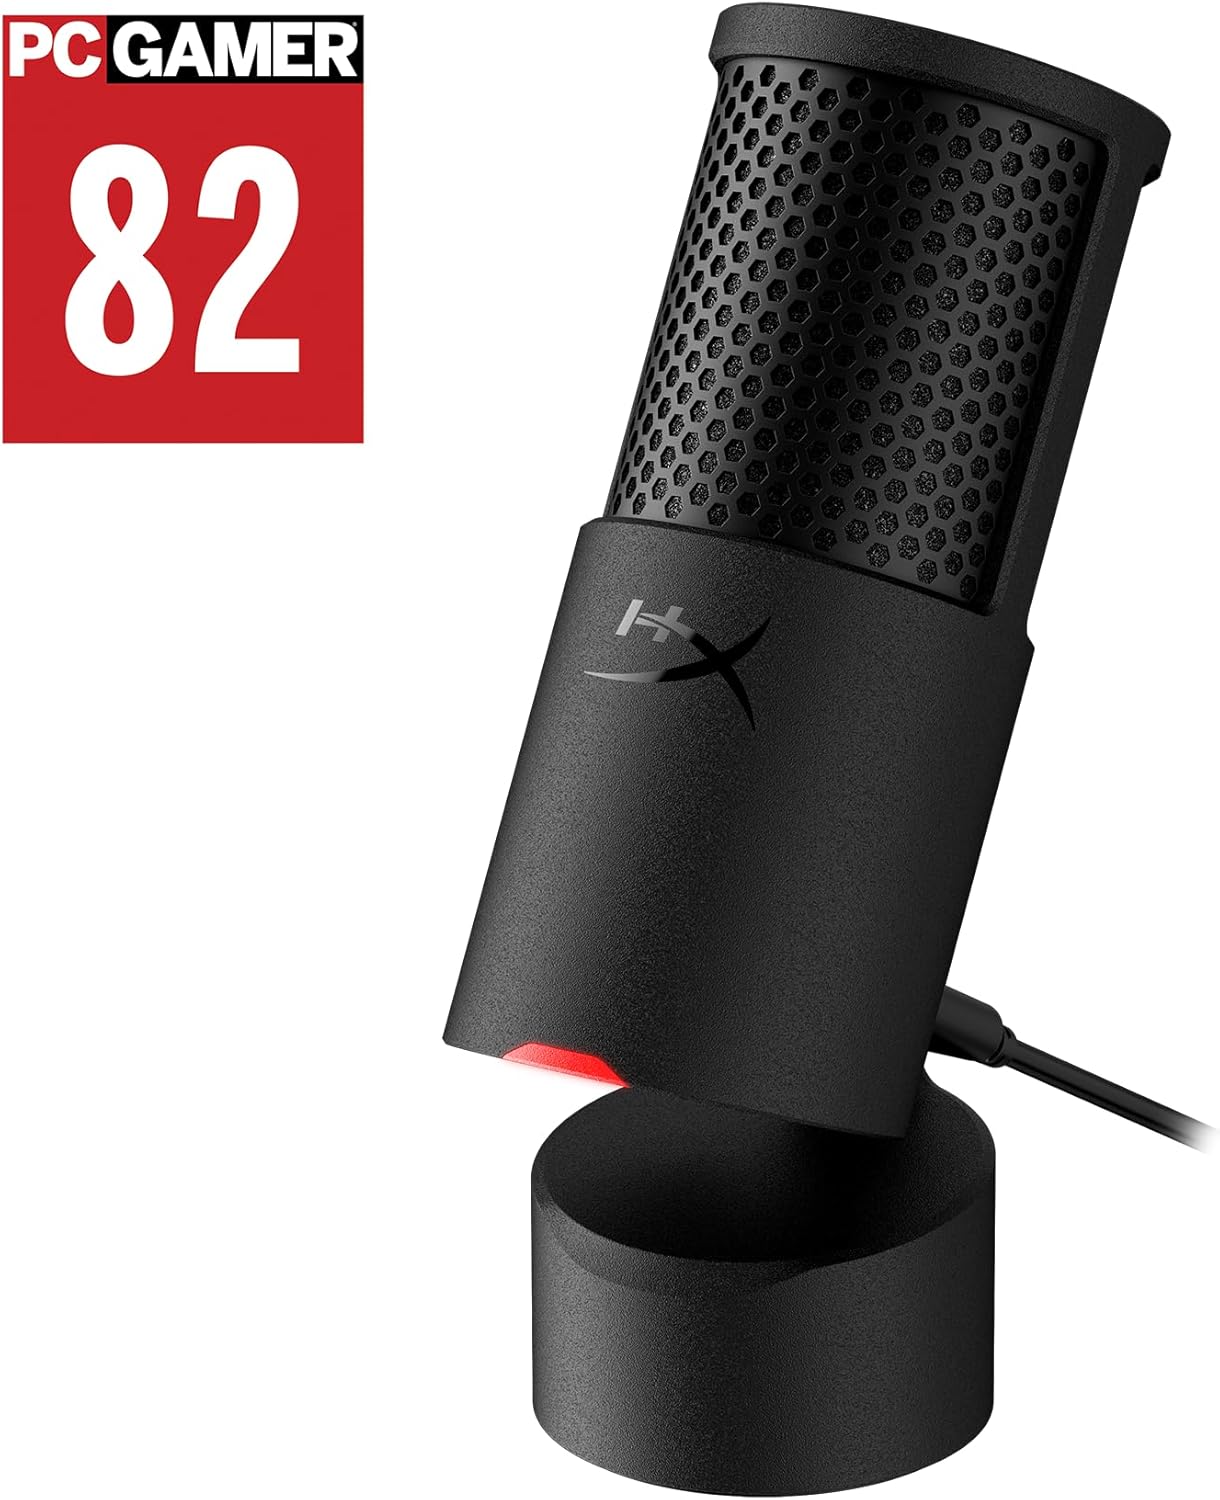
Image: The HyperX SoloCast 2 microphone connected to a laptop via its USB cable.
3.2 Software Installation (HyperX NGENUITY)
For advanced customization and access to audio filters, download and install the HyperX NGENUITY software from the official HyperX website. This software allows you to fine-tune microphone settings.
- Visit the official HyperX webtapak.
- Navigate to the support or downloads section for the SoloCast 2.
- Download and install the HyperX NGENUITY software for your operating system (Windows PC required for initial DSP setup).
4. Arahan Operasi
4.1 Operasi Asas
- Tap-to-Mute with LED Indicator: The top of the microphone features a touch-sensitive mute button. Tap it to mute or unmute the microphone. A red LED indicator on the front of the microphone will illuminate when the microphone is active (live) and turn off when muted.
- Pendirian Boleh Dicondongkan: The included stand allows you to tilt the microphone to adjust its angle, directing it towards your voice source for optimal sound capture.
- Corak Kutub Kardioid: The microphone utilizes a cardioid polar pattern, which primarily captures sound from the front while reducing pickup from the sides and rear. This is ideal for focused vocal recording, minimizing background noise.
- Internal Shock Mount & Pop Filter: The microphone is engineered with a built-in internal shock mount to reduce vibrations and an integrated foam pop filter to minimize plosive sounds, ensuring clearer audio.
- Mic Arm Mounting: For increased versatility, the microphone includes built-in 3/8" and 5/8" threads, allowing it to be easily mounted on compatible microphone arms.

Image: Close-up of the HyperX SoloCast 2 showing the tap-to-mute area and the LED indicator for live (red) and muted (off) states.
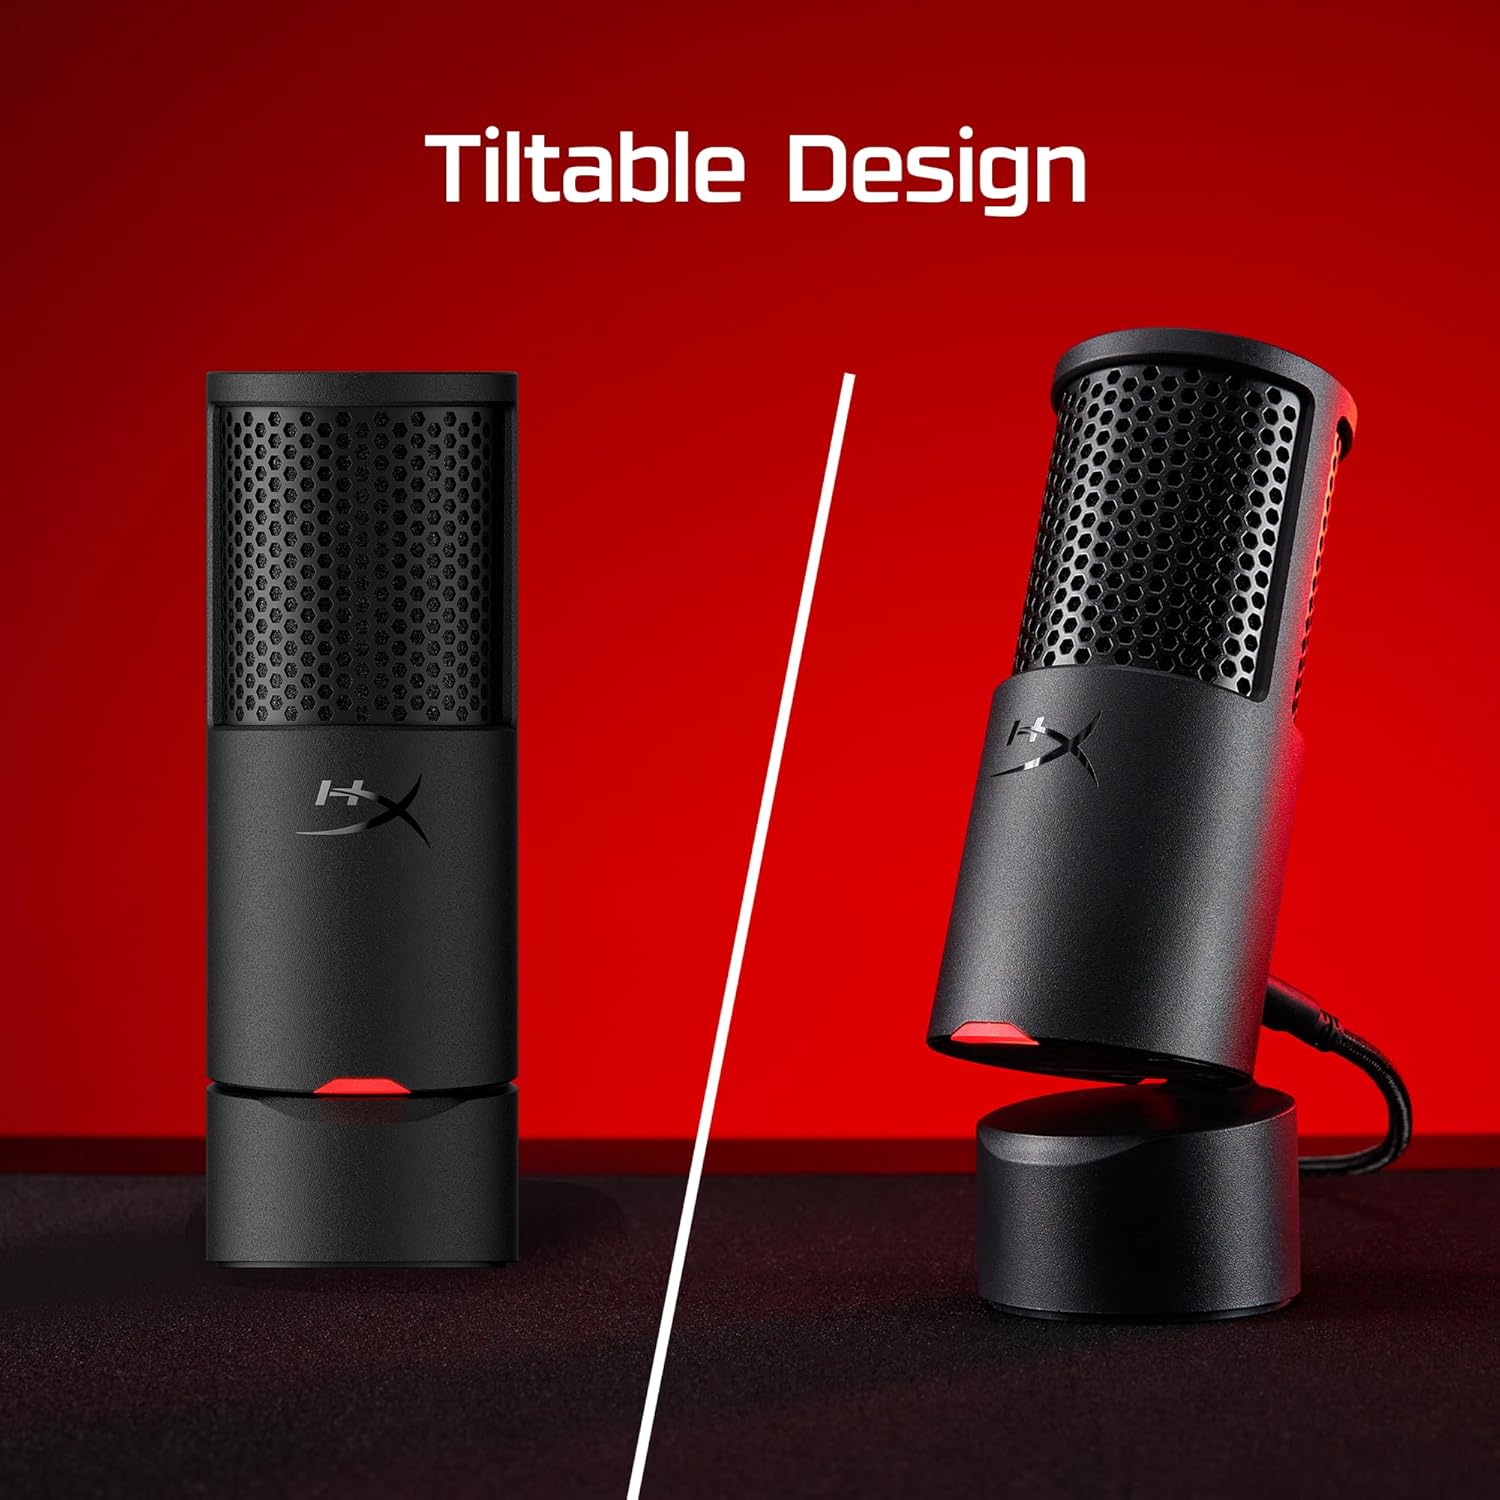
Image: The HyperX SoloCast 2 shown in both upright and tilted positions on its stand.
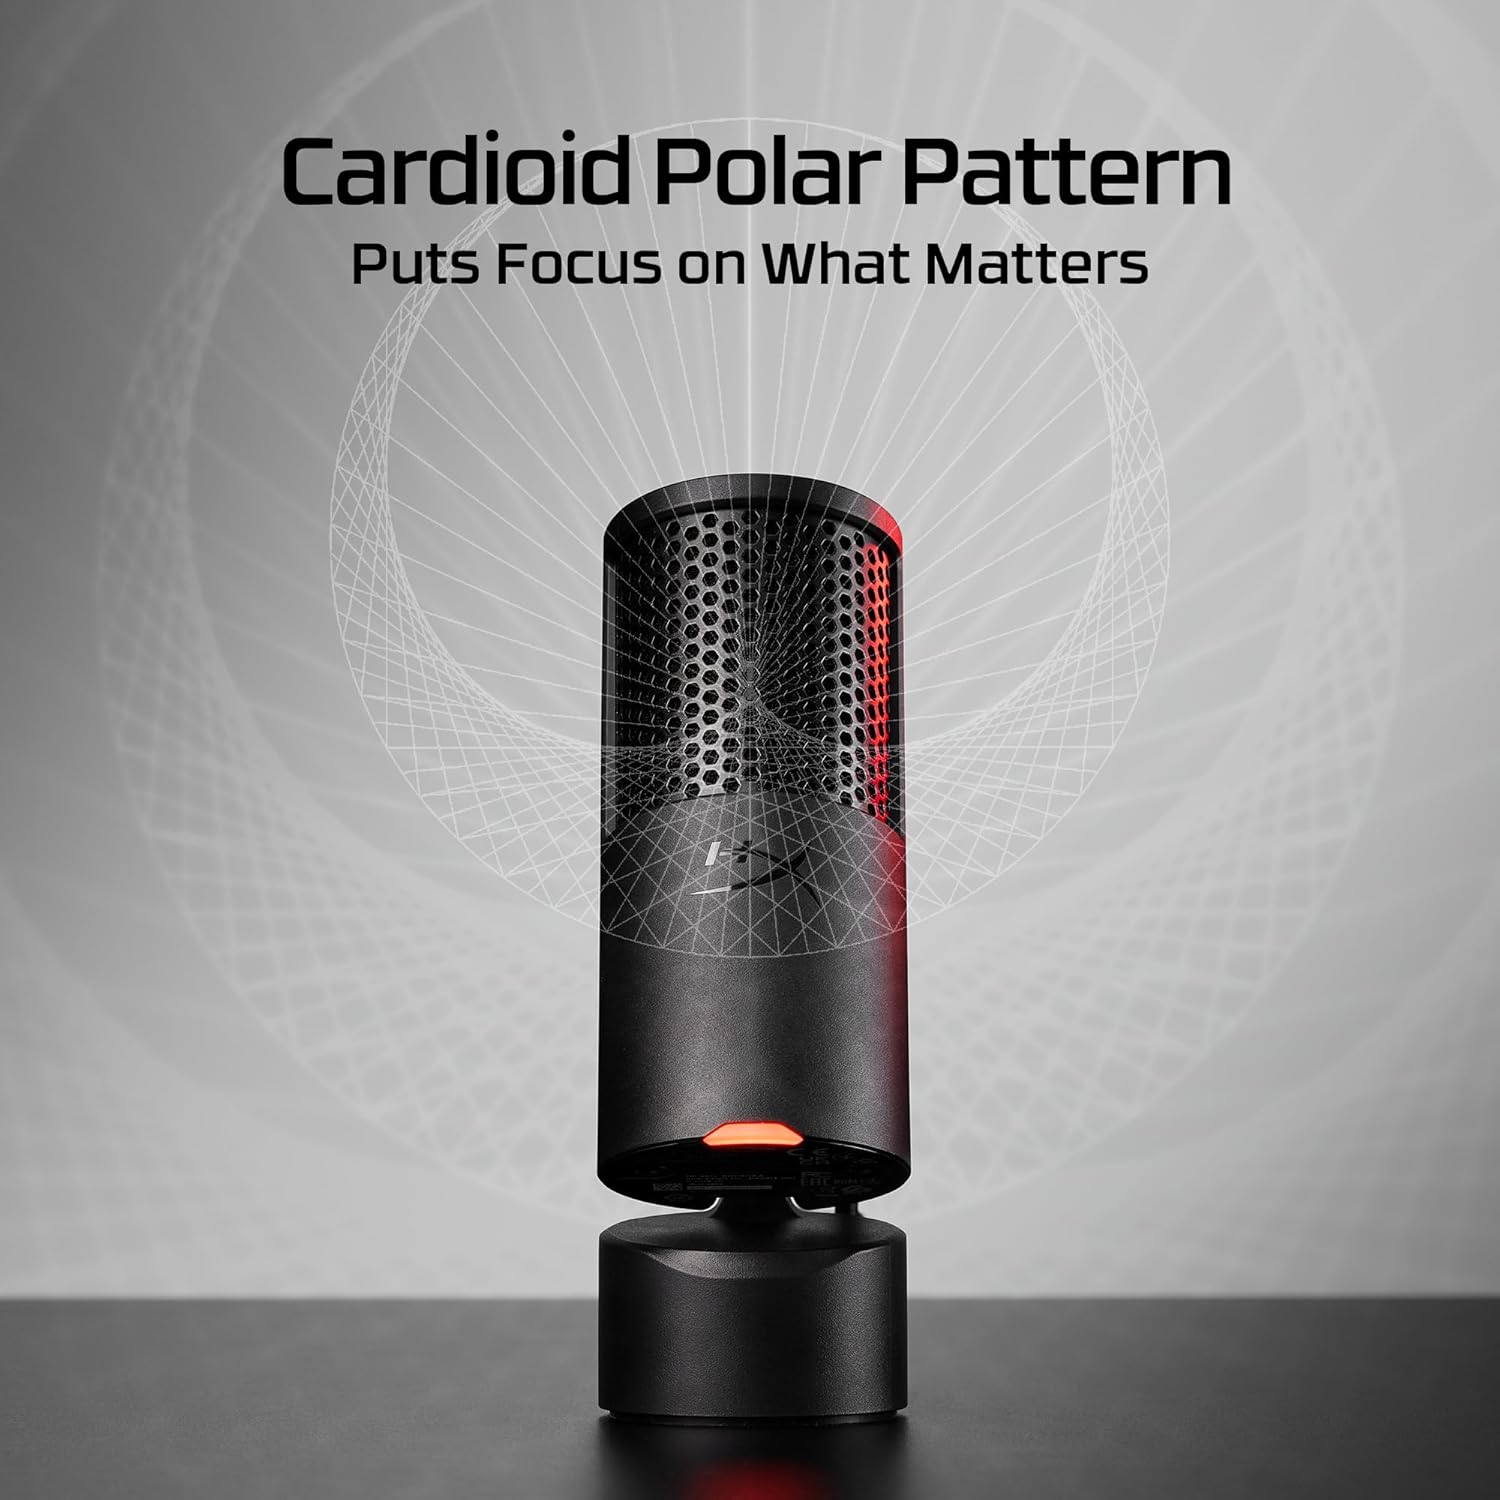
Image: A visual representation of the cardioid polar pattern, showing the microphone's primary sound pickup direction.

Imej: A terperinci view of the internal shock mount mechanism within the HyperX SoloCast 2 microphone.
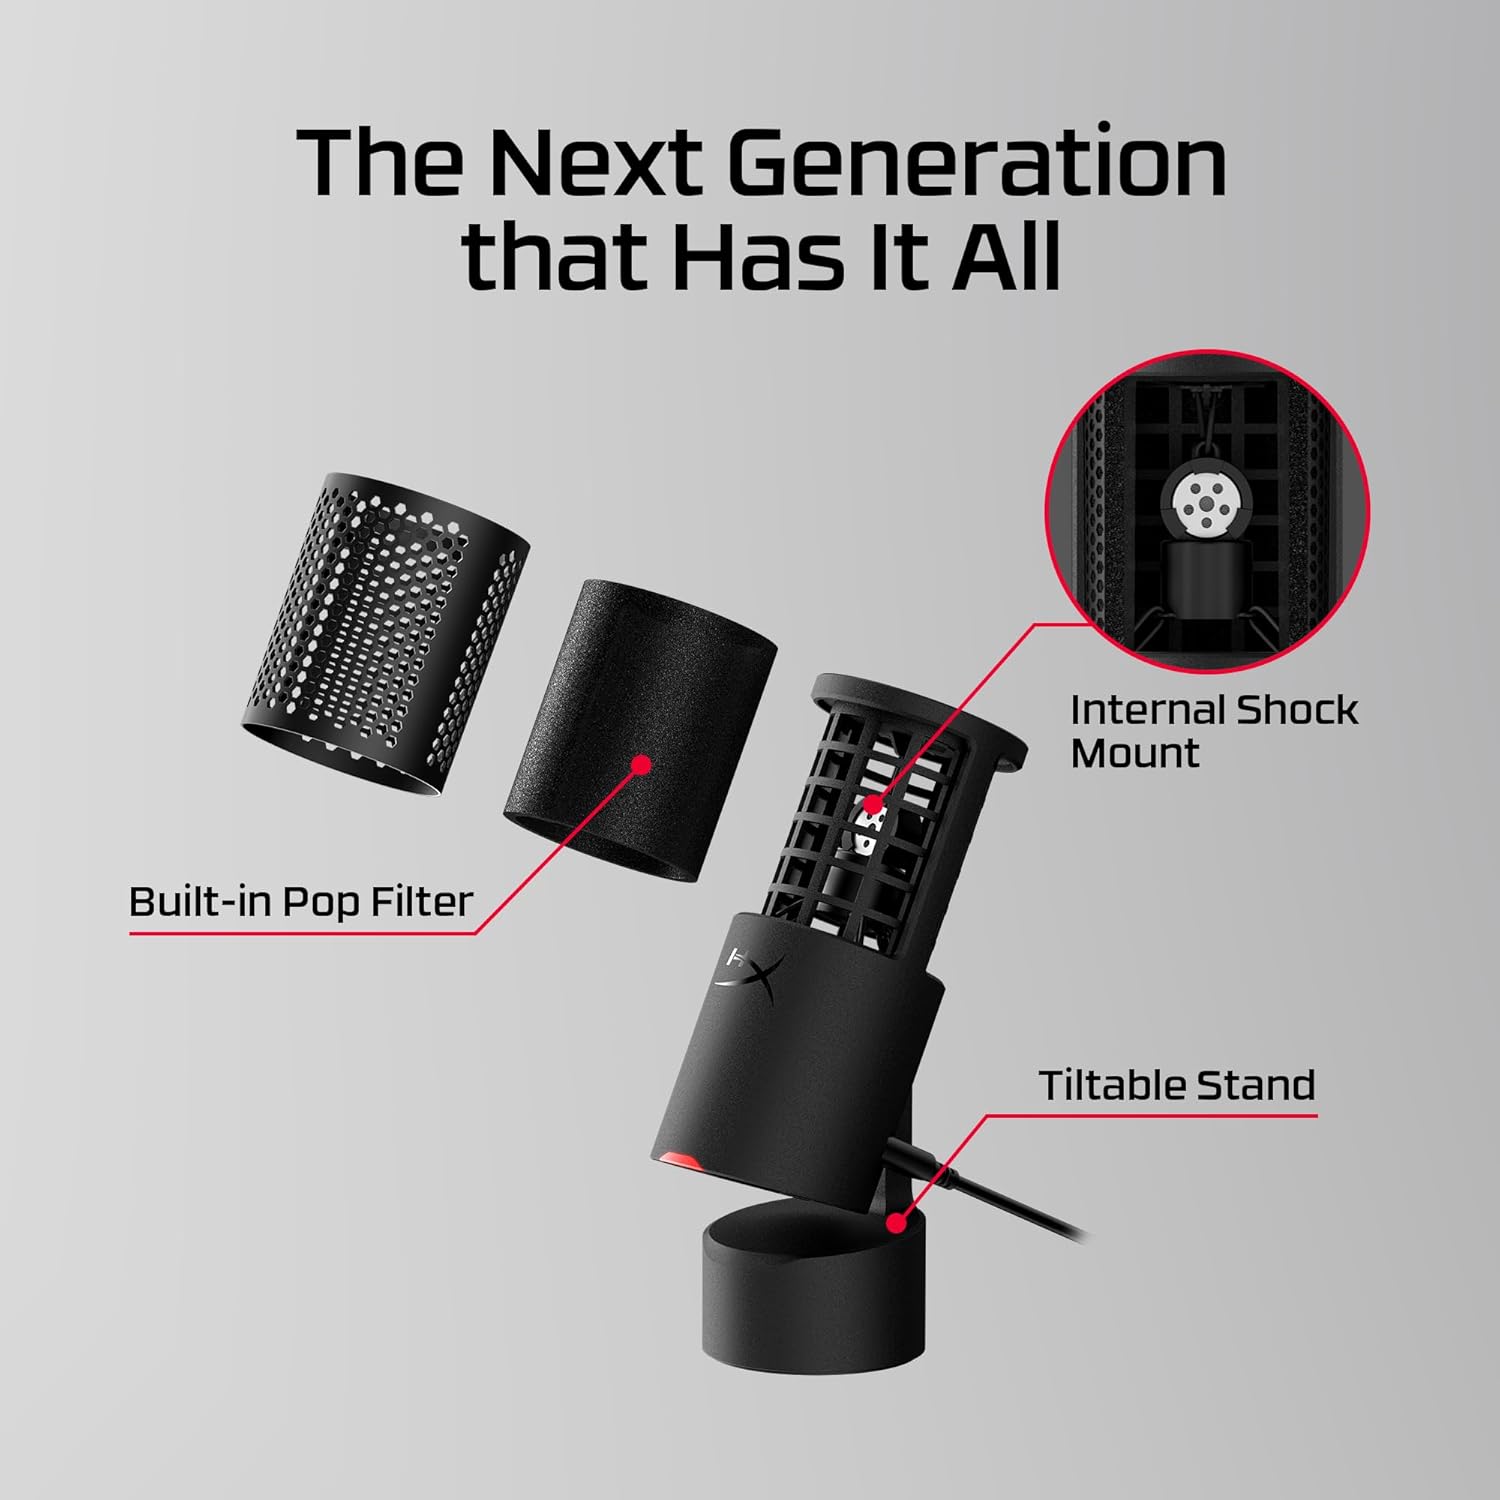
Image: An exploded diagram showing the built-in pop filter, internal shock mount, and tiltable stand components of the microphone.
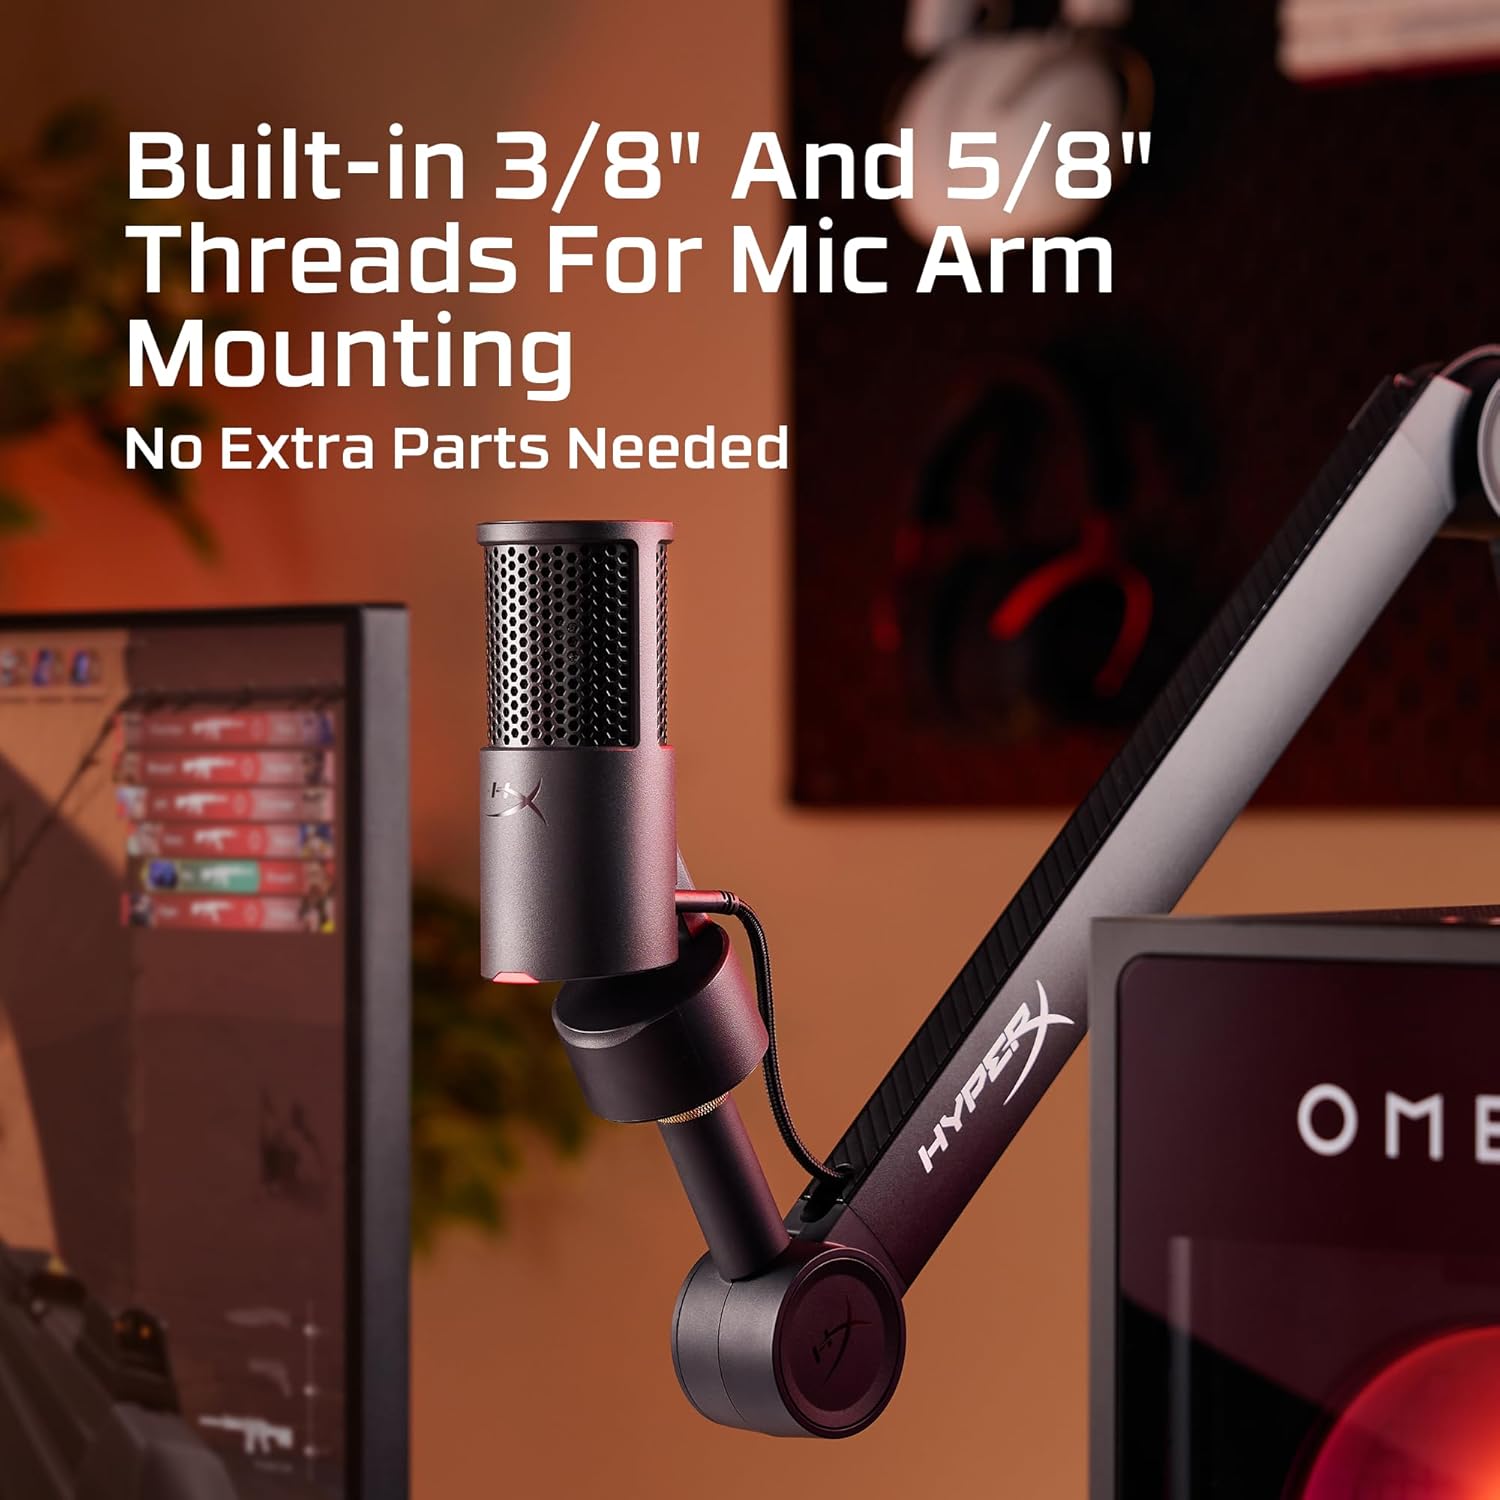
Image: The HyperX SoloCast 2 microphone attached to a professional microphone arm, demonstrating its mounting capability.
4.2 Advanced Settings (HyperX NGENUITY Software)
The HyperX NGENUITY software provides access to various digital signal processing (DSP) features to enhance your audio:
- Keuntungan Mic: Adjust the input sensitivity of the microphone.
- Frequency Filters: Apply High-Pass or Low-Pass filters to remove unwanted low or high-frequency sounds.
- Peningkatan Kehadiran: Enhance vocal clarity and presence.
- Pengurangan Bunyi AI: Reduce ambient background noise using artificial intelligence.
- Pemampat: Control the dynamic range of your audio, making loud sounds quieter and quiet sounds louder for a more consistent output.
- Penghad: Prevent audio from exceeding a certain level, avoiding clipping and distortion.
Settings configured in NGENUITY are saved to the microphone's onboard memory, allowing them to persist even when connected to different devices.
5. Penyelenggaraan
To ensure the longevity and optimal performance of your HyperX SoloCast 2 microphone:
- Pembersihan: Gunakan kain lembut dan kering untuk mengelap bahagian luar mikrofon. Elakkan menggunakan bahan kimia yang keras atau bahan yang melelas.
- Storan: When not in use, store the microphone in a clean, dry environment away from extreme temperatures and direct sunlight.
- Pengendalian: Handle the microphone with care to prevent physical damage. Although it has an internal shock mount, excessive force can still cause damage.
6. Penyelesaian masalah
If you encounter issues with your HyperX SoloCast 2, try the following solutions:
- Tiada Bunyi/Mikrofon Tidak Dikesan:
- Pastikan kabel USB disambungkan dengan selamat ke kedua-dua mikrofon dan komputer anda.
- Cuba port USB lain pada komputer anda.
- Check your computer's sound settings to ensure the HyperX SoloCast 2 is selected as the default input device.
- Verify the microphone is not muted (red LED should be illuminated).
- Mulakan semula komputer anda.
- Poor Audio Quality/Background Noise:
- Ensure the microphone is positioned correctly, facing you directly.
- Adjust the microphone gain in your operating system's sound settings or via HyperX NGENUITY software.
- Utilize the AI Noise Reduction and frequency filters in the HyperX NGENUITY software.
- Kurangkan hingar ambien dalam persekitaran rakaman anda.
- Tap-to-Mute Not Responding:
- Pastikan mikrofon disambungkan dengan betul dan dihidupkan.
- Cuba putuskan sambungan dan sambung semula kabel USB.
- If using HyperX NGENUITY, ensure the software is up-to-date.
7. Spesifikasi
| Ciri | Penerangan |
|---|---|
| Jenama | HyperX |
| Nombor Model | AR0A0AA |
| Ketersambungan | USB (USB-C to USB-A) |
| Jenis Mikrofon | Pemeluwap USB |
| Corak Kutub | Cardioid |
| SampKadar ling | Hingga 96kHz |
| Kedalaman Bit | 24-bit |
| Ciri Khas | Tap-to-Mute with LED Indicator, Internal Shock Mount, Built-in Pop Filter, Tiltable Stand, 3/8" and 5/8" Mic Arm Threads, HyperX NGENUITY Software Compatibility (for DSP features) |
| Berat badan | 330 Gram (lebih kurang 11.6 auns) |
| warna | Hitam |
| UPC | 198701525790 |
8. Waranti dan Sokongan
The HyperX SoloCast 2 USB Condenser Microphone comes with a manufacturer's warranty. For detailed warranty information, product support, and service inquiries, please visit the official HyperX support webtapak atau hubungi perkhidmatan pelanggan mereka.
Sokongan dalam talian: www.hyperx.com/support