
1. Produk Lebihview
The Dpofirs Small Portable Video Projector is a compact and versatile device designed for various entertainment and presentation needs. With its small footprint, it is easy to transport and set up, offering a projection size ranging from 14 to 100 inches. It supports a resolution of 1920 x 1080p and features 100Ansi 6000lm brightness, manual focus, and built-in stereo speakers.
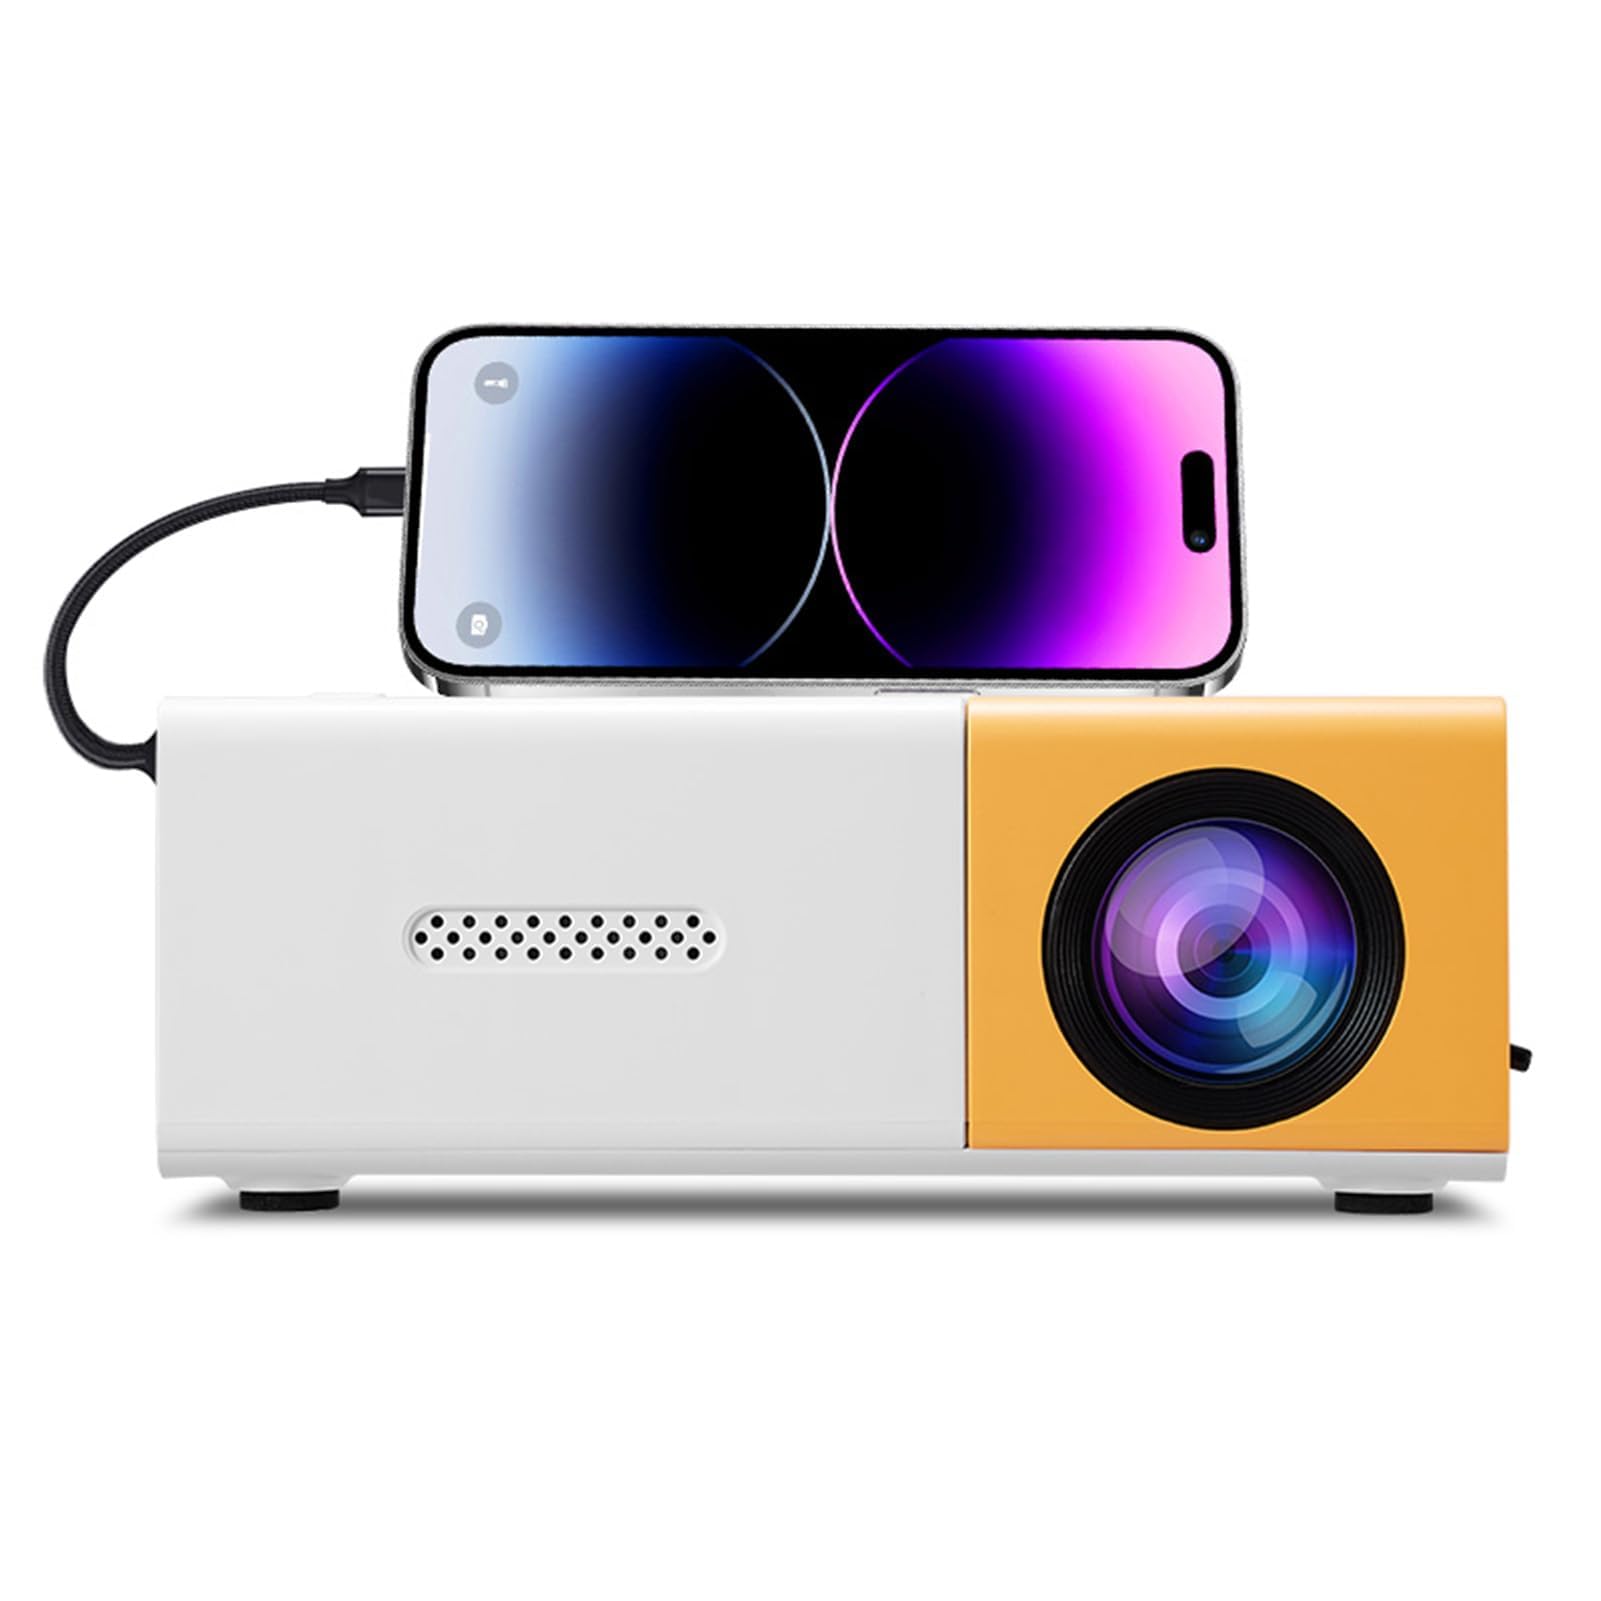
Image 1.1: The Dpofirs Small Portable Video Projector, showcasing reka bentuknya yang padat.

Image 1.2: The projector held in a hand, illustrating its compact and portable dimensions (5 x 3.4 x 1.9 inches).
2. Maklumat Keselamatan
- Baca semua arahan sebelum menggunakan projektor.
- Jangan lihat terus ke dalam kanta projektor apabila lamp sedang aktif.
- Jauhkan projektor daripada air atau cecair lain.
- Pastikan pengudaraan yang betul untuk mengelakkan terlalu panas. Jangan sekat bukaan pengudaraan.
- Use only the power adapter specified for this device (Type C, 5V 2A).
- Jangan cuba membuka atau membaiki projektor sendiri. Hubungi kakitangan servis yang berkelayakan.
- Jauhkan daripada kanak-kanak.
3. Kandungan Pakej
Sila semak kandungan pakej semasa membuka kotak. Jika ada barang yang hilang atau rosak, hubungi peruncit anda.
- Dpofirs Small Portable Video Projector
- Alat Kawalan Jauh
- Power Cable (USB Type-C)
- Manual Pengguna
4. Product Display and Controls
4.1 Projector Ports and Buttons

Imej 4.1: Depan dan belakang view of the projector with labeled ports and control buttons.
- Butang Hidup / Mati: Located on the top panel.
- Left Click / Right Click / OK Buttons: Navigation buttons on the top panel.
- Signal Source Button: Untuk memilih sumber input.
- Butang Kembali: Untuk kembali ke dalam menu.
- Antara Muka AV: For analog audio/video input.
- Micro USB (5V 2A) Power Interface: Untuk menyambungkan kabel kuasa.
- Antaramuka USB: For connecting USB devices (e.g., flash drives).
- Bekalan Kuasa DC: (Note: Description mentions Type C, image shows DC. Use Type C as per description).
- High Definition Interface (HDMI): For connecting devices via HDMI.
4.2 Fungsi Kawalan Jauh

Image 4.2: Layout of the remote control with labeled buttons.
- Open Key (Power): Menghidupkan atau mematikan projektor.
- Source Key: Memilih sumber input.
- Redam: Membisukan atau menyahredamkan audio.
- Directional Keys (Up, Down, Left, Right): Menavigasi menu.
- Butang OK: Mengesahkan pilihan.
- Volume Down / Volume Increase: Melaraskan kelantangan audio.
- Kunci Tetapan: Accesses the projector settings menu.
- Kunci Kembali: Kembali ke menu sebelumnya.
- Kekunci Menu: Membuka menu utama.
5. Panduan Persediaan
5.1 Sambungan Kuasa
- Connect the provided USB Type-C power cable to the Micro USB (5V 2A) Power Interface on the projector.
- Connect the other end of the cable to a compatible 5V 2A power adapter (not always included) or a power bank.

Image 5.1: The projector can be powered by a power bank (5V 2A minimum) for portable use.
5.2 Placement and Projection Size
Position the projector on a stable, flat surface. The projection distance determines the screen size. The projector can project images from 14 to 100 inches diagonally.
- Untuk optimum viewing experience, a playback size of 20-60 inches is recommended.
- This corresponds to a projection distance of approximately 0.8m to 1.6m.

Image 5.2: Recommended projection distances for various screen sizes (e.g., 0.8m for 24 inches, 1.6m for 47 inches).

Image 5.3: The projector can achieve large screen sizes up to 100 inches, with examples shown for 24, 35, 47, and 152 inches (note: 152 inches may exceed stated maximum of 100 inches).
5.3 Pelarasan Fokus
The projector features manual focus. Before turning on the projector or if the image appears blurry:
- Locate the focus ring or knob near the lens.
- Rotate the focus ring until the projected image becomes clear and sharp.
5.4 Pembetulan Keystone
The projector supports automatic vertical keystone correction. If the image appears trapezoidal (wider at the top or bottom):
- The projector automatically corrects vertical distortion (up and down).
- For side projection or horizontal correction, access the settings menu to make manual adjustments.
6. Arahan Operasi
6.1 Hidupkan/Mati Kuasa
- Untuk Menghidupkan: Press the Power On/Off button on the projector or the 'Open Key' on the remote control.
- Untuk Mematikan: Press the Power On/Off button on the projector or the 'Open Key' on the remote control again.
6.2 Pemilihan Sumber Input
Projektor menyokong berbilang sumber input:
- HDMI: Connect laptops, gaming consoles, streaming sticks, etc., via the High Definition Interface.
- USB: Connect USB flash drives to play media files secara langsung.
- DARI: Connect older devices using the AV interface.
- Pencerminan Skrin: Supports wired and wireless screen mirroring for Android devices.
To select an input source, press the 'Signal Source' button on the projector or the 'Source Key' on the remote control and navigate to your desired input.
6.3 Navigation and Settings
- Use the directional keys (Up, Down, Left, Right) on the projector or remote to navigate through menus.
- Press the 'OK' button to confirm selections.
- Press the 'Return' button to go back to the previous screen or menu.
- Press the 'Settings Key' on the remote to access advanced projector settings, including picture, sound, and system options.
6.4 Kawalan Kelantangan
Adjust the audio volume using the 'Volume Down' and 'Volume Increase' buttons on the remote control.
6.5 Senario Aplikasi
The projector is suitable for a variety of uses:
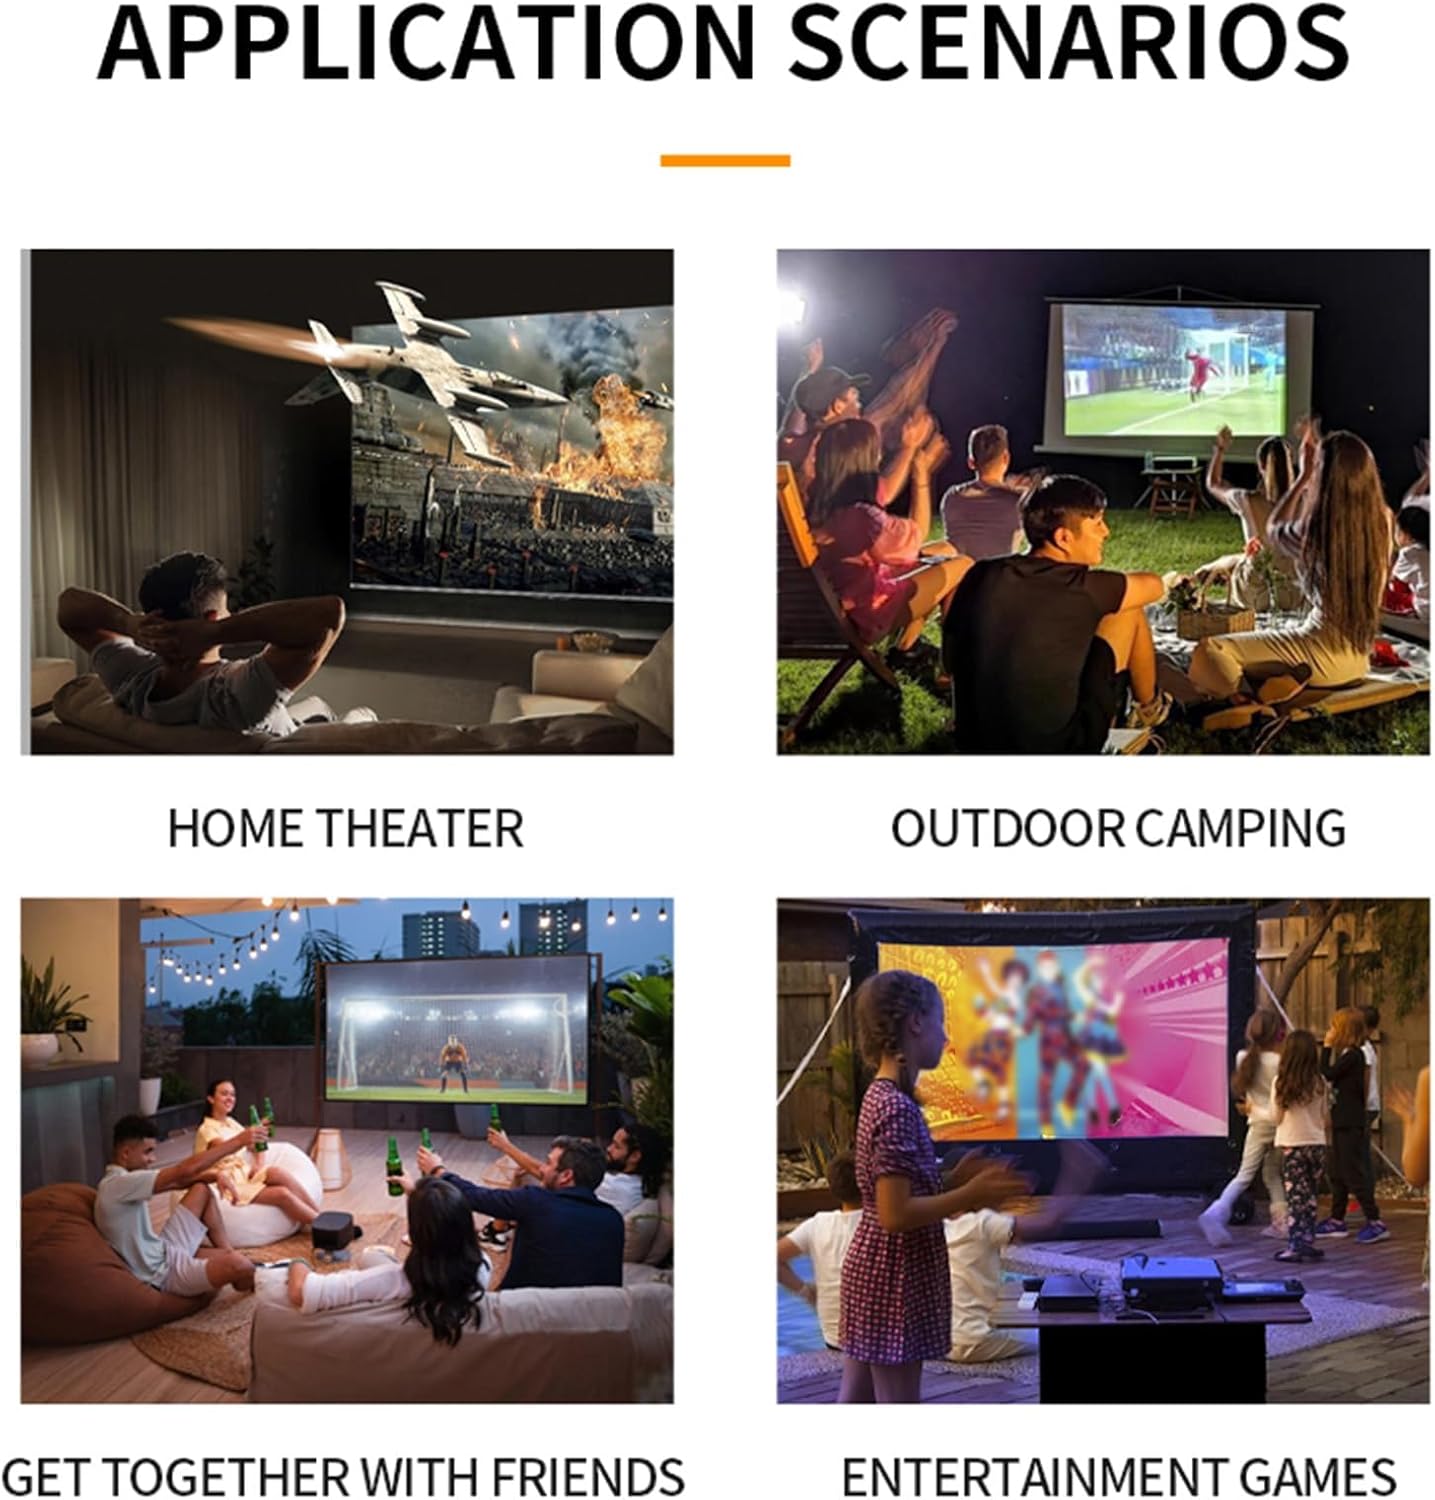
Imej 6.1: Cthamples of projector use in various settings including home theater, outdoor camping, social gatherings, and gaming.
- Teater Rumah: Nikmati filem dan rancangan TV pada skrin besar.
- Luar Camping: Portable design allows for outdoor entertainment.
- Get-togethers with Friends: Share content or play games with a group.
- Entertainment Games: Connect gaming consoles for an immersive experience.
7. Penyelenggaraan
- Membersihkan Lensa: Gunakan kain lembut dan bebas bulu yang direka khas untuk kanta optik. Jangan gunakan pembersih atau kain yang kasar.
- Membersihkan Casing: Lap bahagian luar projektor dengan kain lembut dan kering. Untuk kotoran degil, gunakan sedikit kain lapamp kain dan kemudian keringkan dengan teliti.
- Pengudaraan: Ensure the ventilation openings are clear of dust and debris to maintain optimal cooling. Use a soft brush or compressed air to gently clean them.
- Storan: Apabila tidak digunakan untuk tempoh yang lama, simpan projektor di tempat yang sejuk dan kering, jauh daripada cahaya matahari langsung dan suhu yang melampau.
8. Penyelesaian masalah
8.1 No Image or Poor Image Quality
- Semak Kuasa: Pastikan projektor disambungkan kepada kuasa dengan betul dan dihidupkan.
- Sumber Input: Verify that the correct input source (HDMI, USB, AV) is selected.
- Pelarasan Fokus: Manually adjust the focus ring until the image is clear.
- Pembetulan Keystone: Adjust keystone settings if the image is distorted.
- Sambungan Kabel: Ensure all video cables are securely connected. Try a different cable if possible.
- Output Peranti: Check the output settings of your connected device (laptop, smartphone) to ensure it's sending a signal to the projector.
8.2 Tiada Bunyi
- Tahap Kelantangan: Increase the volume on both the projector and the connected source device.
- Fungsi Redam: Ensure the projector is not muted (check remote control).
- Output Audio: If using an external audio system, ensure it is properly connected and selected as the output.
- Sumber Audio: Verify that the source device is playing audio.
8.3 Alat Kawalan Jauh Tidak Berfungsi
- Bateri: Gantikan bateri dalam alat kawalan jauh.
- Garis penglihatan: Ensure there is a clear line of sight between the remote and the projector's IR receiver.
9. Spesifikasi
| Ciri | Spesifikasi |
|---|---|
| Nombor Model | Dpofirseikmp1t75y |
| Jenis Item | LED Film Projector |
| Resolusi Asli | 320 x 240 piksel |
| Resolusi Sokongan | Up to 1920 x 1080 (1080p) 60Hz |
| Kecerahan | 100 Ansi / 6000 Lumens |
| Nisbah Kontras | 10000:1 |
| Fokus | Manual |
| Pembetulan | Trapezoid Correction (Auto vertical, manual side via settings) |
| Penceramah | Built-in box speaker 4Ω 2W |
| Antara Muka Kuasa | Jenis C (5V 2A) |
| Port Input | 1x HD Multimedia Interface, 1x USB Port, 1x AV Interface |
| Pelabuhan Keluaran | Bicu Fon Kepala 3.5mm |
| Saiz Unjuran | 14 hingga 100 inci |
| Optimal Playback Size | 20-60 inci |
| Optimal Playback Distance | 0.8m hingga 1.6m |
| Dimensi | 5 x 3.4 x 1.9 inci (12.6 x 8.58 x 4.77 cm) |
| Berat Barang | 12.9 auns (lebih kurang 365g) |
| Sistem Penyejukan | Innovative cooling fan system (80% noise reduction) |
10. Waranti dan Sokongan
For warranty information, please refer to the warranty card included with your purchase or contact your retailer. Dpofirs is committed to providing quality products and customer support.
If you encounter any issues or have questions regarding your Dpofirs Small Portable Video Projector, please contact Dpofirs customer support through the retailer's platform or the official Dpofirs webtapak untuk mendapatkan bantuan.