
1. Pengenalan
This manual provides detailed instructions for the safe operation and maintenance of your AXNEN GT8 Mini Drone. The GT8 is a foldable quadcopter equipped with a 4K HD camera, brushless motors, and a remote control with a built-in 4.3-inch LCD screen for real-time image transmission. It features various flight modes and intelligent functions designed for both beginners and experienced users.

Image: The AXNEN GT8 Mini Drone with its remote control, featuring an integrated LCD screen for direct viewing of flight footage.
Please read this manual thoroughly before operating the drone to ensure proper usage and to prevent damage or injury.
2. Maklumat Keselamatan
- Persekitaran Penerbangan: Operate the drone in open, clear areas, away from people, buildings, trees, and power lines. Avoid flying in strong winds or adverse weather conditions.
- Keselamatan Bateri: Use only the provided batteries and charger. Do not overcharge or puncture batteries. Discontinue use if batteries show signs of damage or swelling.
- Keselamatan Kipas: Keep hands, face, and loose clothing away from rotating propellers. Ensure propellers are correctly installed and undamaged before each flight.
- Tanggungjawab Operator: The operator is responsible for safe operation and compliance with local regulations. This drone weighs less than 249 grams and typically does not require FAA registration in the United States, but always check current local regulations.
- Garis Penglihatan Visual: Sentiasa mengekalkan garis penglihatan visual dengan dron semasa penerbangan.
- Air dan Kelembapan: Do not expose the drone or remote control to water or moisture.
3. Kandungan Pakej
Sahkan bahawa semua item yang disenaraikan di bawah terdapat dalam pakej anda:
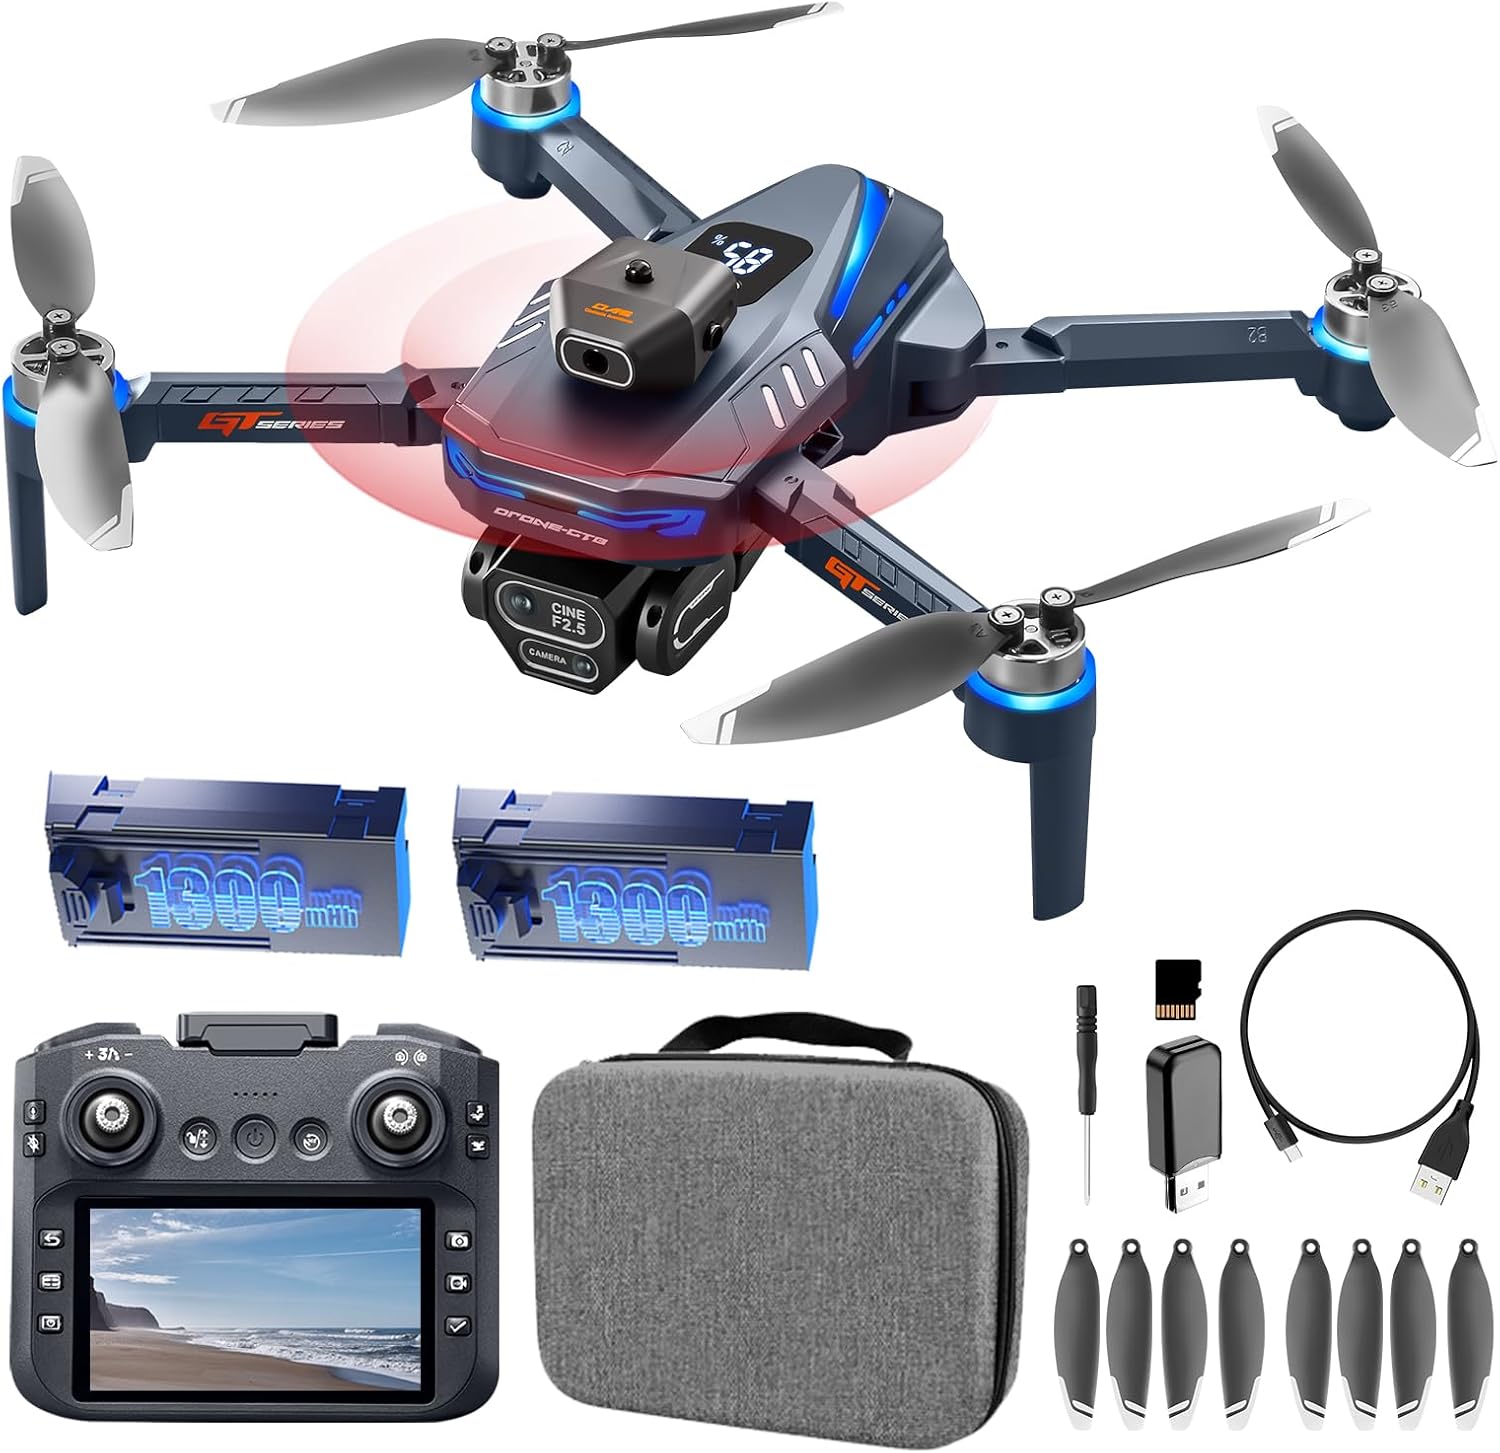
Image: All components included in the AXNEN GT8 Mini Drone package, laid out for inspection.
- AXNEN GT8 Mini Drone x 1
- Remote Control with 4.3" HD LCD Screen x 1
- Rechargeable Drone Batteries (1300mAh) x 2
- Kipas Ganti x 8
- Kabel Pengecasan USB x 1
- Pemutar skru x 1
- Memory Card (8GB) x 1
- Memory Card Reader x 1
- Sarung Tangan x 1
- Manual Pengguna x 1
4. Persediaan
4.1. Mengecas Bateri
Ensure both the drone batteries and the remote control are fully charged before first use. Use the provided USB charging cable.
- Sambungkan bateri dron ke kabel pengecas USB.
- Connect the USB cable to a suitable USB power adapter (not included).
- Charging indicators will show the charging status. A full charge typically takes approximately 2 hours for the remote control and 1.5-2 hours per drone battery.

Image: Illustration of the drone's high-capacity batteries and brushless motors, highlighting power and efficiency.
4.2. Pemasangan Baling-baling
If propellers are not pre-installed or need replacement:
- Kenal pasti kipas yang betul untuk setiap motor (bertanda A atau B).
- Attach the propeller to the corresponding motor shaft and secure it with the provided screws using the screwdriver.
- Ensure all propellers are firmly attached and rotate freely without obstruction.
4.3. Pemasangan Kad SD
Insert the provided 8GB Micro SD card into the drone's camera slot to store photos and videos.

Image: A Micro SD card shown alongside the drone and its remote, indicating its use for media storage.
4.4. Menghidupkan dan Memasang
- Letakkan drone di permukaan rata dan rata.
- Tekan dan tahan butang kuasa pada dron sehingga lampu penunjuk menyala.
- Turn on the remote control. The remote and drone should automatically pair. The LCD screen on the remote will display the camera feed once connected.
- If the remote defaults to a non-English language, navigate through the settings menu on the remote's LCD screen to select English.

Image: The drone's remote control featuring a 4.3-inch HD LCD screen, showing the live video feed from the drone's camera.
5. Arahan Operasi
5.1. Kawalan Asas Penerbangan
- Berlepas/Mendarat Satu Kunci: Press the designated button on the remote control for automatic takeoff or landing.
- Mod Tanpa Kepala: Activates a mode where the drone's orientation is irrelevant to control inputs, simplifying flight for beginners.
- Kedudukan Aliran Optik: Helps the drone maintain a stable hover, especially useful for indoor flight or in areas with minimal wind.

Image: Visual guide demonstrating beginner-friendly features like Optical Flow Hover, One-Key Start/Landing, and Headless Mode.

Image: The drone utilizing Floating Optical Flow technology to maintain a stable position above a grassy field.

Image: The drone performing a one-click takeoff from a designated landing pad, illustrating ease of use.
5.2. Ciri Penerbangan Lanjutan
- Mengelakkan halangan: The drone is equipped with an obstacle avoidance system that automatically detects and helps prevent collisions.
- Pusingan 360°: Execute aerial stunts with a single button press on the remote control.
- Terbang Titik Jalan: Plan a custom flight path within the companion application, and the drone will follow the pre-set route.
- Kawalan Gerak Isyarat: Use specific hand gestures to trigger photo or video recording.

Image: The drone navigating through a forest, illustrating its intelligent obstacle avoidance capabilities.

Image: The drone demonstrating its obstacle avoidance feature while flying within a wooded area.

Image: The drone executing a pre-programmed flight path over a scenic river, showcasing the Waypoint Fly feature.

Image: A sequence of images depicting the drone performing a 360-degree flip, highlighting its stunt capabilities.
5.3. Operasi Kamera
The GT8 drone features a 4K HD camera with a 90° wide-angle lens. The lens can be manually tilted 90 degrees for varied perspectives.
- Tangkapan Foto/Video: Gunakan butang khusus pada alat kawalan jauh untuk mengambil foto atau memulakan/menghentikan rakaman video.
- EIS Electronic Image Stabilization: This feature enhances image clarity and reduces shake in photos and videos.
- Fungsi Zum: Utilize the digital zoom feature for closer shots.
- Beauty Filters: Apply filters to enhance captured images.
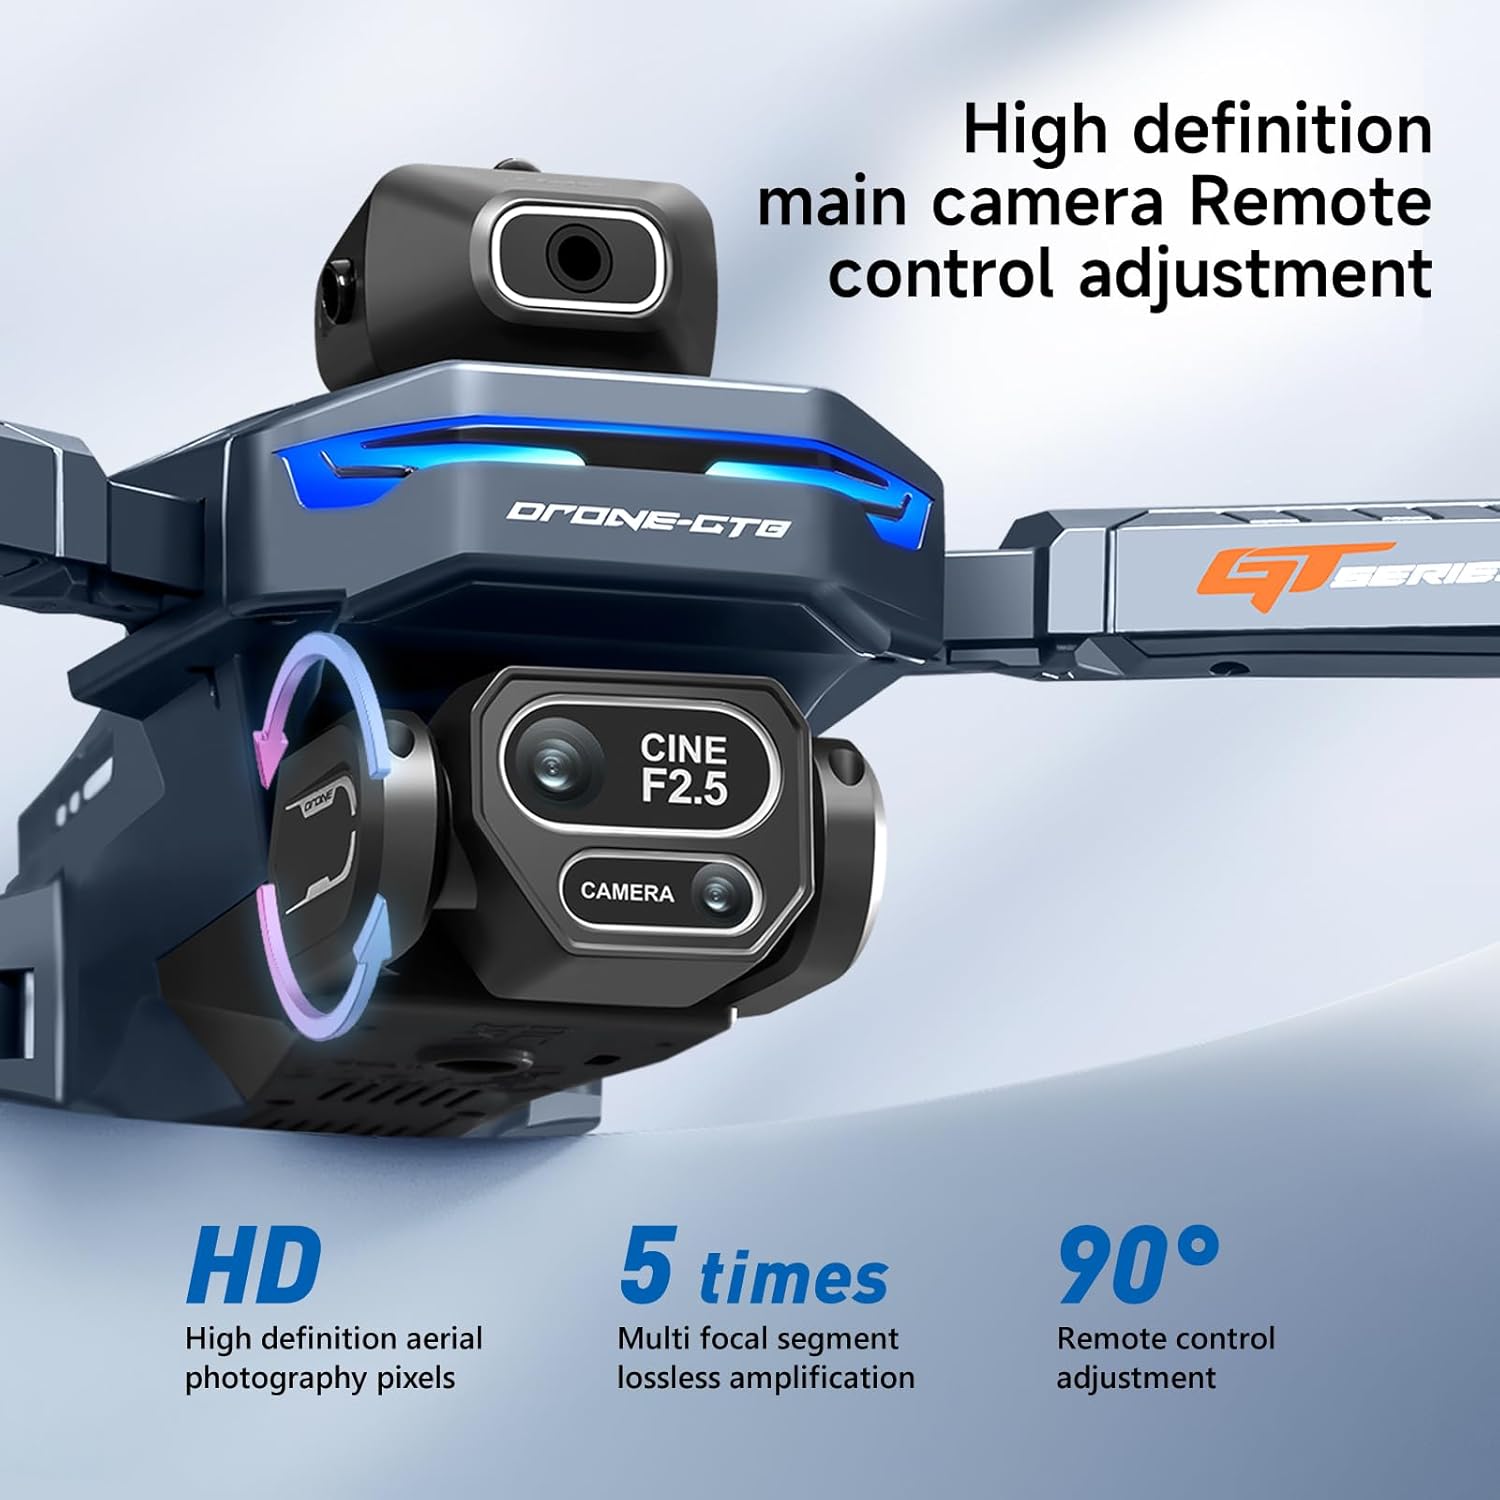
Imej: A terperinci view of the drone's 4K HD camera, highlighting its 90-degree manual tilt capability and high-definition pixels.

Image: A side-by-side comparison demonstrating the effectiveness of EIS Smart Anti-Vibration in producing stable and clear footage.

Image: The drone's 4K HD camera system, indicating its capability for dual camera switching and multiple perspectives.

Imej: Tayangan kolajcasing various drone features including zoom, beauty filters, gesture photo capture, and waypoint flight.
6. Penyelenggaraan
- Pembersihan: Use a soft, dry cloth to clean the drone and remote control. Avoid using liquids or solvents.
- Pemeriksaan baling-baling: Periksa kipas secara berkala untuk retakan, selekoh atau kerosakan. Gantikan sebarang kipas yang rosak dengan segera.
- Penyimpanan Bateri: Store batteries in a cool, dry place, partially charged (around 50%) if not used for extended periods.
- Penjagaan Motor: The brushless motors are designed for durability. Keep them free from dust and debris.

Image: An illustration of the drone's brushless motor, highlighting its internal components and design for improved wind resistance.
7. Penyelesaian masalah
| Masalah | Kemungkinan Punca | Penyelesaian |
|---|---|---|
| Drone does not take off or flies erratically. |
|
|
| Remote control LCD screen is blank or not displaying video. |
|
|
| Remote control language resets to Chinese. |
|
|
| Kualiti imej/video yang lemah. |
|
|
8. Spesifikasi
| Ciri | Perincian |
|---|---|
| Jenama | AXNEN |
| Nama Model | GT8 |
| Ciri Khas | Boleh dilipat |
| warna | Biru Tua |
| Resolusi Tangkapan Video | 4K |
| Teknologi Ketersambungan | USB (untuk mengecas) |
| Berat Barang | 177 Gram (6.2 auns) |
| Format Tangkapan Video | MP4 |
| Jenis Kawalan | Alat Kawalan Jauh |
| bahan | plastik |
| Teknologi Komunikasi Tanpa Wayar | RF 2.4GHz |
| Komposisi Sel Bateri | Litium Ion |
| Bateri Termasuk | Yes (2 drone batteries, 2 AA for remote) |
| Alat Kawalan Jauh Termasuk | ya |
| Teknologi Penderia Optik | Aliran Optik |
| Dimensi Produk | 11.22"L x 10.24"W x 2.84"H |
| Tempoh Penerbangan | Up to 30 minutes (with two batteries) |
| Remote Screen Size | 4.3 inci |
| Jarak Penghantaran | 50m (lebih kurang) |
9. Waranti & Sokongan
For warranty information, technical support, or service inquiries, please refer to the contact details provided on the product packaging or the official AXNEN webtapak. Simpan resit pembelian anda sebagai bukti pembelian untuk tuntutan waranti.