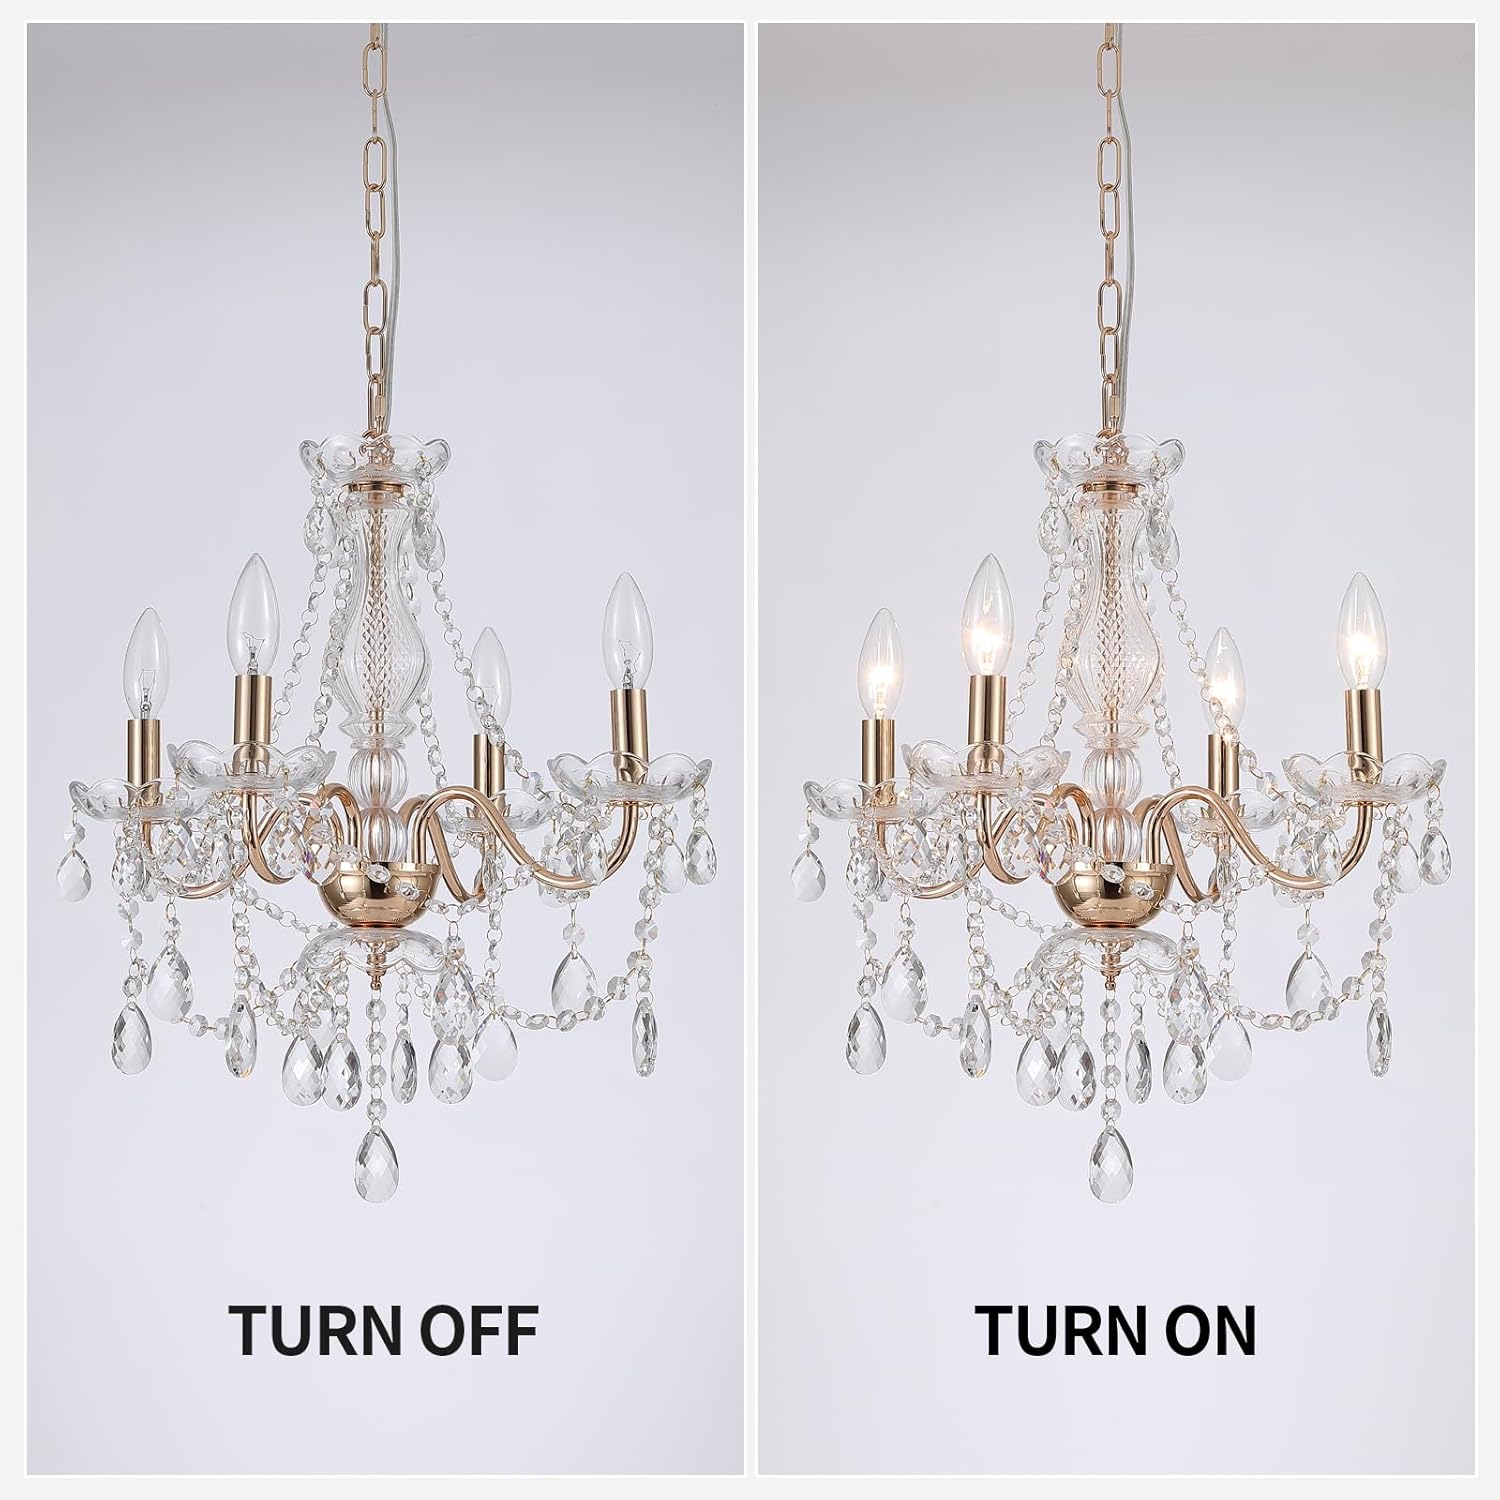
pengenalan
Terima kasih kerana membeliasing the AMZASA AS9027-4AB Plug-in Crystal Chandelier. This manual provides essential information for the safe and correct assembly, operation, and maintenance of your new lighting fixture. Please read all instructions carefully before installation and retain this manual for future reference.
Maklumat Keselamatan Penting
- Always disconnect power before installation, cleaning, or maintenance.
- Produk ini bertujuan untuk kegunaan dalaman sahaja.
- Pastikan permukaan pelekap boleh menyokong berat lekapan.
- Use only E12 base bulbs, maximum 40W per bulb (bulbs not included).
- If using a dimmer switch, ensure bulbs are dimmable and compatible with the switch.
- Handle glass crystals with care to prevent breakage.
- Jauhkan bahan pembungkusan daripada kanak-kanak.
- Jika anda tidak pasti tentang mana-mana bahagian pemasangan, rujuk juruelektrik bertauliah.
Kandungan Pakej
Sila sahkan bahawa semua komponen ada dan tidak rosak sebelum memulakan pemasangan. Jika mana-mana bahagian hilang atau rosak, sila hubungi khidmat pelanggan.
- Chandelier Frame with 4 E12 Sockets
- Glass Crystal Strings (various sizes and shapes, labeled A, B, C, D, E, F)
- Glass Decorative Saucers
- Power Cord with In-line ON/OFF Switch
- Rantai Gantung
- Cangkuk Siling
- Klip Pengurusan Kabel
- Perkakasan Pemasangan (skru, sauh)

Figure 1: Chandelier Components Overview
Arahan Persediaan dan Pemasangan
Follow these steps to assemble and install your AMZASA Plug-in Crystal Chandelier. It is recommended to wear the provided gloves to avoid fingerprints on the crystals. Refer to the assembly video for visual guidance on each step.
Video: AMZASA Plug-in Crystal Chandelier Assembly Guide. This video demonstrates the complete assembly process from unboxing to final installation.
Langkah 1: Sediakan Komponen
Carefully unbox all components and lay them out on a clean, soft surface. Identify the different crystal types (A, B, C, D, E, F) as shown in the video.
Step 2: Assemble Crystal Saucers (A Crystals)
Attach the 'A' crystals to the small holes around the edge of the glass decorative saucers. Ensure they are securely fastened.
Step 3: Attach Top Crystal Chains (B Crystals)
Connect the 'B' crystal chains between the top center part of the chandelier frame and the light bulb sockets. There are four 'B' chains for the four arms.
Step 4: Attach Arm Crystal Chains (C Crystals)
Attach the 'C' crystal chains to the arms of the chandelier, connecting them from one arm to the central base. Ensure even distribution.
Step 5: Attach Bottom Center Crystals (E Crystals)
Secure the 'E' crystals to the bottom center of the chandelier frame. These are typically shorter, individual crystal drops.
Step 6: Attach Saucer Crystals (F Crystals)
Attach the 'F' crystals to the bottom of the glass decorative saucers that were assembled in Step 2.
Step 7: Attach Hanging Chain
Connect the provided hanging chain to the top loop of the chandelier. Ensure the connection is secure.
Step 8: Install Ceiling Hook and Hang Chandelier
Screw the ceiling hook into a secure ceiling joist or use appropriate anchors for drywall. Hang the chandelier chain from this hook. Adjust the chain length to achieve the desired hanging height.

Figure 2: Chandelier Hanging and Cable Management
Step 9: Route Power Cord and Attach Remaining Crystals (D Crystals)
Route the power cord along the ceiling to a power outlet using the provided cable management clips. Once the chandelier is hung, attach the 'D' crystal chains to the arms, connecting them to the central base or other designated points as shown in the video.
Step 10: Install Light Bulbs
Screw 4 E12 base bulbs (max 40W each, not included) into the chandelier sockets. Ensure bulbs are fully seated.