
pengenalan
Thank you for choosing the Flair GO Portable Lever Espresso Machine. This manual provides comprehensive instructions for the safe and effective use, maintenance, and troubleshooting of your new espresso maker. Please read all instructions carefully before first use and retain this manual for future reference.
Maklumat Keselamatan Penting
Always handle hot water and components with care to prevent burns. Ensure all parts are securely assembled before use. Keep out of reach of children. Do not immerse the main lever assembly in water. Clean components as instructed to maintain hygiene and performance.
Komponen Lebihview
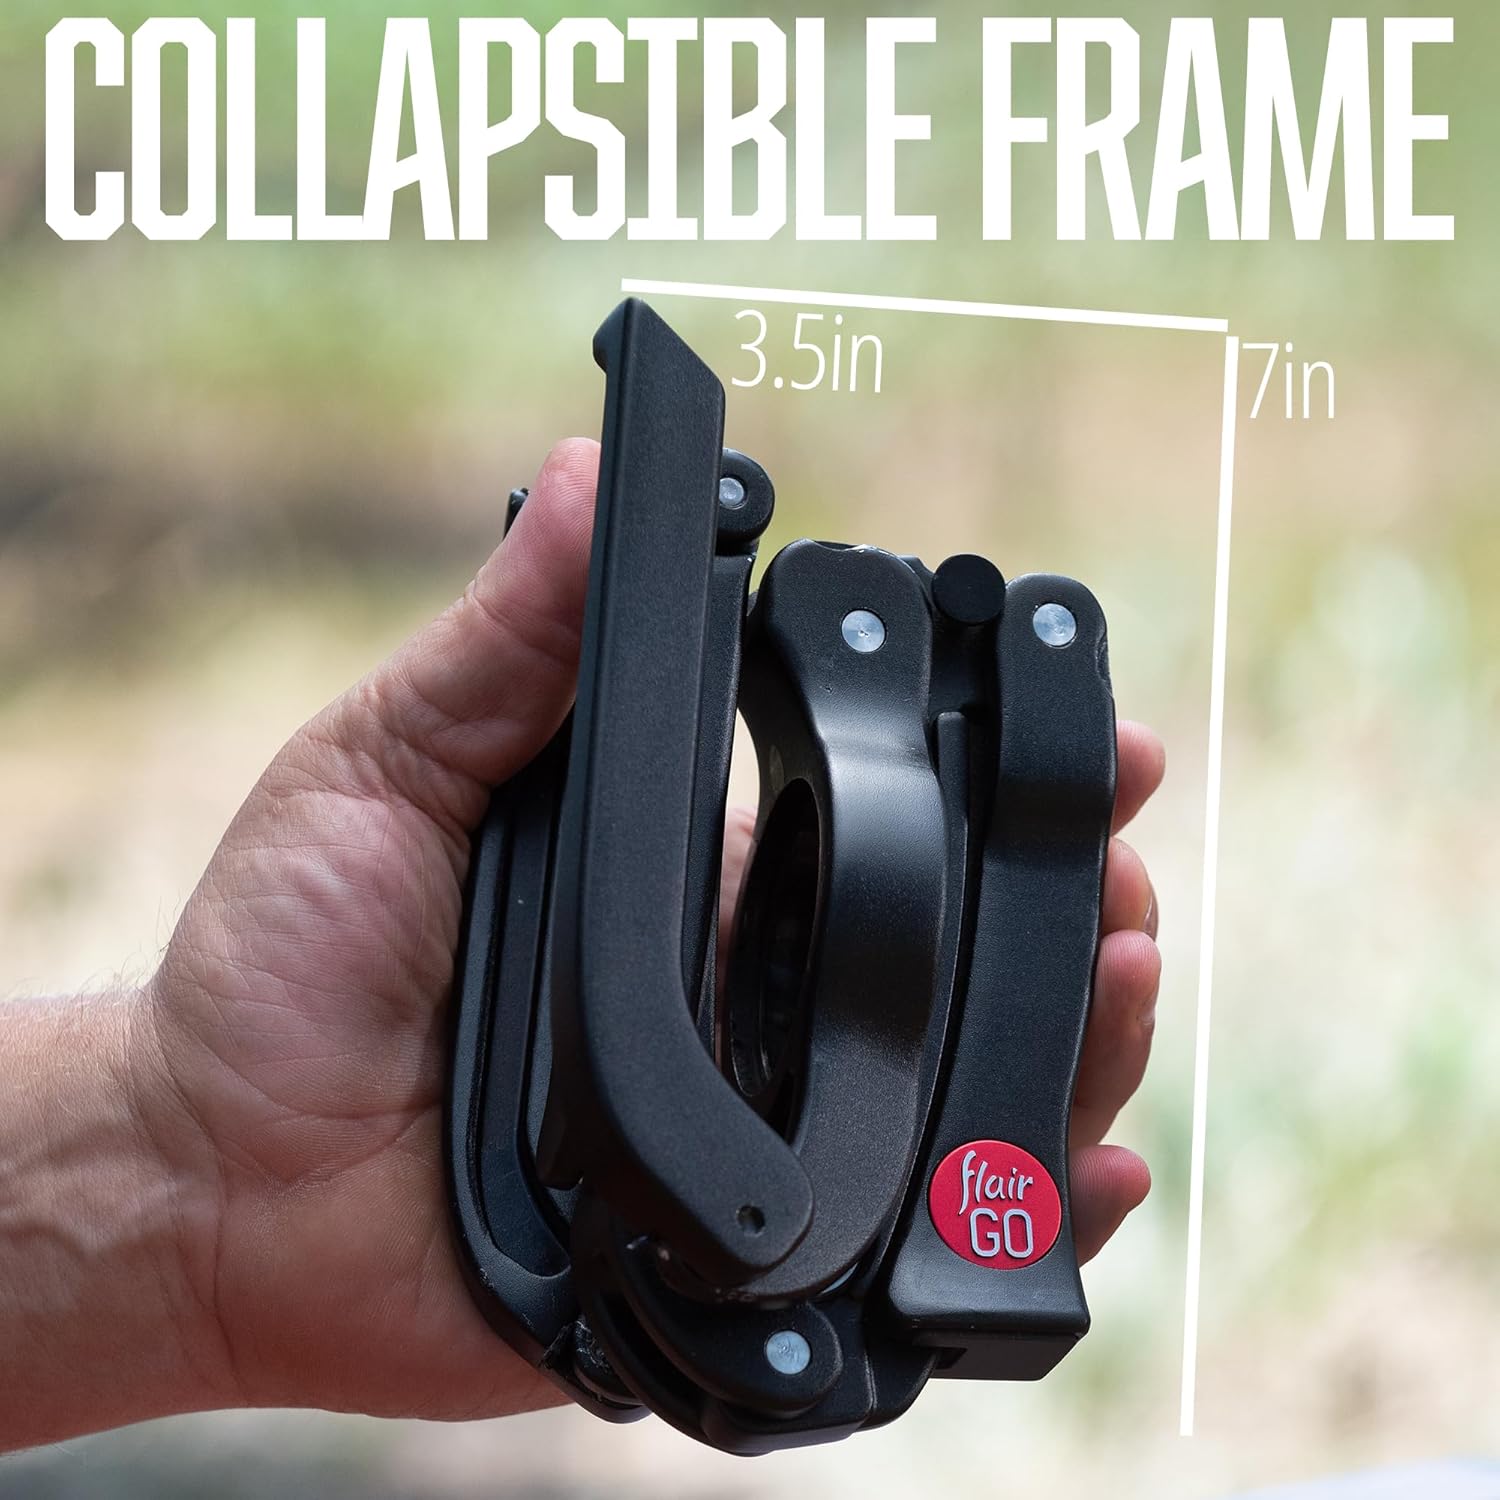
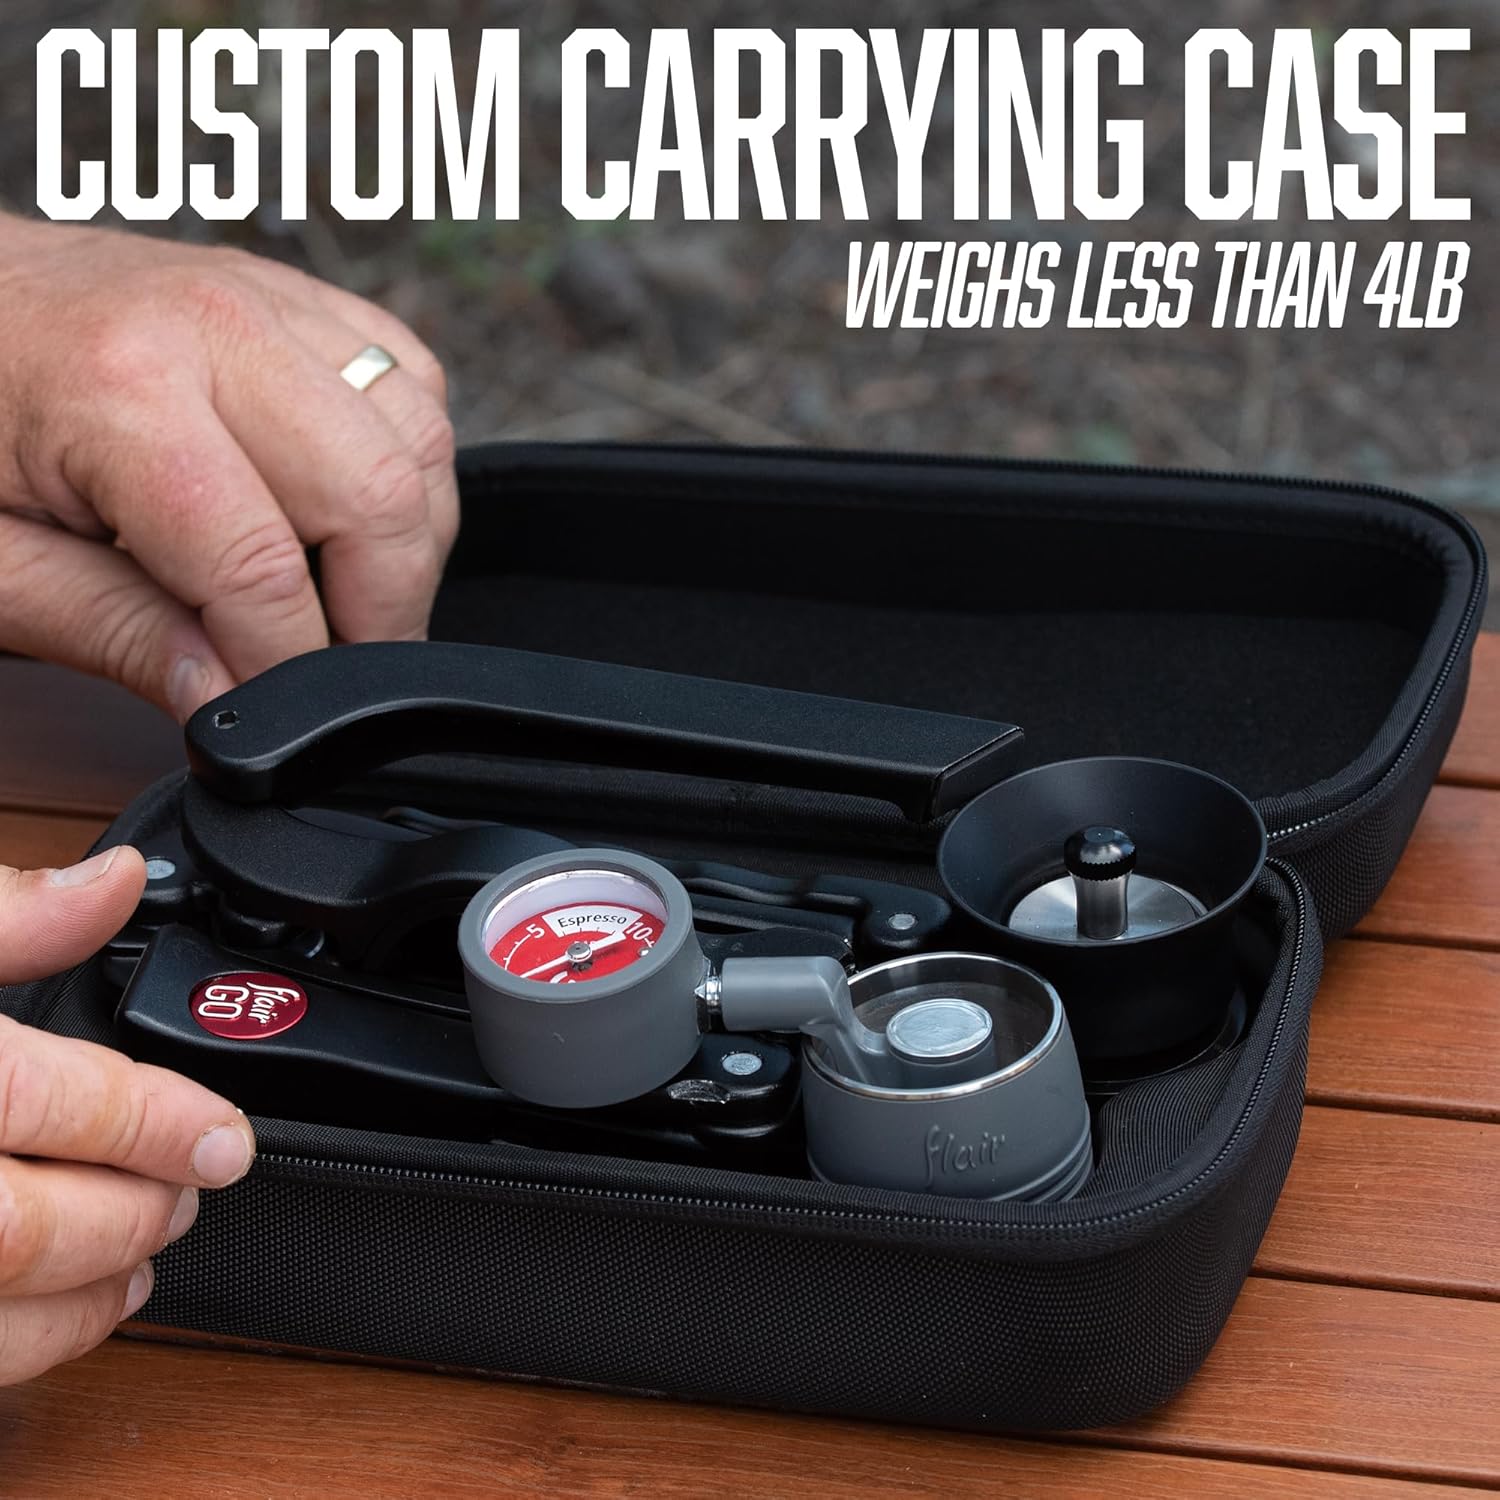
The Flair GO is designed for portability and ease of use. Familiarize yourself with the main components:
- Perhimpunan Tuas: The main frame and lever mechanism for pressing.
- Ketua Brew: Consists of the brew cylinder, plunger, and pressure gauge.
- Penapis Porta: A 2-in-1 bottomless portafilter for ground coffee.
- Dulang Drip: Collects excess liquid during brewing.
- Sarung pembawa: Compact case for transport and storage.

Persediaan
Follow these steps to set up your Flair GO for brewing:
- Remove all components from the carrying case.
- Unfold the lever assembly and ensure it is stable on a flat surface.
- Place the drip tray onto the base of the lever assembly.
- Insert the portafilter into the brew base.
- Place the brew cylinder on top of the portafilter.
Arahan Operasi
Brewing espresso with your Flair GO is a hands-on experience. For optimal results, use freshly ground coffee and hot water.
- Sediakan serbuk kopi: Grind 12-15 grams of fresh coffee beans to an espresso-capable fineness. The 'Grounds' model requires a burr grinder for best results.
- Load Portafilter: Place the portafilter on a stable surface. Add the ground coffee into the portafilter. Tamp kopi itu sekata dan padat.
- Assemble Brew Head: Masukkan penapis porta dengan tamped coffee into the brew base. Place the brew cylinder on top of the portafilter.
- Add Hot Water: Boil fresh water. Carefully pour the hot water into the brew cylinder up to the fill line.
- Insert Pressure Gauge: Insert the plunger with the integrated pressure gauge into the top of the brew cylinder.
- Brew Espresso: Slowly lower the lever. Aim to maintain pressure between 6-9 BAR as indicated on the pressure gauge. Continue pressing until the desired espresso volume is achieved.


Official Product Video: Flair GO Overview
Penyelenggaraan dan Pembersihan
Regular cleaning ensures the longevity and optimal performance of your Flair GO.
- Buka: After brewing, carefully remove the brew head components.
- Buang Alasan: Knock out the used coffee puck from the portafilter.
- Bilas: Rinse all components (portafilter, brew cylinder, plunger, pressure gauge) under warm running water. No soap is typically needed, as it can leave residue that affects flavor.
- kering: Biarkan semua komponen kering sepenuhnya sebelum memasang semula atau menyimpannya.
Menyelesaikan masalah
- No Espresso Flow: This usually indicates the coffee grind is too fine or the tamp is too firm. Adjust grind coarser or tamp lebih ringan.
- Espresso Lemah: The coffee grind might be too coarse, or the water temperature too low. Adjust grind finer or ensure water is freshly boiled.
- Pressure Gauge Not Reaching Espresso Zone: This could be due to a coarse grind, insufficient coffee dose, or a weak tamp. Adjust grind, dose, or tamp sewajarnya.
- Kebocoran Air: Ensure all seals are clean and properly seated. Check for any damage to O-rings.
Spesifikasi
| Jenama | Bakat |
| Nama Model | Flair GO |
| warna | Hitam |
| Dimensi Produk | 12"D x 10.5"W x 5"H |
| Berat Barang | 3.91 paun |
| Mod Operasi | Manual |
| Jenis Input Kopi | Kopi Kisar |
| Kapasiti | 60 mililiter |
| Ciri Khas | Boleh dilipat |
Waranti dan Sokongan
The Flair GO is backed by a one-year (1) limited warranty against functional defects when used correctly. For warranty claims or technical support, please refer to the contact information provided in your product packaging or visit the official Flair Espresso webtapak.