
1. Pengenalan
Thank you for choosing the FULODE STUDIO22+ UHF Wireless In-Ear Monitor System. This system provides reliable, high-quality mono audio monitoring for musicians, singers, and stage performers. Operating on the UHF 550–579.25 MHz band with 100 preset frequencies, it ensures stable performance and freedom of movement. Please read this manual thoroughly before operation to ensure proper setup and optimal performance.
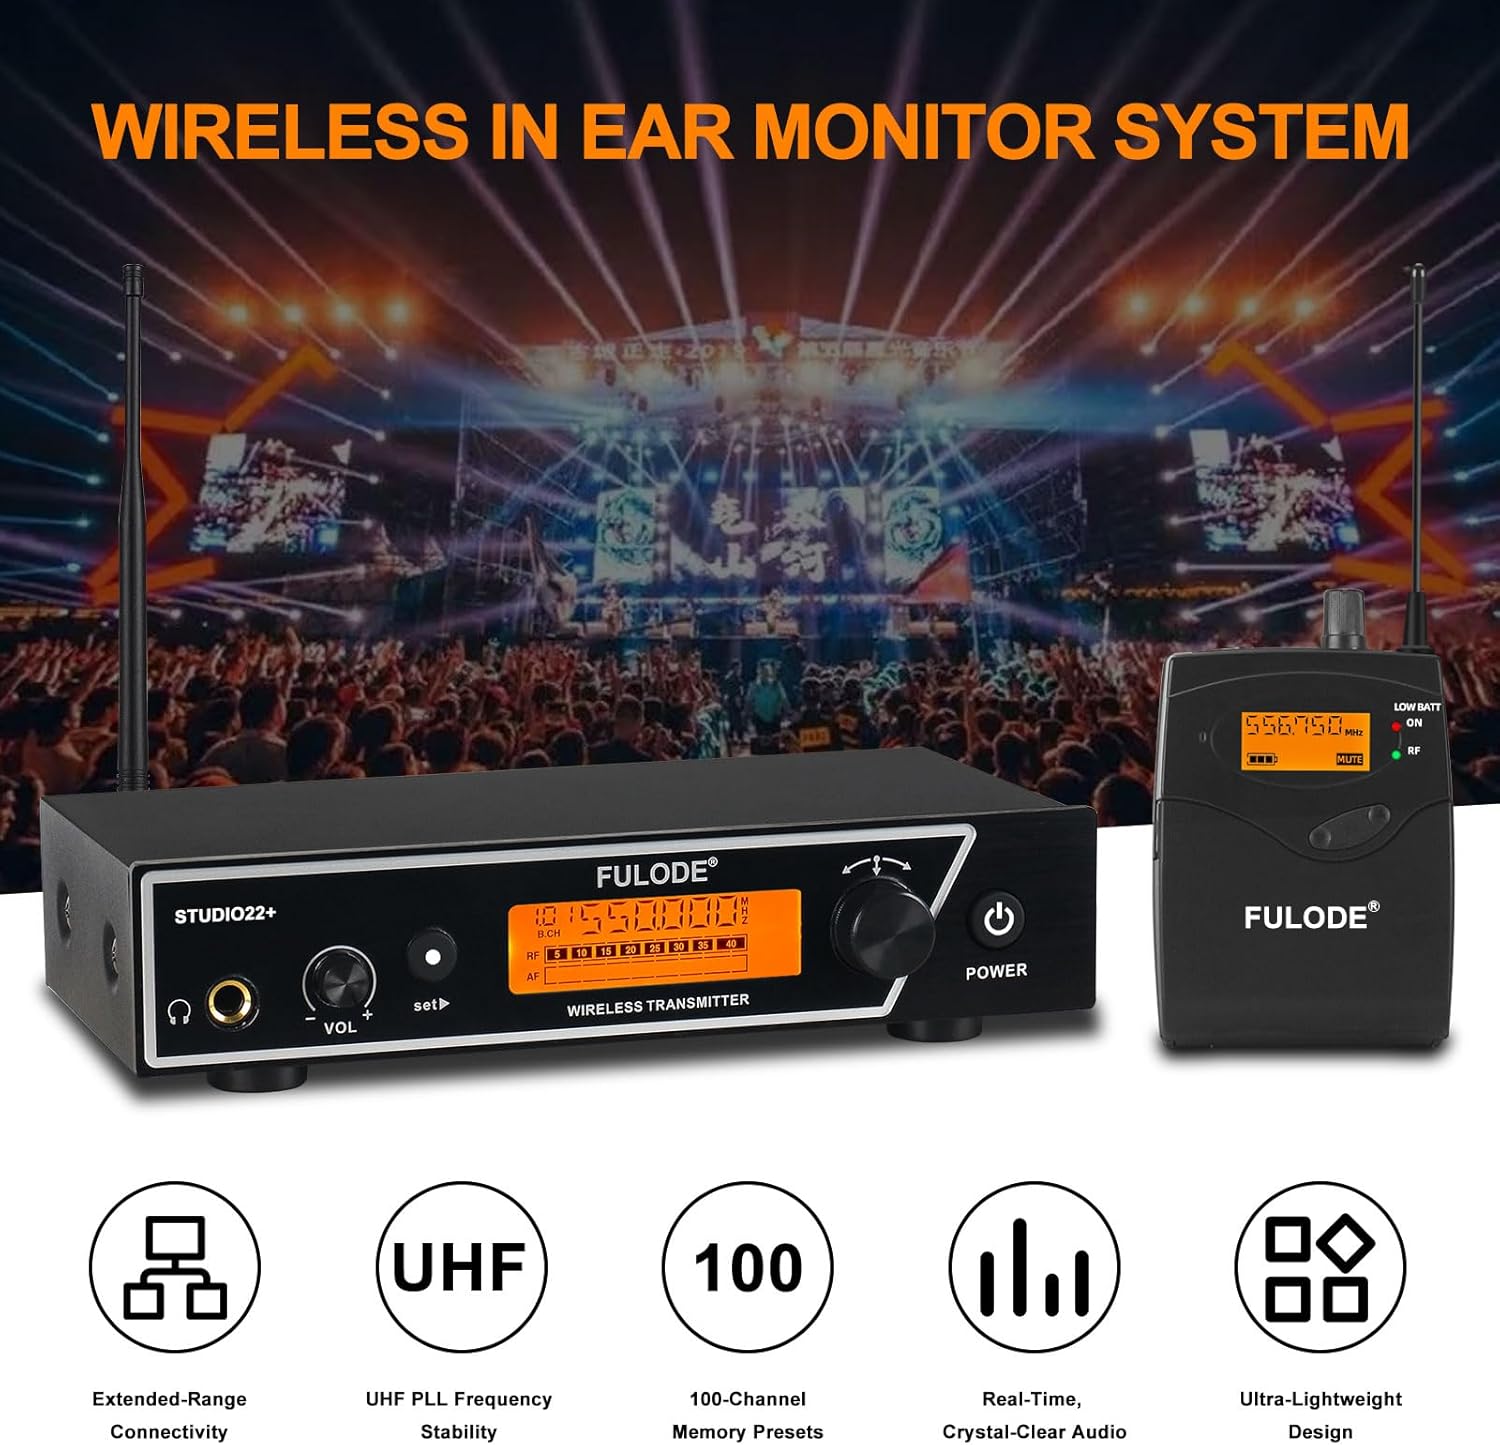
Imej 1.1: Selesaiview of the FULODE STUDIO22+ Wireless In-Ear Monitor System, showing the transmitter, bodypack receiver, and in-ear headphones.
2. Kandungan Pakej
Sahkan bahawa semua item yang disenaraikan di bawah disertakan dalam pakej anda:
- 1 x Wireless Desktop Transmitter
- 2 x Wireless Bodypack Receivers
- 2 x Fon Kepala Dalam Telinga
- 2 x Enhanced Antennas
- Kabel Audio 1 x 6.35mm
- 1 x Penyesuai Kuasa
- 1 x Manual Pengguna (dokumen ini)

Imej 2.1: Terperinci view of the package contents and dimensions of the main units.
3. Arahan Persediaan
3.1. Persediaan Pemancar
- Sambungkan Kuasa: Connect the included power adapter to the DC 12V input on the rear panel of the transmitter and plug it into a power outlet.
- Pasang Antena: Screw the two enhanced antennas onto the ANTENNA connectors on the rear panel of the transmitter. Position them vertically for optimal signal reception.
- Input Audio: Connect your audio source (e.g., mixer, audio interface) to the transmitter's audio input jacks (AF IN L/R) using XLR or 6.35mm cables. The rear panel also provides a 6.35mm mixed input and an independent audio input.
- Rackmount Installation (Optional): If desired, attach the included rackmount brackets to the sides of the transmitter for secure installation in a standard equipment rack.
3.2. Persediaan Penerima Bodypack
- Pasang Bateri: Open the battery compartment on the back of the bodypack receiver and insert two AA batteries (not included), ensuring correct polarity.
- Sambungkan Fon Telinga: Plug the in-ear monitoring headphones into the 3.5mm PHONES jack on the top of the bodypack receiver.

Image 3.1: Wiring schematic illustrating connections for the transmitter, audio mixer, and bodypack receiver.
4. Arahan Operasi
4.1. Hidupkan/Mati Kuasa
- Pemancar: Tekan lama KUASA butang pada panel hadapan untuk menghidupkan atau mematikan unit.
- Penerima Bodypack: Putar JILID potentiometer clockwise to turn the receiver on. Rotate counter-clockwise until it clicks to turn off.
4.2. Pemilihan Frekuensi dan Saluran
The system operates on 100 preset frequencies within the UHF 550–579.25 MHz band. Ensure the transmitter and receiver are set to the same group and channel for proper communication.
4.2.1. Transmitter Channel Setting
- Pemilihan Kumpulan: Tekan ke SET button once. Use the left or right arrow buttons to select the desired group.
- Pemilihan Saluran: Tekan ke SET button twice. Use the left or right arrow buttons to select the desired channel within the chosen group.

Image 4.1: Controls and display for adjusting group and channel settings on the transmitter unit.
4.2.2. Bodypack Receiver Channel Setting
- Pemilihan Kumpulan: Tekan ke SET button once. Use the ATAS/BAWAH buttons to select the desired group. Press ESC to confirm or exit.
- Pemilihan Saluran: Tekan ke SET button twice. Use the ATAS/BAWAH buttons to select the desired channel. Press ESC to confirm or exit.

Image 4.2: Controls and display for adjusting group and channel settings on the bodypack receiver.
4.3. Pelarasan Kelantangan
Adjust the monitoring volume using the JILID potentiometer on the bodypack receiver. Start with a low volume and gradually increase to a comfortable listening level.
4.4. Prestasi Pemantauan
The system provides stable mono in-ear monitoring with clear, low-latency audio. The centered sound helps reduce phase issues, feedback, and ambient interference, making it ideal for reliable stage monitoring, vocals, and speech applications. The wireless range extends up to 262 feet (80 meters) in optimal conditions.

Image 4.3: Illustration of the system's wireless reception range, indicating up to 260ft.
5. Penyelenggaraan
- Pembersihan: Use a soft, dry cloth to clean the surfaces of the transmitter and receivers. Avoid using liquid cleaners or solvents.
- Storan: Store the system in a dry, cool place away from direct sunlight and extreme temperatures.
- Penjagaan Bateri: Remove batteries from the bodypack receivers if the system will not be used for an extended period to prevent leakage and damage.
- Penjagaan Antena: Kendalikan antena dengan berhati-hati untuk mengelakkan bengkok atau patah.
6. Penyelesaian masalah
| Masalah | Kemungkinan Punca | Penyelesaian |
|---|---|---|
| Tiada bunyi dari fon telinga |
|
|
| Gangguan atau isyarat lemah |
|
|
| Low battery indicator on receiver | Bateri hampir habis | Gantikan dengan bateri AA yang baru. |
7. Spesifikasi
| Ciri | Penerangan |
|---|---|
| Jenama | FULODE |
| Nombor Model | STUDIO22+ |
| Teknologi Tanpa Wayar | UHF |
| Jalur Kekerapan | 550–579.25 MHz |
| Bilangan Frekuensi | 100 frekuensi pratetap |
| Julat Tanpa Wayar | Sehingga 262 kaki (80 meter) |
| Penempatan Telinga | Di Telinga |
| Impedans | 16 ohm |
| Bahan Kepungan | Plastik ABS, Logam |
| Kuasa Penerima | 2 x Bateri AA (tidak termasuk) |
| Bicu Fon Kepala | 3.5 mm (Receiver), 6.35 mm (Transmitter output) |
| Ciri-ciri Tambahan | Volume Control, LCD Screen, Rackmount capability |
8. Maklumat Waranti
The FULODE STUDIO22+ In-Ear Monitor System comes with a Waranti 2 Tahun from the date of purchase. This warranty covers manufacturing defects and ensures the product is free from defects in material and workmanship under normal use. Please retain your proof of purchase for warranty claims. For detailed warranty terms and conditions, please refer to the official FULODE webtapak atau hubungi sokongan pelanggan.
9. Sokongan Pelanggan
If you encounter any issues or have questions regarding your FULODE STUDIO22+ In-Ear Monitor System that are not addressed in this manual, please contact FULODE customer support. You can typically find contact information on the official FULODE webtapak atau melalui peruncit tempat anda membeli produk tersebut.
Please have your model number (STUDIO22+) and purchase details ready when contacting support.

