
1. Pengenalan
This manual provides detailed instructions for the operation and maintenance of the LAUNCH X431 CRP919X OBD2 Scanner. The CRP919X is a professional diagnostic tool designed for comprehensive vehicle system analysis, ECU coding, active tests, and various service functions. It supports a wide range of vehicle brands and communication protocols, including CANFD and DoIP.
2. Maklumat Keselamatan
Always observe the following safety precautions when using the LAUNCH X431 CRP919X:
- Pastikan kenderaan berada di kawasan pengudaraan yang baik.
- Pakai pakaian pelindung mata dan pelindung.
- Do not connect or disconnect the diagnostic tool while the ignition is on or the engine is running.
- Keep the tool dry and clean. Avoid exposure to extreme temperatures.
- Refer to the vehicle's service manual for specific diagnostic procedures and safety warnings.
- Do not attempt to disassemble the device. Repairs should only be performed by authorized personnel.
3. Kandungan Pakej
The LAUNCH X431 CRP919X package includes the following items:
- LAUNCH X431 CRP919X Diagnostic Tool
- OBDII Diagnostic Cable
- Penyesuai Kuasa
- Kabel USB
- Manual Pengguna (dokumen ini)
- Membawa Sarung
4. Produk Lebihview
The CRP919X is a robust diagnostic scanner featuring a 7-inch touchscreen display and running on Android 10.0. It is designed for ease of use and comprehensive vehicle coverage.
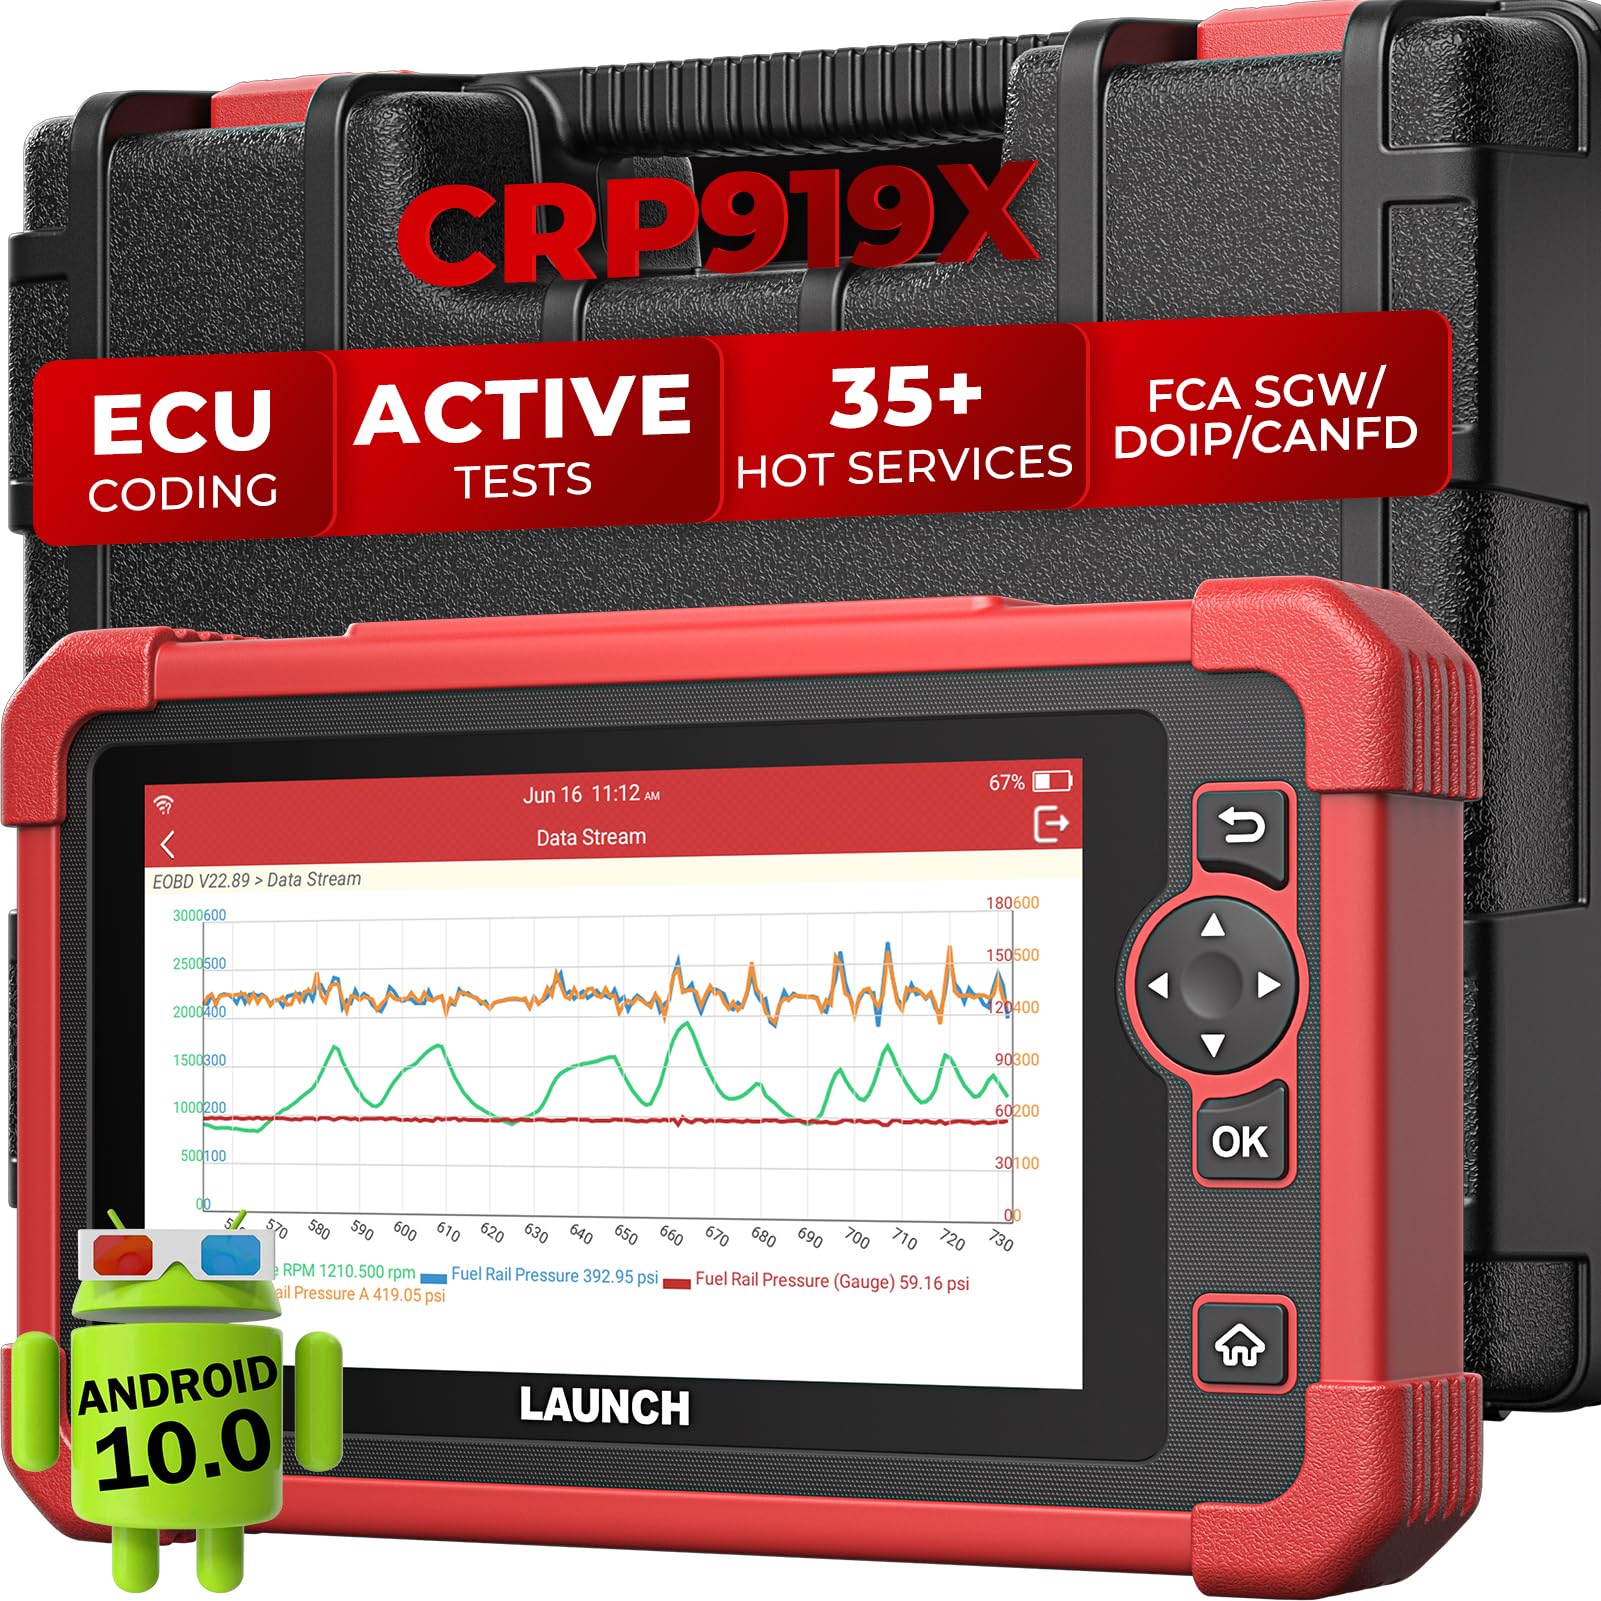
Imej: Depan view of the LAUNCH X431 CRP919X diagnostic tool, showing its 7-inch touchscreen interface.
4.1 Komponen Peranti
- Paparan Skrin Sentuh 7-inci: For navigating menus and viewing diagnostic data.
- OBD-II Connector: For connecting to the vehicle's diagnostic port.
- Port USB: Untuk pengecasan dan pemindahan data.
- Butang Kuasa: Untuk menghidupkan/mematikan peranti.
- Butang Navigasi: For menu navigation (if not using touchscreen).

Imej: Belakang view of the LAUNCH X431 CRP919X, displaying the product label with model information and input specifications.
5. Persediaan
5.1 Pengecasan Awal
Before first use, fully charge the CRP919X using the provided power adapter. Connect the adapter to the device's USB port and plug it into a power outlet. The charging indicator will show the charging status.
5.2 Menghidupkan/Mematikan
- Untuk Menghidupkan: Tekan dan tahan butang Kuasa sehingga skrin menyala.
- Untuk Mematikan: Tekan dan tahan butang Kuasa, kemudian pilih "Matikan Kuasa" daripada pilihan yang tersedia.
5.3 Menyambung ke Kenderaan
Locate the vehicle's 16-pin OBD-II diagnostic port, usually under the dashboard on the driver's side. Connect the diagnostic cable to the CRP919X and then to the vehicle's OBD-II port. Ensure a secure connection.

Image: Illustration demonstrating the connection process of the CRP919X to a vehicle's OBD-II port.
5.4 Persediaan Perisian Awal
Upon first power-on, follow the on-screen prompts to configure language, time zone, and Wi-Fi settings. Connect to a stable Wi-Fi network to enable software updates and online functions.
6. Arahan Operasi
6.1 Semua Diagnostik Sistem
The CRP919X can perform a comprehensive scan of all available vehicle systems (e.g., Engine, ABS, Airbag, Transmission). This function automatically identifies the vehicle via AutoVIN and retrieves diagnostic trouble codes (DTCs).
- Connect the CRP919X to the vehicle's OBD-II port.
- Turn the vehicle ignition to the ON position (engine off).
- Dari menu utama, pilih "Diagnosis".
- Choose "Auto Search" for automatic VIN detection or "Manual Selection" if AutoVIN fails.
- Once the vehicle is identified, select "Health Report" or "System Scan" to initiate a full system diagnostic.
- Review the displayed DTCs and live data.

Image: The CRP919X screen displaying an all-system diagnostic scan in progress, highlighting various vehicle modules.
6.2 Membaca dan Membersihkan DTC
Selepas imbasan sistem, anda boleh view detailed descriptions of detected DTCs and clear them from the vehicle's ECU.
- Baca Kod: Displays current, pending, and permanent diagnostic trouble codes.
- Kosongkan Kod: Erases all diagnostic trouble codes from the vehicle's computer. Ensure all necessary repairs are completed before clearing codes.
6.3 Strim Data Langsung
Monitor real-time data from various sensors and components in text, graph, or merged graph format. This helps in identifying intermittent problems and verifying repairs.

Image: A screenshot from the CRP919X showing multiple live data parameters displayed graphically for detailed analysis.
6.4 Pengekodan ECU
ECU Coding allows you to match new modules, personalize vehicle settings, activate hidden features, and reset parameters to default. This function is available for over 100 vehicle brands.
- Navigate to the "ECU Coding" function from the diagnostic menu.
- Select the desired module and coding option.
- Ikuti arahan pada skrin dengan berhati-hati.
- Penting: Always back up vehicle data before performing ECU coding.

Image: Visual representation of the CRP919X performing ECU coding, showing a car and a circuit board graphic.
6.5 Active Tests (Bidirectional Control)
Active tests allow you to send commands to vehicle systems to test specific components, such as relays, injectors, coils, and actuators, without using the vehicle's controls. This helps in quickly pinpointing faulty components.
- From the diagnostic menu, select "Active Test".
- Choose the system and component you wish to test.
- Send commands and observe the component's response.

Image: A step-by-step diagram illustrating the process of using bidirectional control to test vehicle components like side mirrors.
6.6 Service Functions (35+ Hot Services)
The CRP919X offers over 35 specialized service functions for various maintenance tasks, including:
- Set Semula Minyak
- Tetapan Semula EPB (Brek Parkir Elektronik)
- Penentukuran SAS (Steering Angle Sensor).
- Tetapan Semula TPMS (Sistem Pemantauan Tekanan Tayar)
- BMS (Sistem Pengurusan Bateri) Tetapkan Semula
- Pengekodan Penyuntik
- Pemadanan Pendikit
- Pendarahan ABS
- Penjanaan Semula DPF
- Penentukuran Suspensi
- Dan banyak lagi.

Imej: Tayangan kolajcasing several "Hot Services" available on the CRP919X, such as Oil Reset, ABS Bleeding, and Brake Pad Reset.
6.7 CANFD/DOIP and FCA AutoAuth Support
The CRP919X supports advanced communication protocols like CANFD and DoIP for newer vehicles. It also includes FCA AutoAuth for secure gateway access on compatible Chrysler, Dodge, Jeep, and Fiat vehicles (2018 and newer).

Image: A graphic illustrating the CRP919X's support for CANFD and DOIP protocols, listing compatible vehicle models.

Image: A visual guide explaining the steps for FCA SGW Diagnostics using AutoAuth, along with compatible vehicle brands.
6.8 Expansion Modules
The CRP919X supports optional expansion modules for extended functionality:
- BST360 Battery Tester: For comprehensive 12V battery health, cranking, and charging system tests.
- i-TPMS Tool: For complete TPMS functions including sensor activation, relearn, programming, and reading tire pressure data.

Image: The CRP919X displayed alongside the optional BST360 Battery Tester and i-TPMS Handheld Tool, illustrating their compatibility.
6.9 Laporan Diagnostik
Generate, save, and print diagnostic reports in PDF format. Reports can also be uploaded to the cloud for easy access and sharing.

Image: A graphic highlighting the automatic and cloud report generation capabilities of the CRP919X, showing a PDF icon and cloud storage.
7. Penyelenggaraan
7.1 Kemas Kini Perisian
Regularly update the CRP919X software to ensure compatibility with the latest vehicle models and access new features. Connect the device to Wi-Fi and navigate to the "Update" section in the main menu. The device includes 2 years of free software updates.

Image: A visual representation of the one-touch software update process for the CRP919X, emphasizing ease of use and continuous improvement.
7.2 Pembersihan dan Penyimpanan
- Bersihkan peranti dengan lembut, damp kain. Jangan gunakan pembersih atau pelarut yang melelas.
- Store the CRP919X in its carrying case in a cool, dry place when not in use.
- Avoid dropping the device or exposing it to excessive shock.
8. Penyelesaian masalah
| Masalah | Kemungkinan Punca | Penyelesaian |
|---|---|---|
| Peranti tidak dihidupkan. | Low battery; faulty power adapter; device malfunction. | Charge the device fully. Check power adapter and cable. If problem persists, contact support. |
| Tidak boleh menyambung ke kenderaan. | Loose OBD-II connection; vehicle ignition off; incompatible vehicle. | Ensure cable is securely connected. Turn ignition to ON. Verify vehicle compatibility. |
| Kemas kini perisian gagal. | Poor Wi-Fi connection; insufficient storage; server issue. | Check Wi-Fi signal. Free up storage space. Try updating again later. |
| Skrin sentuh tidak bertindak balas. | Gangguan perisian; kerosakan fizikal. | Restart the device. If problem persists, contact support. |
9. Spesifikasi
- model: CRP919X
- Sistem pengendalian: Android 10.0
- Saiz Skrin: 7 inci
- RAM / ROM: 3GB RAM / 32GB ROM
- Bateri: 6100mAh
- Sumber Kuasa: Dikuasakan Bateri
- Ketersambungan: Wi-Fi, USB
- Protokol yang disokong: OBD-II, EOBD, JOBD, KWP2000, ISO9141, J1850 VPW, J1850 PWM, CAN, CANFD, DoIP
- Jenis Kesesuaian Automotif: Universal Fit
- Pengeluar: PELANCARAN

Image: A graphic outlining the key hardware specifications of the CRP919X, including Android 10.0 OS, 6100mAh battery, 3G/32G memory, 7-inch screen, and 4-core processor.
10. Waranti dan Sokongan
10.1 Waranti Pengilang
The LAUNCH X431 CRP919X comes with a 1-year manufacturer's warranty. Please retain your proof of purchase for warranty claims. The warranty covers defects in materials and workmanship under normal use.
10.2 Sokongan Teknikal
For technical assistance, product inquiries, or warranty service, please contact LAUNCH customer support. Refer to the official LAUNCH website for contact information. Ensure you are contacting official LAUNCH support, not third-party resellers.

Image: Instructions on how to check if your LAUNCH CRP919X is original by visiting the official LAUNCH website and entering the serial number.