
1. Pengenalan
This manual provides comprehensive instructions for the assembly, installation, and maintenance of your GADFISH 10FT Gen 3 Starlink Pole Mount. This product is designed to securely hold your Starlink Standard 4/4X/Gen 3 dish, allowing for optimal signal reception.
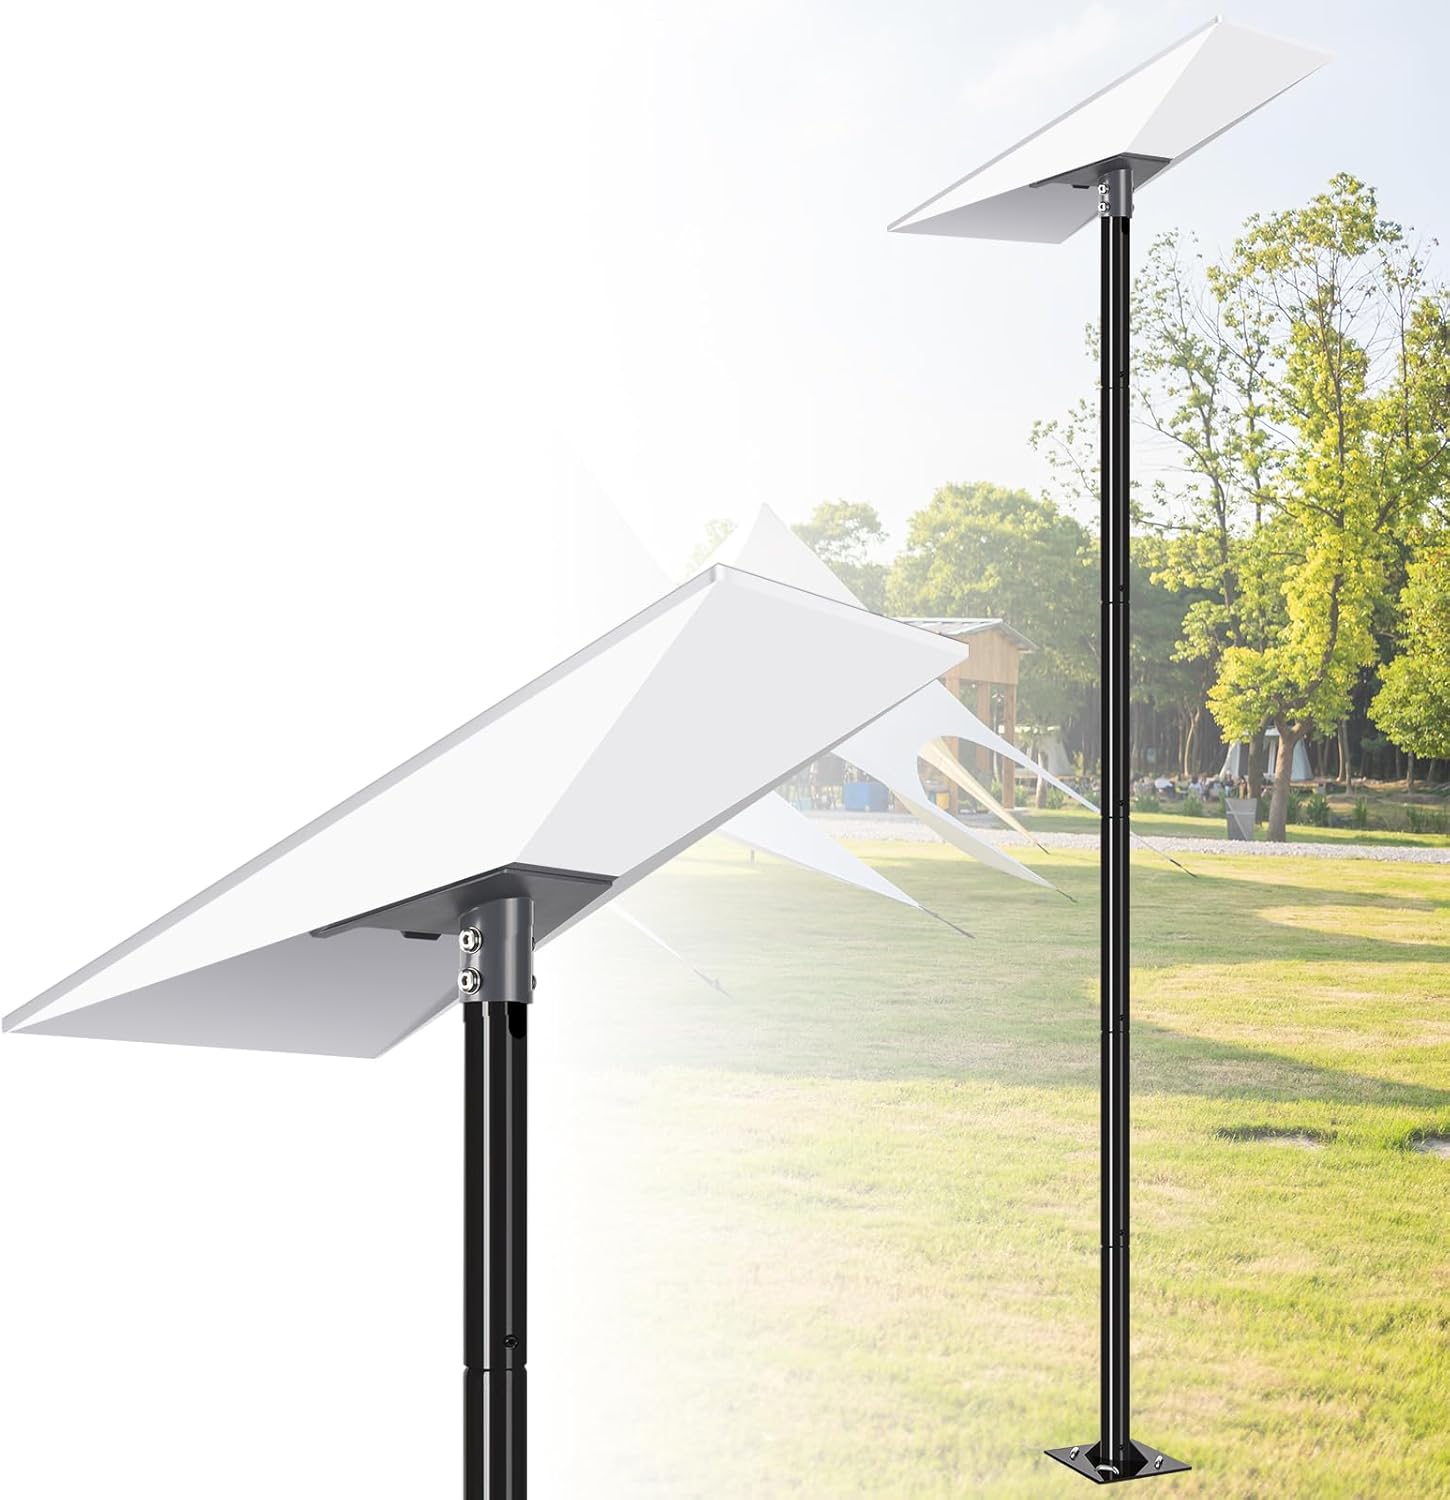
Image 1.1: The GADFISH 10FT Gen 3 Starlink Pole Mount installed with a Starlink dish.
2. Maklumat Keselamatan
- Always wear appropriate safety gear, including gloves and eye protection, during installation.
- Ensure the installation location is free from overhead power lines, underground utilities, and other obstructions.
- If drilling into concrete or wood, verify the structural integrity of the surface.
- Do not attempt installation during adverse weather conditions (e.g., strong winds, lightning).
- Dapatkan bantuan profesional jika anda tidak pasti tentang mana-mana bahagian proses pemasangan.
- Jauhkan bahagian kecil daripada kanak-kanak.
3. Kandungan Pakej
Sahkan bahawa semua komponen hadir sebelum memulakan pemasangan:
- Pole Sections (7 sections for 10ft total length)
- Penyesuai Paip Starlink
- Ground Anchor Base
- Mounting Hardware (screws, anchors, U-bolts for ground installation)
- Hex Key (for tightening screws)
4. Persediaan dan Pemasangan
4.1. Pole Assembly
- Unpack all pole sections. The pole consists of 7 sections, allowing for adjustable lengths up to 10 feet.
- Connect the pole sections by inserting one end into the other. Ensure the pre-drilled holes align.
- Secure each connection point using the provided screws and hex key. Tighten firmly to ensure stability. The pole sections feature 1.5mm thick walls and a 1.5-inch diameter for enhanced durability and secure ground insertion.
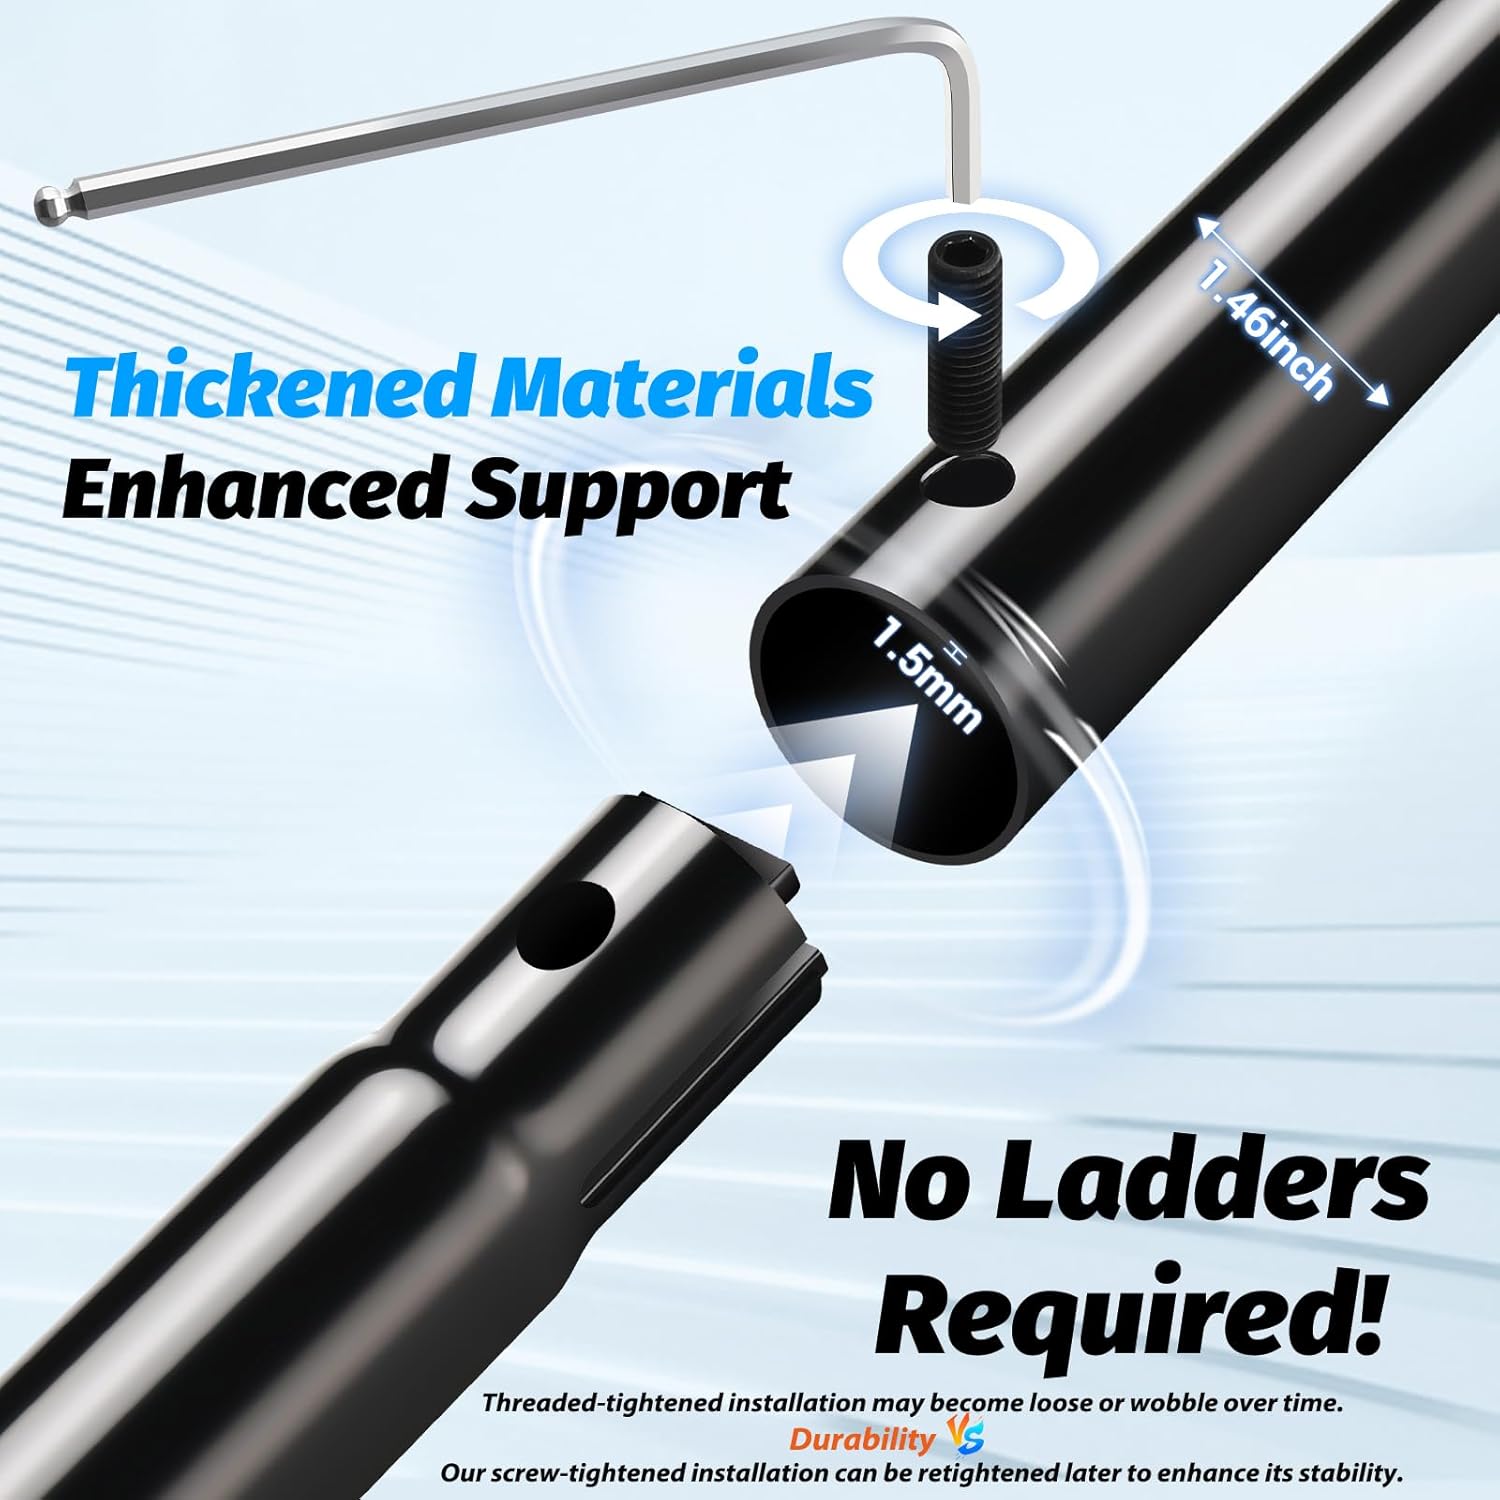
Image 4.1: Detail of pole section connection, highlighting material thickness and diameter.
4.2. Starlink Adapter Installation
This mount is compatible with Starlink Standard 4/4X/Gen 3. The adapter includes a cable hole for proper cable management.
- Locate your Starlink dish. If it has an original kickstand, carefully remove it.
- Align the GADFISH Starlink Pipe Adapter with the mounting point on your Starlink dish.
- Secure the adapter to the Starlink dish using the appropriate hardware. Ensure the cable hole on the adapter aligns with the Starlink cable.
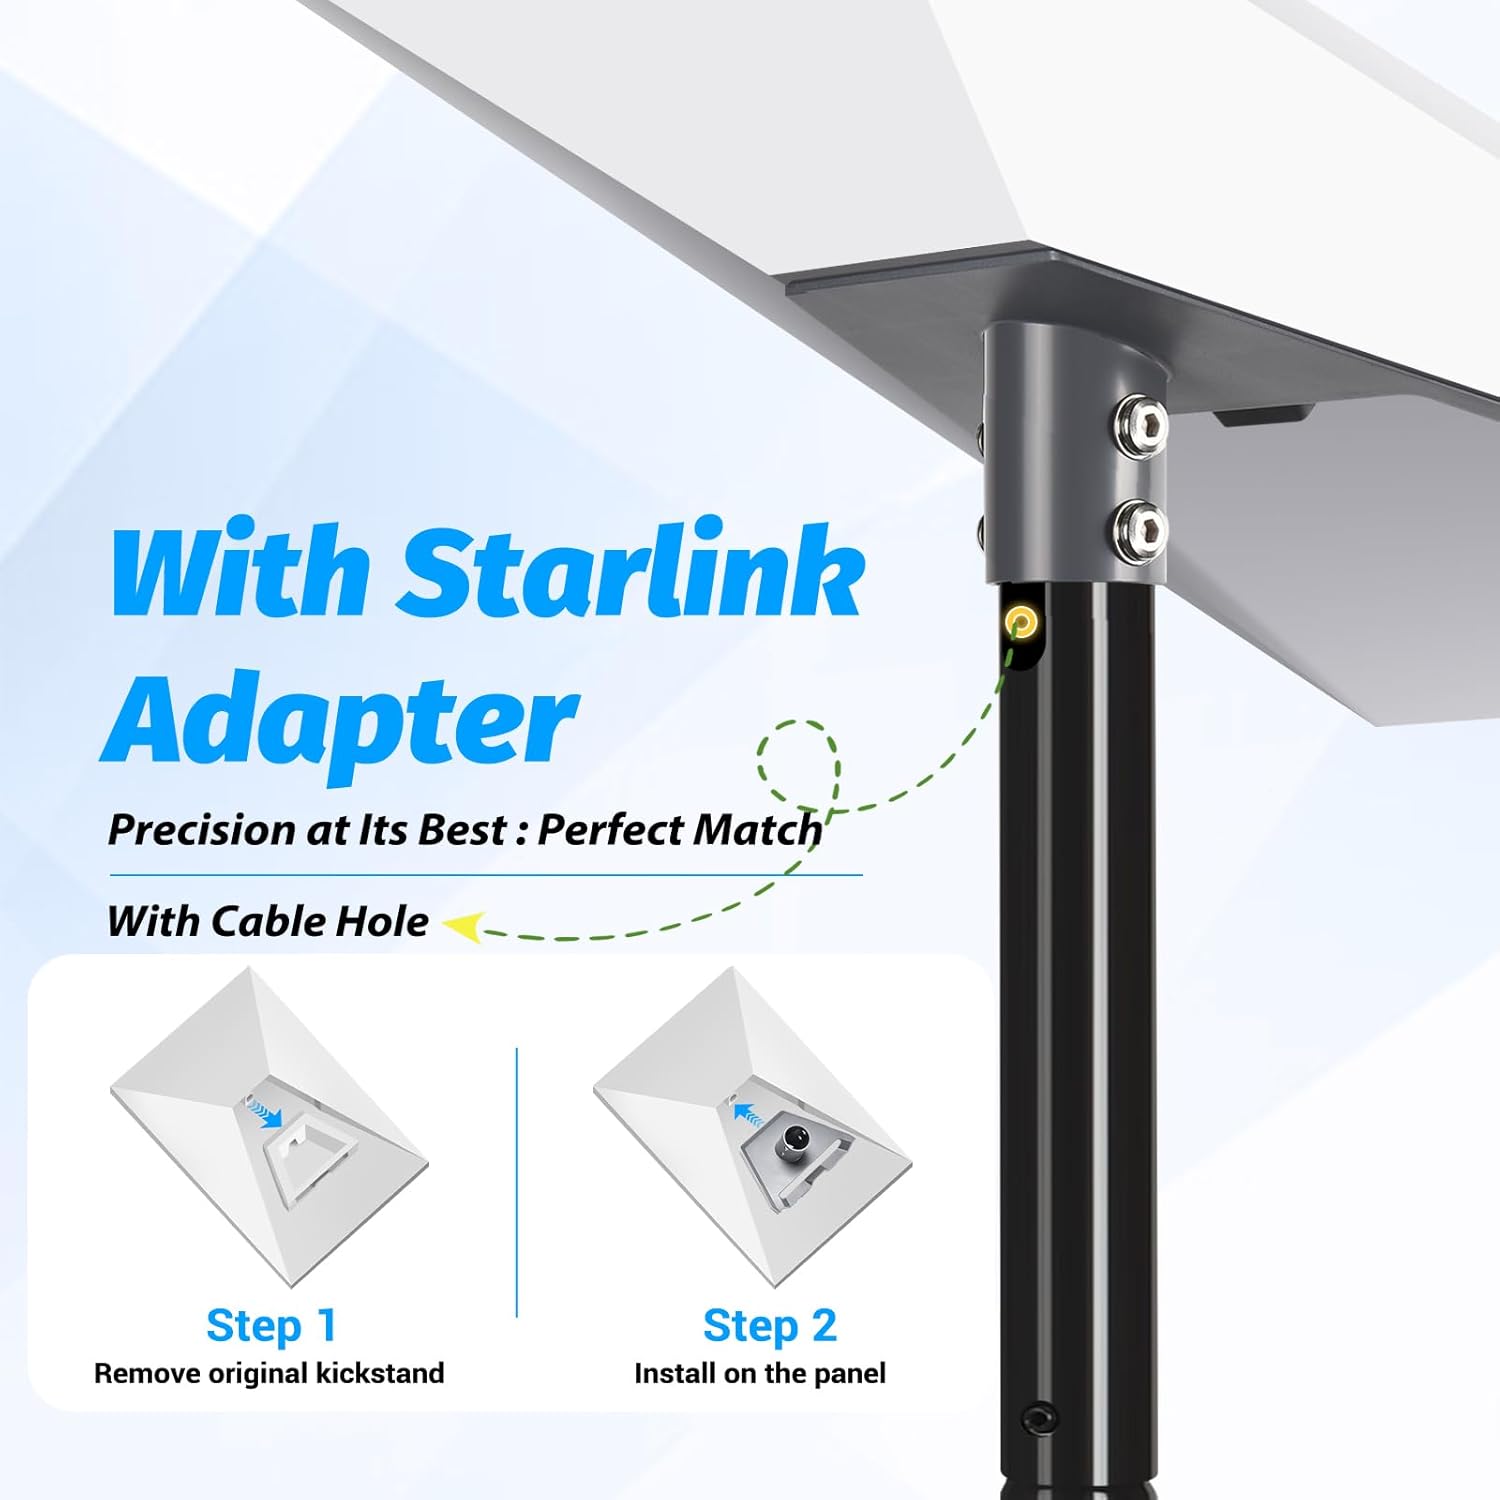
Image 4.2: Steps for installing the Starlink adapter onto the dish.
4.3. Pilihan Pemasangan
The GADFISH pole mount offers two primary installation methods: drilled installation for hard surfaces like concrete or wood, and a ground anchor pole design for soft ground like grass.

Image 4.3: Comparison of drilled installation for cement floors and ground anchor installation for soil.
4.3.1. Drilled Installation (for Cement Floors, Wooden Decks)
- Choose a stable, level location for installation.
- Position the ground anchor base on the desired surface. Mark the drilling points through the base holes.
- Drill pilot holes at the marked locations using an appropriate drill bit for your surface (e.g., masonry bit for concrete, wood bit for wood).
- Insert the expansion bolts or wood screws through the base and into the drilled holes.
- Tighten all fasteners securely to firmly attach the base to the surface.
- Insert the assembled pole into the ground anchor base.
4.3.2. Ground Anchor Installation (for Soil, Grass)
- Select a firm, level area in the soil or grass.
- Place the ground anchor base on the chosen spot.
- Drive the U-shaped ground anchors through the designated slots in the base and into the soil. Ensure they are fully embedded for maximum stability.
- Alternatively, you may dig a small hole, place the base, and backfill with soil, compacting it firmly around the base.
- Insert the assembled pole into the ground anchor base.
4.4. Attaching Starlink Dish to Pole
- Once the pole is securely installed, carefully attach the Starlink dish (with the GADFISH adapter installed) to the top section of the pole.
- Ensure the connection is firm and stable.
- Route the Starlink cable through the cable hole in the adapter and down the pole for neat and protected cable management.
5. Arahan Operasi
5.1. Pelarasan Ketinggian
The pole is constructed from 7 sections, allowing for flexible height adjustment up to 10 feet. To adjust the height:
- Loosen the screws at the connection points of the pole sections you wish to adjust.
- Carefully add or remove pole sections to achieve the desired height.
- Once the desired height is reached, re-align the holes and firmly tighten all screws using the hex key. Ensure all connections are secure before leaving the pole unattended.
Proper positioning of the Starlink dish at an optimal height helps to minimize signal obstructions and maintain a reliable internet connection.
6. Penyelenggaraan
- Periodically inspect all pole connections and mounting hardware for tightness. Re-tighten any loose screws or bolts.
- Check the pole and base for any signs of corrosion or damage. The powder-coated finish provides protection, but regular inspection is recommended.
- Keep the area around the pole base clear of debris or vegetation that could compromise stability or signal.
- Clean the pole with a damp kain mengikut keperluan. Elakkan pembersih yang kasar.
7. Penyelesaian masalah
7.1. Pole Instability
- Isu: Pole wobbles or feels loose.
Penyelesaian: Ensure all pole section screws are tightly fastened. For drilled installations, check that anchor bolts are secure. For ground anchor installations, verify U-bolts are fully embedded and the soil is compacted around the base. Consider adding additional support if in a high-wind area.
7.2. Signal Obstruction
- Isu: Starlink reports signal obstructions.
Penyelesaian: Adjust the pole height by adding or removing sections to elevate the dish above obstructions (e.g., trees, buildings). Use the Starlink app to check for clear line of sight.
7.3. Adapter Fit Issues
- Isu: Starlink dish does not fit the adapter.
Penyelesaian: Verify that your Starlink dish is a Standard 4/4X/Gen 3 model. The adapter is specifically designed for these versions. Ensure the original kickstand is fully removed before attempting to install the GADFISH adapter.
8. Spesifikasi
| Ciri | Spesifikasi |
|---|---|
| Jenama | IKAN GADFISH |
| Nombor Model | Gunung Tanah |
| Keserasian | Starlink Standard 4/4X/Gen 3 |
| bahan | Keluli Aloi |
| Jenis Selesai | Bersalut Serbuk |
| Panjang tiang | Up to 10 feet (7 adjustable sections) |
| Pole Wall Thickness | 1.5 mm |
| Diameter tiang | 1.5 inches (approx. 1.46 inches) |
| Jenis Pemasangan | Ground Mount (Drilled or Ground Anchor) |
| Komponen yang Disertakan | Pole sections, Starlink adapter, ground anchor base, mounting hardware (screws, anchors, U-bolts), hex key |
9. Waranti dan Sokongan
For warranty information or technical support, please refer to the contact details provided with your purchase or visit the official GADFISH webtapak. Simpan resit pembelian anda untuk tuntutan waranti.