
1. Pengenalan
The Xigmatek Aqua V AIR is a high-performance mid-tower PC case designed for gaming enthusiasts. It features a spacious interior, optimized airflow, and tempered glass panels on the front and side to showcase your components. Equipped with seven 120mm ARGB fans, it supports graphics cards up to 410mm in length and is compatible with motherboards featuring hidden connectors for a clean build.
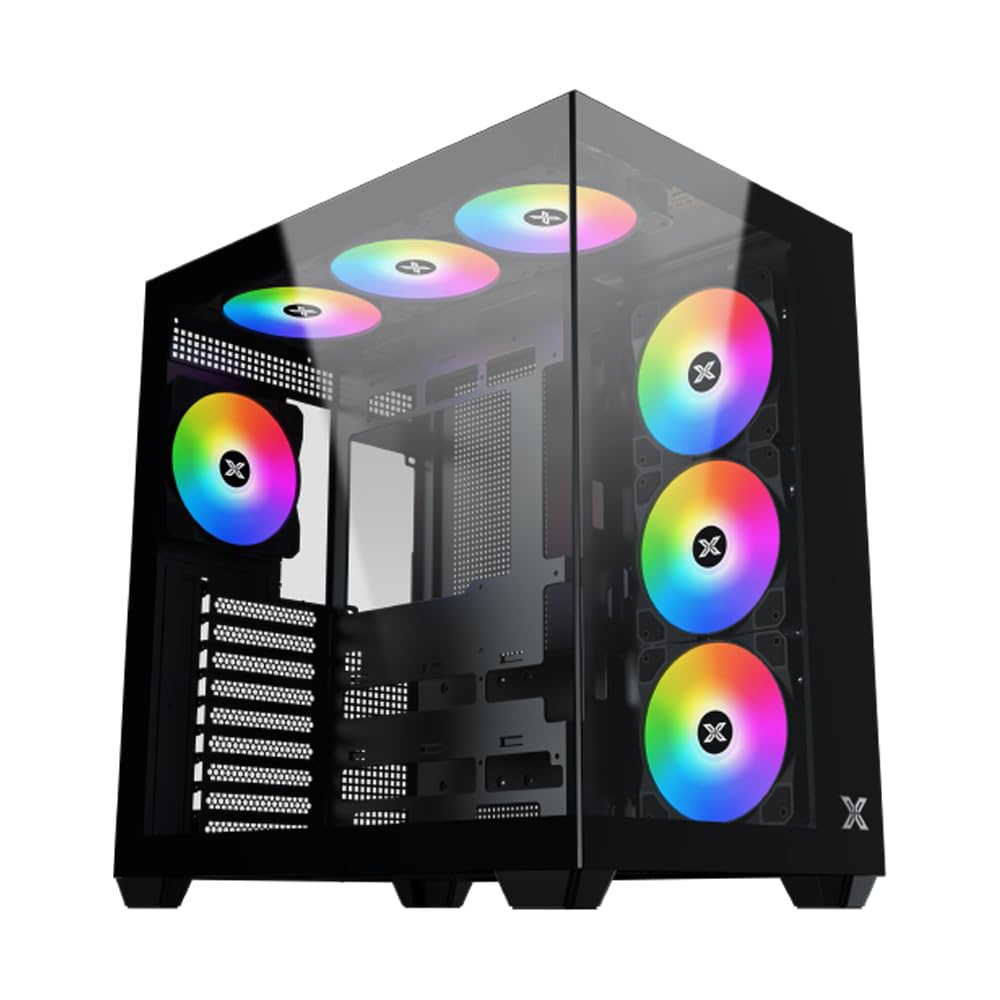
Rajah 1: Secara keseluruhan view of the Xigmatek Aqua V AIR PC Case.
2. Ciri-ciri Utama
- Bahan: Constructed from high-quality steel for durability and reliability.
- Dimensi: 427 x 285 x 455 mm (L x W x H), offering a spacious interior.
- Sistem Penyejukan: Supports up to three 120mm or two 140mm fans for optimal cooling performance.
- Sokongan Radiator: Compatible with 240/280/360mm radiators on the top, bottom, and rear for versatile cooling options.
- Panel I/O: Features 2x USB 3.0 ports, 1x USB-C port, and HD audio for convenient connectivity.
- Keserasian Papan Induk: Supports ATX, Micro ATX, and Mini ITX motherboards, including those with hidden connectors.
- Panjang GPU: Accommodates graphics cards up to 410mm in length.
- Sokongan Penyimpanan: Menyediakan ample space for multiple storage drives.
3. Spesifikasi
| Ciri | Perincian |
|---|---|
| Jenama | Xigmatek |
| Nombor Model | EN45820 |
| Siri | Aqua V AIR BLACK |
| warna | Hitam |
| Dimensi (L x W x H) | 42.7 x 28.5 x 45.5 cm |
| Berat Produk | 8.8 Kilogram |
| bahan | Keluli Aloi, Kaca Terbaja |
| Keserasian Papan Induk | ATX, Mikro ATX, Mini ITX |
| Jenis Kes | Mid-Tower |
| Penggunaan yang Disyorkan | Gaming, High-Performance Computing |
| Port USB 3.0 | 2 |
| Port USB-C | 1 |
| Kaedah Penyejukan | Water (Liquid Cooling Support) |
| Saiz Kipas | 120 Millimeters (Pre-installed ARGB fans) |
| Jenis Pemasangan PSU | Pelekap Bawah |
4. Persediaan dan Pemasangan
This section provides general guidance for installing components into your Xigmatek Aqua V AIR PC case. Always refer to the specific manuals for your motherboard, power supply, and other components for detailed instructions.
4.1 Menyediakan Kes
- Unpack the PC case and remove all packaging materials.
- Carefully remove the tempered glass side panel(s) and front panel (if applicable) to access the interior. Store them safely to prevent damage.
- Identify the accessory box, which typically contains screws, cable ties, and other small parts.
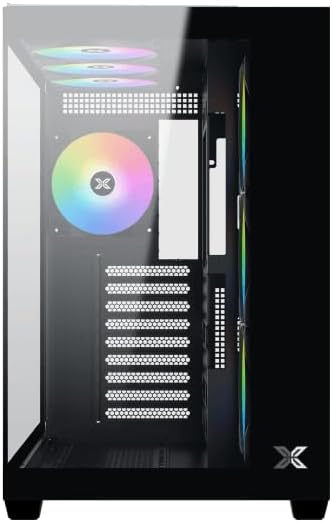
Rajah 2: Dalaman view dengan panel sisi dikeluarkan.
4.2 Pemasangan Motherboard
- Install the I/O shield (if not pre-installed on your motherboard) into the rear opening of the case.
- Align your ATX, Micro ATX, or Mini ITX motherboard with the standoffs inside the case. Ensure all standoffs match the screw holes on your motherboard.
- Secure the motherboard with the appropriate screws provided in the accessory kit.

Figure 3: Motherboard tray and cable management area.
4.3 Pemasangan Unit Bekalan Kuasa (PSU)
- Cari kawasan pelekap PSU di bahagian bawah belakang kes itu.
- Slide your PSU into position, ensuring the fan faces downwards (if the case has a bottom vent) or upwards.
- Selamatkan PSU dengan skru dari belakang kes itu.
4.4 Pemasangan Pemacu Storan
The case supports various storage configurations. Refer to the case diagram for specific drive bay locations.
- Install 2.5" SSDs or 3.5" HDDs into the designated drive bays or mounting brackets.
- Secure the drives with screws.
4.5 Pemasangan Kad Grafik (GPU)
- Tanggalkan penutup slot PCIe yang diperlukan dari belakang kes itu.
- Insert your graphics card into the appropriate PCIe slot on the motherboard.
- Selamatkan kad grafik dengan skru.
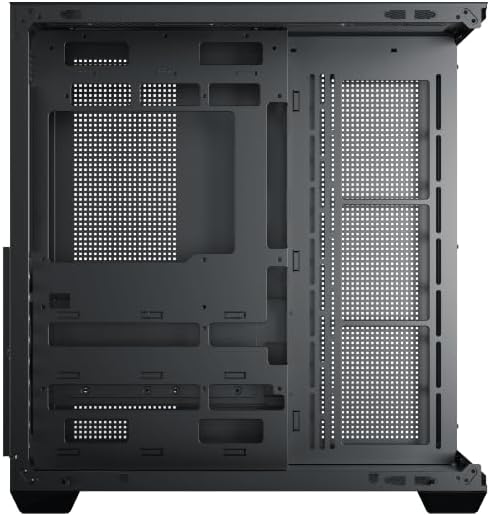
Figure 4: Components installed inside the case.
4.6 Pengurusan Kabel
Gunakan potongan penghalaan kabel dan titik pengikat di belakang dulang papan induk untuk menguruskan kabel bagi aliran udara dan estetika yang lebih baik.
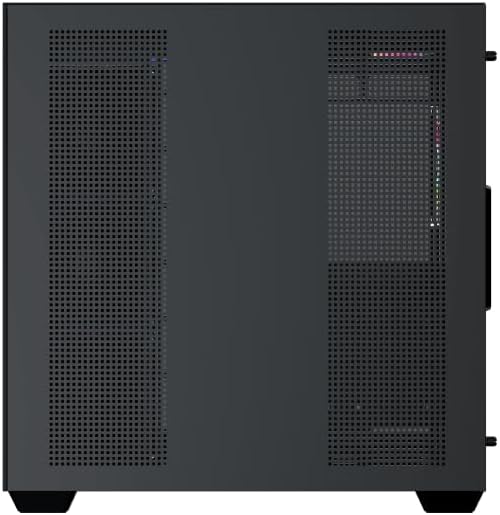
Figure 5: Top panel and I/O ports.
5. Arahan Operasi
5.1 Menghidupkan
Once all components are securely installed and connected, close the side panels. Connect your power cable to the PSU and press the power button on the case's front I/O panel.
5.2 Kawalan Kipas ARGB
The Xigmatek Aqua V AIR comes with pre-installed ARGB fans. These fans can typically be controlled via:
- Perisian Papan Induk: If your motherboard supports ARGB synchronization, connect the fan's ARGB cables to the motherboard's 3-pin 5V ARGB header and use the motherboard's software (e.g., ASUS Aura Sync, MSI Mystic Light, Gigabyte RGB Fusion) to customize lighting effects.
- Integrated Controller: If your case includes a built-in ARGB controller, use the dedicated button on the I/O panel to cycle through various lighting modes and colors.
6. Penyelenggaraan
Penyelenggaraan tetap membantu memastikan prestasi optimum dan jangka hayat komponen PC anda.
6.1 Pembersihan Penapis Habuk
The Xigmatek Aqua V AIR case is equipped with dust filters to prevent dust buildup. Locate and gently remove the dust filters (typically on the top, front, and bottom). Clean them with compressed air or by rinsing with water. Ensure they are completely dry before reattaching.
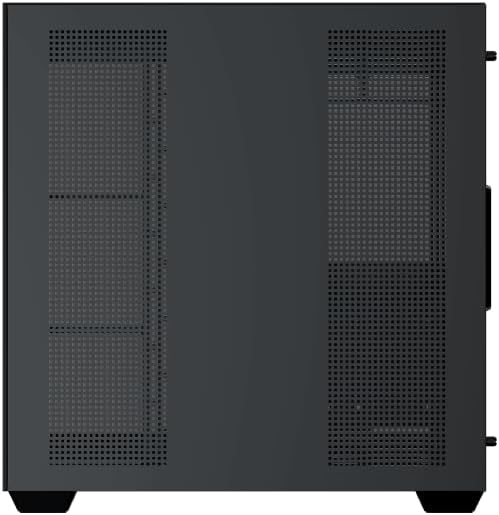
Figure 6: Bottom dust filter.
6.2 Pembersihan Am
Use a soft, dry cloth to wipe down the exterior of the case. For tempered glass panels, use a glass cleaner and a microfiber cloth to avoid streaks. Avoid using abrasive cleaners or solvents.
7. Penyelesaian masalah
Jika anda menghadapi masalah, pertimbangkan langkah penyelesaian masalah biasa berikut:
- Tiada Kuasa:
- Ensure the PSU is switched on and properly connected to the wall outlet and motherboard.
- Check all power connections to components (motherboard, CPU, GPU, drives).
- Pastikan kabel suis kuasa panel hadapan disambungkan dengan betul ke papan induk.
- Fans Not Spinning / RGB Not Working:
- Check if fan power cables are securely connected to the motherboard or fan controller.
- Ensure ARGB cables are connected to the correct 3-pin 5V ARGB header (not 4-pin 12V RGB).
- If using a controller, ensure it has power and is functioning correctly.
- Terlalu panas:
- Ensure all fans are spinning and oriented correctly for optimal airflow (intake/exhaust).
- Bersihkan penapis habuk dan komponen dalaman.
- Sahkan penyejuk CPU dan penyejuk GPU diletakkan dan berfungsi dengan betul.
8. Waranti dan Sokongan
The Xigmatek Aqua V AIR PC Case comes with a Waranti pengilang selama 2 tahun. For technical support, warranty claims, or further assistance, please contact Xigmatek customer service or visit their official webtapak.
Sila simpan bukti pembelian anda untuk tujuan waranti.


