MAXKERUN W3
MAXKERUN W3 4K Digital Camera User Manual
Model: W3 | Brand: MAXKERUN
1. Pengenalan
Thank you for choosing the MAXKERUN W3 4K Digital Camera. This camera is designed for photography enthusiasts and vloggers, offering advanced features such as 12X optical zoom, 72MP image resolution, 4K video recording, Wi-Fi connectivity, and a versatile 180° flip screen. This manual provides detailed instructions on how to set up, operate, and maintain your camera to ensure optimal performance and longevity.

Imej 1.1: Selesaiview of the MAXKERUN W3 4K Digital Camera, showcasing its compact design, flip screen, and included SD card and battery.
2. Apa yang ada di dalam Kotak
Sila semak kandungan pakej anda untuk memastikan semua item ada:
- MAXKERUN W3 Digital Camera x1
- 32GB SD Card x1
- Rechargeable Lithium-Ion Battery (NP-120) x2
- Dual Charger x1
- Kabel USB-C x1
- Shoulder Belt x1
- Manual Pengguna x1
- Magnetic Gift Box x1

Image 2.1: Visual representation of all items included in the MAXKERUN W3 camera package.
3. Panduan Persediaan
3.1 Battery and SD Card Installation
Follow these steps to properly install the battery and SD card into your camera:
- Open the battery compartment door located at the bottom of the camera.
- Insert the rechargeable lithium-ion battery (NP-120) into the compartment, ensuring the correct orientation as indicated inside the compartment. Incorrect insertion may prevent charging.
- Insert the 32GB SD card into the designated slot next to the battery compartment until it clicks into place. Ensure the card is facing the correct direction.
- Tutup pintu petak bateri dengan selamat.

Image 3.1: Step-by-step guide illustrating the correct method for installing the battery and SD card.
3.2 Mengecas Bateri
Use the provided dual charger and USB-C cable to charge the batteries. Connect the USB-C cable to the charger and a power source. Insert the batteries into the charger. The indicator lights on the charger will show the charging status.
4. Arahan Operasi
4.1 Kuasa Hidup/Mati dan Kawalan Asas
To power on the camera, press and hold the power button. To power off, press and hold the power button again. The shutter button is located on the top of the camera for capturing photos and starting/stopping video recording.
4.2 12X Optical Zoom
The camera features a 12X optical zoom lens (f=4.9-59mm) allowing you to magnify distant subjects without compromising image quality. Use the zoom lever located around the shutter button to adjust the focal length.
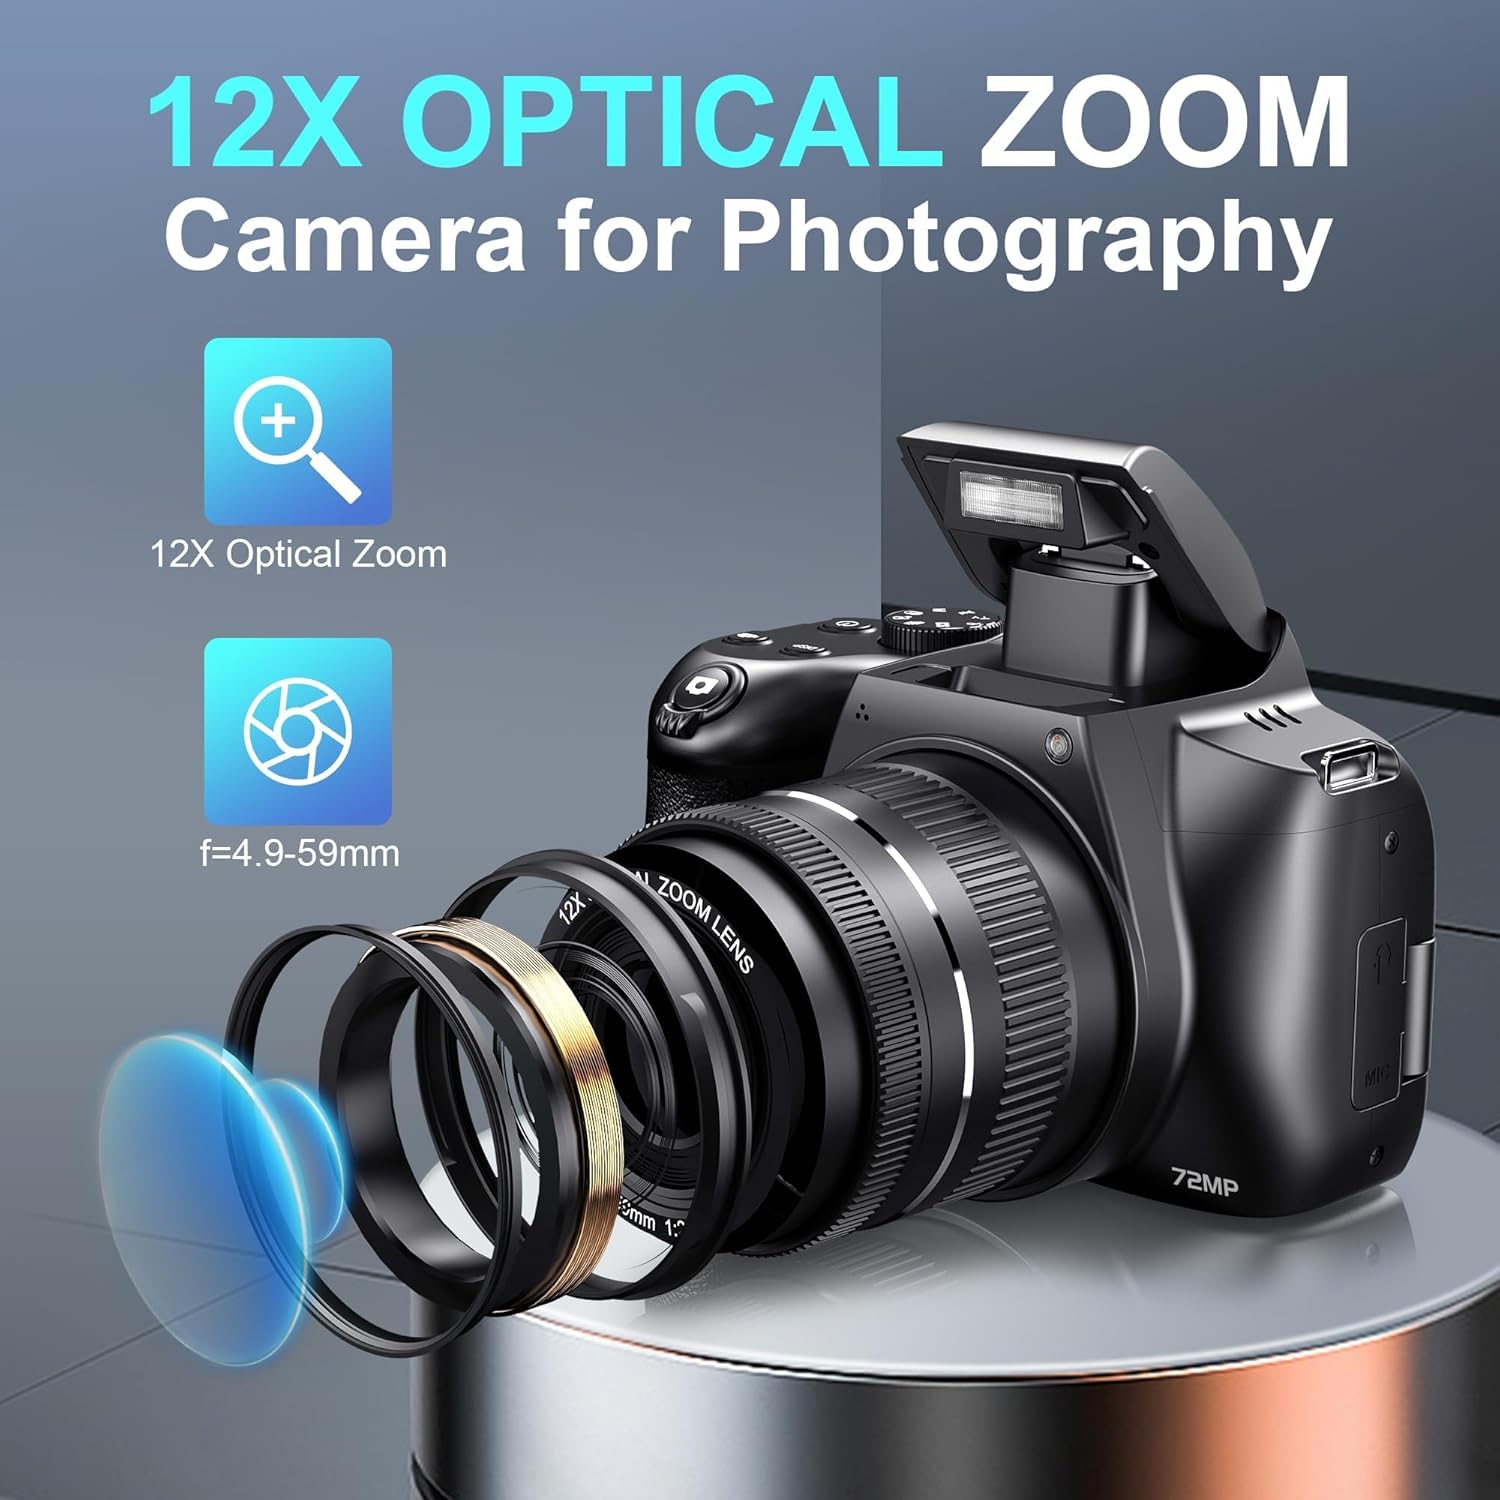
Image 4.1: The camera's 12X optical zoom capability, highlighting the lens mechanism.
4.3 UHD 4K Video & 72MP Image Capture
Capture stunning visuals with 4K video resolution (24FPS) and high-detail 72-megapixel still images. The camera's sensor ensures vibrant colors and sharp details.

Image 4.2: Illustrates the superior clarity and detail provided by 4K video and 72MP image resolution compared to lower resolutions.
4.4 180° Flip Screen
The 3-inch IPS display can be rotated 180 degrees, making it ideal for vlogging, self-portraits, and shooting from various angles. Adjust the screen to your preferred viewkedudukan.

Image 4.3: Demonstrates the 180-degree rotation capability of the camera's IPS flip screen.
4.5 Mod Penangkapan
The camera offers a variety of shooting modes to suit different scenarios. Rotate the mode dial to select from options such as Auto Mode, Scene Mode (SCN), Continuous Shooting, Intelligent Scene Mode, Filter Mode, Manual Exposure Mode (M), Aperture Priority (Av), and Shutter Priority (Tv).

Image 4.4: The camera's mode dial, illustrating the selection of various shooting modes for different photographic needs.
4.6 Auto Fokus
The camera features an autofocus system that quickly and accurately focuses on your subject. Simply press the shutter button halfway down to engage autofocus before fully pressing to capture the image.

Image 4.5: Depicts the camera's autofocus system, showing how it identifies and locks onto a subject.
4.7 Built-in Flash Light
The integrated flash light provides illumination in low-light conditions. It offers various modes including Automatic, Manual Mode, Forced Flash, Slow Sync, and No Flash. Adjust settings as needed for optimal lighting.
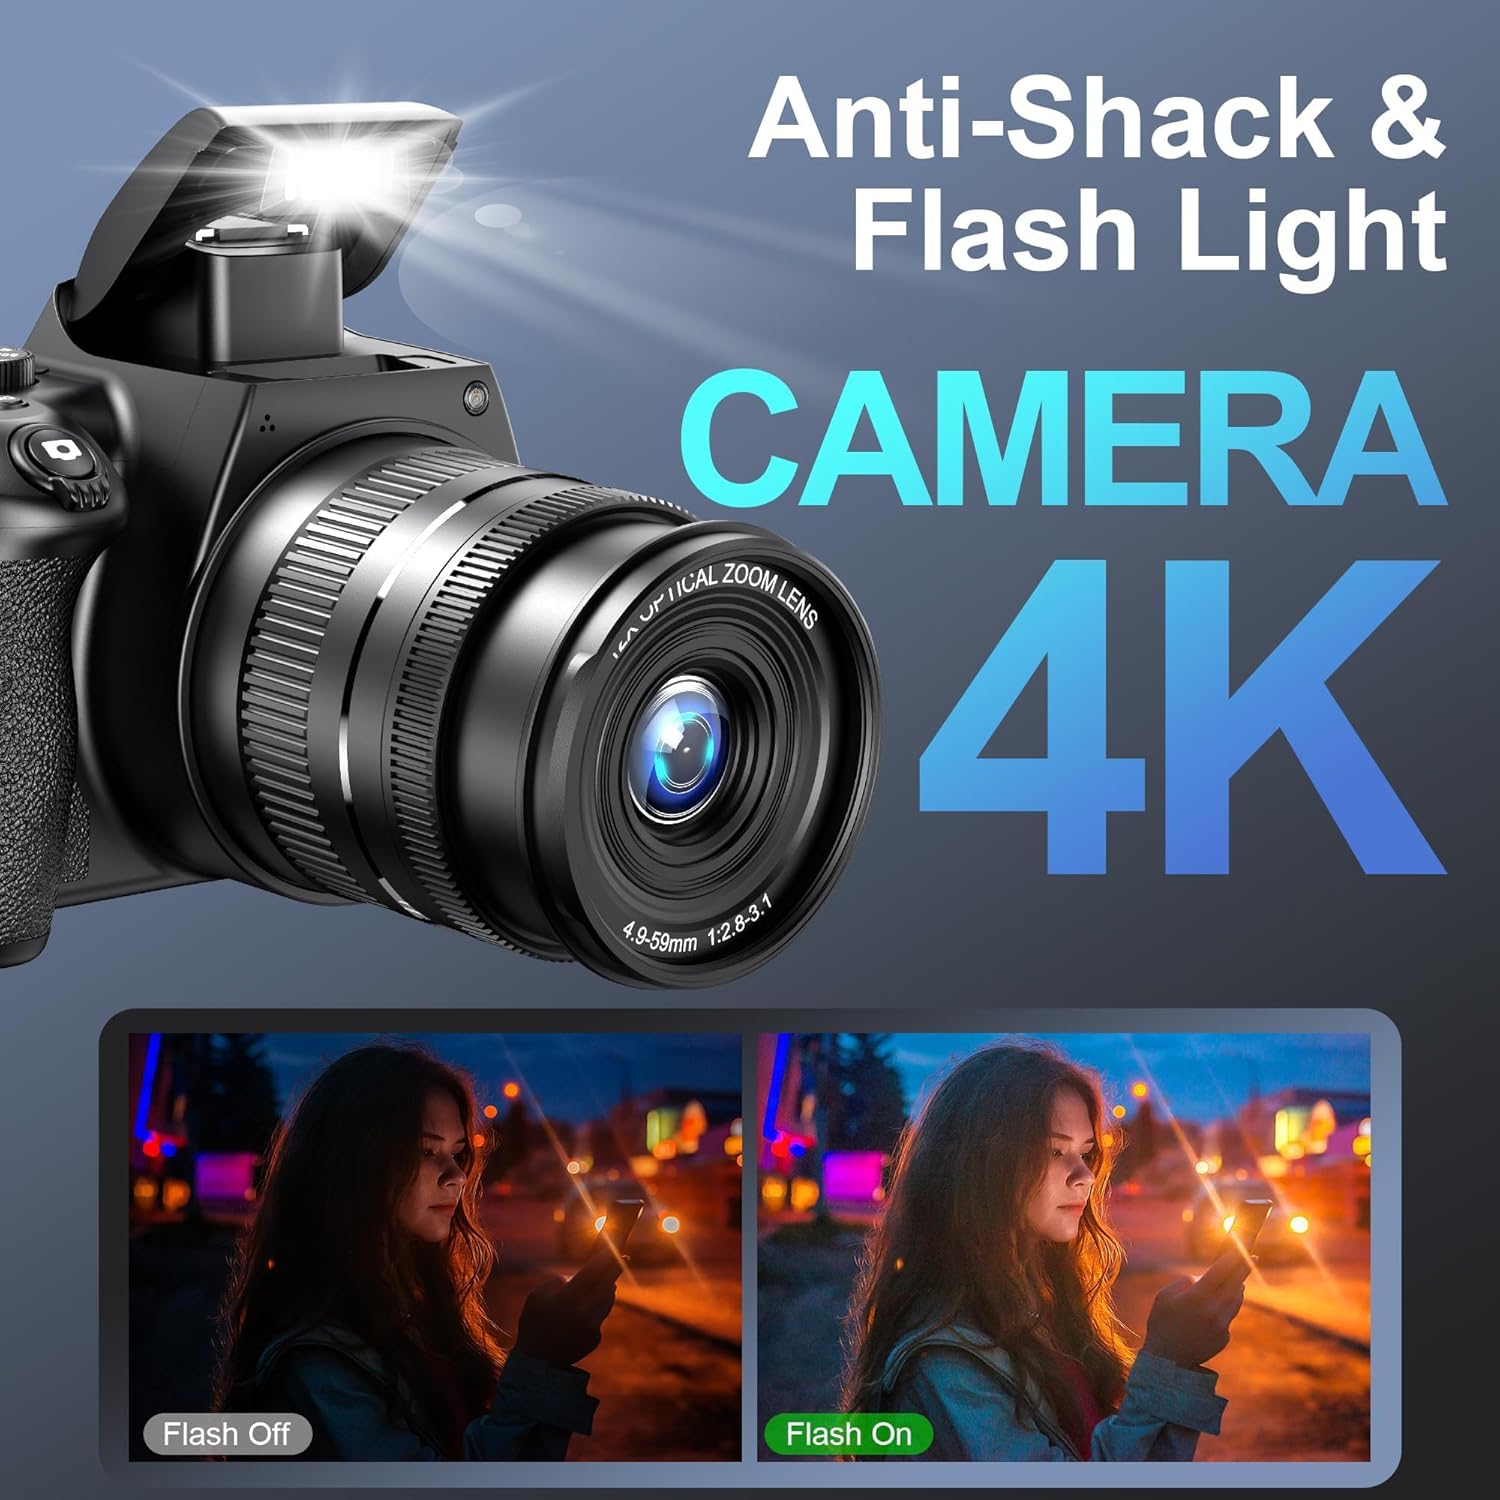
Image 4.6: Shows the camera's built-in flash light, demonstrating its effect in low-light environments.
4.8 Wi-Fi & App Control
Utilize the camera's Wi-Fi function to connect to your smartphone via the
Ask a question about this manual
Ask about setup, troubleshooting, compatibility, parts, safety, or missing instructions. Manuals+ will review the question and use this page’s manual context to help answer it.