
pengenalan
This manual provides essential information for the safe and efficient operation, installation, and maintenance of your Kanartic ZERO 18000 BTU 22 SEER Mini-Split Heat Pump. Please read this manual thoroughly before using the unit and retain it for future reference. Proper understanding and adherence to these instructions will ensure optimal performance and longevity of your system.
Maklumat Keselamatan
Arahan Keselamatan Penting:
- Installation must be performed by a qualified and certified HVAC technician in accordance with all local and national electrical and refrigeration codes.
- Jangan cuba membaiki atau menservis unit ini sendiri. Rujuk semua servis kepada kakitangan yang berkelayakan.
- Pastikan bekalan kuasa diputuskan sambungannya sebelum sebarang penyelenggaraan atau pembersihan.
- Jauhkan kanak-kanak dan haiwan peliharaan dari unit luar.
- Do not block the air intake or outlet of either the indoor or outdoor unit.
- Use only the specified refrigerant type.
Produk Selesaiview
The Kanartic ZERO Mini-Split Heat Pump system consists of an indoor unit, an outdoor unit, a remote control, and a refrigerant line set. This system provides efficient heating and cooling for your space.
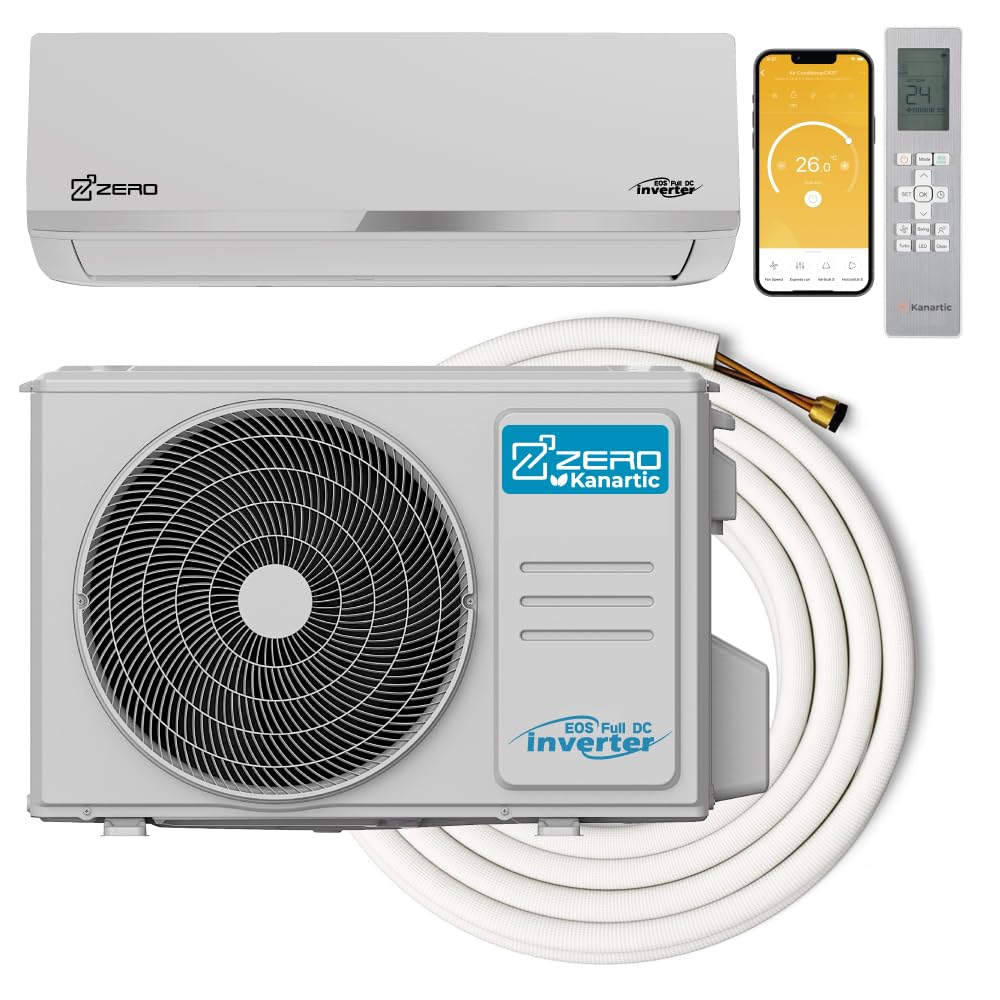
Rajah 1: Berakhirview of the Kanartic ZERO Mini-Split Heat Pump system components, including the indoor unit, outdoor unit, and connecting line set.
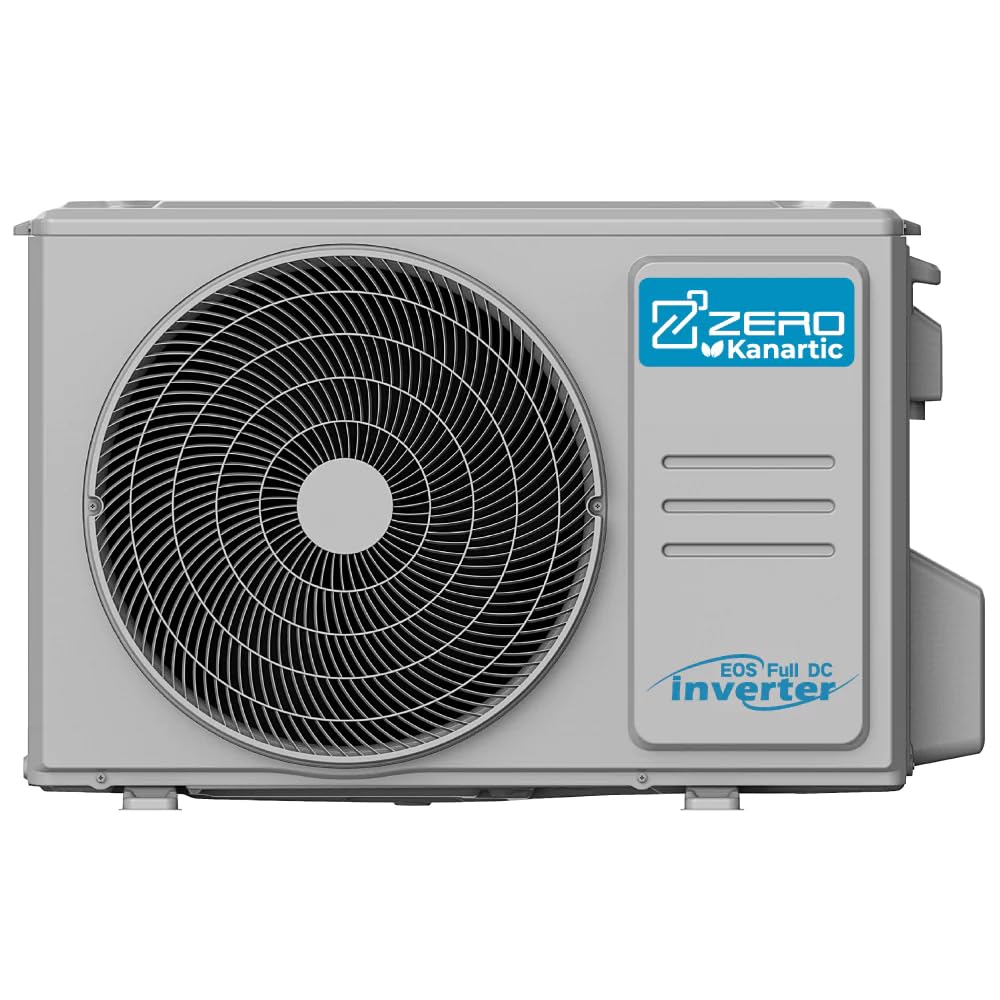
Rajah 2: The outdoor condenser unit of the Kanartic ZERO Mini-Split Heat Pump, featuring the fan grille and Kanartic ZERO branding.
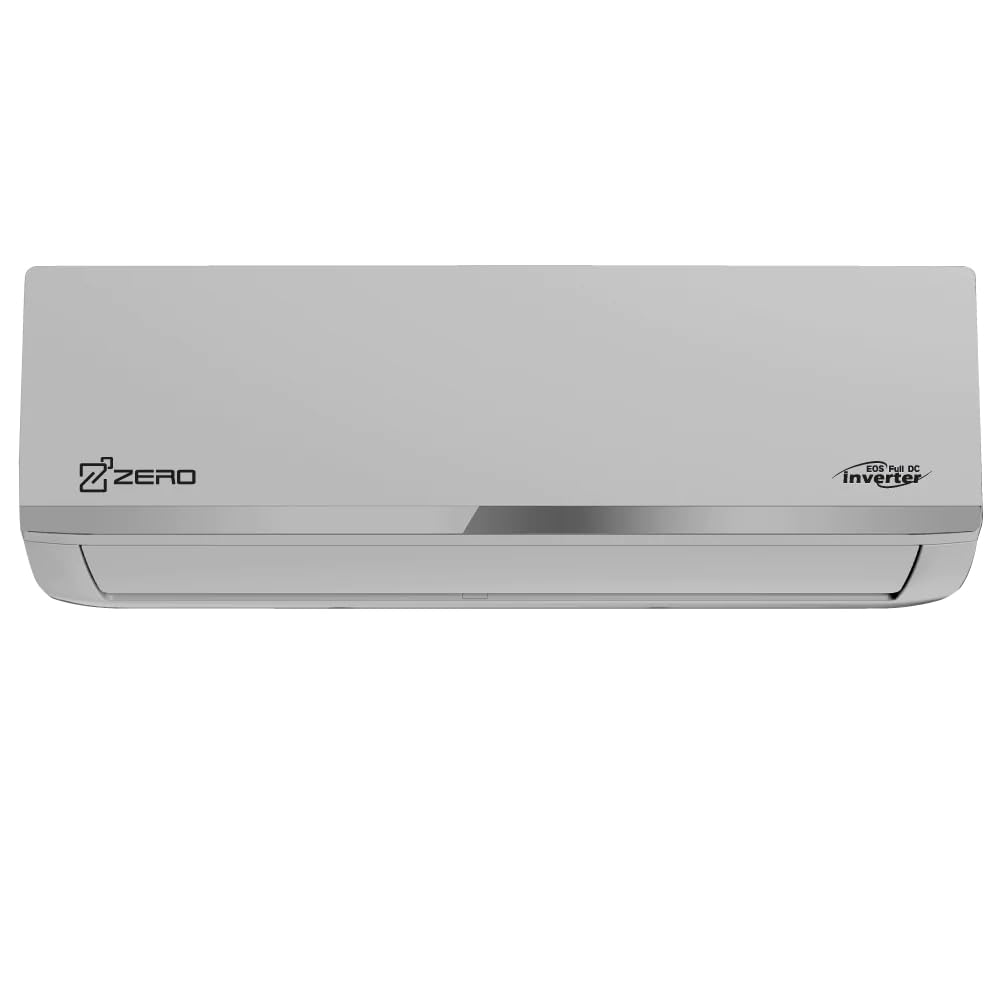
Rajah 3: The sleek indoor air handler unit of the Kanartic ZERO Mini-Split Heat Pump, designed for wall mounting.
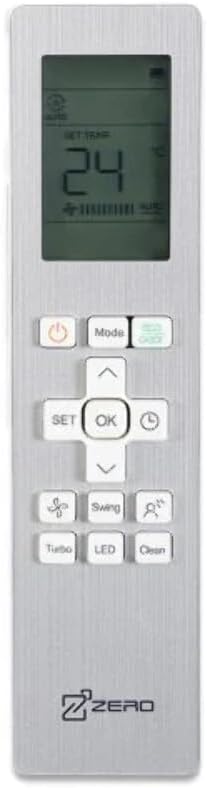
Rajah 4: The remote control for the Kanartic ZERO Mini-Split Heat Pump, showing the display and various function buttons for operation.

Rajah 5: The insulated refrigerant line set, used to connect the indoor and outdoor units of the mini-split system.
Persediaan dan Pemasangan
The Kanartic ZERO Mini-Split Heat Pump is a split system that requires professional installation. This involves mounting the indoor unit, securing the outdoor unit, connecting the refrigerant lines, electrical wiring, and vacuuming the system. Attempting self-installation can void the warranty and lead to improper operation or safety hazards.
Key Installation Steps (Performed by Certified Technician):
- Penempatan Unit Dalaman: Select a location that allows for optimal airflow and drainage.
- Penempatan Unit Luar: Ensure adequate clearance for airflow and maintenance, away from direct sunlight or obstructions.
- Sambungan Set Talian: Connect the refrigerant lines between the indoor and outdoor units.
- Pendawaian elektrik: Connect power and communication cables according to the wiring diagram.
- Pemvakum dan Pengecasan Bahan Penyejuk: Evacuate air and moisture from the system and charge with the correct amount of refrigerant.
- Saliran: Ensure proper condensate drainage from the indoor unit.
Arahan Operasi
Your Kanartic ZERO Mini-Split Heat Pump is controlled via the provided wireless remote control (Figure 4).
Operasi asas:
- Hidupkan/Mati Kuasa: Tekan ke kuasa butang untuk menghidupkan atau mematikan unit.
- Pemilihan Mod: Tekan ke Mod button to cycle through available modes: Cool, Heat, Fan, Dry, Auto.
- Pelarasan Suhu: Gunakan Atas/Bawah anak panah untuk menetapkan suhu yang anda inginkan.
- Kelajuan Kipas: Tekan ke kipas button to adjust fan speed (Auto, Low, Medium, High).
- Fungsi Ayunan: Gunakan Berayun button to control the louver movement for optimal air distribution.
Refer to the remote control's specific manual for advanced functions such as Timer, Sleep mode, and Turbo mode.
Penyelenggaraan
Penyelenggaraan yang kerap memastikan operasi yang cekap dan memanjangkan jangka hayat unit anda.
Penyelenggaraan Pengguna:
- Pembersihan Penapis Udara: The indoor unit's air filters should be cleaned every 2-4 weeks, or more frequently depending on usage and air quality. Open the front panel, remove the filters, wash them with lukewarm water and mild detergent, rinse thoroughly, and allow them to dry completely before reinserting.
- Pembersihan Luaran: Wipe the indoor and outdoor unit exteriors with a soft, damp kain. Jangan gunakan bahan kimia yang keras atau pembersih yang kasar.
Penyelenggaraan Profesional:
- It is recommended to have a qualified technician perform annual maintenance, including checking refrigerant levels, cleaning coils, inspecting electrical connections, and verifying drainage.
Menyelesaikan masalah
Sebelum menghubungi untuk servis, semak isu-isu biasa berikut:
| Masalah | Kemungkinan Punca | Penyelesaian |
|---|---|---|
| Unit tidak dihidupkan | No power, remote control batteries dead | Check circuit breaker, replace remote batteries |
| Penyejukan/pemanasan tidak mencukupi | Dirty air filters, blocked outdoor unit, wrong mode selected, temperature setting too high/low | Clean filters, clear obstructions, select correct mode, adjust temperature |
| Bunyi yang tidak biasa | Loose parts, foreign objects, refrigerant flow noise (normal) | Inspect for loose parts, remove objects. If persistent or loud, contact service. |
| Kebocoran air dari unit dalaman | Blocked drain hose, improper installation | Check and clear drain hose. If issue persists, contact installer. |
Jika masalah berterusan selepas mencuba penyelesaian ini, sila hubungi sokongan pelanggan.
Spesifikasi
| Ciri | Spesifikasi |
|---|---|
| Jenama | Kanartic |
| Kuasa Penyejukan | 18000 Unit Terma British |
| Nisbah Kecekapan Tenaga Bermusim (SEER) | 22 |
| Heating Seasonal Performance Factor (HSPF) | 11 |
| Operating Temperature (Heating) | Down to -30°C (-22°F) |
| Faktor Bentuk | Mini-Split |
| Kaedah Kawalan | Alat Kawalan Jauh |
| Jenis Pemasangan | Sistem Perpecahan |
| Berat Barang | 50000 Grams (Outdoor Unit) |
| UPC | 628251090047 |
Waranti dan Sokongan
Maklumat Waranti:
- Limited 10-Year Warranty on Compressor.
- Limited 5-Year Warranty on Parts.
- Warranty is valid with proof of professional installation invoice.
Sokongan Pelanggan:
For technical assistance, warranty claims, or service inquiries, please contact Kanartic customer support. Refer to your purchase documentation for specific contact details or visit the official Kanartic webtapak.