
Produk Selesaiview
The PREXISO PLAG90T is a versatile 3-in-1 tool combining a digital level, angle meter, and laser line projector. It is designed for various tasks requiring precise leveling and angle measurement, including home renovation, picture hanging, woodworking, and construction. This device features a clear digital display, multiple measurement modes, and a magnetic base for convenient use.

Figure 1: The PREXISO PLAG90T displaying a horizontal laser line for leveling a shelf.
Persediaan
Mengecas Peranti
The PREXISO PLAG90T is equipped with a rechargeable Li-ion battery. To charge, locate the USB-C port on the device and connect it to a power source using the provided USB-C cable. Ensure the device is fully charged before first use for optimal performance.
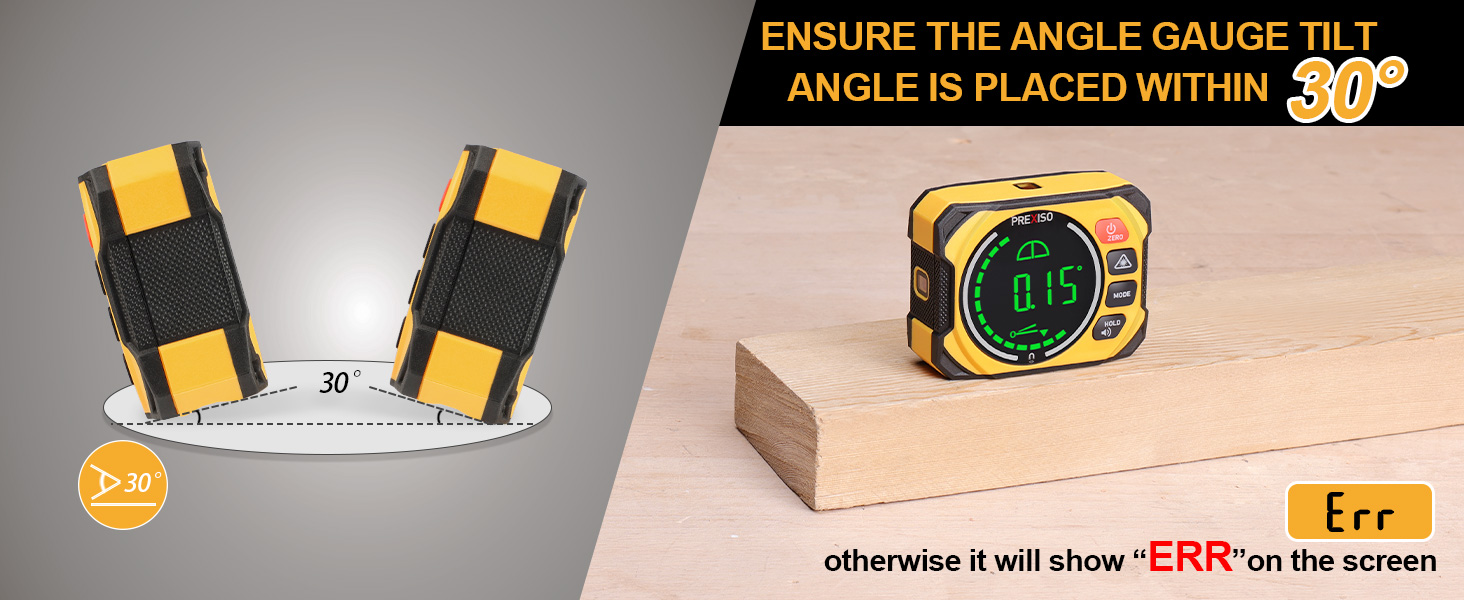
Figure 2: USB-C charging port on the PREXISO PLAG90T.
Attaching the Wall Mount Base
The device includes a wall mount base for hands-free operation. There are three methods to fix the wall mount base:
- Using 2 Pins: For rough surfaces, insert the two provided pins into the designated holes on the wall mount base and gently push them into the wall.
- Using Self-Adhesive Strips: For smooth surfaces, attach the provided self-adhesive strips to the back of the wall mount base and press firmly onto the desired surface.
- Using Pin Holes: For any surface where a more secure attachment is needed, use screws through the pin holes on top of the wall mount base.

Figure 3: Different methods for attaching the wall mount base to various surfaces.
Arahan Operasi
Hidupkan/Mati Kuasa
Tekan dan tahan butang KUASA/SIFIR butang untuk menghidupkan atau mematikan peranti.
Mod Pengukuran
Peranti menyokong dua mod ukuran utama:
- ABSOLUTE Measurement Mode: The device enters this mode directly upon power-on, displaying the absolute angle relative to a true horizontal plane.
- RELATIVE Measurement Mode: Tekan ke SIFAR button to switch to relative measurement. The display will show 'S' blinking. Keep the equipment still for 3 seconds until 'S' stops flashing to set the current angle as the new zero reference. Press the SIFAR button again to return to absolute measurement.
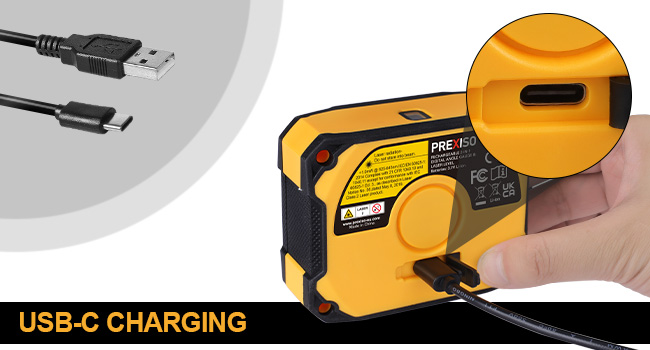
Figure 4: Absolute angle measurement mode.
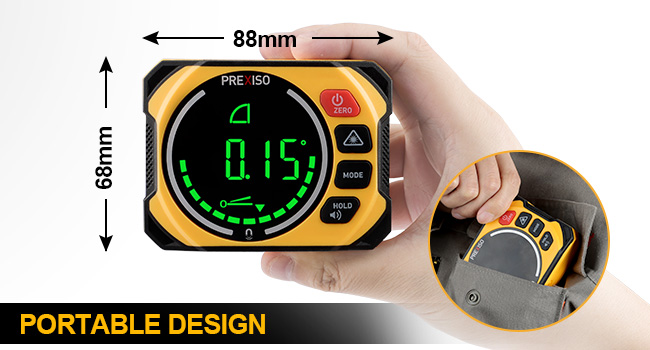
Figure 5: Relative angle measurement mode.
Pemilihan Unit
Tekan ke MODE button to cycle through the available units: degrees (°), percentage (%), millimeters per meter (mm/m), and inches per foot (IN/FT).
Laser Line Modes
The device can project three types of laser lines:
- Garisan Mendatar: Tekan ke LASER butang sekali.
- Garisan Menegak: Tekan ke LASER butang untuk kali kedua.
- Cross-Line (Horizontal and Vertical): Tekan ke LASER butang untuk kali ketiga.
Tekan ke LASER button a fourth time to turn off the laser lines. The laser is a Class II product with a maximum output of < 1 mW.
Figure 6: Various laser line modes for different applications.
Buzzer Boleh Didengar
The device features an audible buzzer that alerts when the angle is within ±1° of the horizontal or vertical position. This is useful for quick leveling without constantly viewing the display. Long press the HOLD/AUDIO button to activate or deactivate the buzzer.
Fungsi Pegangan Data
To freeze the current measurement on the display, short press the HOLD/AUDIO button. The 'H' icon will appear. Press the button again to return to live measurement.
Penyelenggaraan
Penentukuran
The equipment is factory-calibrated. To ensure lasting accuracy, the device also has a user calibration function. Perform calibration on a flat and smooth surface with a tilt no more than 5°. If the tilt exceeds 5°, the display will show 'ERR'.
Untuk menentukur semula:
- In shutdown status, press and hold the MODE butang, kemudian tekan KUASA/SIFIR button until the LCD displays 'CAL 1'.
- Keep the equipment still for a period of time, then press the MODE button. 'CAL 1' flashes several times, then the display reads 'CAL 2'.
- In the same location, rotate the equipment 180°. 'CAL 2' flashes several times. After 'CAL 2' disappears, the calibration is completed and the LCD will show the current angle in high-accuracy display.

Figure 7: Calibration procedure for the PREXISO PLAG90T.
Menyelesaikan masalah
Ask a question about this manual
Ask about setup, troubleshooting, compatibility, parts, safety, or missing instructions. Manuals+ will review the question and use this page’s manual context to help answer it.
Ask a question about this manual
Ask about setup, troubleshooting, compatibility, parts, safety, or missing instructions. Manuals+ will review the question and use this page’s manual context to help answer it.